Ron Kirn Signature
Cart 0
Cart 0
Ron Kirn Signature
Home of the one and only Ron Kirn handmade guitar

Build Walkthroughs

These build walkthroughs are long, detailed and photo intense. While building these guitars, I have documented nearly every step and explained my processes along the way. I hope you enjoy the visit into my workshop, and walk away with an understanding and appreciation for the detail and care I put into every one of my guitars.


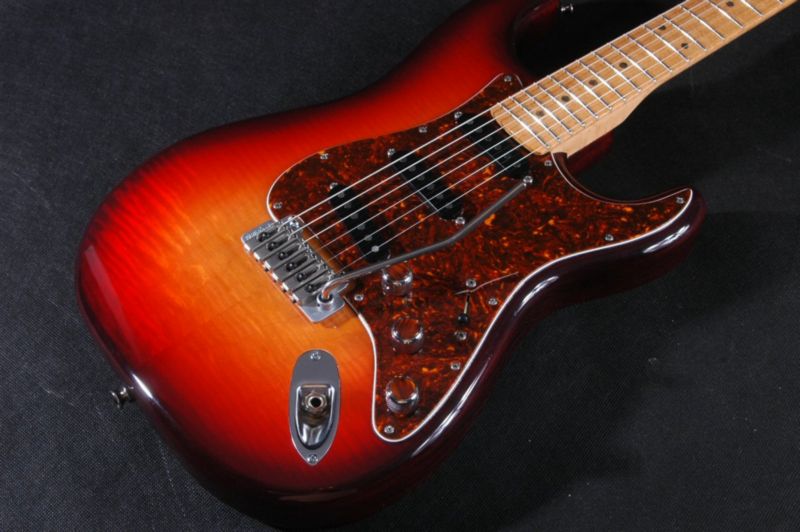
Sunburst Mahogany S Type

8 parts, 232 photos

Sitka Spruce S Type

6 parts, 438 photos

 
DSC_3638.jpg


Sunburst S-type Build


As I built this Sunburst S type, I originally documented the complete process, step by tedious step, and posted on the TDPRI Telecaster Forum. You can see the entire post, complete with comments made by other forum members, here.

The majority of the body of the complete post is shown here, with many of the typos corrected, and idle chatter edited out. 
This will illustrate the care and attention I show each and every guitar I make. I hope you enjoy the ride.

PLEASE NOTE:

  • This is a very long, detailed and photo intense walkthrough with almost 240 photos.

  • This slide show gallery is best viewed on a computer or laptop, as well as larger tablets.

  • If you can not see the captions on the photos, try rotating your device to widescreen, or visit from a larger device.

Begin - Part One - Shaping the Body

Or jump ahead to where you left off:
Color and Lacquer  |  The Neck  |  Pickguard and Electronics  |  Body Finishing  |  Finishing Touches  |  Final Assembly and Setup  |  Finished Sunburst Strat


DSC_3691.jpg


Sitka Spruce S Type Build


I once had the opportunity to build a unique S type for Paul Sapata. I originally documented the complete process, step by tedious step, and posted on the TDPRI Telecaster Forum. You can see the entire post, complete with comments made by other forum members, here.

The majority of the body of the complete post is shown here, with many of the typos corrected, and idle chatter edited out. 
This will illustrate the care and attention I show each and every guitar I make. I hope you enjoy the ride.

PLEASE NOTE:

  • This is a very long, detailed and photo intense walkthrough with almost 450 photos.

  • This slide show gallery is best viewed on a computer or laptop, as well as larger tablets.

  • If you can not see the captions on the photos, try rotating your device to widescreen, or visit from a larger device.

Begin - Part One - Shaping the Body

Or jump ahead to where you left off:
Color and Lacquer  |  The Neck  |  Body Buffing and Pickguard  |  Finishing the Neck  |  Final Assembly