Sunburst Strat Build
Part Four - Pickguard and Electronics
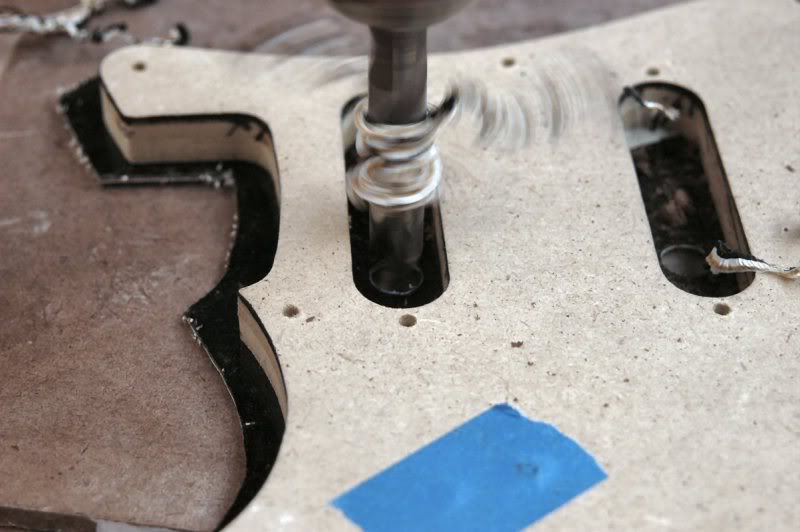
I make my own pickguards. Those available from the many manufacturers seem to vary considerably, even from the same supplier. This way, I can only get mad at my self. I take a piece of PG material, and trace the outline from a PG template, then cut it out on the band saw. My trusty Nikon was set on the wrong setting so you will have to imagine, tortoise shell plastic, MDF template, Sharpie marker, and my stubby fingers. I’ll use golf grip tape to double stick it to the template and step over to the drill press to drill the holes. Here the access for the pickup holes.
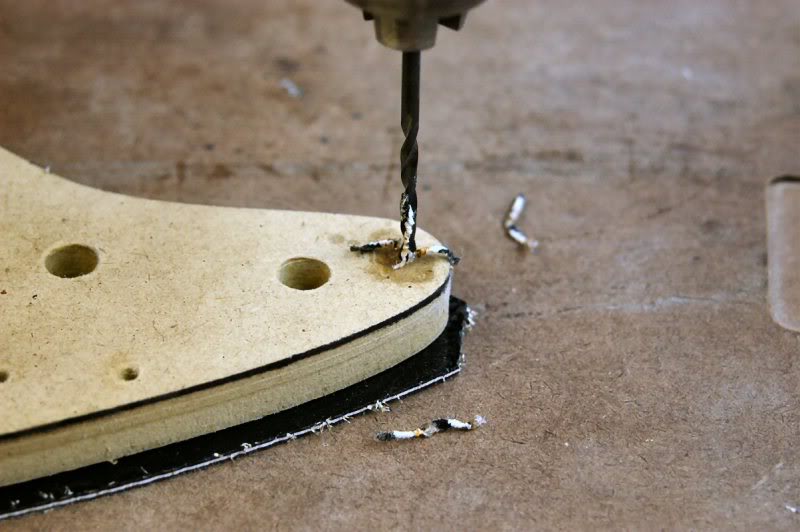
And here for all the screw holes.
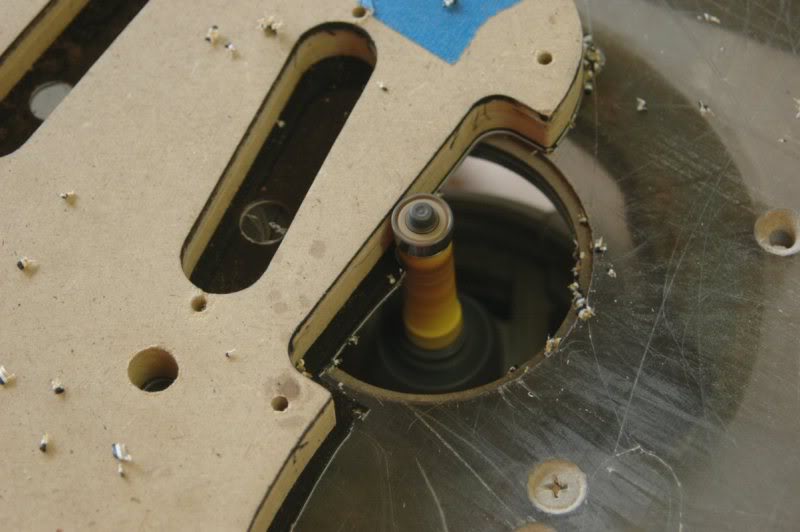
Then over to the router table to circumnavigate the periphery of the pick guard with a straight edge bit.
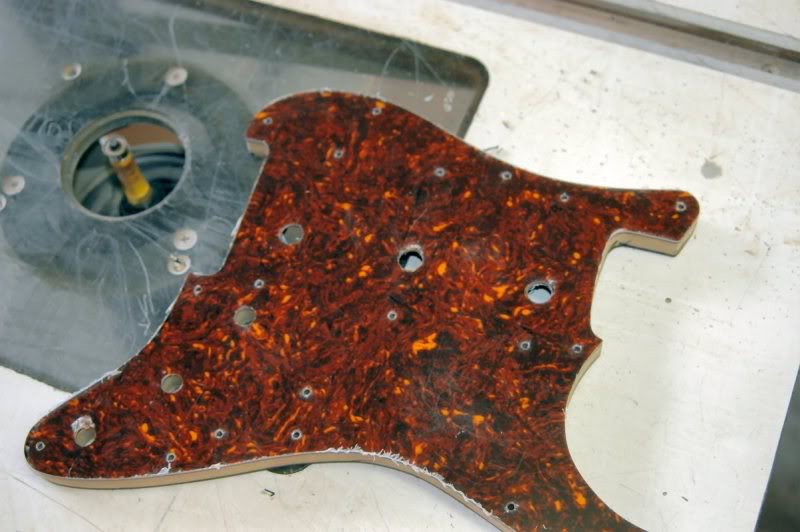
That took about 5 minutes from plastic sheet to this.
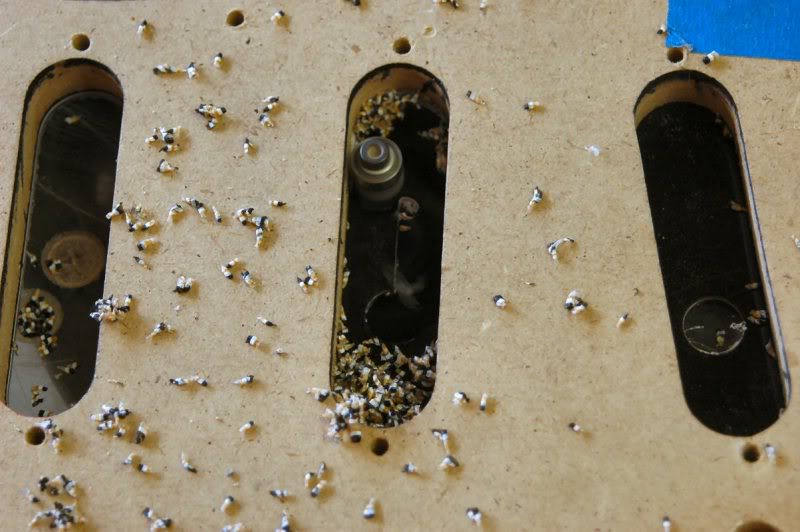
Now changing bit to a 3/8ths, simply because it will fit inside the ½ inch hole I have drilled, I cut the pickup holes.
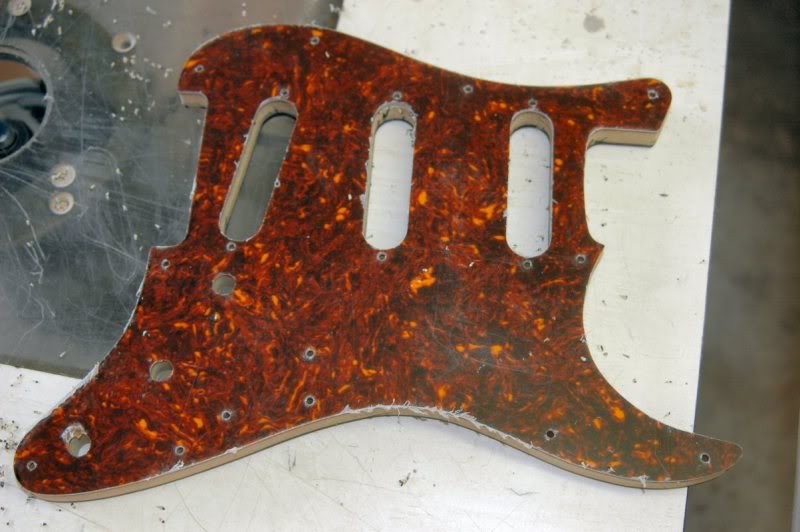
Almost a finished pickguard...
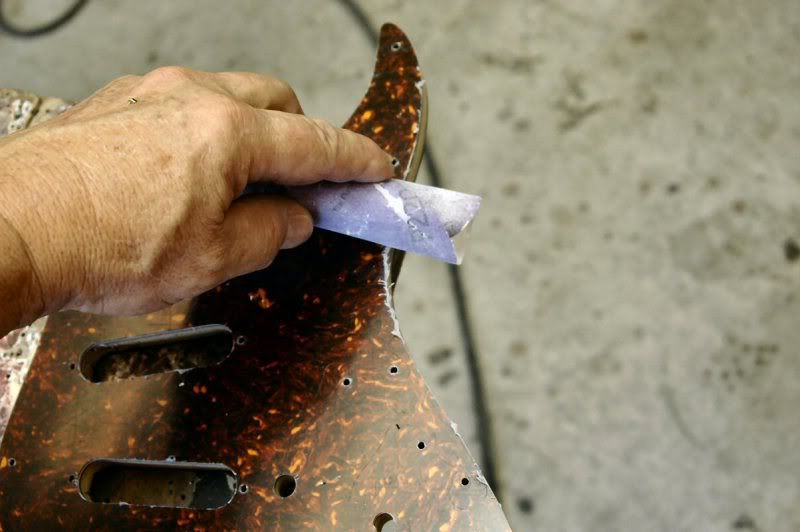
Now I take a piece of sandpaper and go around the edge to remove any of the “fuzzies” the routing left behind, because cutting the bevel requires a very flat surface, the plastic can throw things off.
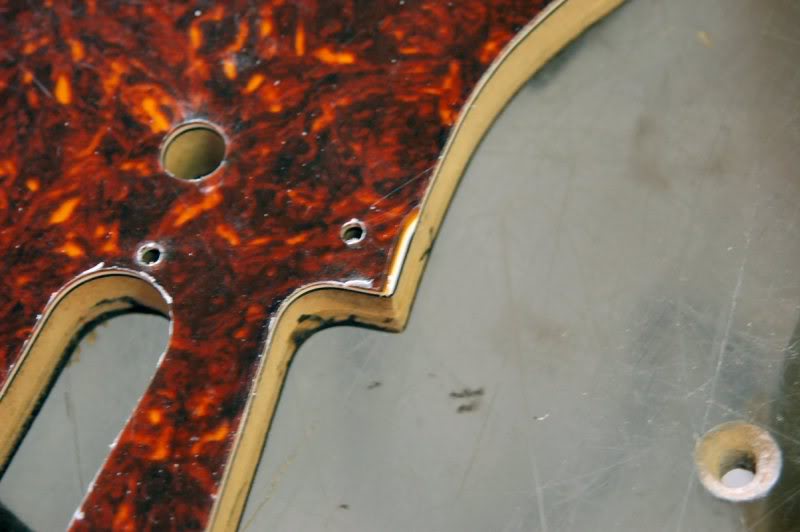
Now I install a 45 degree bevel bit, and adjust it so I KNOW it’s too low, and make a test cut. Here you see the white has been exposed but very little of the black. I adjust it up just a touch, cutting and checking until I have it right.
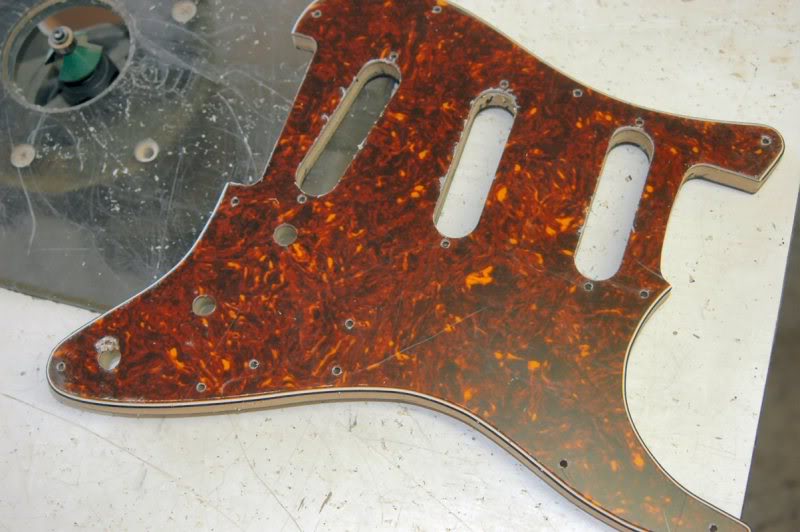
I’ll go around several times, this gives the bit the chance to produce a smoother cut.
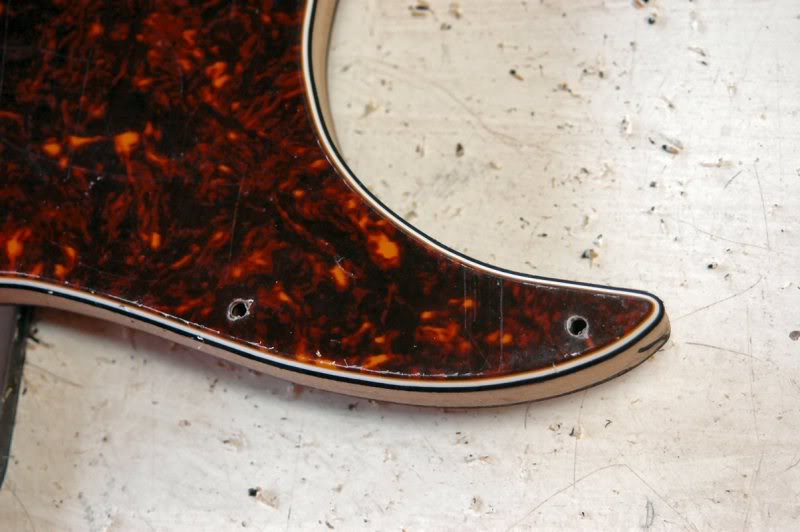
Perfect.
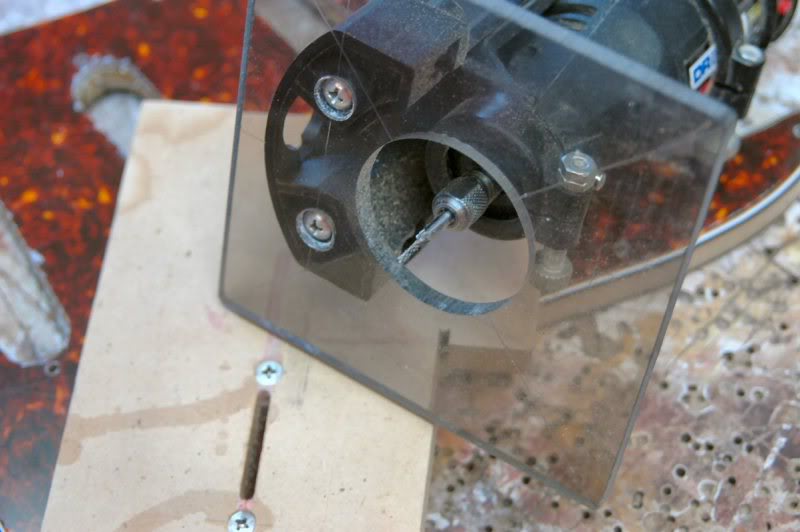
Since all the holes are drilled, I whip out the Dremel with a modified base to cut the switch slot.
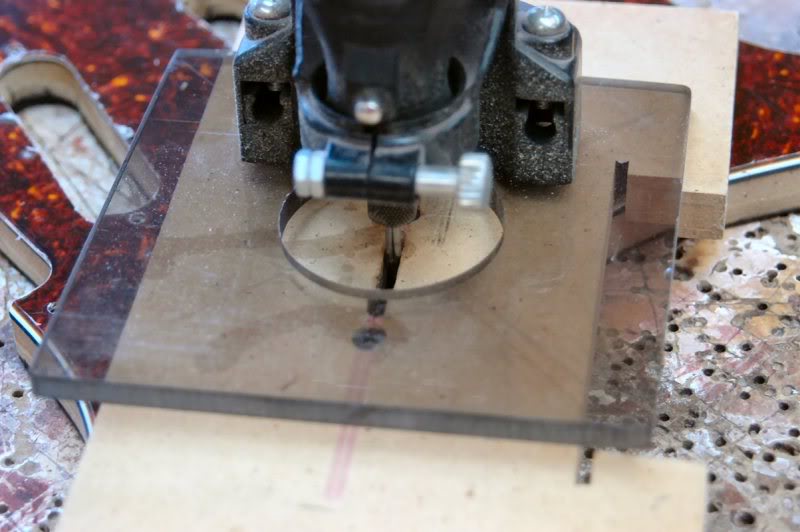
I mount the slot template in the existing switch screw holes, and lower the Dremel into the slot. The bit is a 1/16 D rasp.
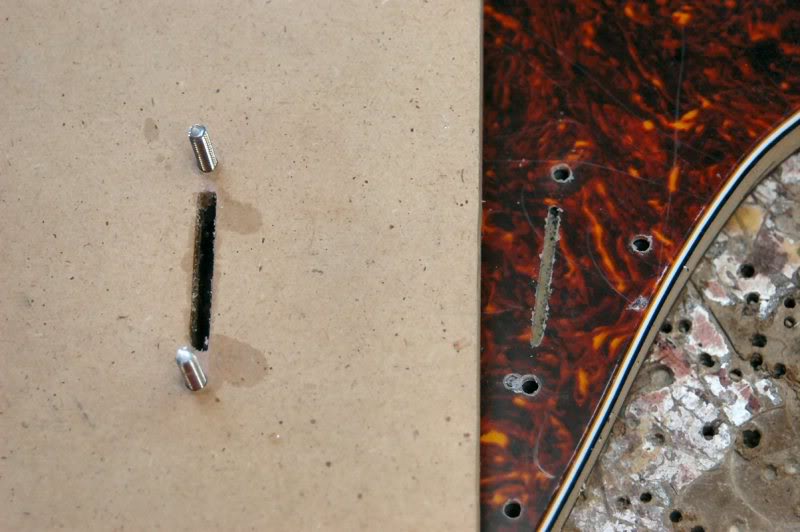
The results.
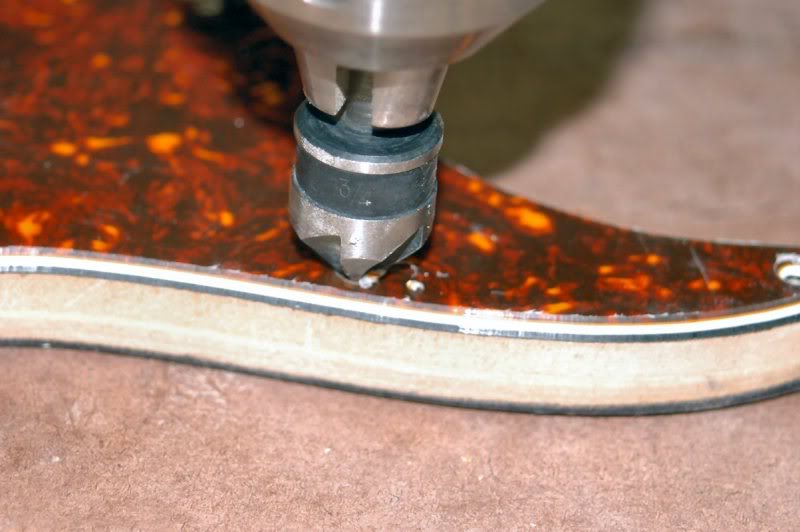
Now back to the drill press and countersink the screw holes.
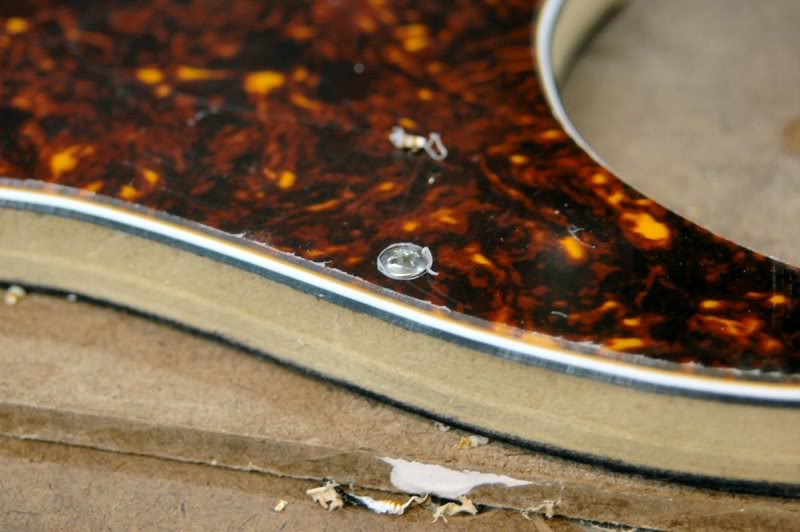
I check to be certain I am deep enough.
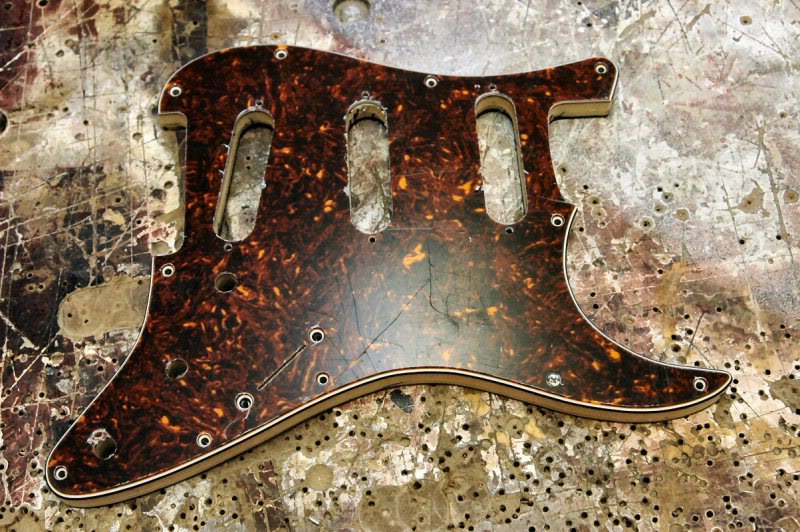
And the little bugger is complete.
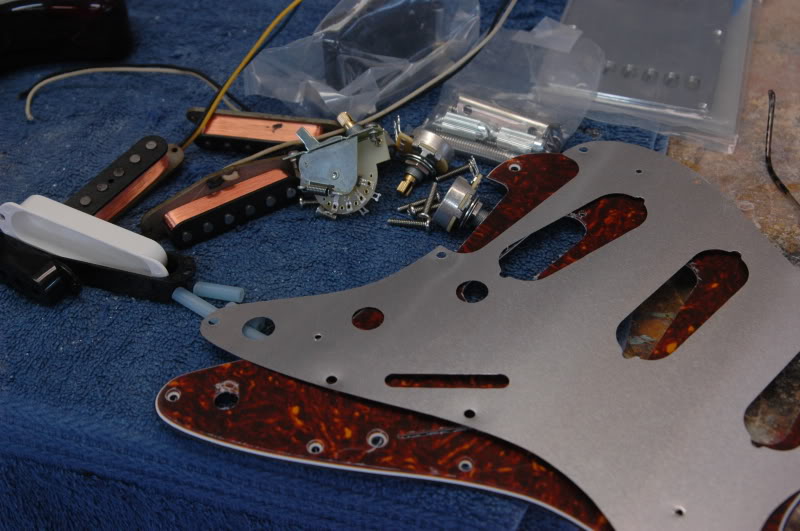
Now we wire the thing, collecting all the goodies, let’s go.
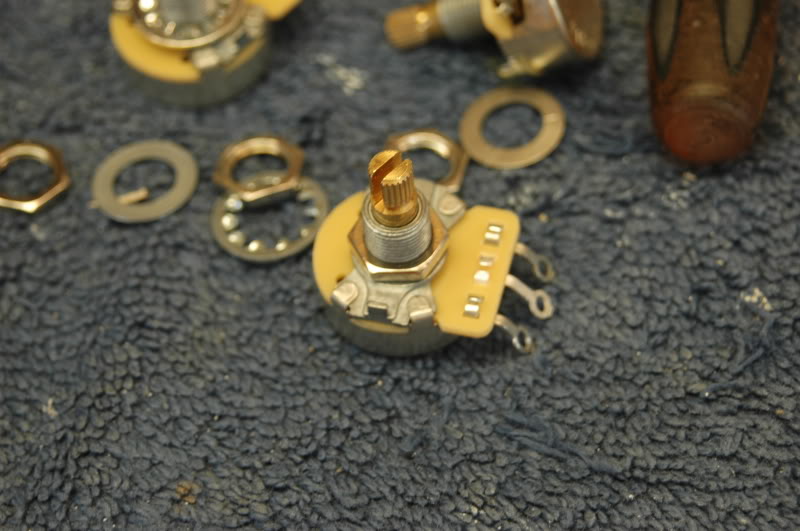
Some use plastic spacers under the pots, I do not. They can shrink over time causing the pots to come loose, I use real nuts. I know, it takes one to know one.
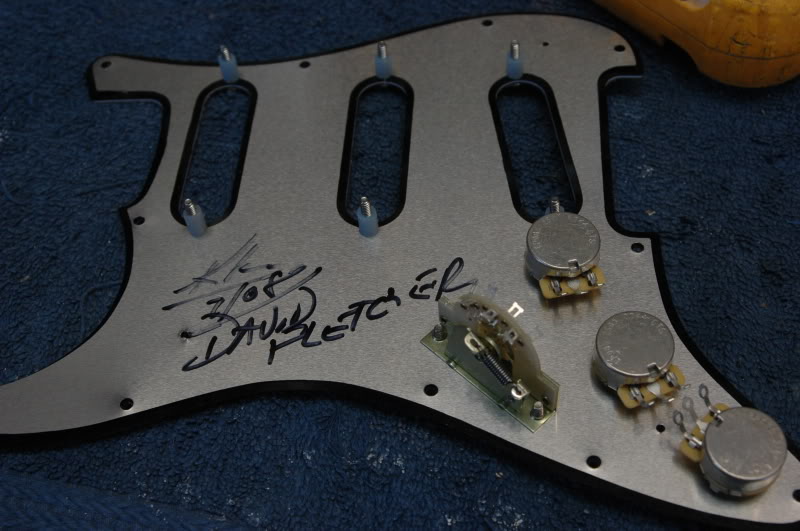
I insert the pickup adjusting/mounting screws with the rubber spacer. I use silicone tubing, it doesn’t dry rot, and isn’t affected by whatever gets to the normal tubing and causes it to deteriorate. This stuff will be around for a while. Everything is just finger tight at this point, so I can get all the holes aligned and everything installed without forcing anything. I don’t like to see wrinkled shielding because something wasn’t right.
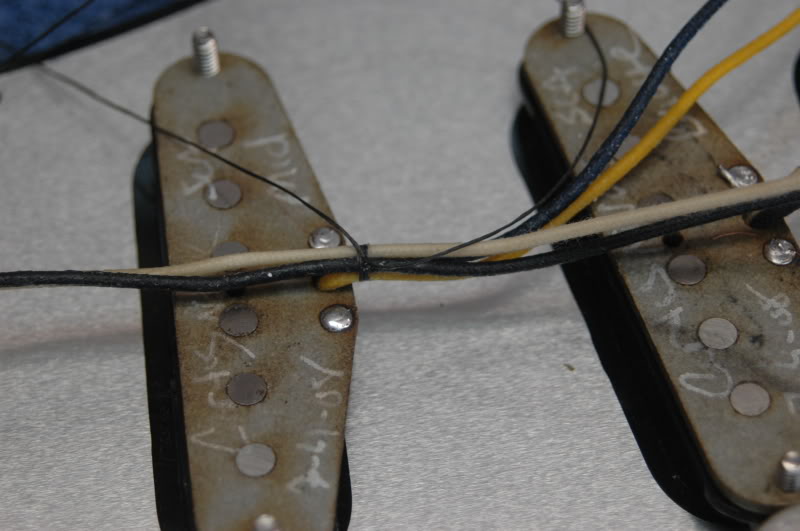
I now tap the screw holes in the pickup bobbins (camera failure again), mount them then tie the leads to keep things neat. I use linen string. Why linen, ‘cause it’s not poly, and the string looks much more tidy than the typical tape. I try to build my guitars so when the curiosity gets the better of the owner, and they open ‘er up, what they see of my attention causes a moment of respect... for the fact that it looks like it was assembled by someone that gives a hoot. And those are Curtis Novak’s Pickups, very, very, nice.
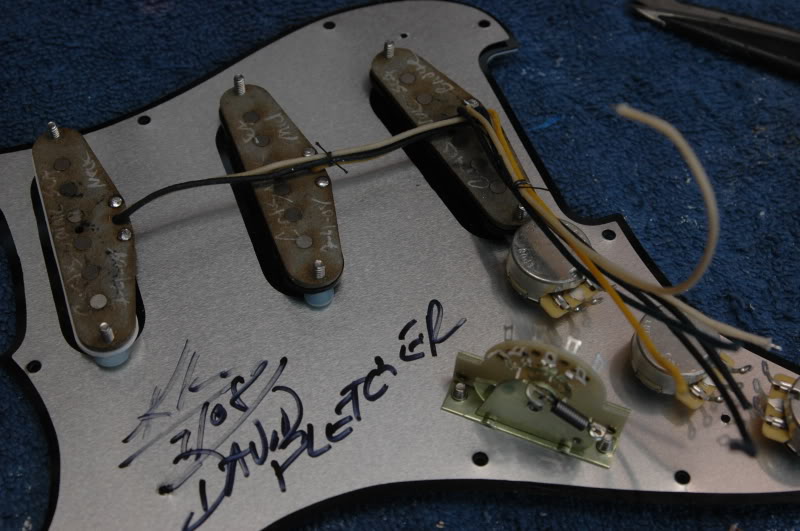
Now I continue the wiring… keeping all nice and neat.
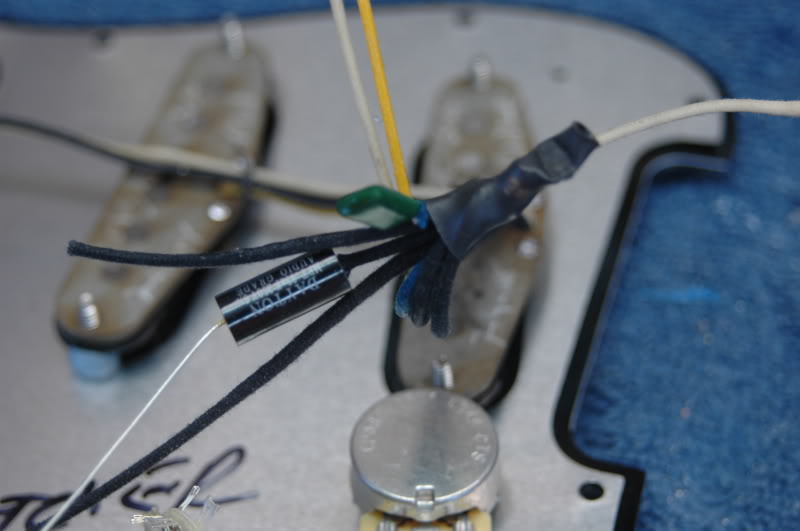
I use an isolated ground through an audio grade capacitor. This dramatically reduces the hum and preserves the classic S sound.
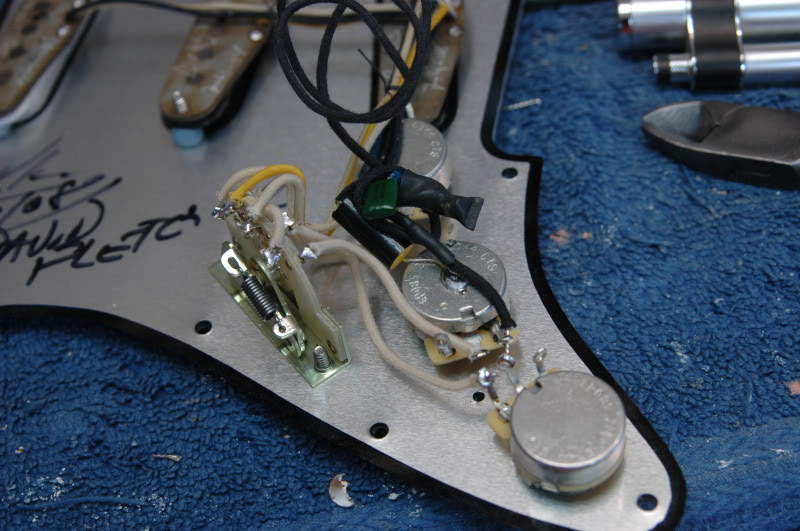
Completed, ready for the body.

To continue to Part 5 Body Shaping
Choose: Slide show viewing or Single Page


Shaping the Body | Color and Lacquer | The Neck | Pickguard and Electronics | NEXT - Body Finishing | Finishing Touches | Final Assembly and Setup | Finished Sunburst Strat