Sunburst Strat Build
Part Three - The Neck
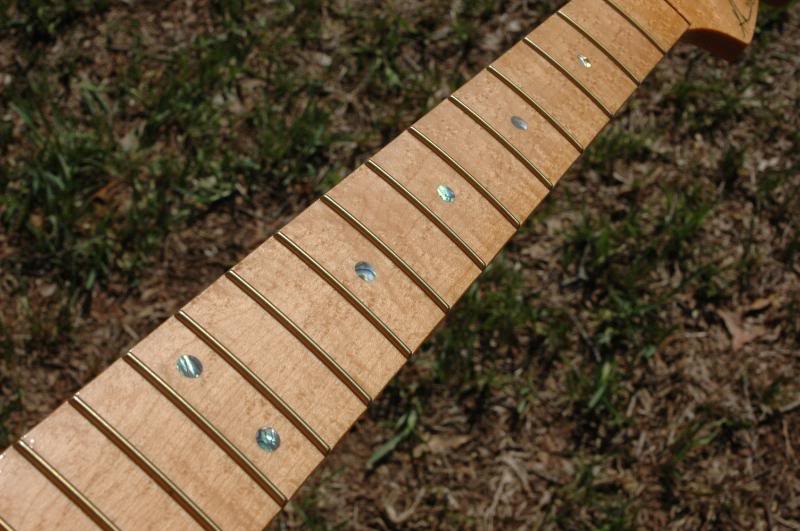
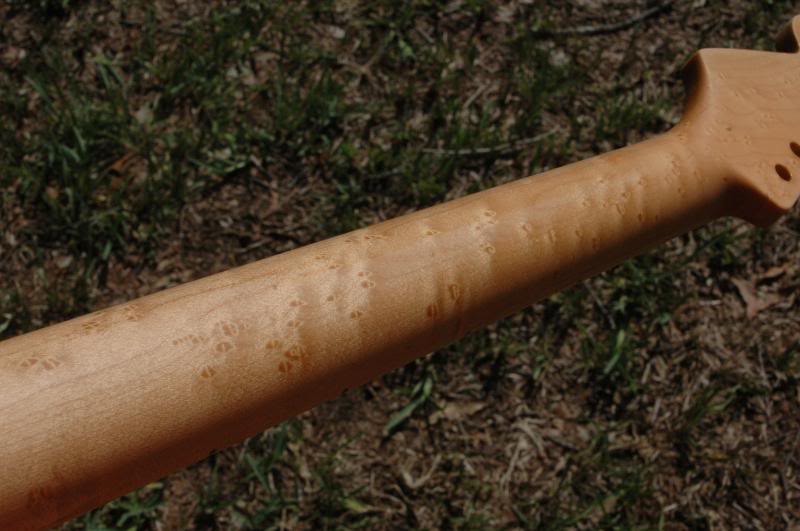
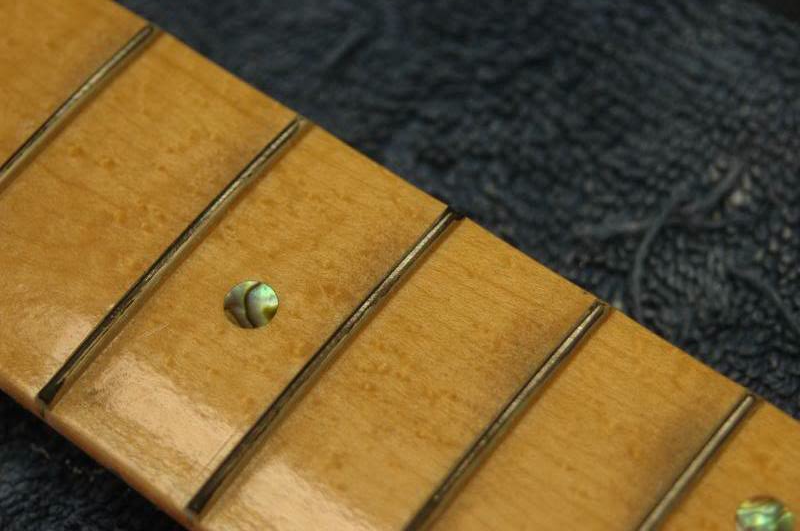
I jumped on finishing the neck with out thinking. My wife will kindly remind ya, that’s not at all uncommon for me. So she’s all lacquered and ready for the fret leveling wet sanding and polishing. This is what she looks like before the final assault.
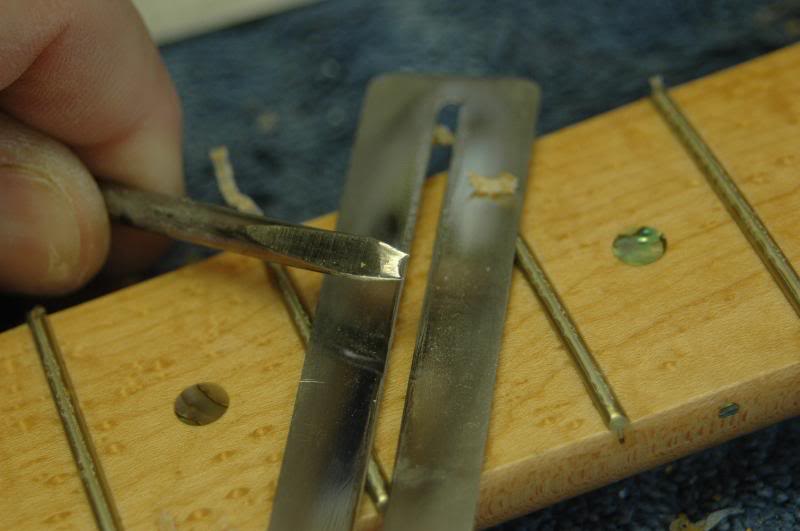
First thing, I remove the lacquer build-up from the frets. The tool is a screwdriver I reshaped the tip to cradle the fret, as I scrape the soft lacquer from the fret.
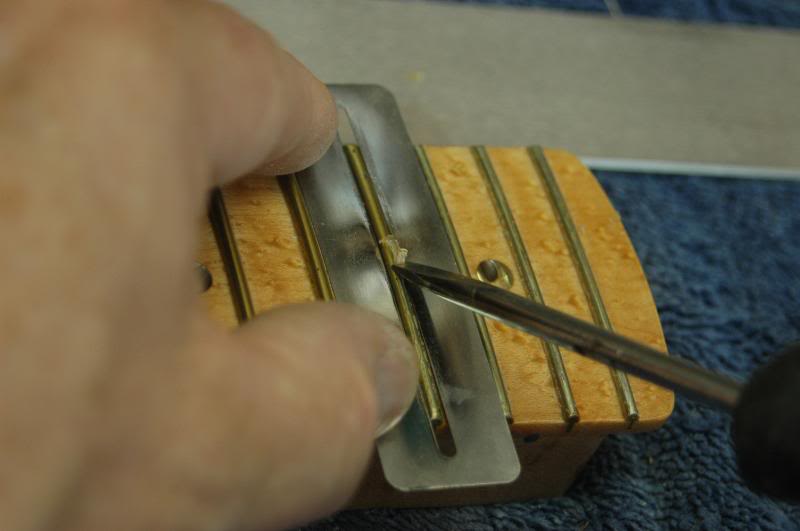
I use the fingerboard protector to prevent the inevitable slip.
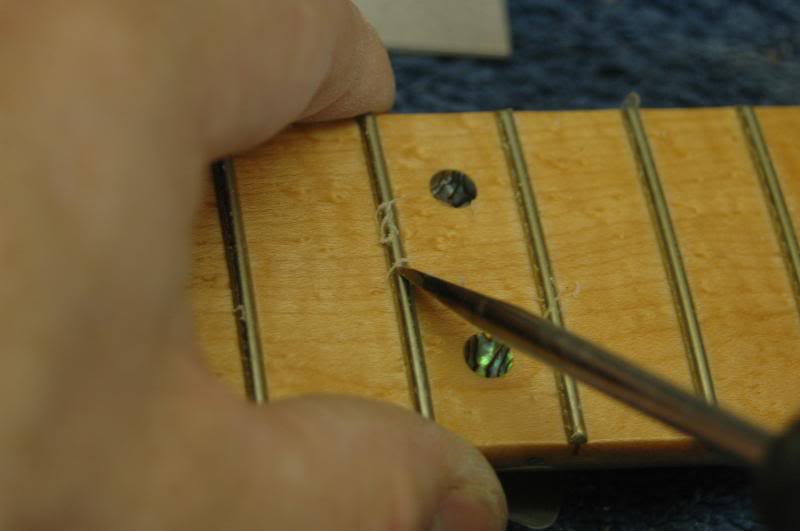
Once the majority is removed, I go back gently scraping each edge of the fret. I don’t have to be NASA clean room certified here, the fret leveling, and polishing will remove the remaining residue. Some will not remove the lacquer at all, but allow the fret leveling to “clean” the fret. I do not, because I feel that allows the lacquer to remain far too high up the edge of the fret. It will eventually separate, chip, and look rather messy.
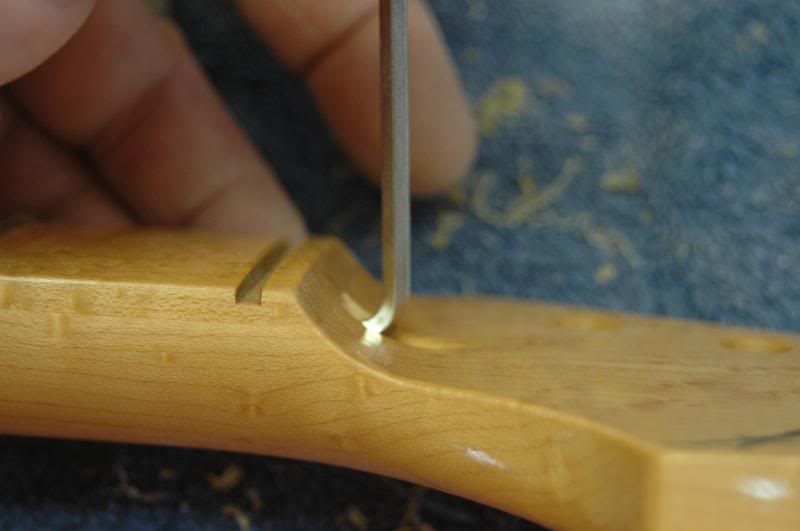
Now I want to adjust the truss rod to bring the neck to as level a state as possible. I always set the truss rod so the tension is pulling the neck to the correct setting as opposed to releasing the tension to do the same.
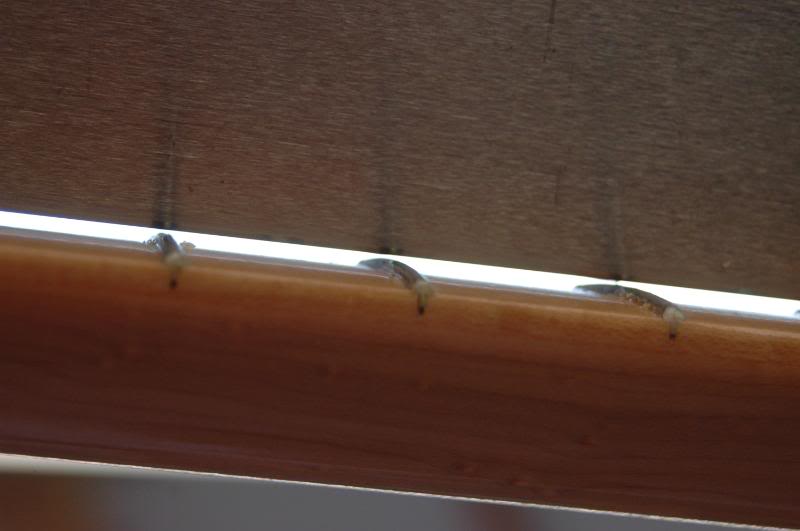
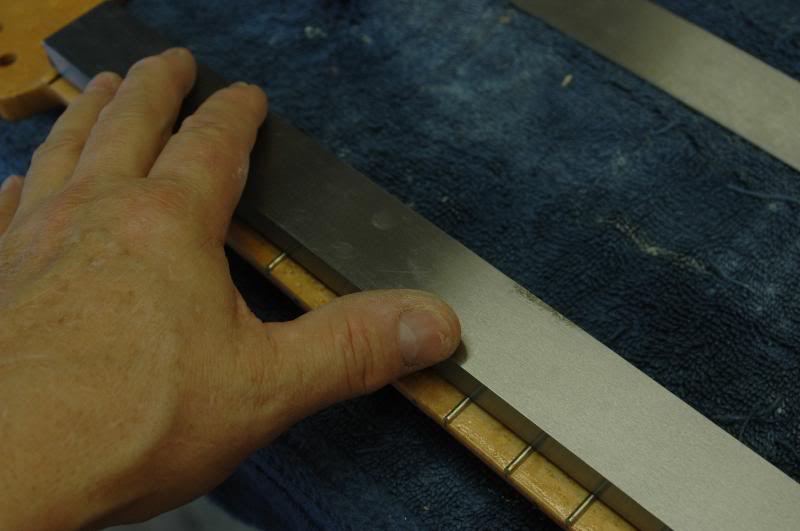
Using a straight edge, I check to see which way to go.
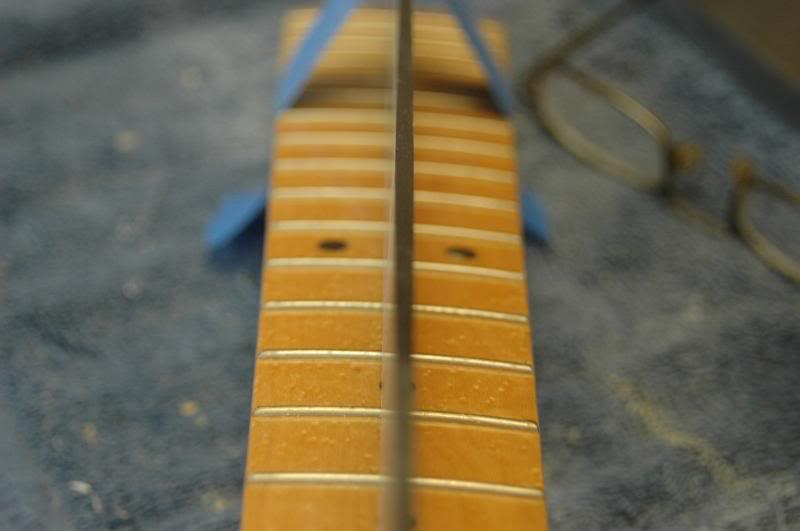
Be certain to position the straight edge down the center of the fingerboard, the radius can throw ya wayyyyyy off.
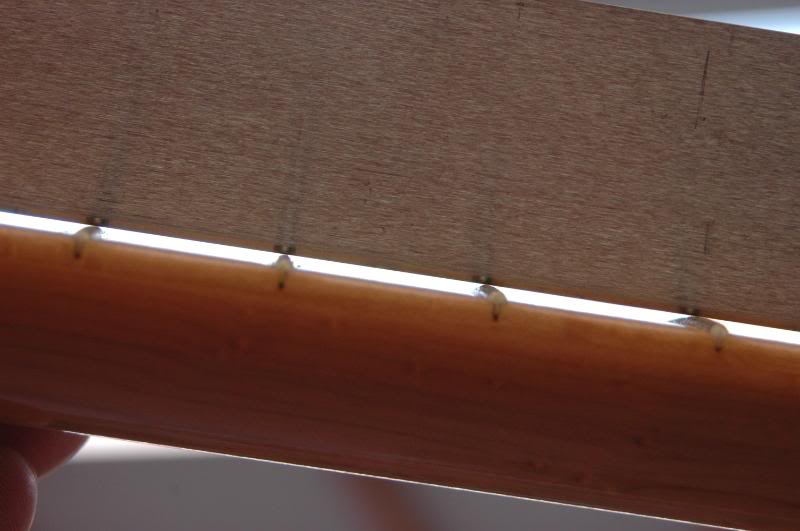
And continue adjusting the truss rod until it is as level as possible. You almost certainly will not be able to get it “dead” level, that’s why we do the fret leveling.
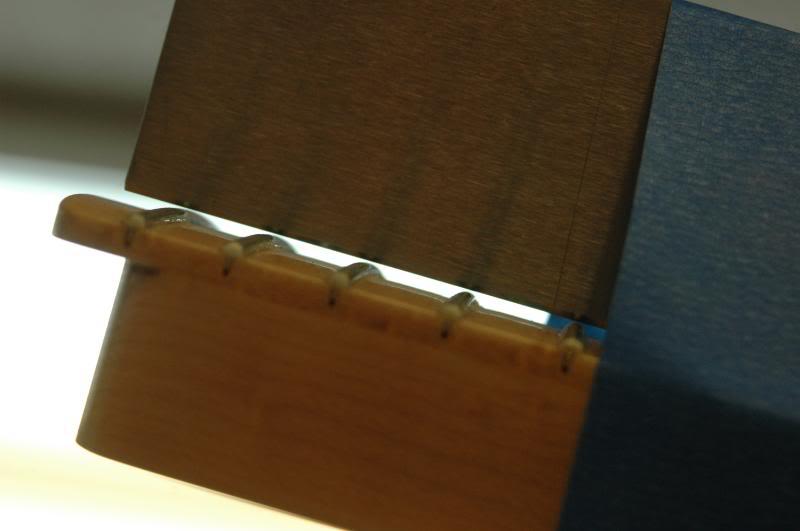
If the last handful of frets fall away, this is not a problem. The trend today is to have the last several frets lower than the others to facilitate modern playing styles. (The tape is to hold the straight edge in place, darn near impossible to do when a camera is occupying one of my two hands.)
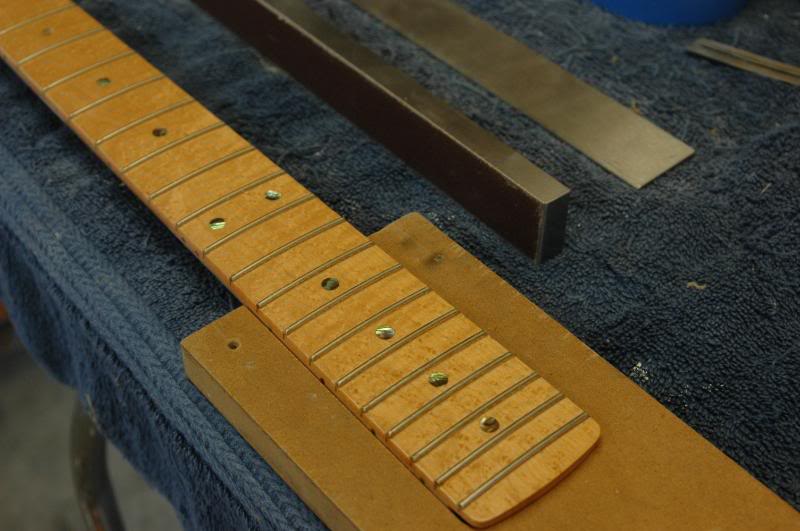
Now secure the neck whatever method you choose, I run a wood screw through one of the tuner holes into the workbench after I have pressed the heel into a neck pocket and pulled it tight.
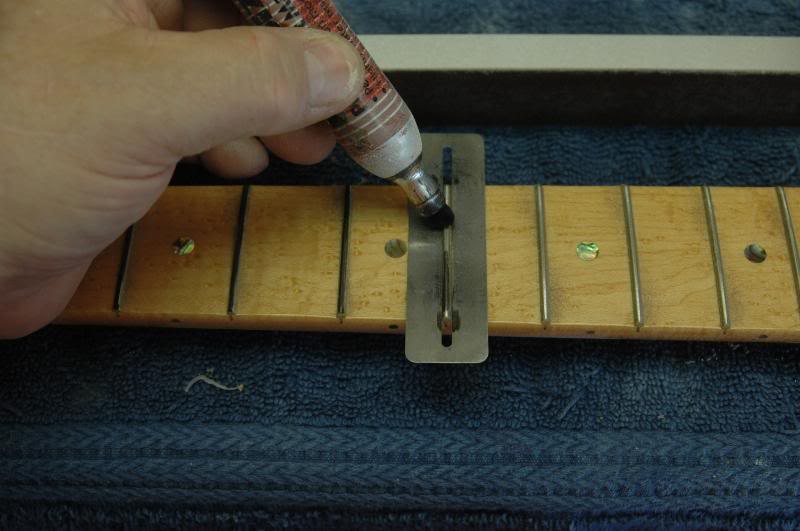
Now, I recommend taking a marker, and coloring each fret. This makes seeing what you are doing much easier, and you can fine tune your truss rod leveling. Place your leveling tool on the fingerboard and give it a shove, remove and check the marked frets. If the end frets have been scraped and the middle ones not, then tighten the truss rod a touch and repeat. Continue until the frets toward the center of the fingerboard are being “hit” too. Now re-coat all the frets with the marker, and recheck. If the majority of the frets show exposed metal from the fret leveling tool, you are ready to rock.
Now using your fret leveling tool and begin scrubbing the frets. I use relatively short circular strokes allowing the tool to roll with the fingerboard radius. You will see the tops of the frets being exposed.
How to make a leveling tool: Use any good flat material such as Corian, plexi-glass (1/2 inch thick) or MDF, cut a strip 2” wide by 18” long. Then cut a second similar strip. Glue, screw, or whatever it to the first in a “T” configuration to make it rigid. Now check it with something of known flatness. A cast Iron table saw table is perfect, but a piece of glass on a flat surface works too. Using spray glue, 3M-77 is what I use, glue a sheet of sand paper to the flat surface. Now take the “T” shaped tool you have made, and run the working surface across the sandpaper until the entire surface has been sanded. Then glue a strip of something like 180 grit wet or dry paper to the tool and you are ready. My tool is a machined piece of steel, with 180 grit shop cloth 3M-77ed to the working edge.
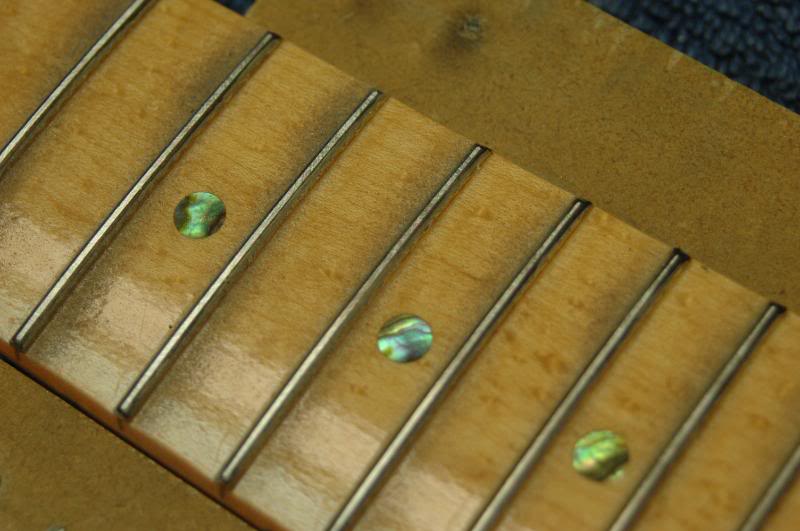
This is what you are looking for. If your neck has the last several frets falling away, that is lower than the rest of the fingerboard, take your fret leveling tool, press down on and over those last few frets from about the 17th on, and level those. This will create a natural incline up to the 16th and lower.
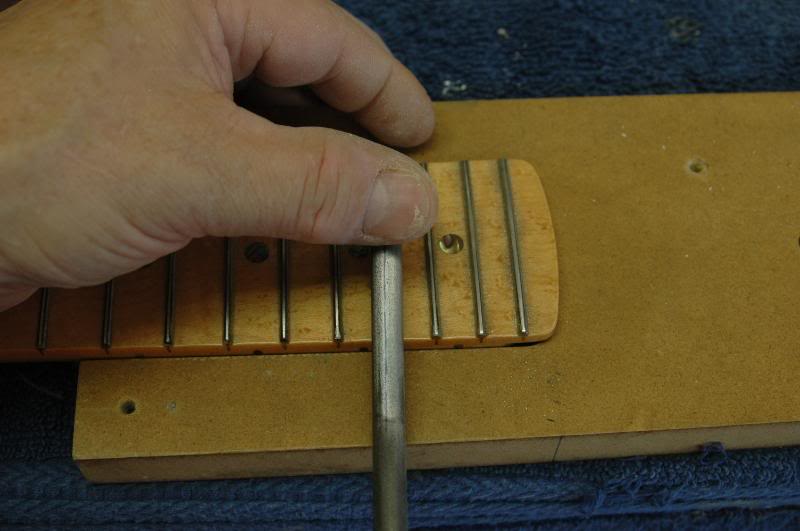
Once the frets are level, let’s crown ‘em. A crowning file is one tool you cannot make, ya cannot find something else and make do, you gotta go buy one, so do it. Watching the marks left by the sandpaper on the leveling tool, crown the frets. Rocking the file to allow for the radius of the board.
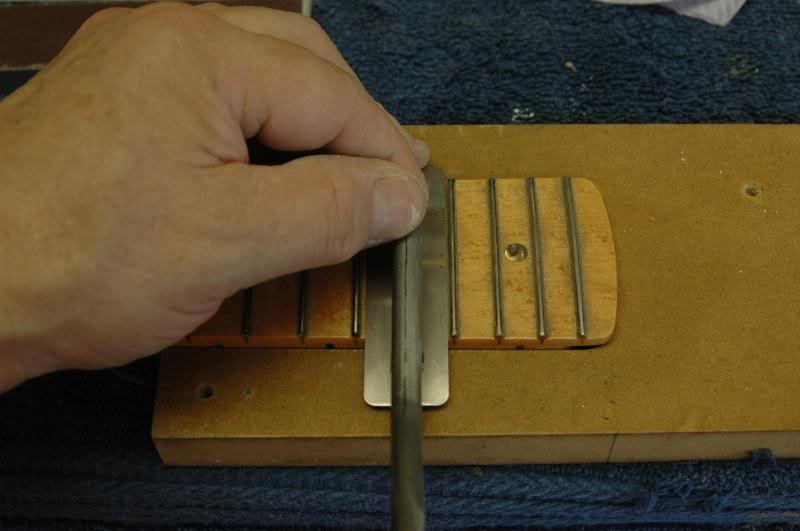
If you’re good, or crazy, I’m not sure.. you can do it like in the previous photo, risking scratching the fingerboard, or you can use a protector, as seen here.
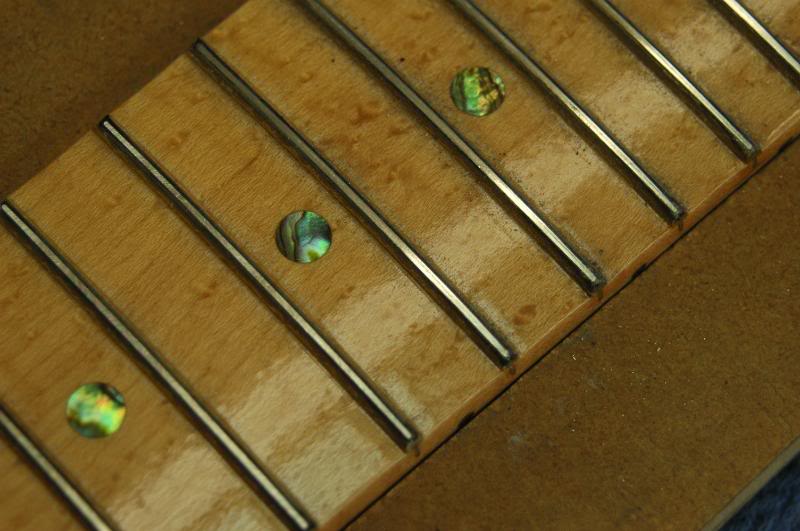
Continue on each fret until the scratches from the fret leveling tool are ALMOST gone. Just a faint hint should remain. Do all the frets the same way. They should all look like this.
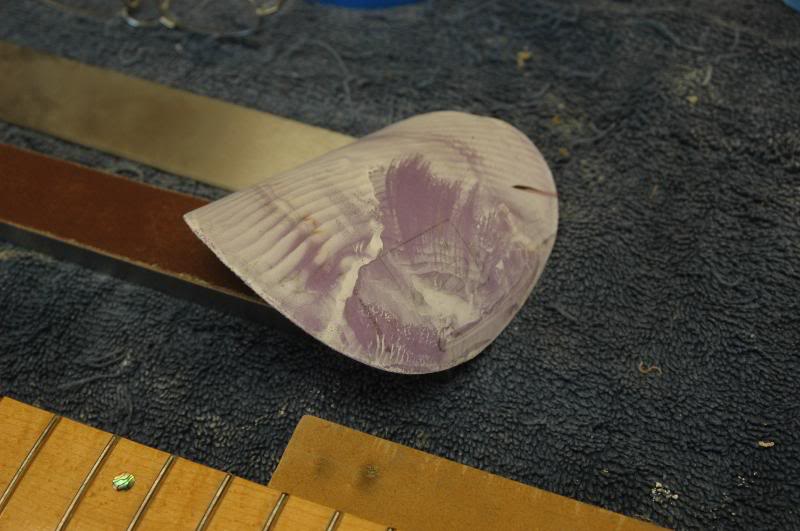
I make a habit of saving used sandpaper from about 300 grit to 500, I use it to rough polish the frets.
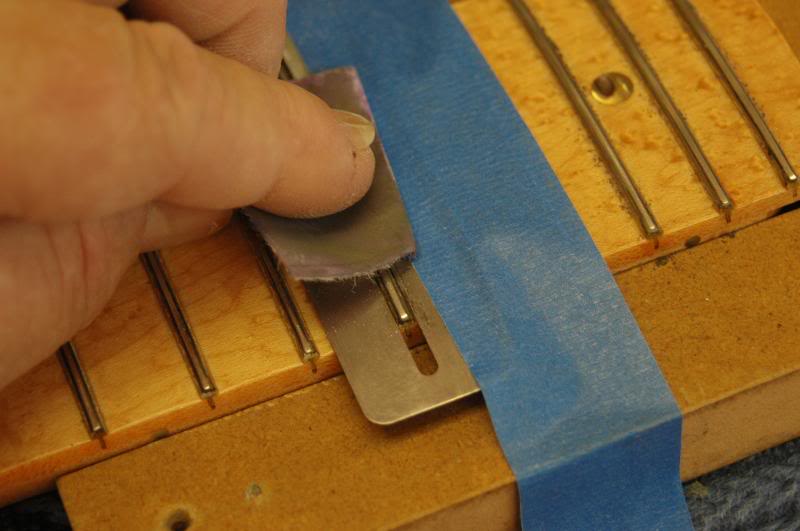
I cut ‘em in to small pieces, and give each fret a good going over, watching the reflected light off the crown to see when all the tooling marks are gone. (The tape is to hold the protector down while I took the photo with the hand that would normally hold the protector… this stuff is complicated ain’t it?)
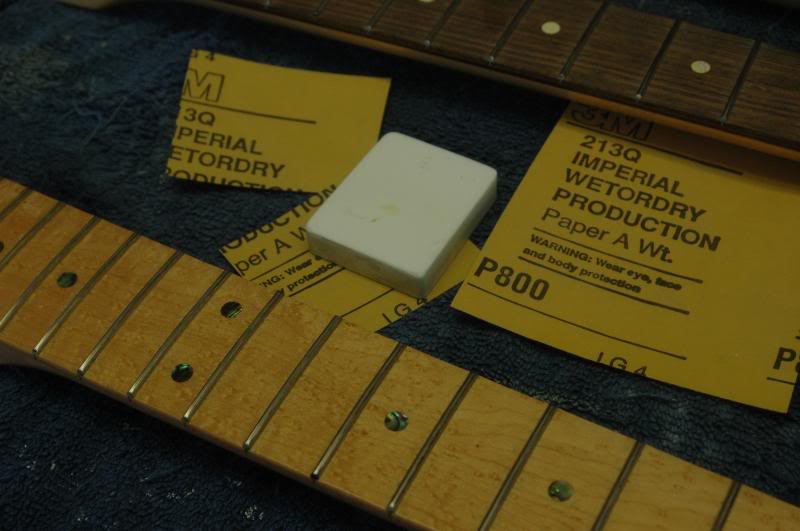
Once that is done, I move on to wet sanding the neck. I use 800 grit here with mineral spirits as a wetting agent and a small, about 1 ½ inch square block.
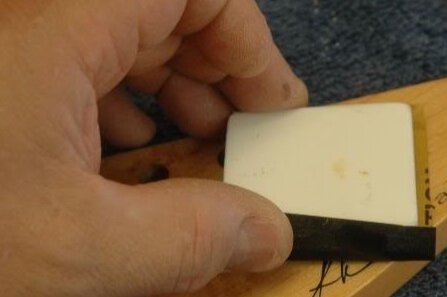
I begin on the face of the headstock. Wet it with your wetting agent of choice and give ‘er a go.
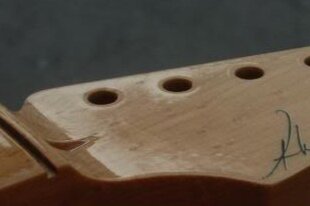
As you’re wet sanding, keep checking, to see the progress. Here you can see some areas are still glossy, the sand paper hasn’t broken the glaze yet. You will want to continue, sanding the entire surface, even what does look adequately sanded. You want to bring the entire surface down to the part that has not been touched.
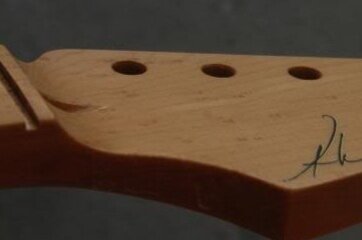
Here you see a correctly sanded surface. It is not necessary to begin with 300, then advance to 400, then 500, 600, 800, 1000, 2000, 2,000,000… grit. Once you have sanded to around 800 that’s fine. I usually start with 600, follow up with 800 and begin polishing. All the higher grits do is make polishing go a bit faster, at the expense of additional sanding, so you get to decide, more sanding, or more polishing. A finer grit paper will NOT guarantee a shinier gloss. That is accomplished with the polishing.
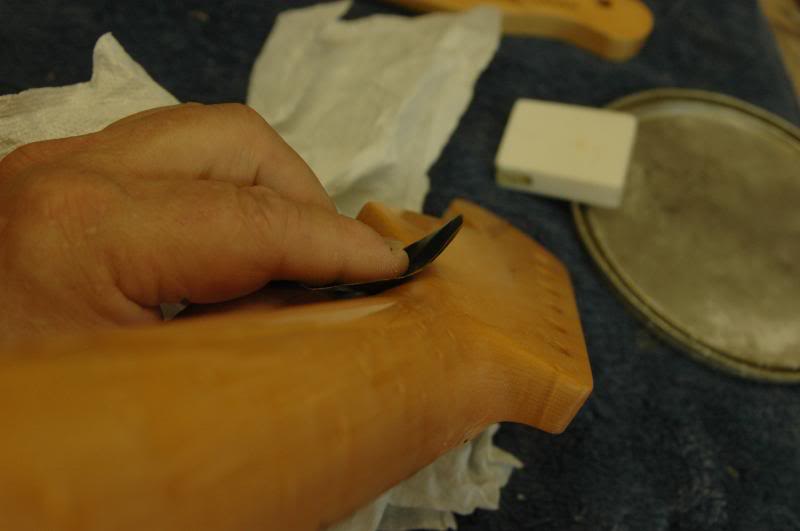
Compound curves and rounded surfaces can be done by hand holding the paper. On the back of the neck, since it’s not a compound curve, I use the block again to “level” any surface ”Orange peel”. Then I’ll go over it all by hand, with 600 grit using very small circular motions, this gives the back the patina of years of playing. Once the areas of the neck that get polished are done, I give it a coat of good quality wax. That way the neck feels as smooth as any well played instrument.
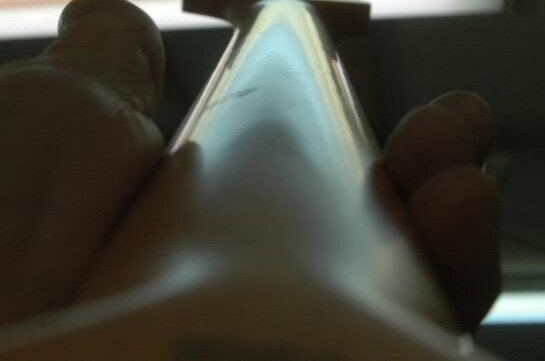
I hold it up in the light to see that there are no spots that have been missed.
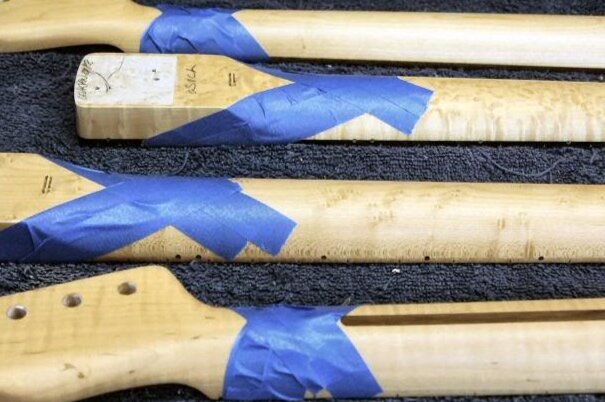
Now that the neck is all sanded, and ready to polish, I mask off the body of the neck, because I do not want that part polished.
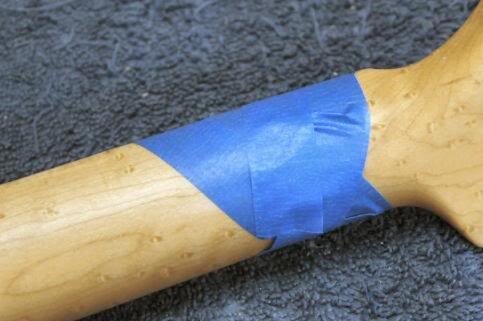
The matte surface that the sanding leaves the feel much more like a well played neck than the sprayed satin finish used by most manufacturers. Sure I could do it that way, but the satin finish is achieved by introducing additives to the lacquer...
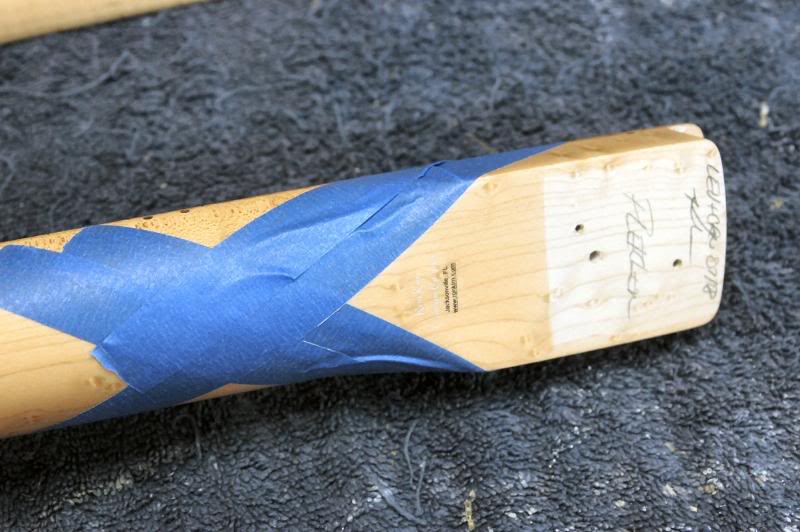
... since I have made every effort to use the same lacquers used in the 50’s and 60’s I won’t be pouring additives into it. The sanding produces a vastly superior surface anyway.
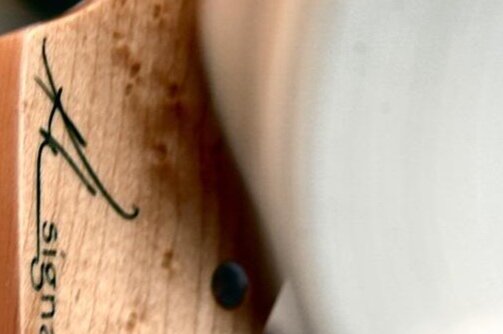
Once the masking is complete, I charge the buffing wheel with polishing compound, and get to it. If using any power buffing machine, you must be aware of heat buildup. The lacquer will soften and the buffing wheel will remove it in a heart beat so a balance between speed, pressure applied and how long you work a specific area is important. This is one of those “feel” things you just gotta get in there and do to learn.
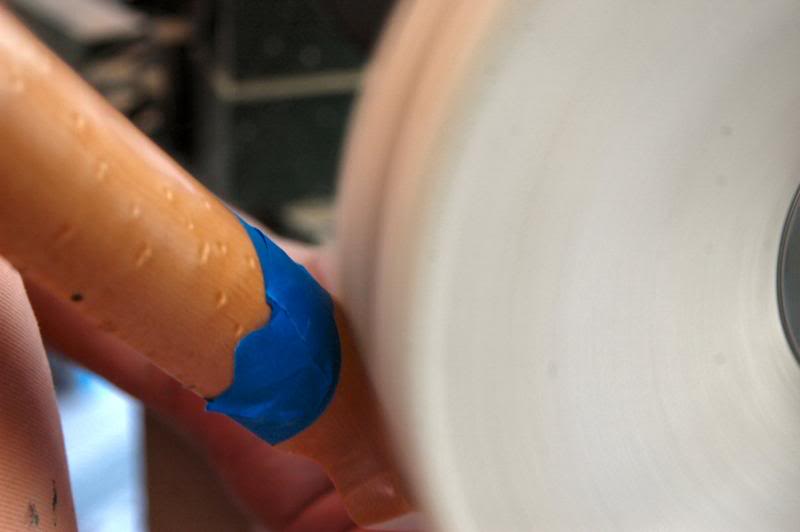
I just stay with it, constantly checking as I go until its as glossy as can be.
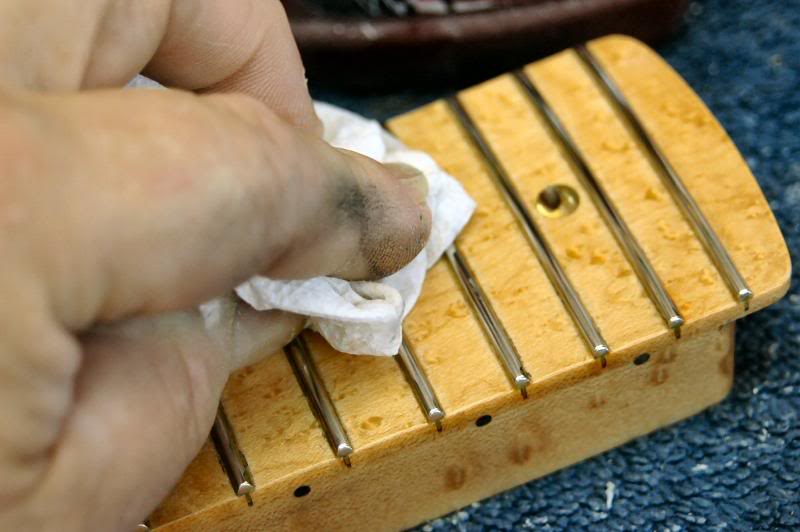
I do the same on the heel, then re mask and do the edge of the heel. Once that’s done I begin polishing the frets, I use several methods, depending on the neck, here I’m going over each with a cleaner car wax. It’s perfect because it will polish the fret and clean any residue from the base of the fret.
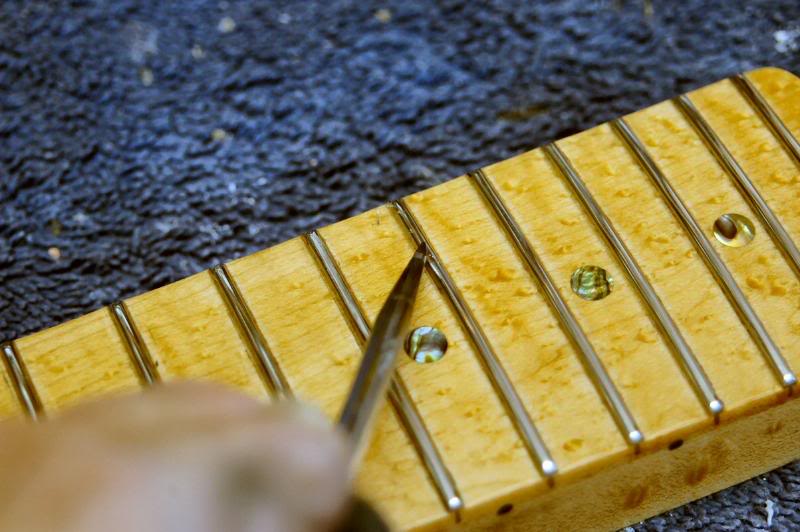
After the frets are polished, I’ll examine each closely and, using my scraper, remove any lacquer, that I may have missed. Then re-polish those frets.
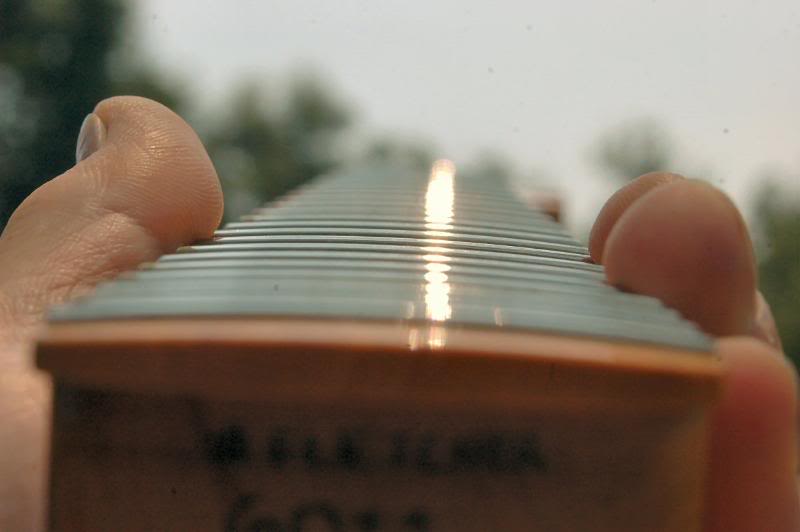
At this point I’ll go over the neck closely, checking the frets, the fret ends, and the fingerboard edge; everything should be baby butt smooth.
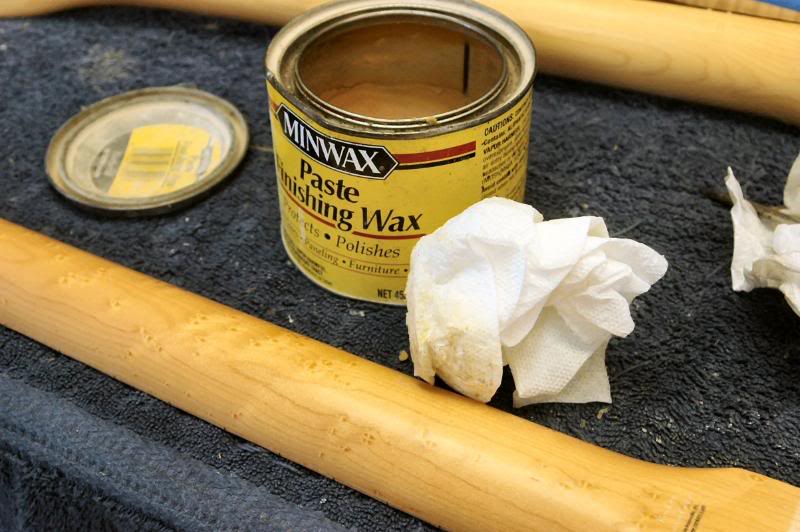
Then I give it a good coat of a quality carnauba based wax. The neck, will now have an organic feel, almost like it’s alive. Remember the skin on Betty Lou, the cheerleader when you played High School Football. That’s the sensation ya get.
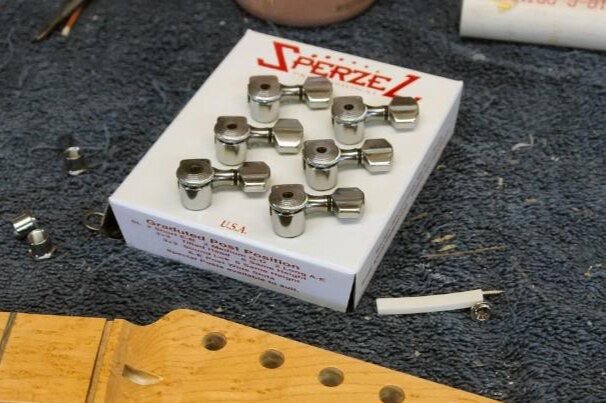
Next phase, assembly. The keys, nut and retainer is all that’s left. But the Sperzel keys have a 5/32 inch pin, I’ll be drilling a 7/32 hole, that doesn’t leave a lot of “wiggle” room, so accuracy is important.
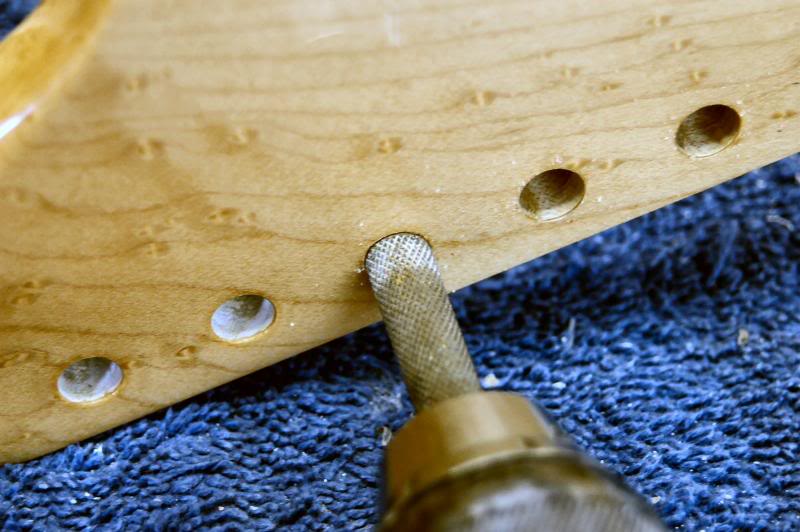
First I ream the holes to clear out the lacquer buildup, I use a rotary file so there’s no chance of it grabbing and splitting the head.
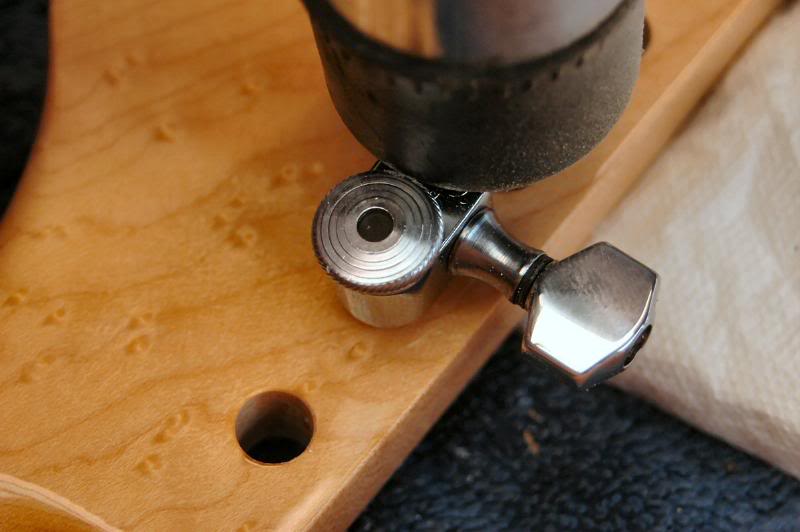
Once the holes are clear, I insert a key and give it a light tap to make an impression where the pin goes.
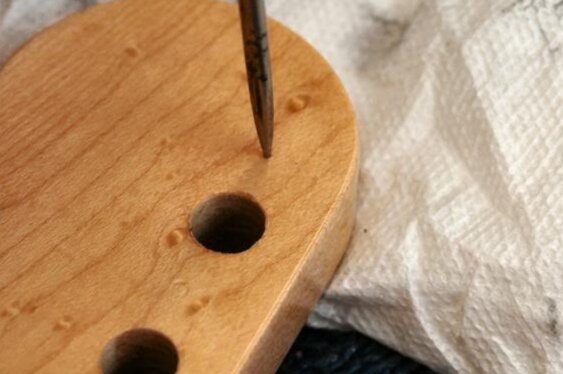
I do this in each of the 6 holes, then using an awl, mark the 1st and 6th.
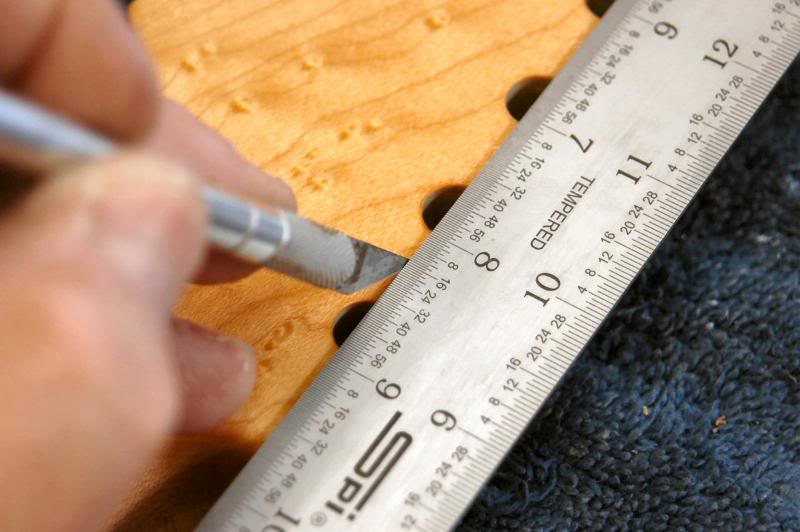
I want to be certain all the holes are in line, remember I only have 1/64th of wiggle room. I take a straightedge and align it between the two all points.
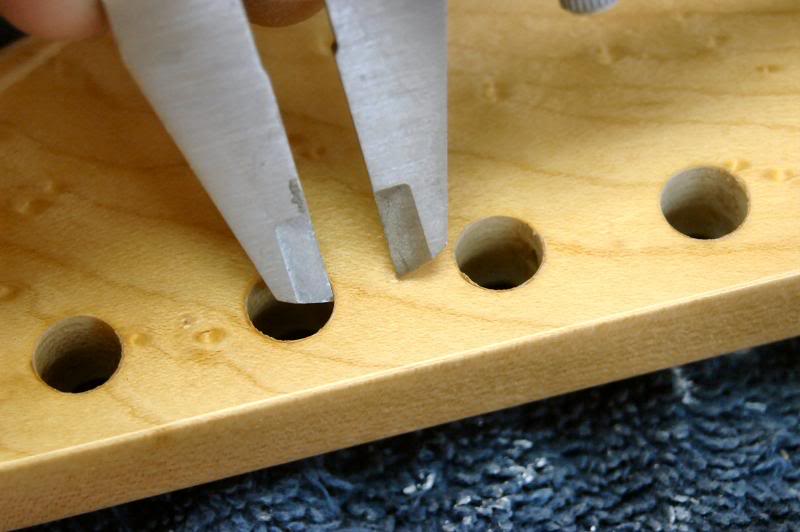
I mark each location to insure they are straight relative to each other. I then take a caliper, dividers, or any precision instrument, and mark the distance from the hole edge to the location of the pin hole.
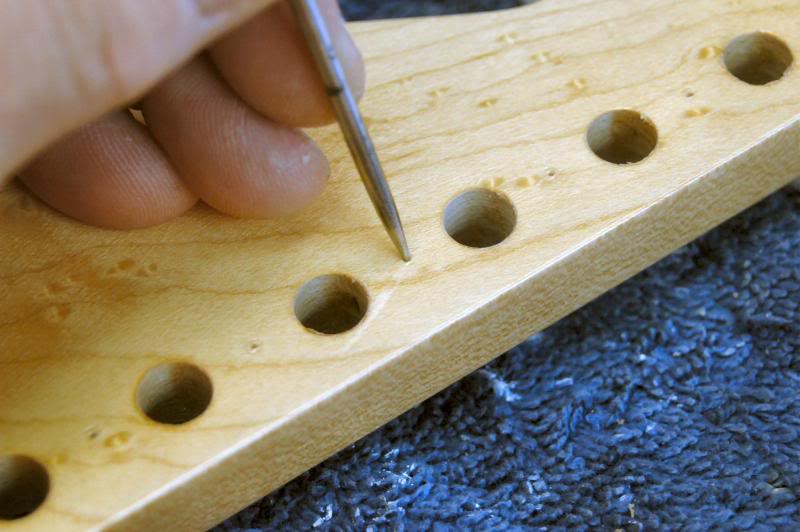
Mark each with an awl…
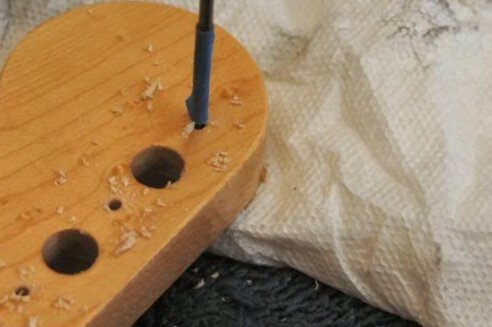
..and drill away. Oh, don’t go through. This may seem a bit tedious but it gets the job done correctly. Sure Sperzel gives a cardboard template but it’s not exactly accurate.
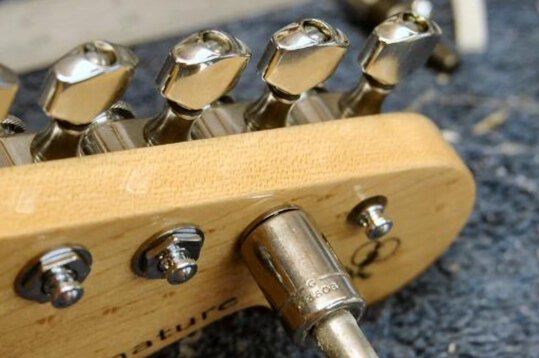
It’s just a matter of pressing them in the respective holes and tightening the Ferrules.
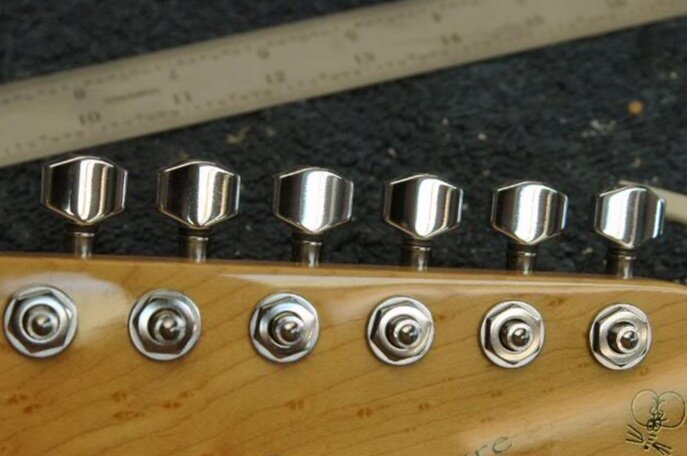
Not too shabby.
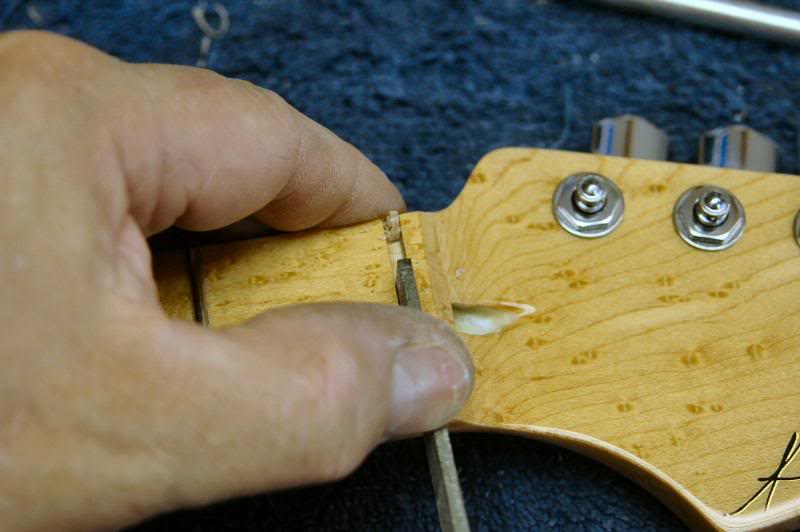
The nut slot needs to be cleared of any accumulated lacquer. I made a tool just to do this by grinding a sharp edge on the end of a file, it scrapes the lacquer from the floor and the sides quite precisely.
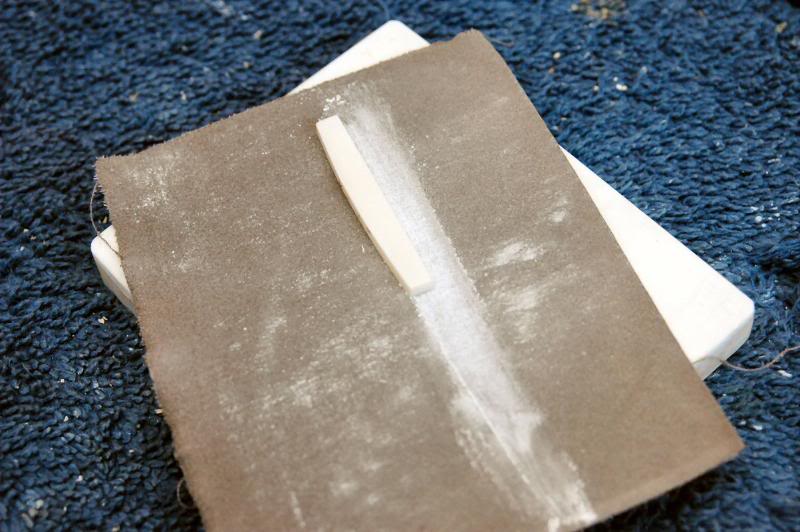
Once that’s done, I take the nut, bone in this case, and lap it on a flat surface to get the thickness down to the correct size. Care must be taken, because it’s easy to apply more pressure on one end, with the resulting nut being thicker at one end than the other. Continue until it’s a snug fit.
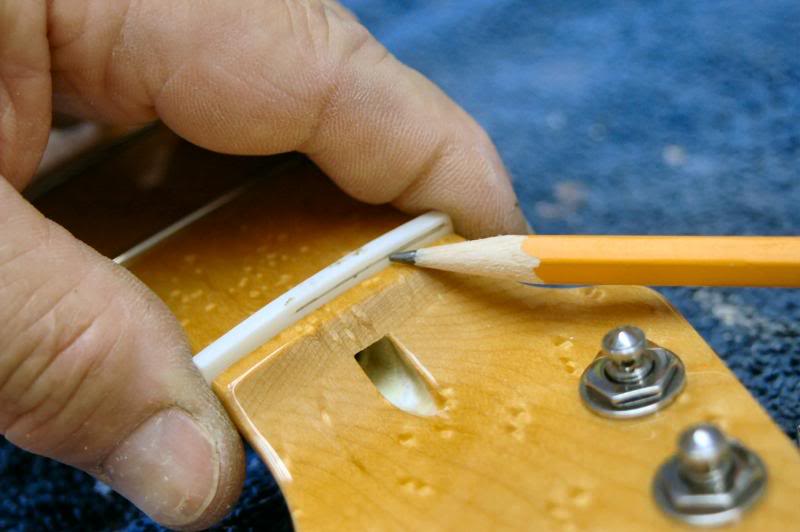
Once it’s seated firmly in the slot, I take a pencil and mark a rough line indicating the top of the nut.
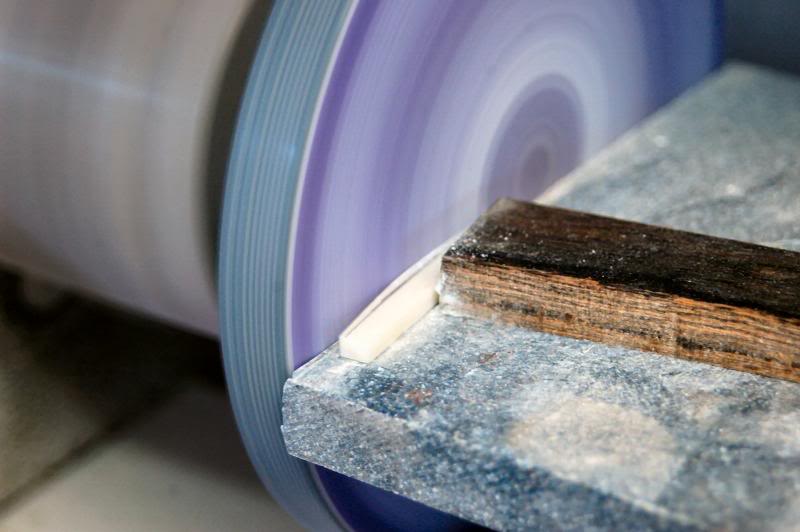
Then over to the disk sander and a preliminary shaping, including the ends.
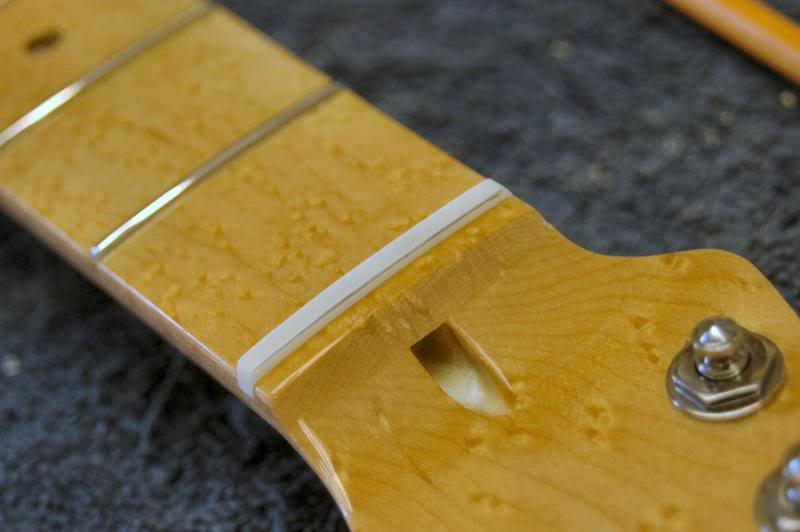
Now it looks about like a nut should.
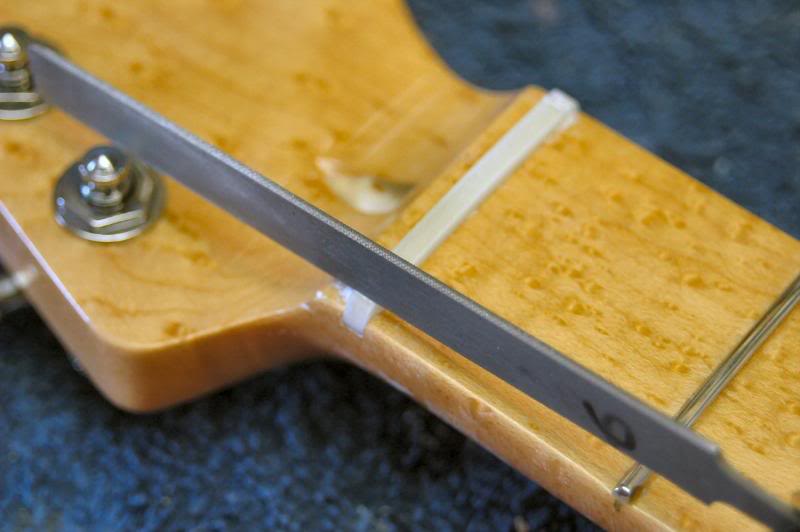
Now I take a nut slotting file and rough in the 1st and 6th string slots.
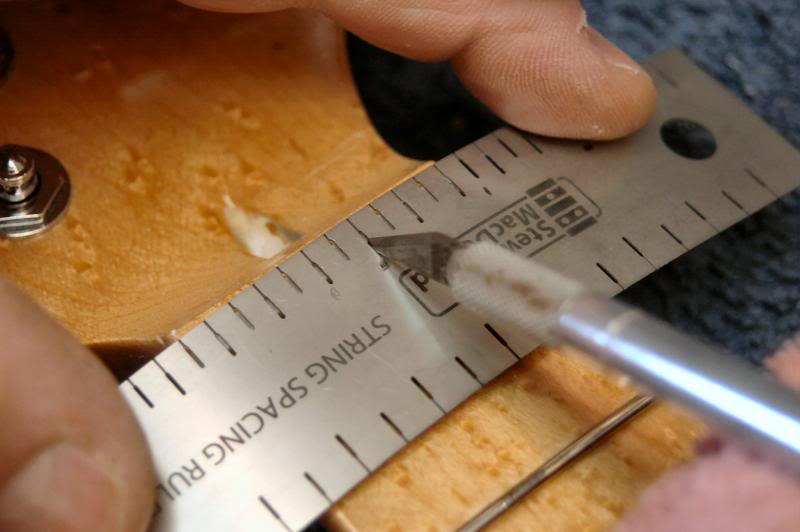
This is one tool I find indispensable. The location of the strings should not be exactly symmetrical, because they are different sizes, I’m betting you noticed. I use an Xacto knife with the tip of the blade ground to etch each string location.
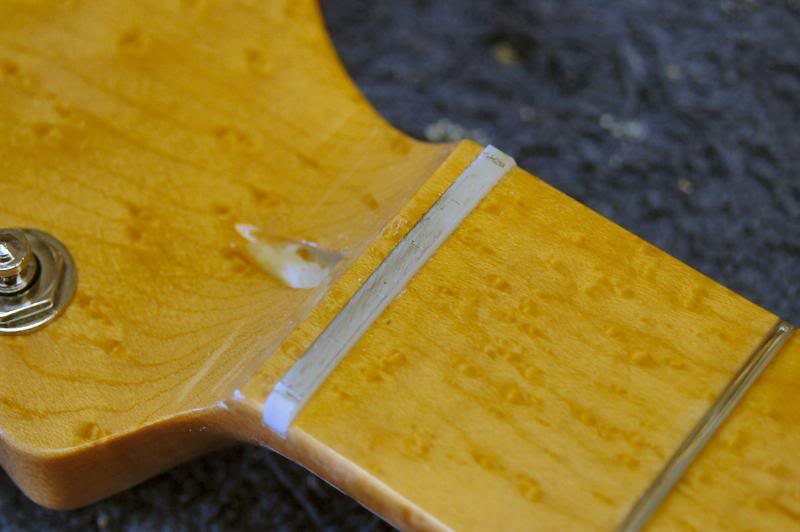
Then I highlight the marks with a pencil’s graphite.
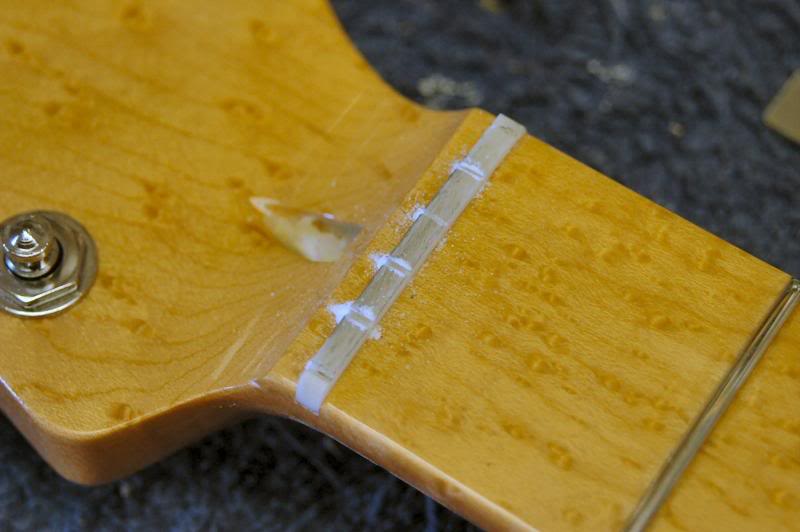
And using the appropriate slot file, make a preliminary slot for each string. The nut will not be finished until I do the setup, at that time I will cut the slots to the correct depth, then remove any unnecessary height, and polish it.
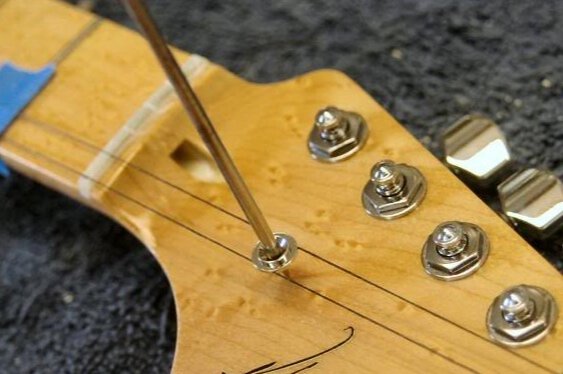
I now take a piece of string, this is the Stewart MacDonald guitar string retainer placement string, only $32.50 a foot, and wrap it around the 1st and 2nd key posts and across the nut to indicate the location of those 2 respective strings. Place the retainer on the strings, and mark the location of the pilot hole for the screw.
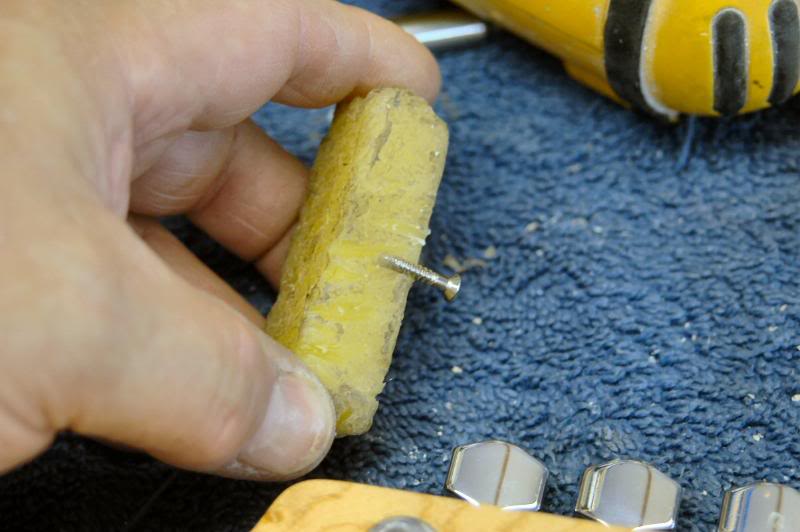
Drill the pilot hole, and coat the screw in bee’s wax, a good idea for any screw you will be running into hardwood.

To continue to Part 4 Pickguard & Electronics
Choose: Slide show viewing or Single Page


