Sunburst Strat Build
Part Six - Finishing Touches
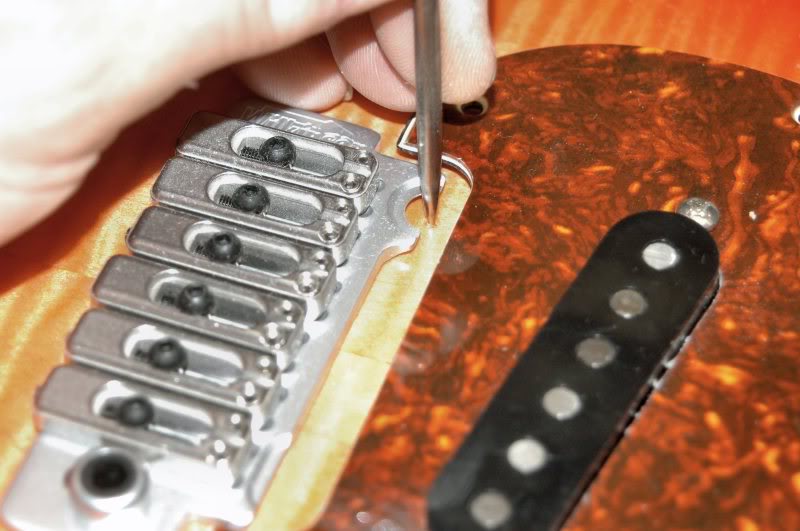
Now I insert the neck, place the pickguard in position, then place the tremolo in the correct position. Measuring from the 12 fret, locate the first bridge 12 ¾", and that’ll be the location of the tremolo. Since the neck and pickguard are in place, I give it a good look to be certain everything looks correctly positioned. I use a 4 foot ruler to indicate the position of the strings and make any adjustments as necessary. Then mark the location of the posts for the Tremolo, here, the Wilkinson VS100.
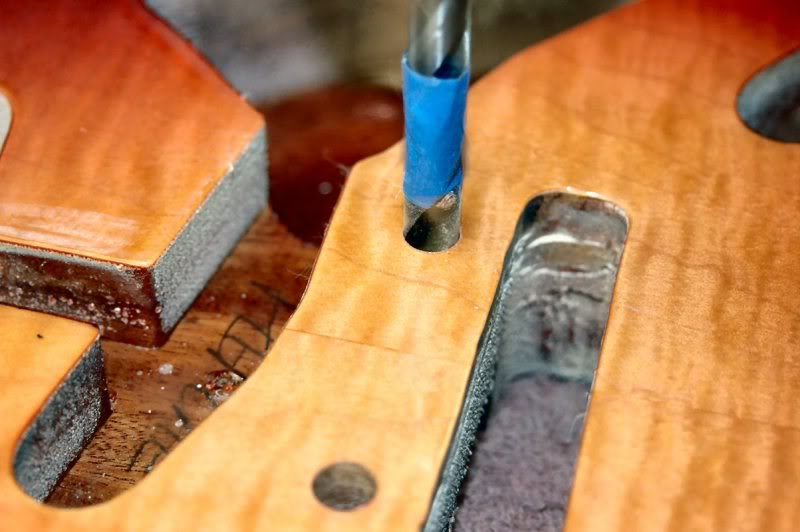
Once the location is marked, over to the drill press.
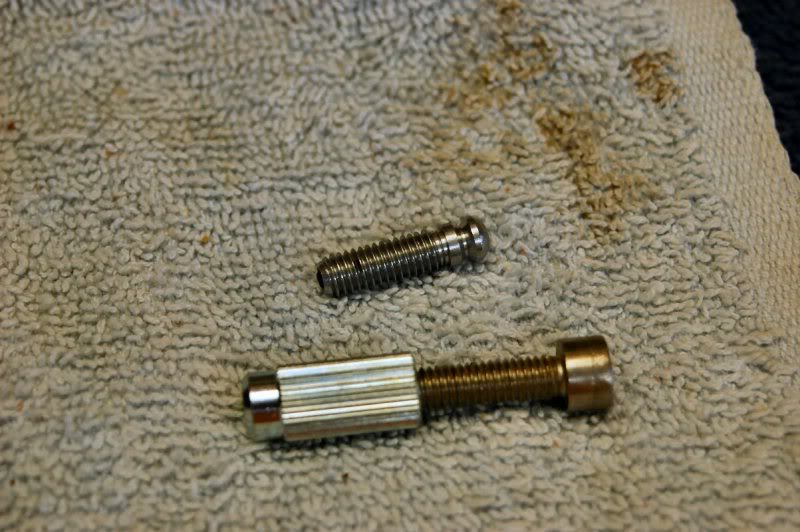
The studs are driven into the body. To keep from buggering up anything, I run in a stainless bolt into the threads, then I can bang away all day without harming anything.
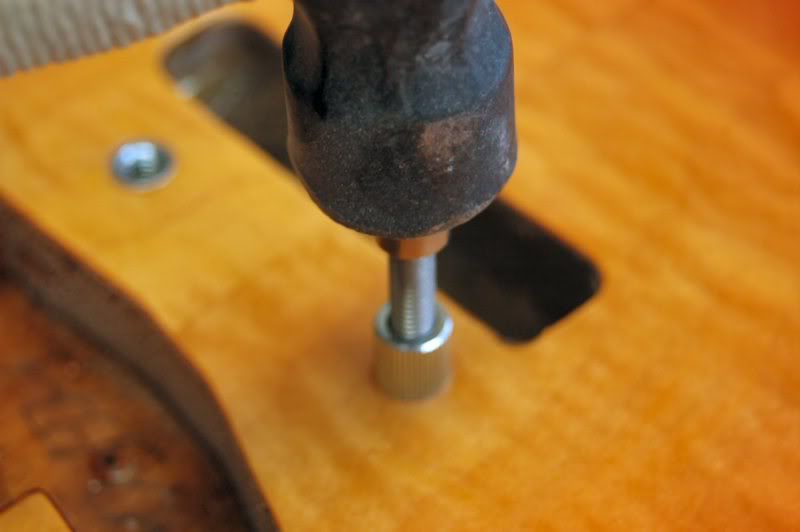
Then a few whacks, and it’s in.
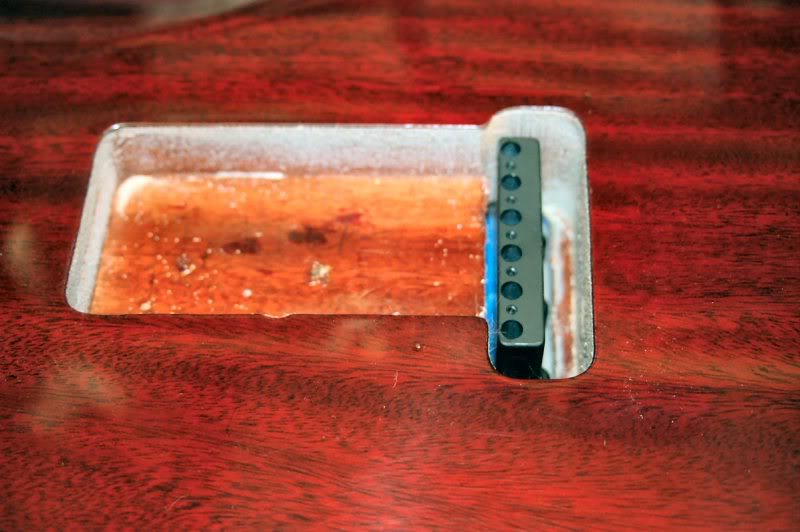
Now, holding the tremolo in position, I flip the body.
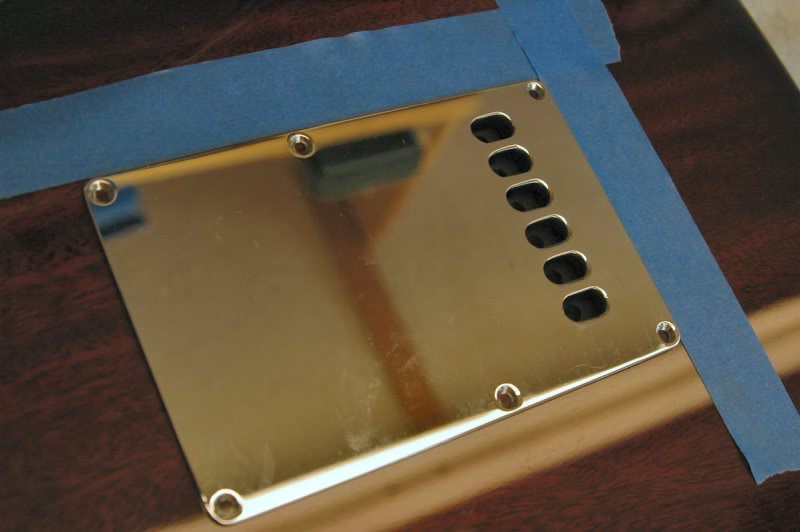
And place the trem cover in place, outlining 2 sides with tape. We’re moving quickly here because the tape’s adhesive and the lacquer do not get along.
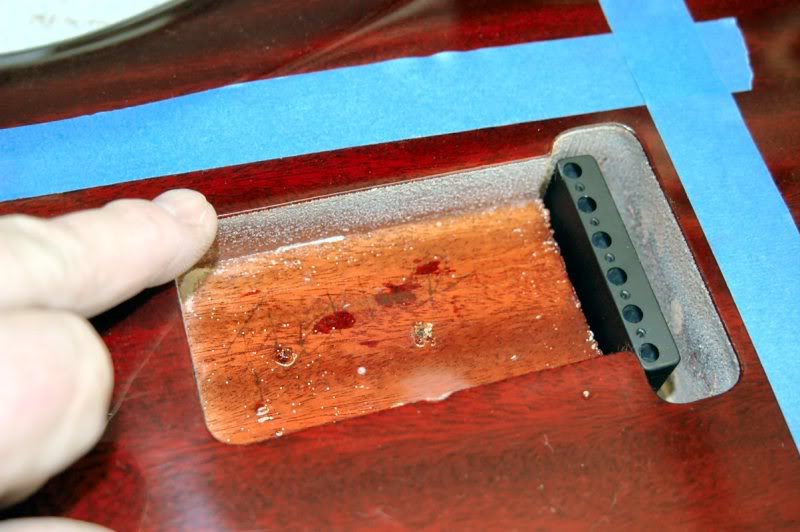
Remove the cover to see if I guessed straight.
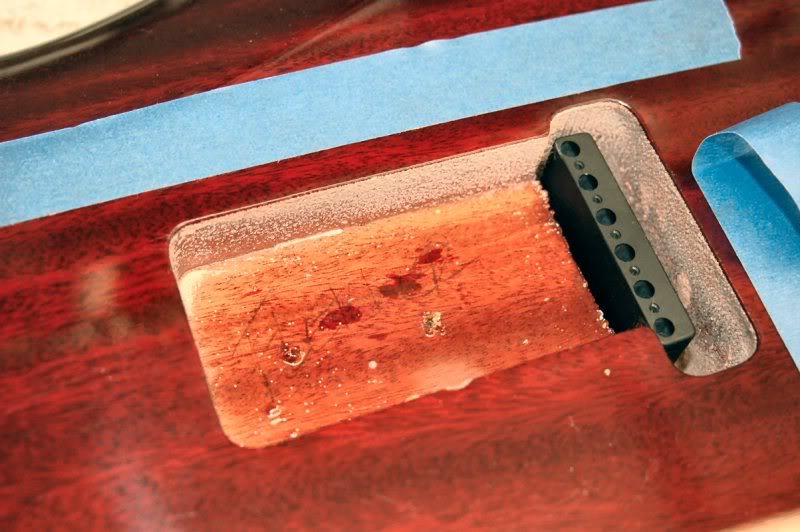
I did not, so I realign the tape to the trem rout.
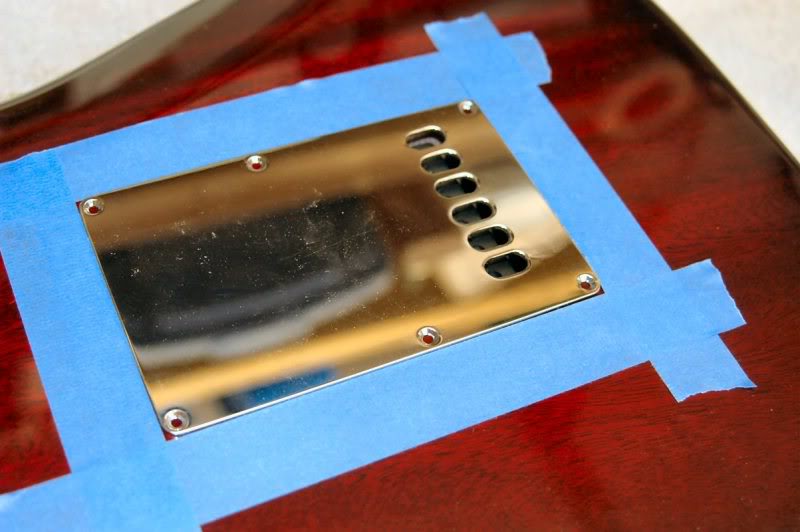
Now I replace the trem cover and outline the thing with the tape.
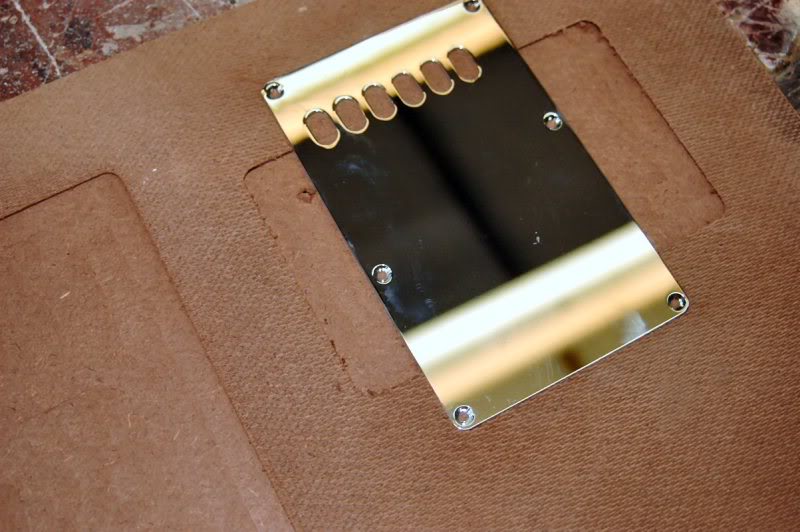
Actually before I did this, I took my tremolo cover template and routed a test in a piece of scrap whatever was close enough to grab, that way everything is ready to roll as soon as possible. Remember, the tape + lacquer don't play well together.
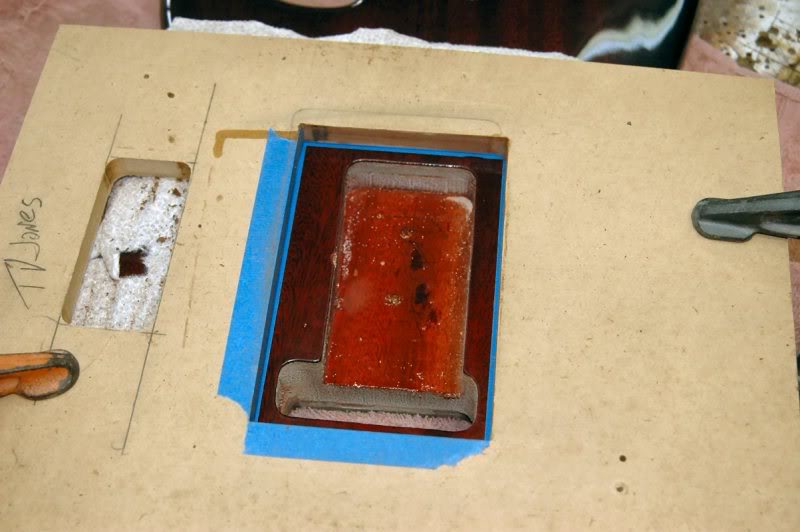
Now I align the template to the taped outline, it is not critical, there is more than enough “wiggle room”. Ya just want it close and straight.
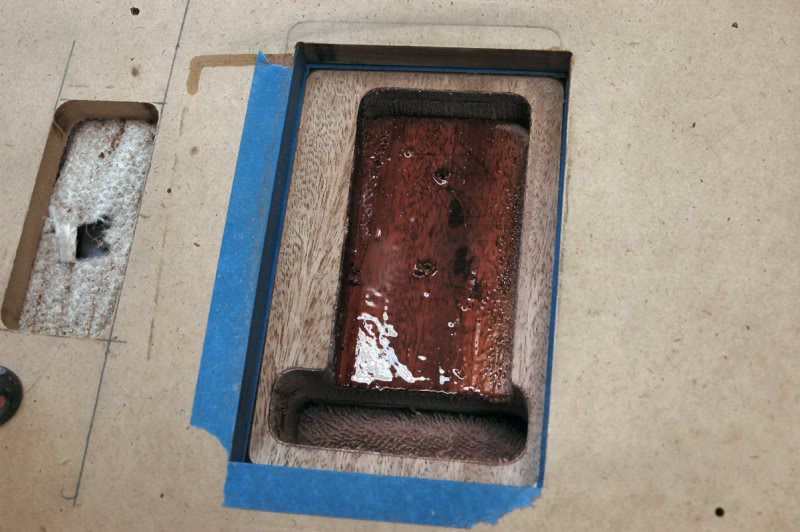
Now I take the router and give the inside edge a little bite, to check depth. Lookin’ good. So I give ‘er a complete buzz.
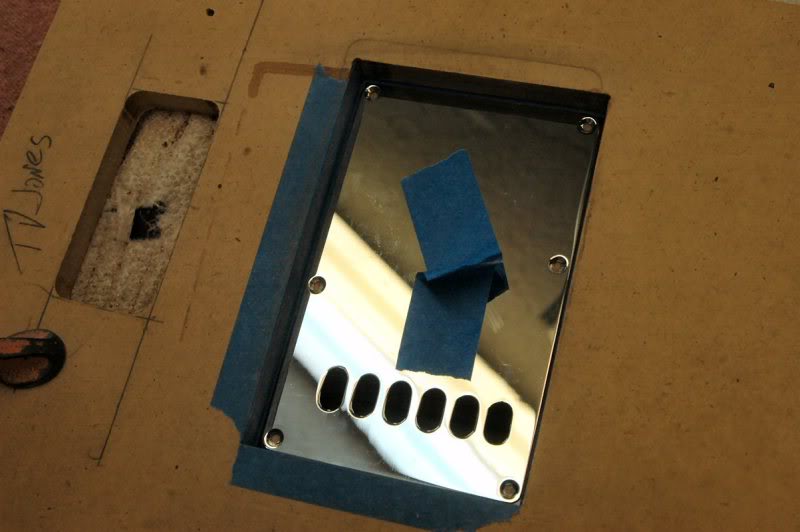
Before removing the template, check to be certain it fits correctly. Good to go.
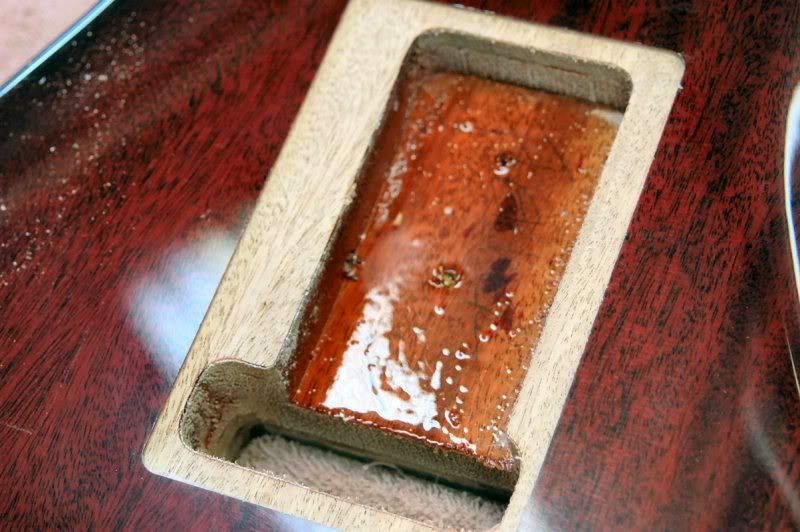
And here’s what she looks like now.
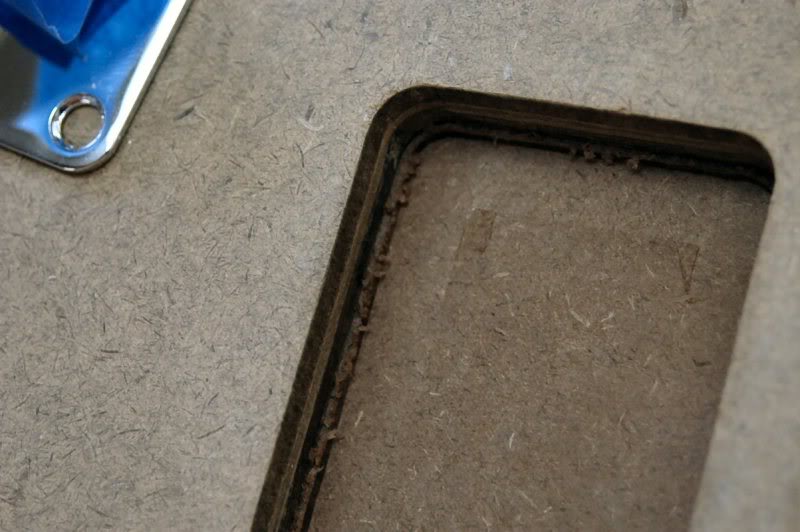
Now, since I’m on a roll, I move on to the neck plate. I rout a test in the scrap.

Then drop the plate in to be certain it fits. Note, I leave about .003 all the way around on this and the other recessed parts to give the body a bit of room to breathe, or move with contraction and expansion. I can put ‘em in there with .000 clearance, but if the body contracts any, CRACK, the lacquer is brittle and will not give. If anyone whines about how sloppy .003 is.. c’mon, get outta here.
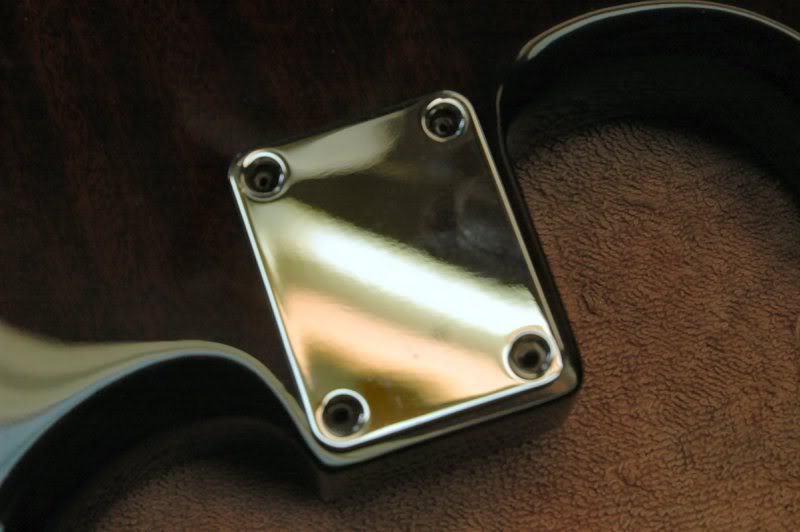
Now I place the neck plate in position, noting the screw holes, getting it as precise as I can.
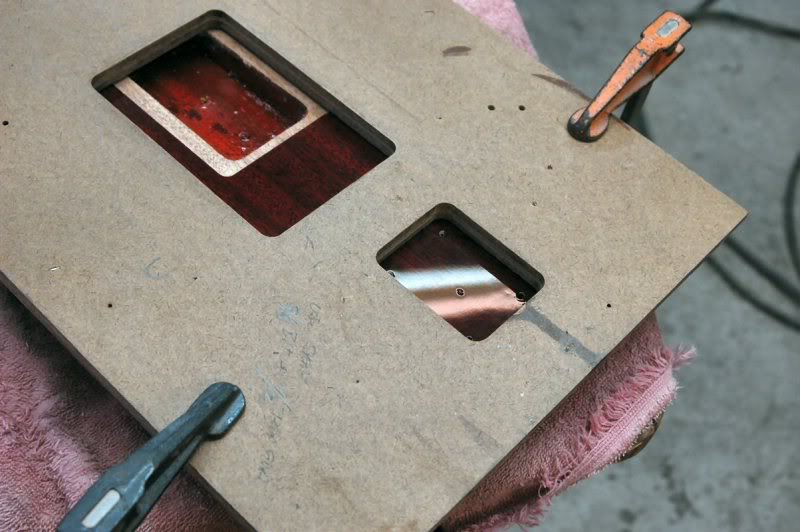
Then locate the template over the plate, leaving the inside margin equidistant and clamp it in position. And yes a side note: lacquer is brittle, so when you clamp the templates, do it with only enough pressure to secure the template, if you go torque crazy here, you will be refinishing the whole body.
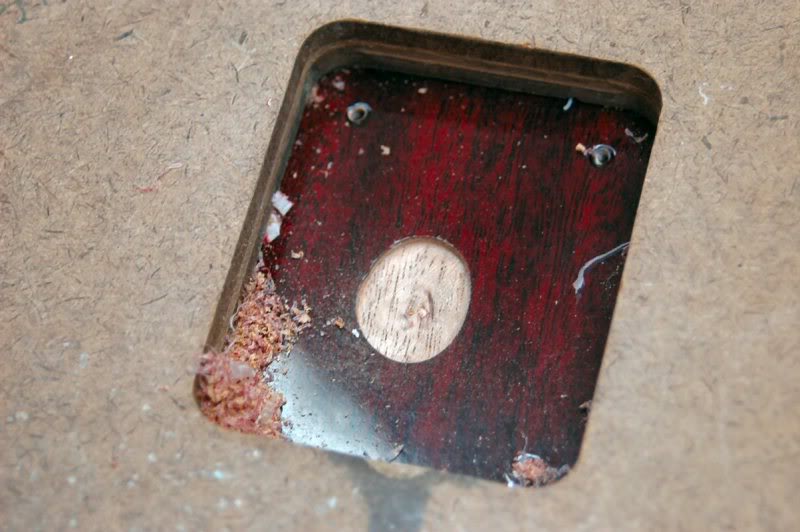
Now I take the router and give the body a poke, to check depth.
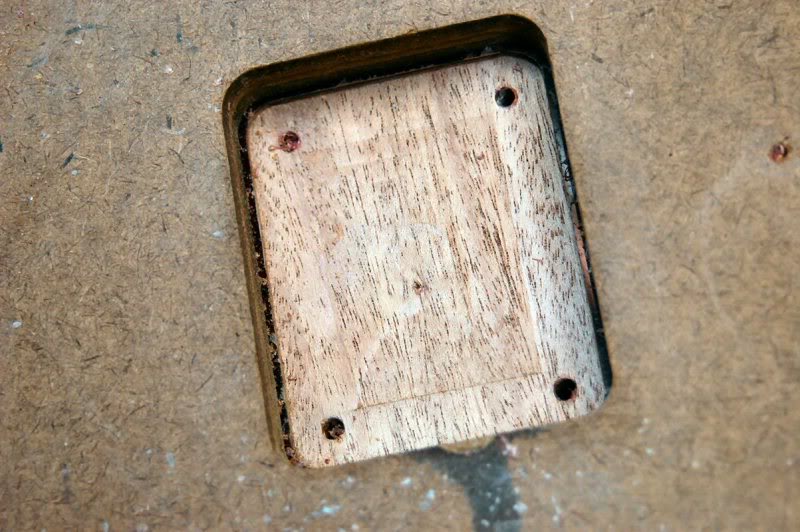
Rockin’ so, buzz time again.
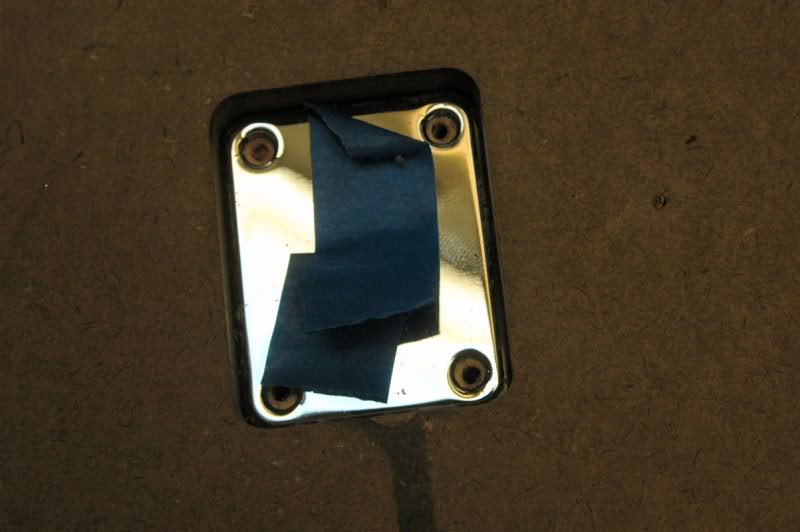
Drop the plate in the hole to be certain it fits.
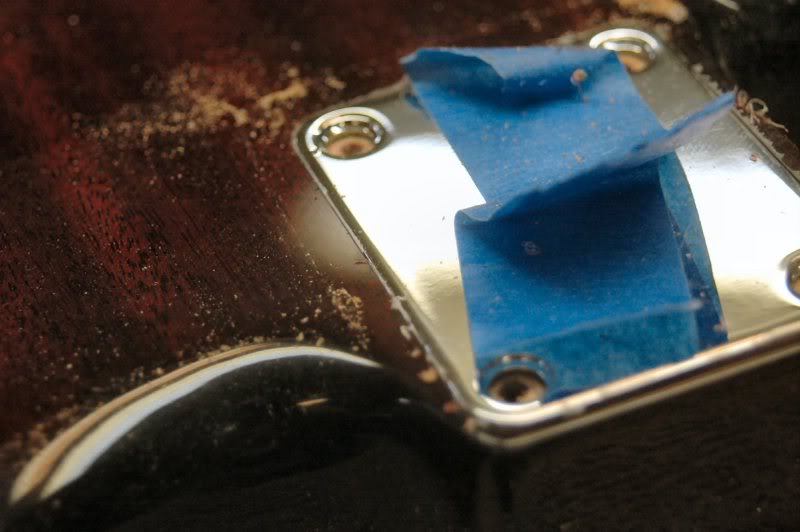
Here she is complete with router fuzz.
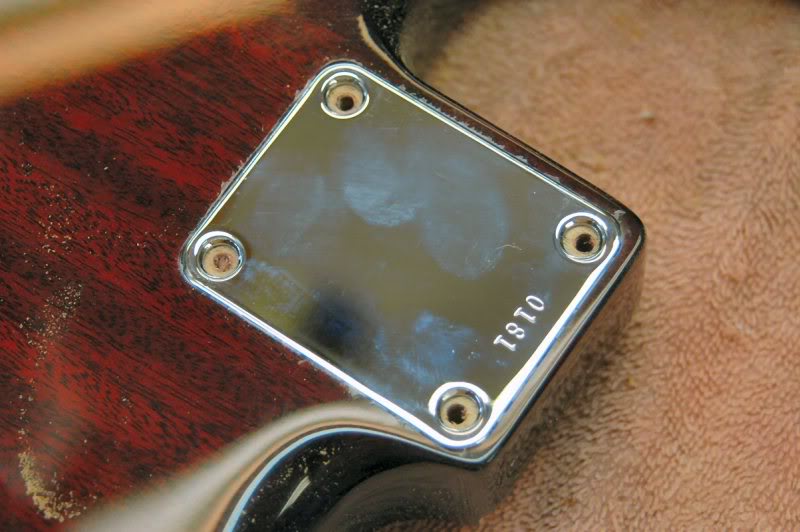
And after the number has been stamped.
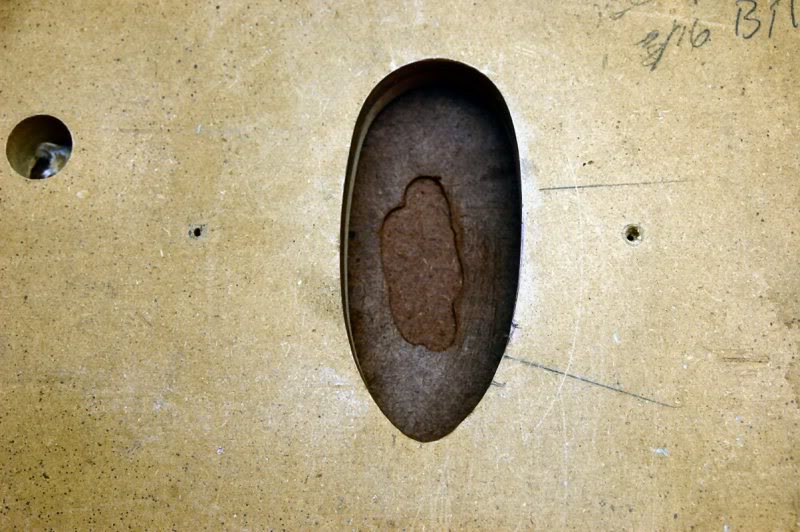
So two down, one to go. The Jack plate presents a different collection of problems. The main one, no 2 are alike, and they are not symmetrical, so what that heck, let’s roll. First, do a test, checking the depth of cut, then the over all shape.
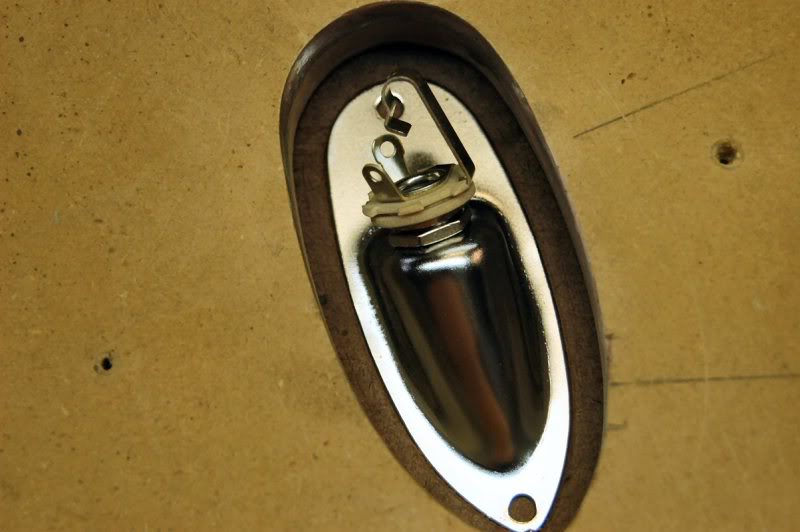
I have sat the piece in up side down, to get a preliminary assessment, it fit, but that doesn't mean a thing when flipped over, so you must cut out the inside of the test to allow the jack and plate to fit to see if it is indeed a good cut. Since it was... (I have never had a situation where all 3 worked out perfectly on the fist cut on the same guitar. Must be good karma for ya Dave.)

Place the plate on the guitar body in the approximate location.

Then place the template over it, aligning it with the plate, then clamp the template.
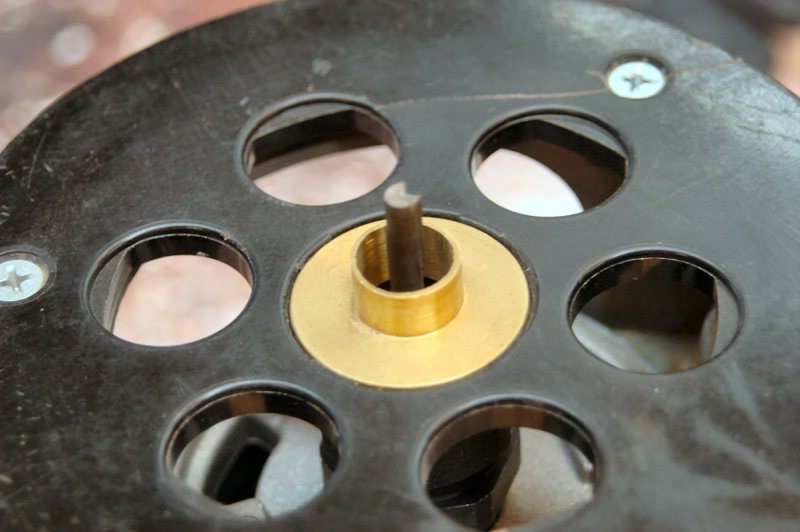
Be certain to use router but, that is small enough to accommodate the small radius of the point on the jack plate.

Now I take a little nip to check for depth.
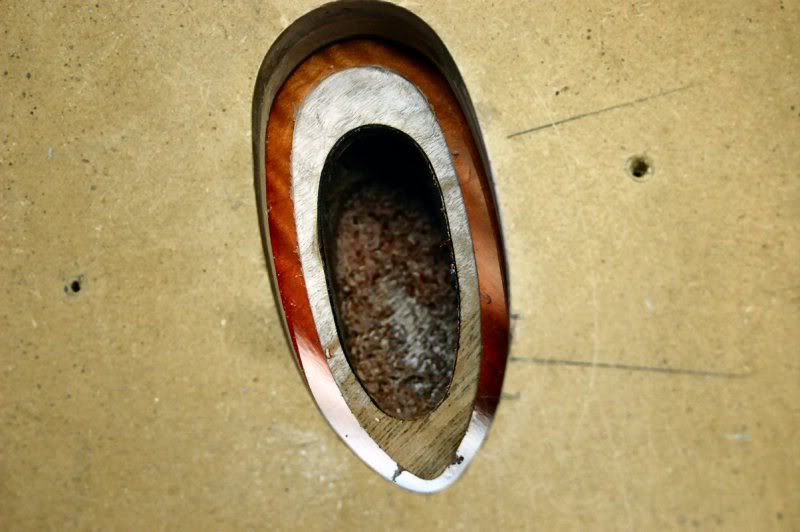
Buzz time again.

Then check to be certain things are in order. I figure if it’ll go in upside down, I can bang the heck out of it when right side up… NOT!

Since the plate is a stamped piece of metal, I need to relieve the edges of the rout to allow for it to seat correctly. Dremel time.

And the results.
To continue to Part 7 Final Assembly & Setup
Choose: Slide show viewing or Single Page


Shaping the Body | Color and Lacquer | The Neck | Pickguard and Electronics | Body Finishing | Finishing Touches | NEXT - Final Assembly and Setup | Finished Sunburst Strat