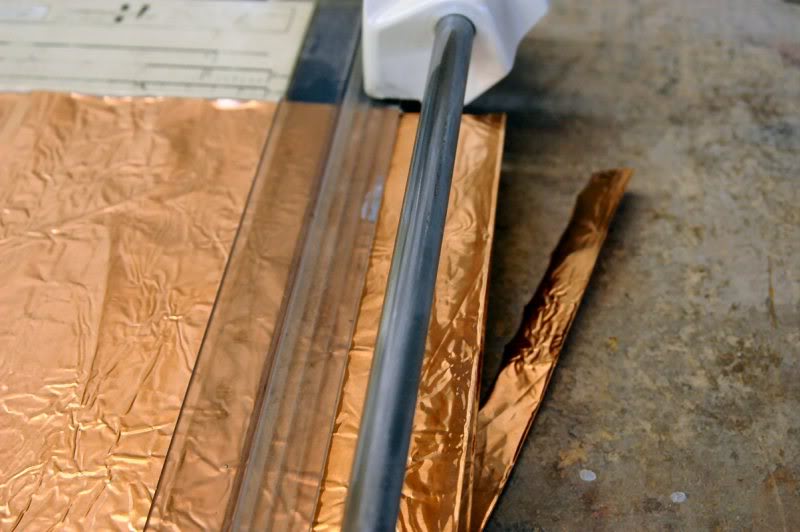
So, rumor has it that the Klingons are circling, so I guess we better throw up the shield. I start with raw copper sheeting, and cut it into the necessary parts.
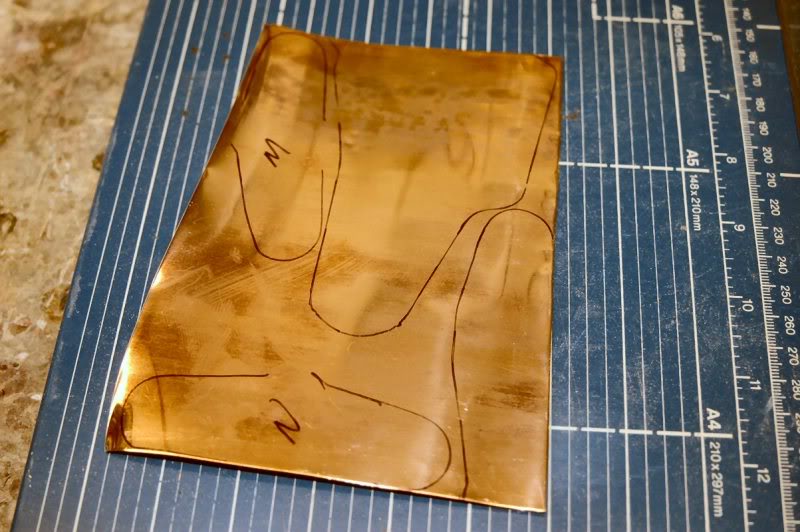
I use the body template to lay out the bottoms of the various routs.
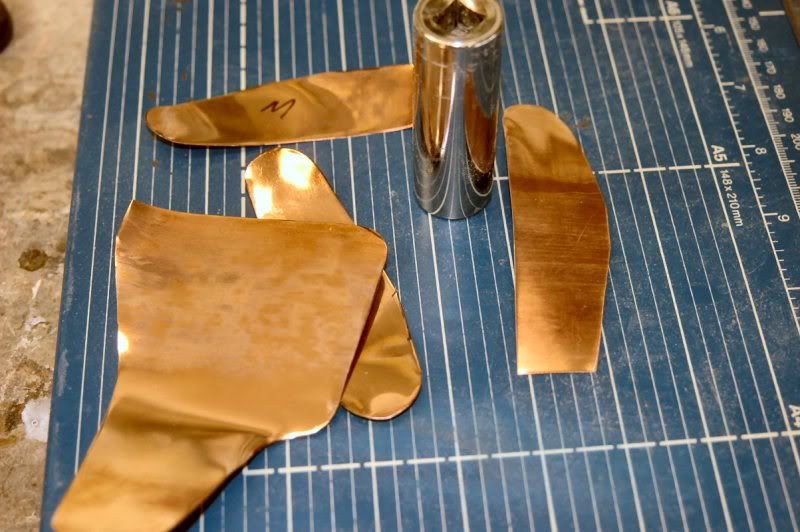
Then cut them into the shape needed.
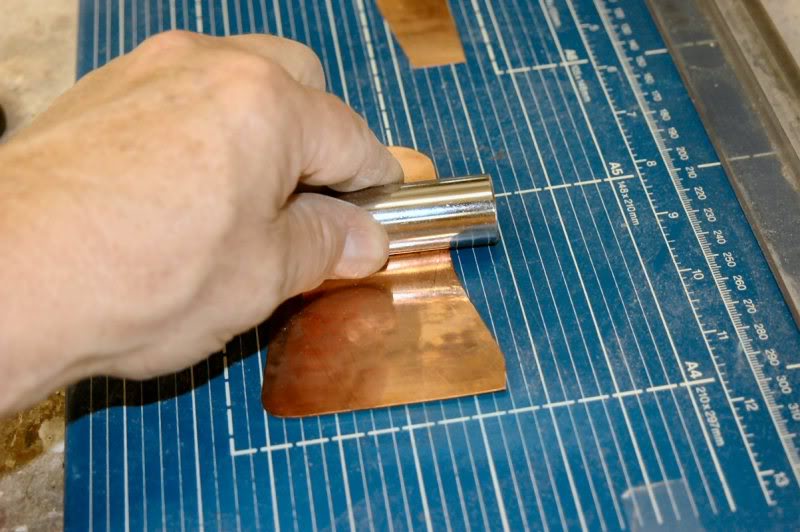
Then using a special tool, one that is a trade secret, so it’s even called by a fictitious name to keep it from being commonly known, this one is called a Craftsman Deep Well ¾ inch socket… is that cool or what, who will ever figure that one out? I flatten all the copper by burnishing it.
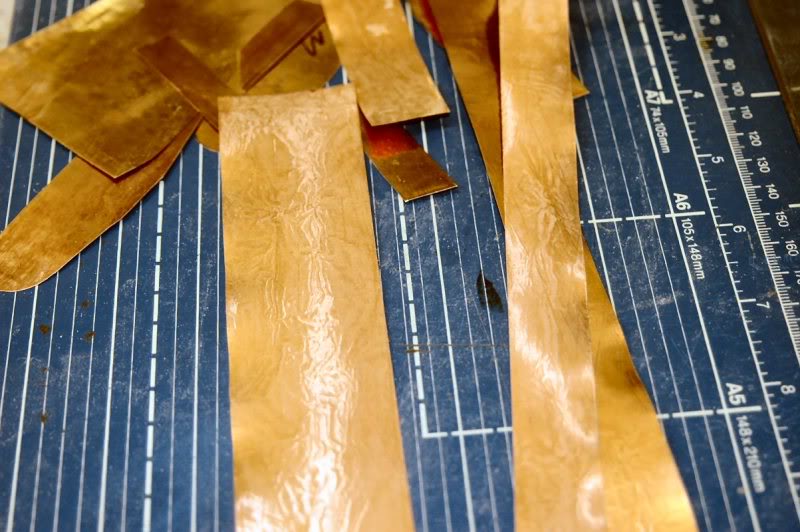
With it all burnished flat, I take an abrasive pad and buff the collection, why? Because I know sometime in the future, curiosity will get the better of the owner, and he will pop the lid. I want him to look in there and see, this ain’t no stinking "off the rack" guitar. Or, another thought, I don’t want to ever be in the same room with something I made and have to explain something goofy.
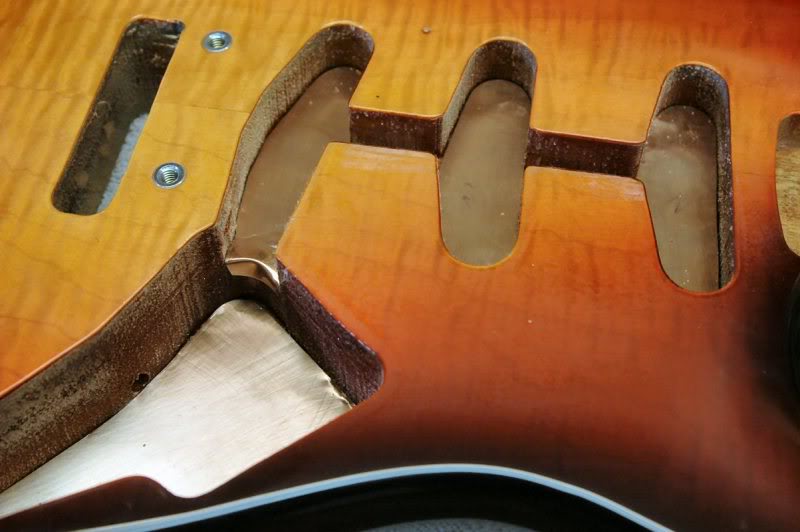
Now, I place the parts.
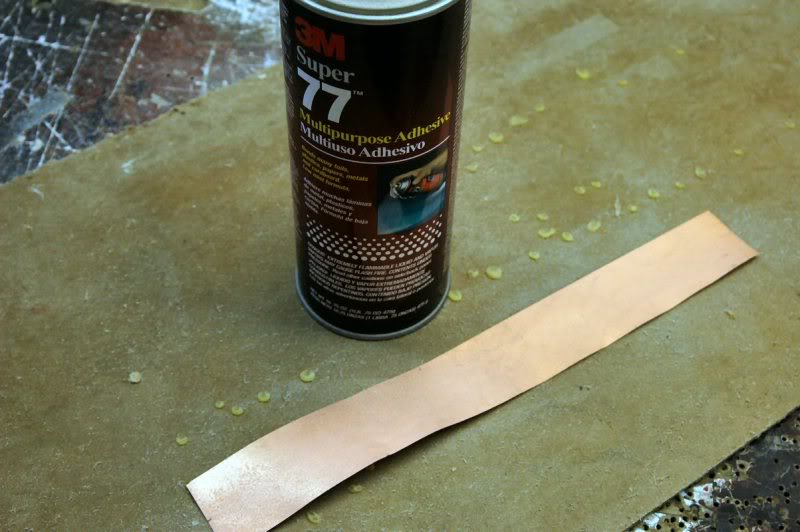
Then apply adhesive to the back side of the walls. This holds it in place until it’s soldered.
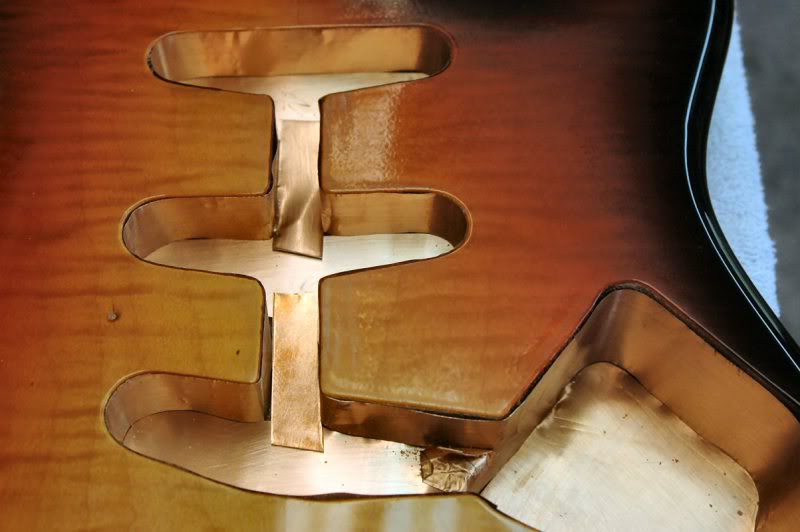
And all the other strips.
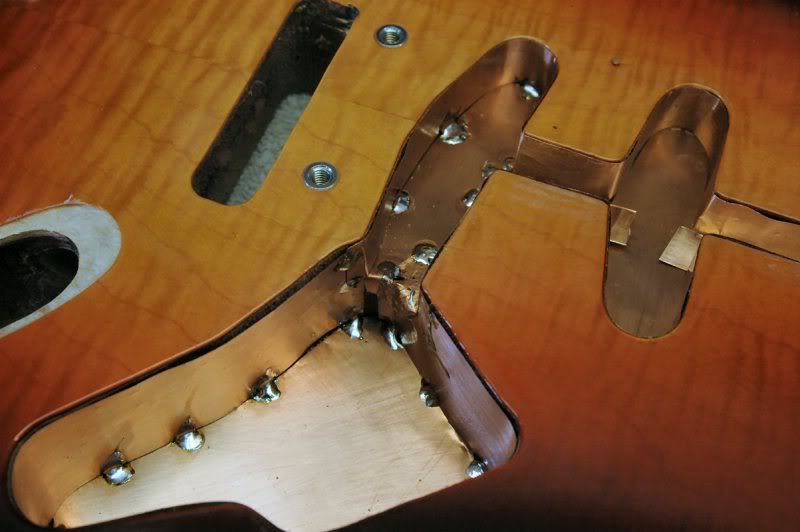
Working around the edges, I solder at about 1 inch intervals. Be careful in the deep section, the back of the guitar and all the beautiful lacquer is only 1/8th inch away. Heat it too much and a blister raises it’s ugly head, and it’s back to refinishing.
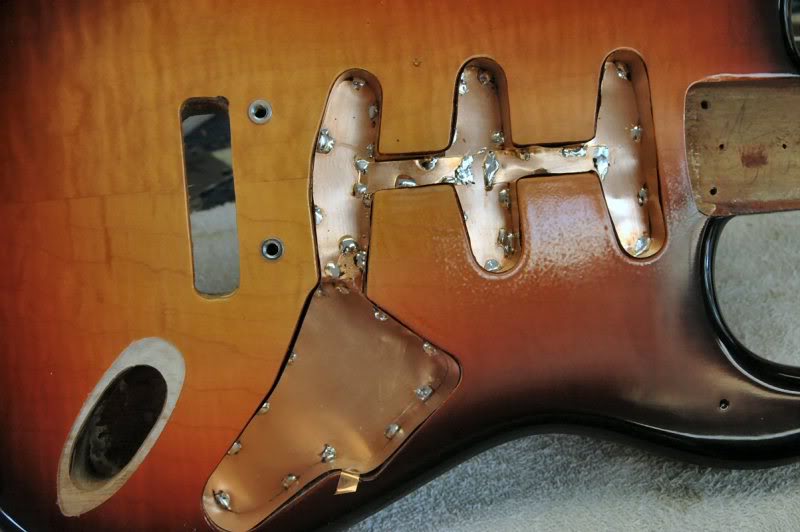
And completed.
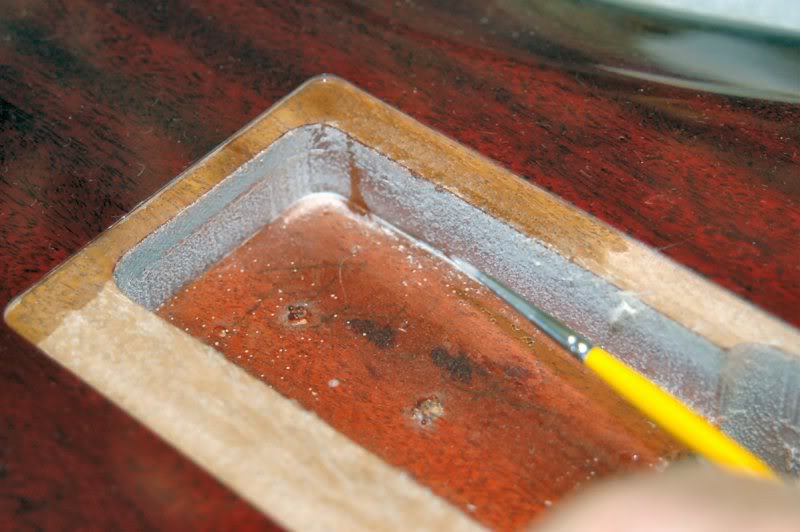
I’ll take a moment here to coat the fresh wood in the routed areas with lacquer.
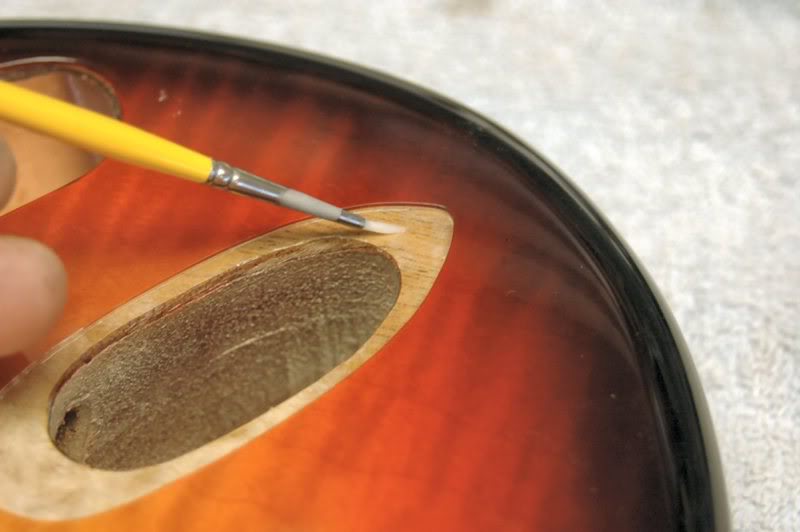
This gives it a fighting chance if anything wet hits the guitar, If left open, the water could soak into the grain, and cause the underlying wood to swell. Not a good thing.
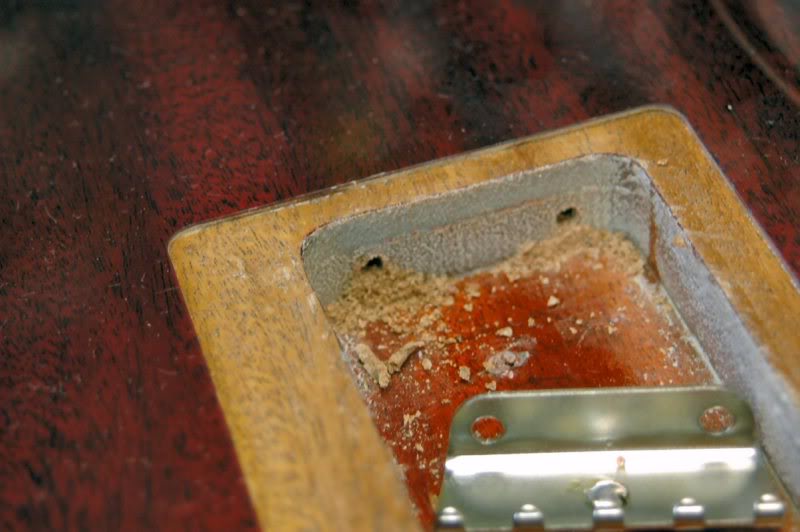
I’m down to the little stuff, drilling pilot holes...
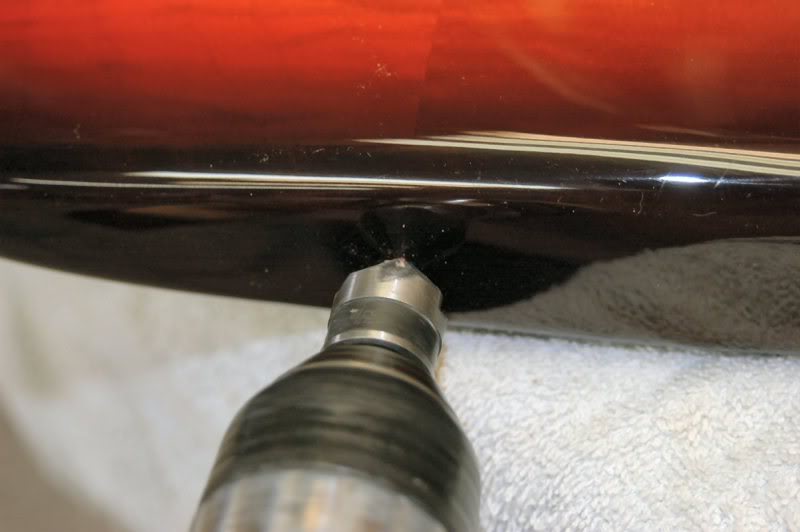
...etc.
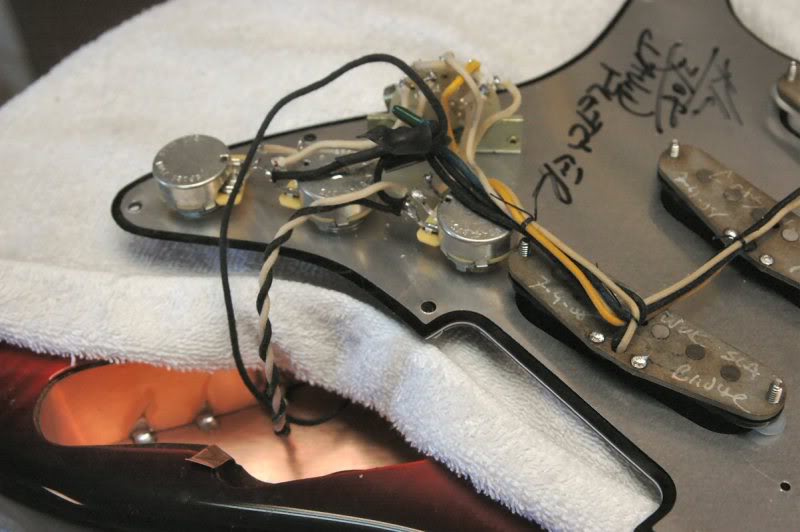
When using a 22 fret neck on the S, the pickguard has to be in place prior to mounting the neck, fire up the old Weller. I run the ground wire through to the tremolo spring claw, and attach the jack leads. The spiral winding produces about the same effect as using a shielded wire, but the nice thing is it maintains the vintage appearance.
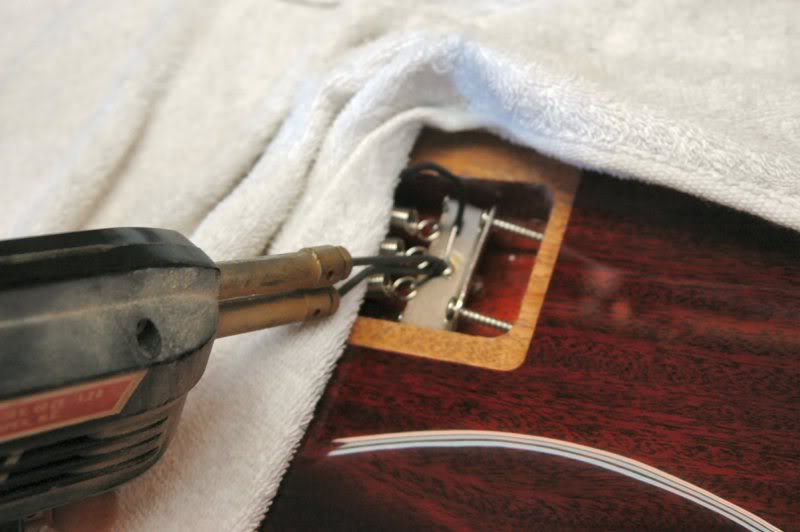
The claw requires considerable heat, a soldering pencil will not do it, the Weller Gun is about 150 watts and it barely has enough heat to overcome the “heat sink” qualities of the claw.
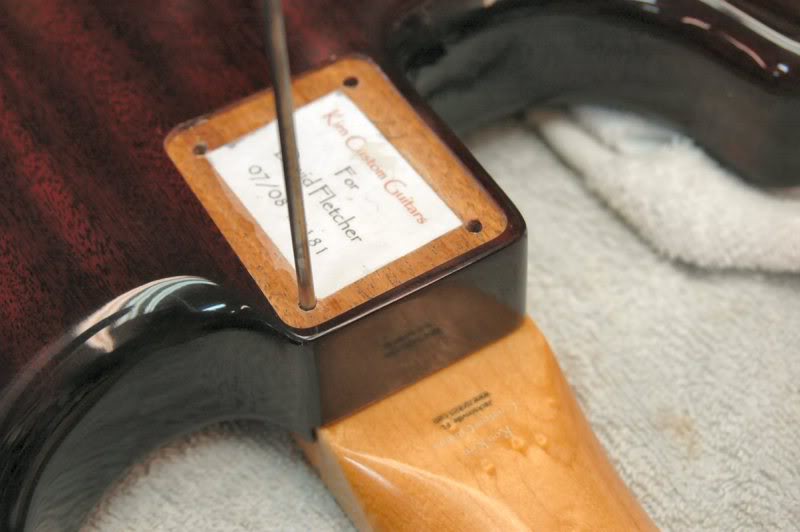
With the pickguard in place I can mount the neck. I place it in the slot, that sounds logical, then take an awl and mark the location of the screws. I will press the awl in a skewed angle to mark the neck a bit long, or away from the body, then drill the holes in that location. What that does is, as the screws are driven home, they force the neck down and into the pocket creating a very tight joint, which is paramount in an S due to the way the pressure from the strings pull the neck and body together.
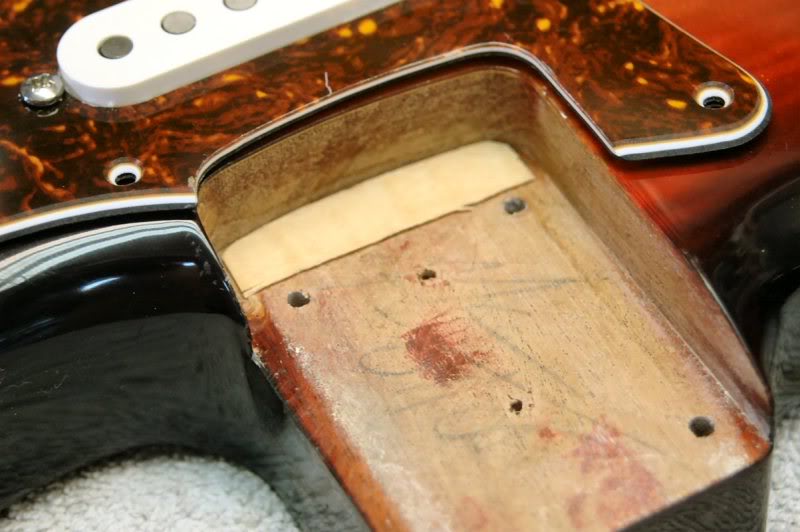
I shim ‘em all with maple.
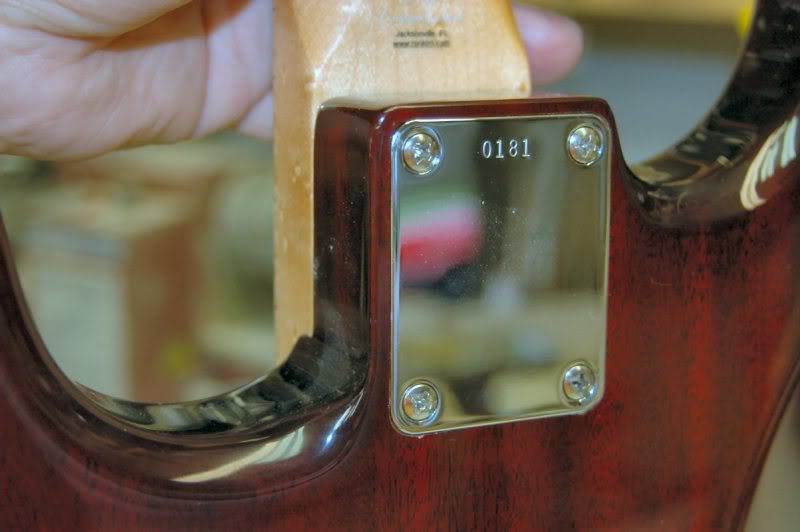
Run the screws in, and...
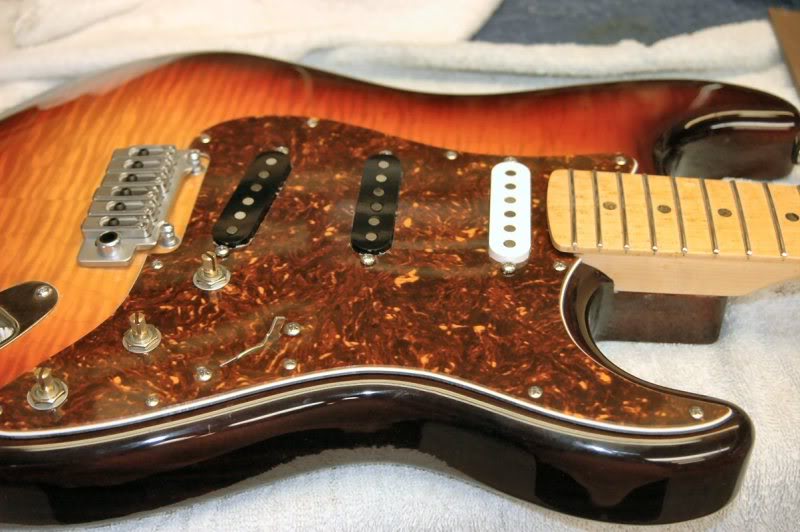
Here she is. Ready for strings.
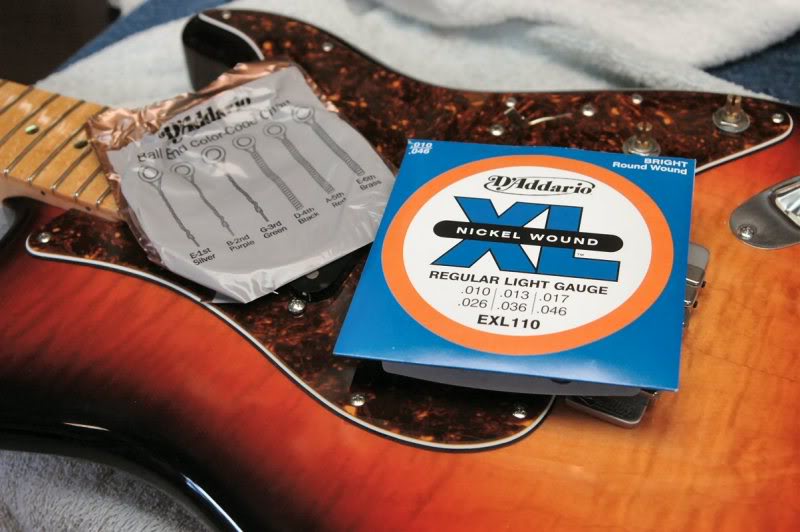
Nuthin left but to string ‘er up and do a little tweaking.

On to the setup.

The setup is what makes or breaks the guitar, to begin simply string ‘er up.

Then tune the guitar to pitch, and note the position of the tremolo here.. too high.

The Wilkinson Tremolo has a setscrew in the bottom of the post, used to lock it securely, improving transmission of the string vibrations into the body. You must loosen them, then lower the posts until the bridge looks about right. I check the back “lines” to be certain the body of the tremolo is parallel to the guitar’s surface. Now I check the strings height around the 20th fret to see that there is clearance to work with.
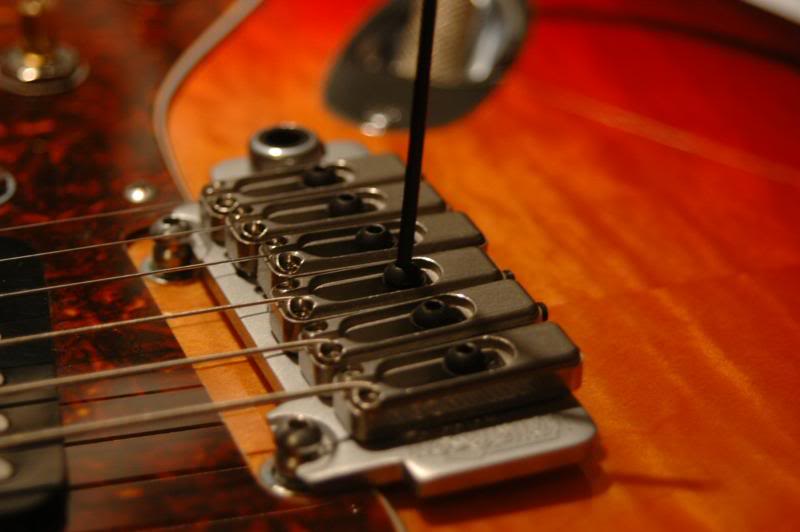
To adjust the saddle height on the Wilk, you must release the locking screw on each saddle.
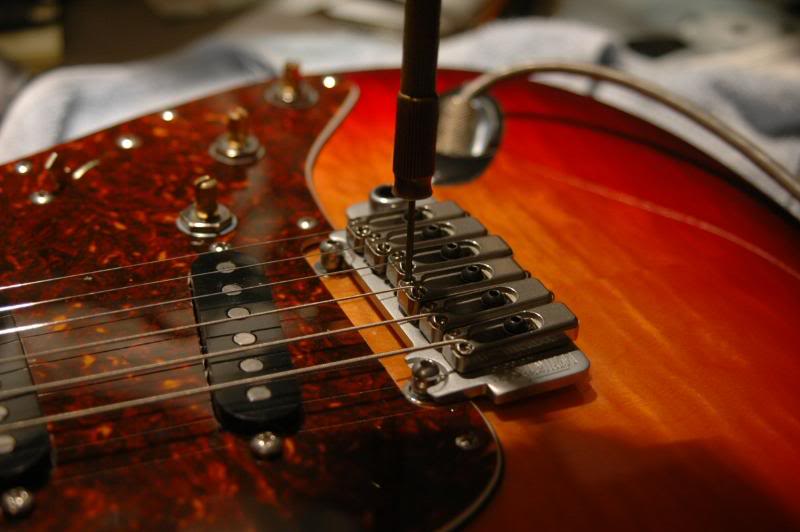
Then I can begin adjusting the string height. I generally set 1 and 6 by eye, leaving about 1/16 inch clearance at the 20th fret. Then adjust the remaining 4 in a gradual arc to follow the necks radius.

Oh, I forgot, here I’m locking the tremolo stud’s setscrews in the bottom of the stud. At this point and with the strings tuned to pitch, I’ll fret the 3rd string at the 1st and 20th fret, then check around the 8th fret. There should be something like .010 inch. That’s about the thickness of a business card, indicating a very slight bow in the neck. Now I’ll sit the guitar aside for a day. Just to let it get used to the tension, the neck will want to bend a tad more, and the tremolo springs haven’t fully acclimated to the force of resistance to the string’s pull. Everything will take time to fully acclimate.

Now that the springs are used to their new life under constant tension, I adjust ‘em to get the tremolo approximately level with the surface of the guitar.
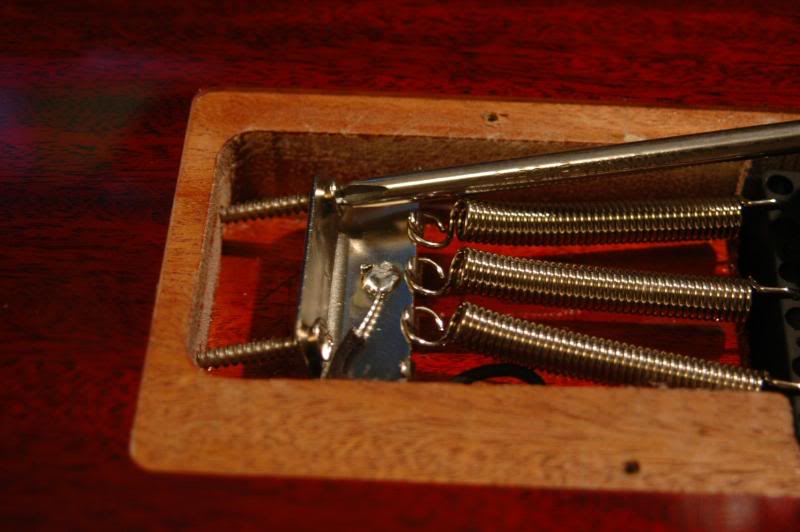
You don’t go over board, because as you tighten the spring claw, it pulls the strings to a higher pitch, when you retune, lowering the pitch, and the tension, the tremolo witch assume a new position, hopefully the correct one. It is a simple balancing act, the tension of the strings pulling against the tension exerted by the springs.
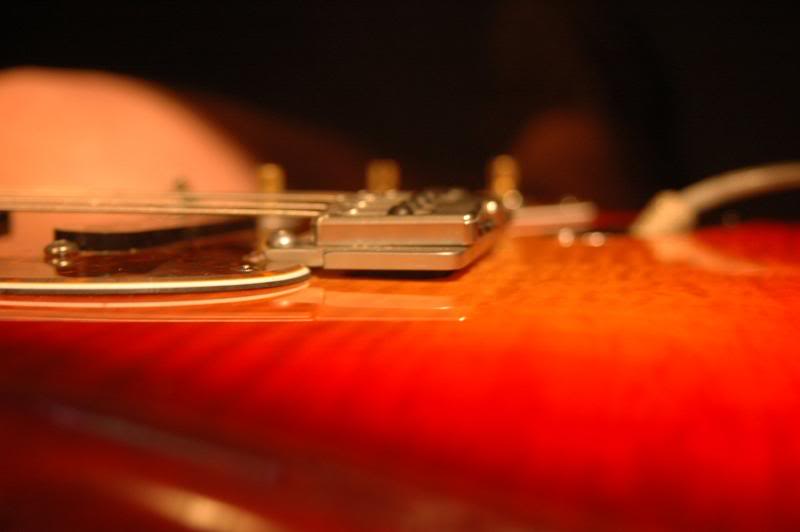
Once the tremolo is correct, we move to the other end.
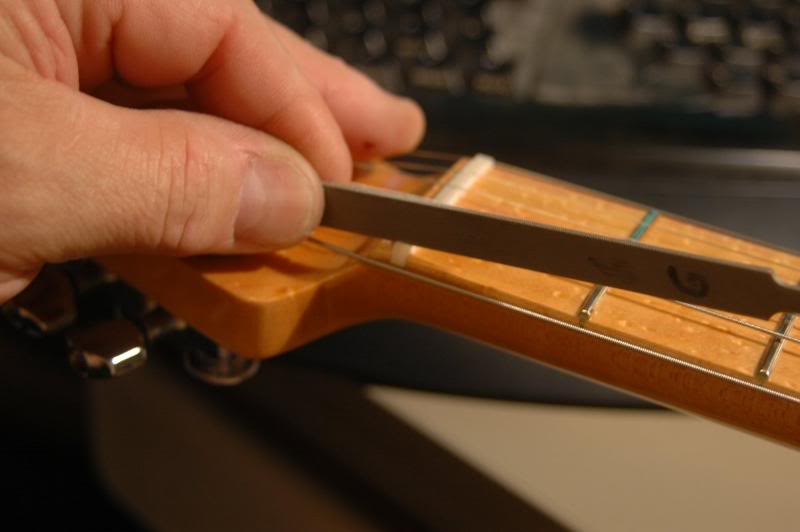
If you recall, as I was doing the assembly, I pre-slotted the nut with an approximate depth of slot, I now finish that aspect. I lift each string from the slot, give it a few swipes with the nut file, and reseat the string. I check each one leaving about 1/64th at the first fret under the first string and about 3/128ths under the 6th. Unplugged, I pluck each string, you will be able to hear if there is any fret buzz, or the dreaded “citar” sound.
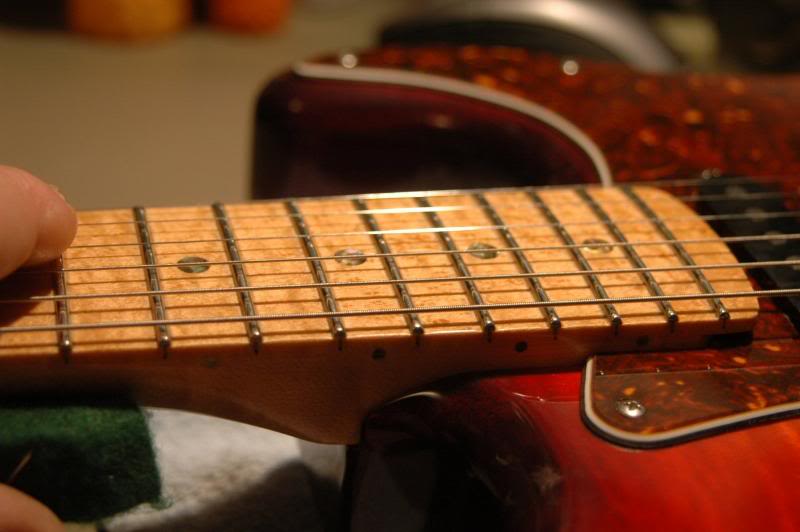
Now I recheck action in the vicinity of the 15th fret, raising or lowering each saddle respectively until I detect a bit of buzz. I then raise the saddle a full turn of the setscrew in the saddle, to give slightly more than enough clearance.
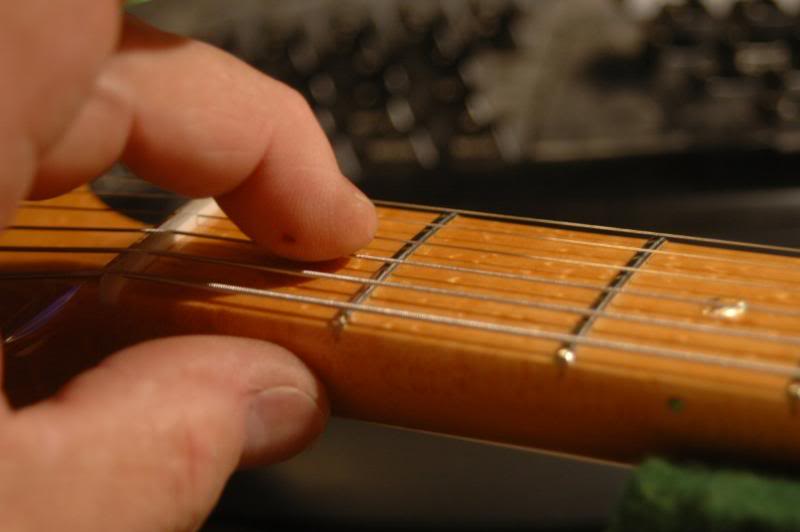
Since I may have raised several strings, I will recheck the height at the first fret and re cut the slots as necessary. Remember the correct height at the first fret is the same as the height at the second fret when the string is fretted at the first.

Now on to the intonation. No photos, you know what picking a note, checking the tuner, and moving the saddle backward or forward looks like. But, I pluck E 1st, and tune dead on the money, then check the E at the 12th fret. If sharp or flat, I recheck the string open, then if flat I shorten the string by moving the saddle towards the neck, if sharp, I lengthen it by moving in the opposite direction. I repeat checking at the 19th fret. Except the second, at the 20th. Again moving the saddle according to the note as indicated on the tuner, Umm... chromatic tuner. I’ll let is set a few hours, come back and recheck, make whatever final adjustments, and it’s done.
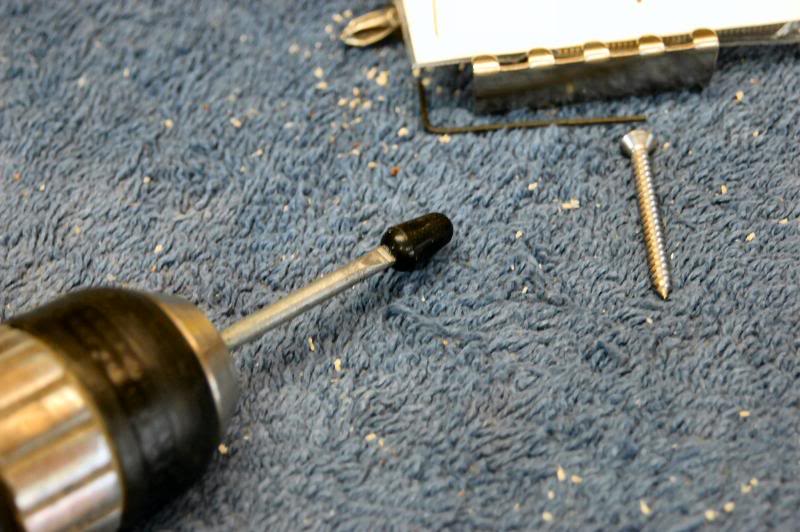
One thing that consistently bothers me is the junky little plastic knobs. It doesn’t matter if you bought a $300 Squire or a $3000 CS, the switch knob and tremolo handle, while slightly different in shape, are made with the same “molded mud” technology, leaving that seam from the mold the plastic was injected into. This is such a little thing, but...
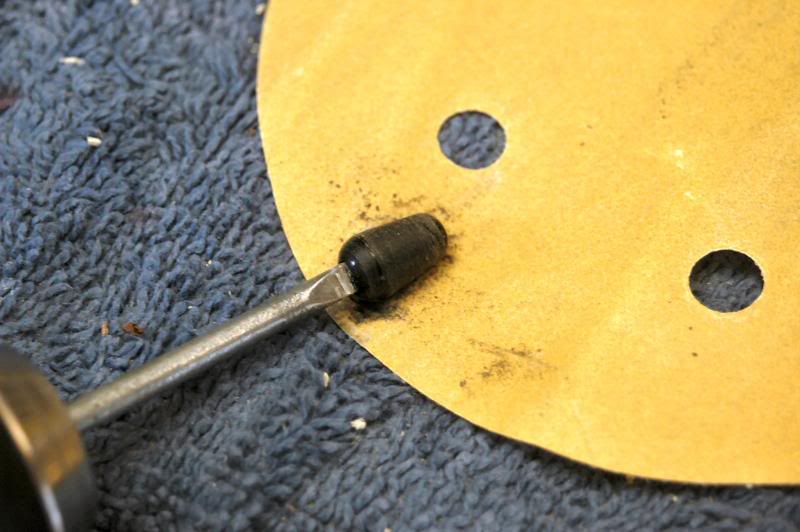
I take the switch knob, I do the tremolo handle the same way, but the Wilkinson doesn’t have one so you will have to imagine that part. I take the knob, and stick it on the end of a tool I made from a 16d nail. I chuck it in a drill and rotate it against pretty much the first piece of old sandpaper I can find. I do so until the casting lines are gone...
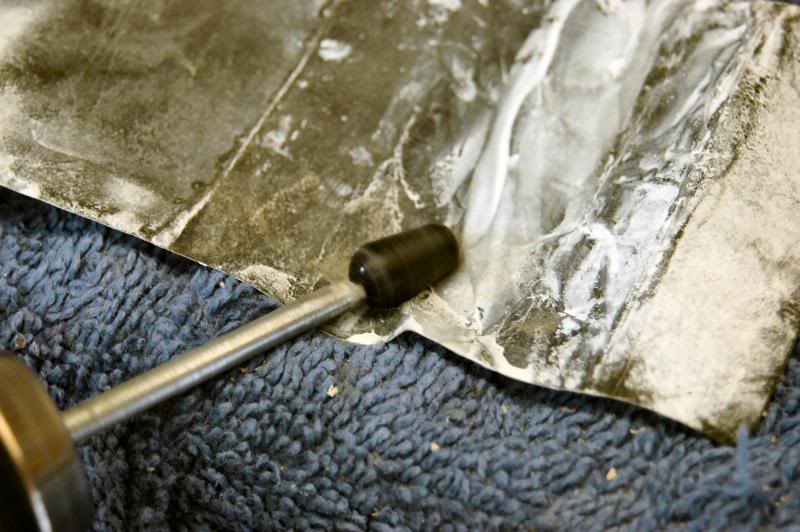
Then move up to a finer sandpaper.
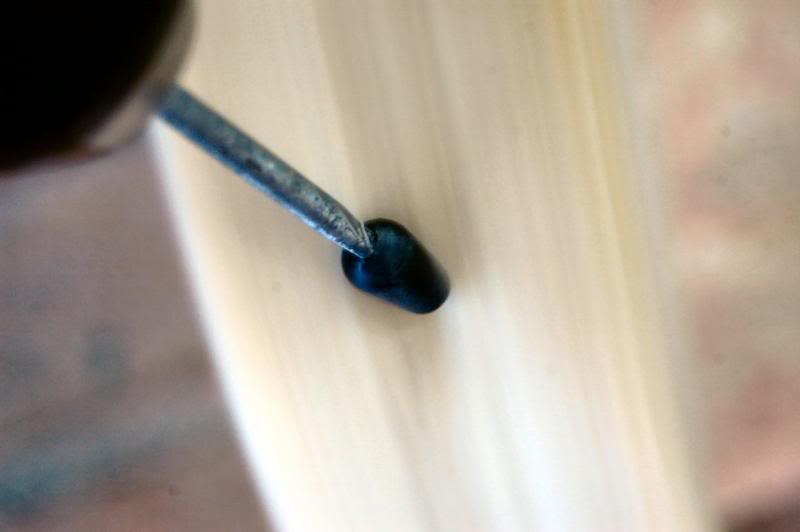
Now I step over to the buffing wheel and umm…. Buff.
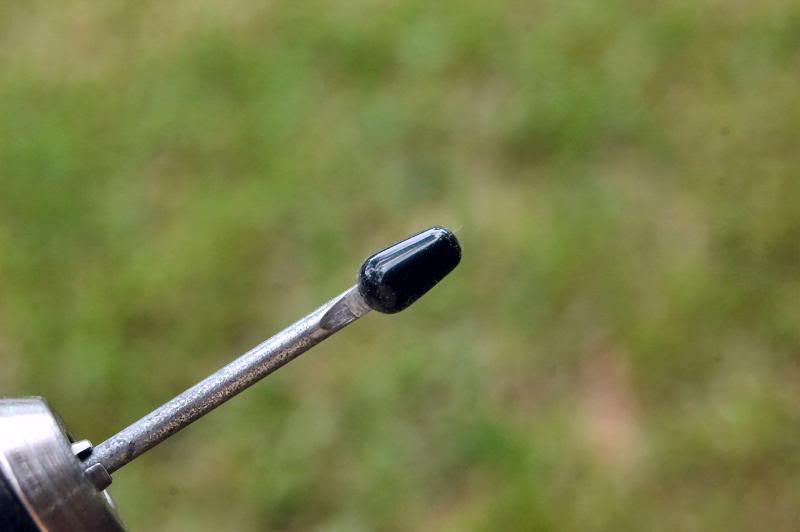
And the results looks like someone actually gave a hoot about what the subtleties looked like.
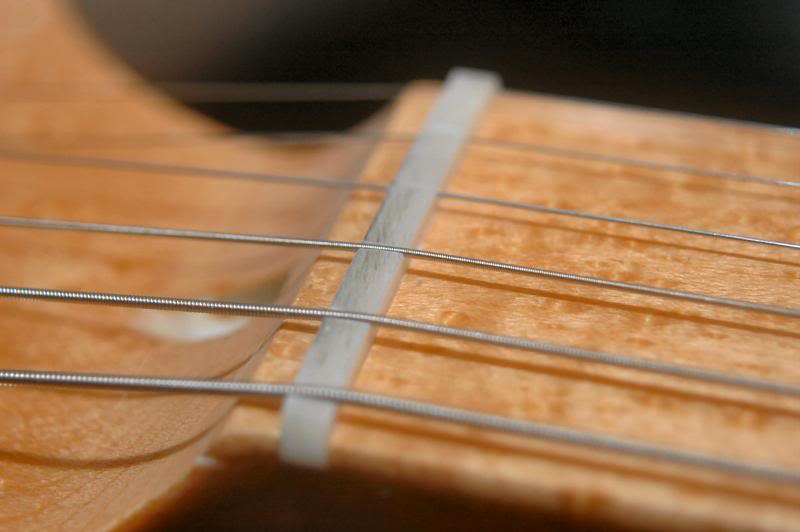
Now the nut is cut, but not finalized.
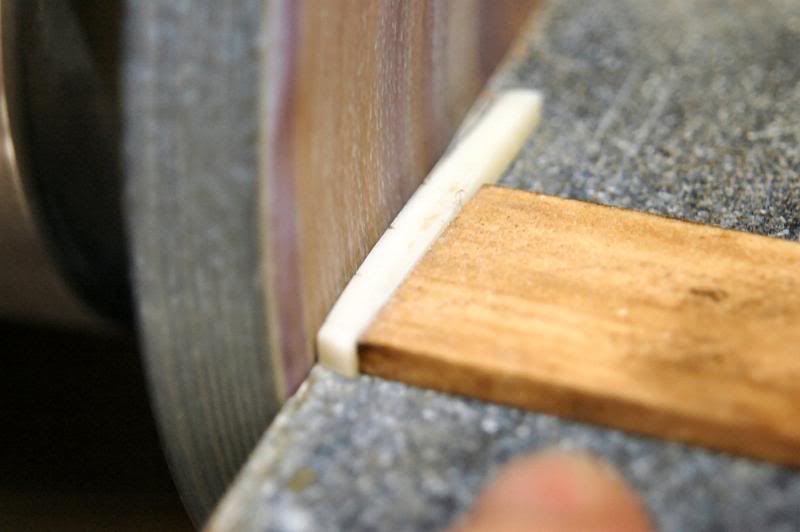
So I remove it, I haven’t glued it yet, so it’s just a matter of loosening the strings. I then take it to the sanding disk and do the final shaping. Since everyone seems to have their personal preferences as to how deep the slot should be, do yer thing.
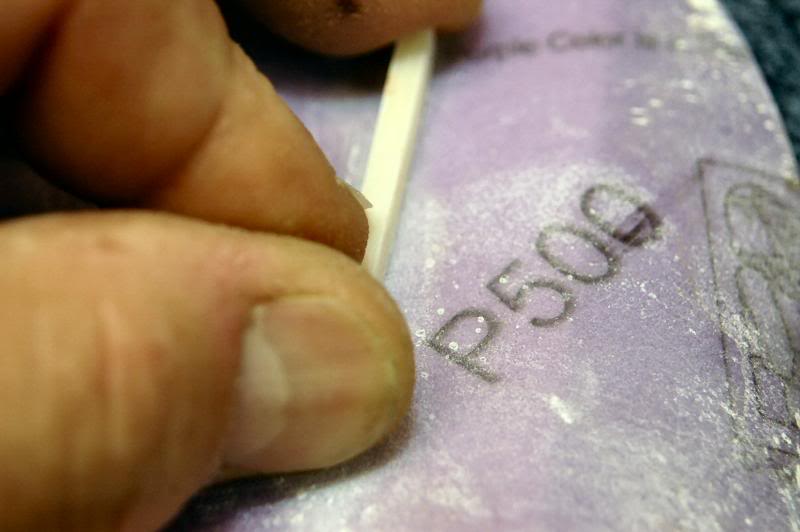
Then I take a piece of very fine paper, her 500 grit and run the nut’s top edge along the sandpaper to remove the course sanding marks.
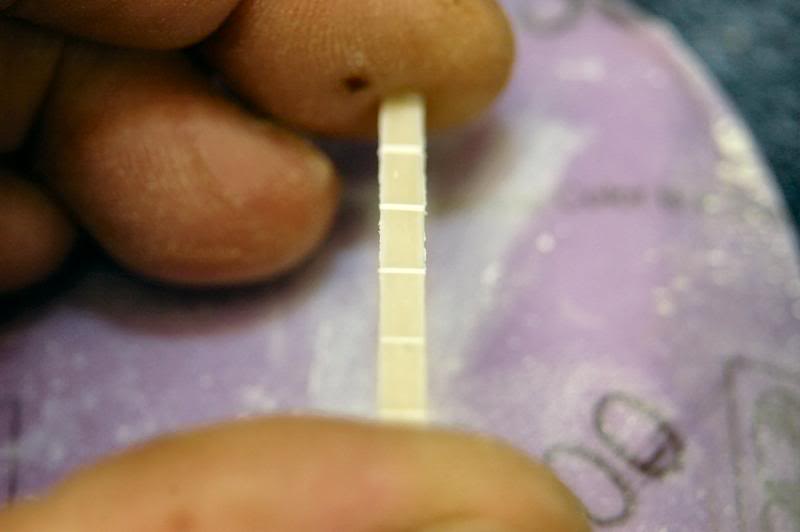
Running it laterally, will leave a very smooth surface.
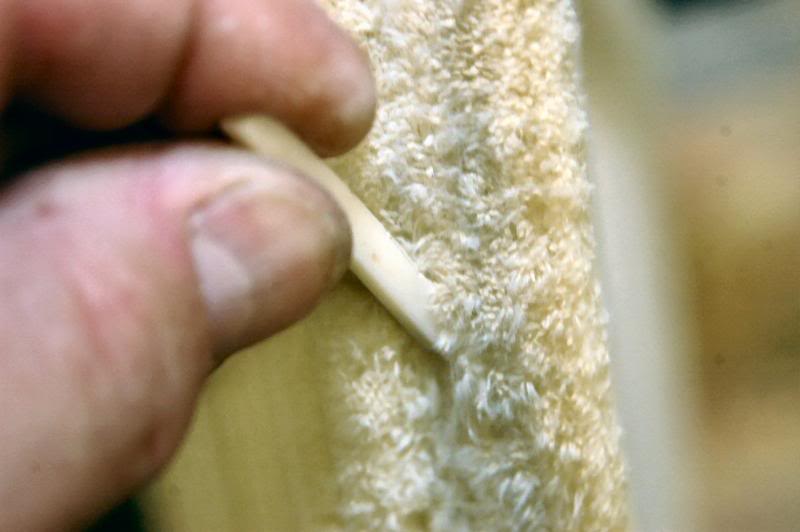
Now over to the buffing wheel again.
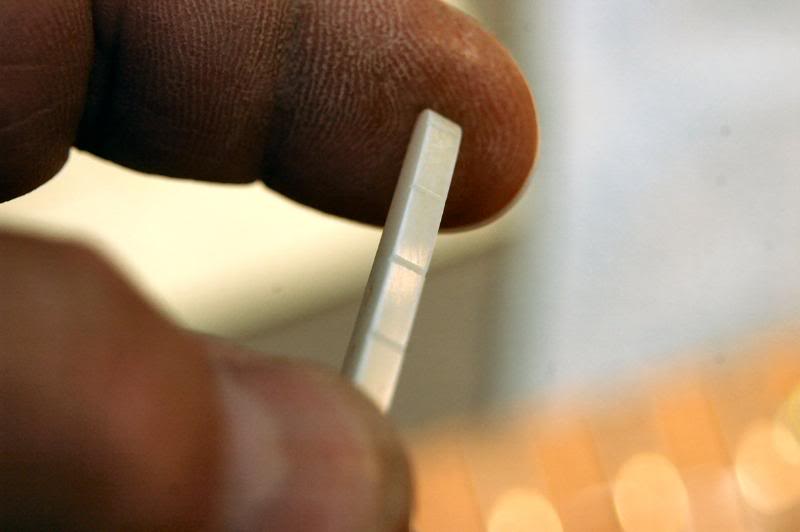
This only takes a few seconds, and produces a bone nut that looks more like Ivory than a lot of Ivory nuts I’ve seen over the years.
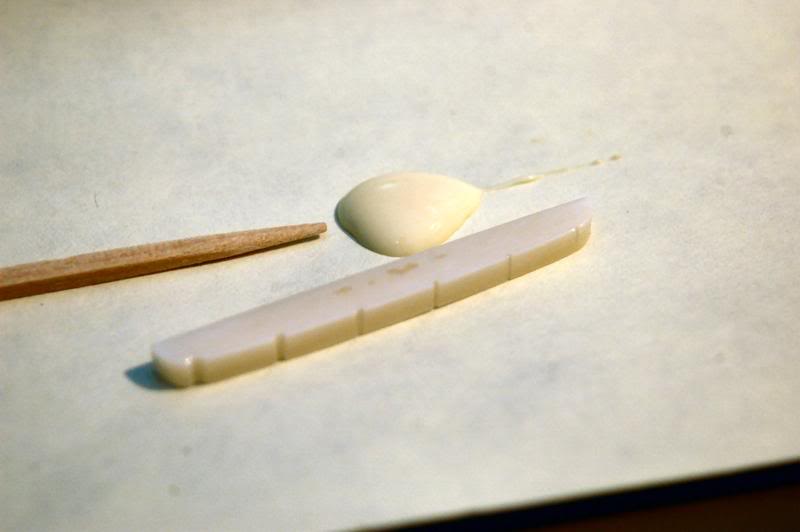
Now I assemble the nifty nut installation kit.
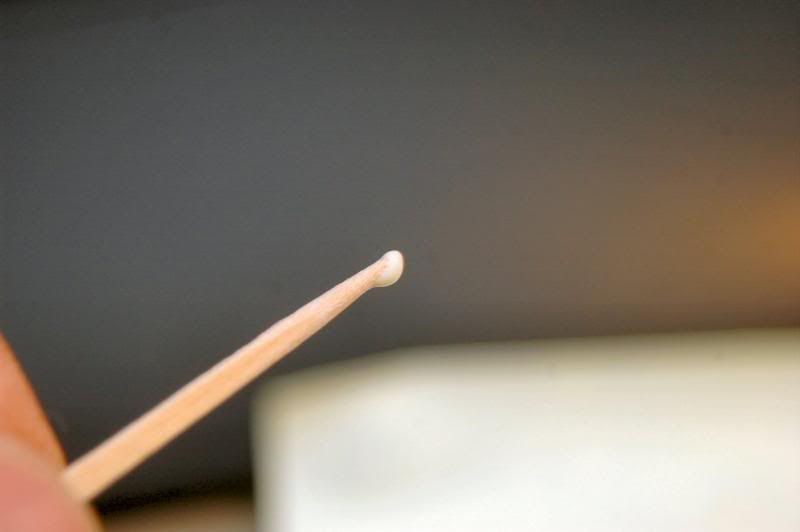
And taking the highly specialized “applicator”, load it up with glue.
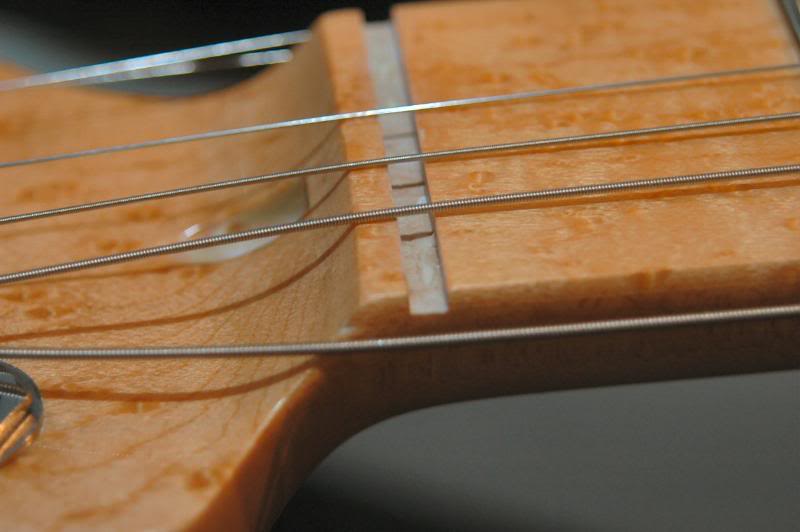
I now apply a dab of glue to each side of the nut slot, the spot is only about ¼ inch long on each side. I DO NOT apply a load of glue, you shouldn’t either. There is nothing structural here, the glue is only to keep the nut from falling out if you ever remove all the strings. And you may want to remove the little bugger one of these days.
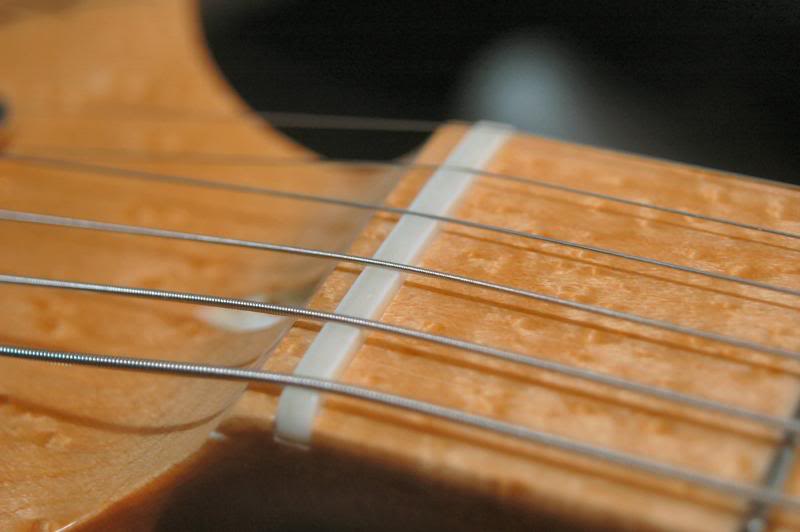
Replace the strings and the pressure will seat the nut. With that, this baby’s done.
To continue to Part 8 The Finished Sunburst S Type
Choose: Slide show viewing or Single Page


