How I Build Guitars
In my many years of working with guitarists and their instruments, there has been one recurring consistency, few really know what a superbly crafted and setup guitar actually feels like.
Let me apologize, it’s not my intent to sound arrogant, as you get to know me, you will find that I’m far removed from that attribute. It’s just that as guitarists become more and more talented and experienced, they tend to stay with one “go to” guitar. If it is encumbered by subtle anomalies, the guitarist will simply subconsciously adjust to accommodate them. Thus those “problems” will fade into the background noise of familiarity and become unnoticeable. . . UNTIL the guitarist encounters an instrument that is correctly setup. Once that happens, it’s off to the luthier with “old faithful”.
While I’d love to tell you mine are the finest playing guitars on the planet, that’s just not my nature. What I can say is that guitarists whom I respect state that my guitars are on a short list with those that are.
All my guitars receive the same attention to playability. Therefore even the Standard version will play with the same remarkable smoothness as my top of the line. Why? Simply stated, I just don’t know how to do it otherwise. I start construction with the goal of completing the guitar, I do not stop until I am satisfied the guitar feels and plays like a Professional’s instrument should. Compare that approach with whatever motivates the large manufacturers.
I will play, setup, play some more and re-setup, then play it for a week, then re-adjust ‘er until I can smile. Now there’s a problem with that. Since I actually play it, and re-play it, it’s really a used guitar. Yep, I said it, I can’t sell ya a new guitar, It’s got to pass my inspection, and that takes at least a week. During that week it morphs from a Newbie to a used axe. Aren’t ya glad?
So, here’s how I build ‘em.
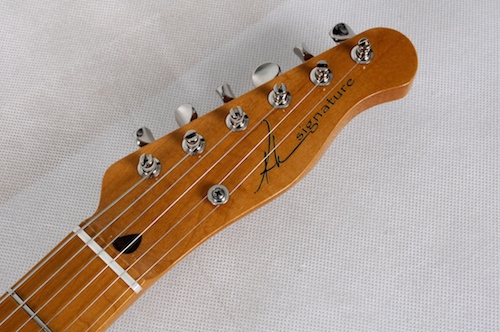
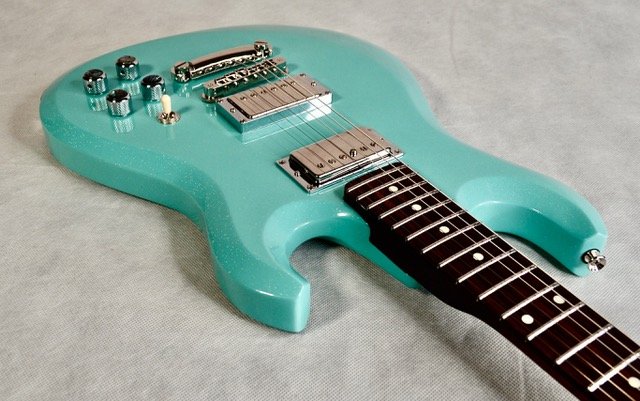
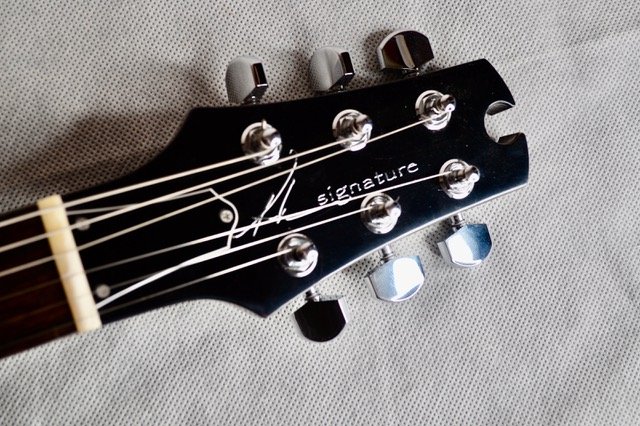
I begin with your choice of neck, ordered from one of several superb suppliers. I finalize the shape and roll the fingerboard edges to give it the feel of the vintage classics of the 60’s. If selected, it is tinted, then the decal of your choosing is added and then the neck is completely clear coated. Once dried and adequately cured it will be wet sanded, the fingerboard edges, headstock and heel are buffed to a high polish.
The back of the neck is hand lapped to give it the satin patina so many love in a well used guitar. It is done by hand. I NEVER use a satin finish by choice. (But if you want it, you can have it. It is your guitar.)
The reason I do not use a satin finish, is because I use genuine unmodified nitrocellulose lacquer. To achieve a satin finish chemicals have to be added to force the satin finish, thus it would no longer meet that criteria of unmodified.
Consider this thought about what’s happening in manufacturing and the use of “Nitrocellulose” finishes.
Today, finishes called “Nitrocellulose Lacquer” are Nitrocellulose BASED. This is a completely different formulation. It uses a completely different binder that can be chemically altered by light, radiation, heat, or what ever other accelerant the manufacturer chooses for his production line. The DRYING happens via a chemical catalyst contained in the lacquer so that it occurs in a few minutes. Thus, the Nitro used today really is not much different from the urethanes used on the Wal-Mart specials which also use chemically modified finishes.
The Catalyzed Urethane finishes many do not like, feel like plastic because that’s what they are. Pick up a true Nitro finished guitar and the finish feels alive. It reminds me of the living warmth in your granddaughter’s smile. It is immediately recognizable.
In the world of advertising and marketing the word lacquer has become a more generic term representing a sprayed finish, not a specific formulation. Like the guy that says, “I’m gonna lacquer my boat”, when he really is spraying a urethane varnish, not lacquer at all.
The Federal Trade Commission determines what a word means when used in the context of advertising. For instance, the word real, as in Real Chocolate, has been determined to have NO MEANING, where as genuine does. Therefore because there may be some nitrocellulose components, made from wood cells in the solution, it may be called Nitrocellulose. And since the word lacquer is used generically today, you will see the term Nitrocellulose Lacquer. Thus it is called nitrocellulose lacquer even though is bears nothing in common with the DuPont Duco or other similar genuine nitrocellulose lacquer finishes used in the 50s and early 60s, even though suggesting a misleading similarity is exactly why the word nitrocellulose is used by the manufacturer.
Today, the vast majority of guitar manufacturers including “you know who”, are claiming to finish their guitars with Nitrocellulose, are actually clear coating with the chemically modified nitro mentioned above, but, and get this, it is sprayed over a polyurethane or some other synthetic base coat, completely negating the reason for which most guitarists choose nitrocellulose lacquer. To further exacerbate the situation, the phony Nitro finishes are only available on the better, more costly guitars they are producing. Recently, it has been reported, one of the most widely recognized guitar manufacturers added a comment to their web site stating their Nitro finishes aren’t put down over Urethane. I have no doubt that is correct, but it begs the question. What exactly are they using as an undercoat? Because in a production oriented plant, they are NOT using Nitro on Nitro. That is simply too time consuming and there exists a plethora of other bazaar chemical concoctions that may be substituted.
Why would they do that you ask? Well, since you WANT a nitrocellulose lacquer finish, if they can make you think it is the same finish as that used 50 years ago, and still maintain the speed in the production, mission accomplished, from the manufacturers marketing departments view point.
Sadly, DuPont no longer makes the DuPont Duco Fender® used from ’49 until CBS made the change to urethanes in the 60’. Not to worry, Mike Longworth of C F Martin introduced me to Sherwin William’s Nitrocellulose in 1967, it is virtually identical to the DuPont product, and readily available. I use Genuine Nitrocellulose Lacquer, the only exception is if a finish has been requested that simply cannot be done in nitro.
But I digress. Back to the neck.
Next a complete fret leveling and crowning is done. Some will argue such treatment should not be required on a new neck. This is completely incorrect. All necks made require this process and this is why. When the frets are pressed into the neck by any one of a number of accepted methods they will encounter varying densities within the same fingerboard. This will cause some frets to settle in further than others. A difference of only .001 inch at the 14 th fret would require an action of over 1/16” at that fret if the note played at the 13 th is not to buzz. By leveling, that action can generally be reduced to a few thousandths of an inch.
After leveling, crowning and polishing the frets, the keys and retainer are mounted and the neck is ready to go.
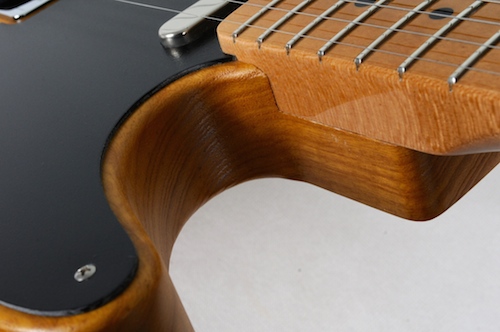
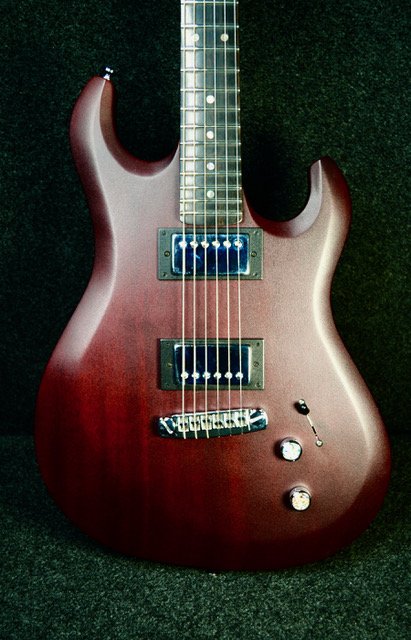
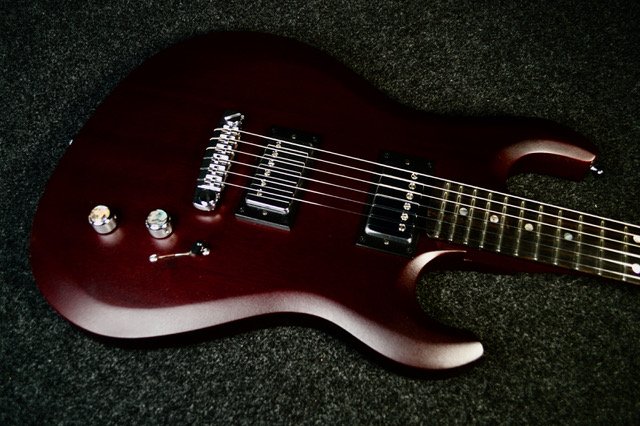
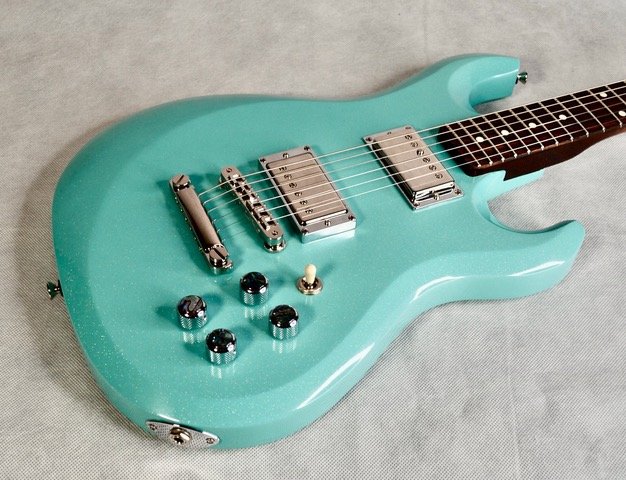
The body receives similar attention, but I hand make all the bodies I use, unless you specify something different. Using routers and templates, the bodies are shaped much like they were 50 years ago in Fullerton. After shaping, sanding finalizes that stage.
Again when finishing, nothing but Nitrocellulose goes on the body. This is a far more costly method of finishing. The only exceptions are if a color coat is selected that simply is not available in Nitro or when a uniquely open grained lumber is selected. Other than those, it’s Nitrocellulose through and through. Once dried properly--about 3 weeks are allowed for curing, it is polished.
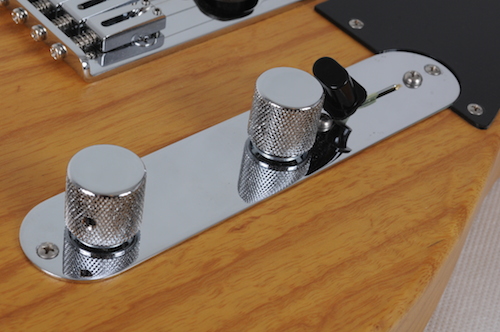
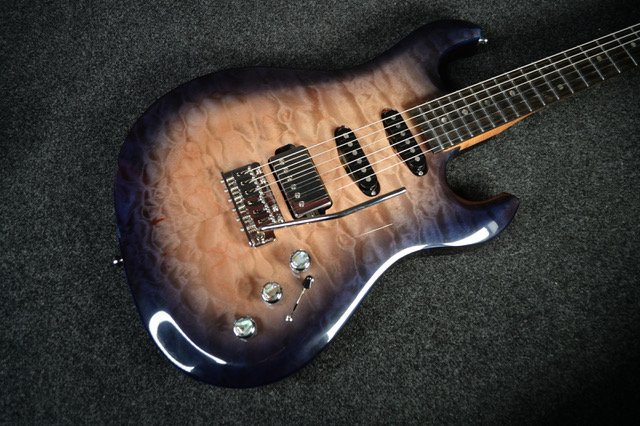
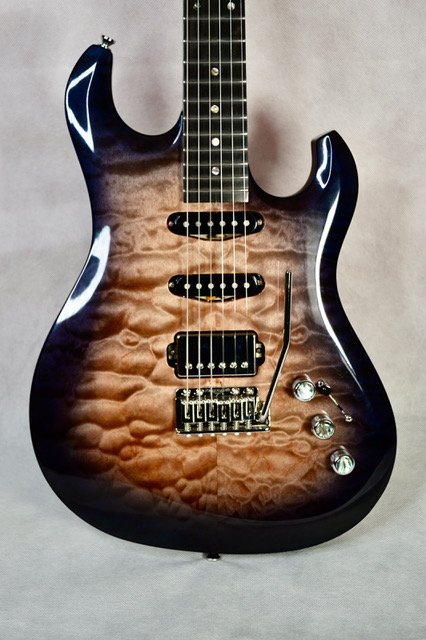
The Stratocaster® inspired guitar receives complete shielding, pure copper in the deluxe models. Silver solder, vintage wiring and genuine CTS pots are used. Then final assembly is completed.
The setup takes at the very least several days.
The nut will be rough cut, the guitar strung and tuned, and the Tremolo adjusted, retuned and readjusted.
Now, the nut is cut further to bring the action down to approximately where it will eventually be. Also note, the nuts are genuine bone, Corian, or in the top of the line, Sterling Silver. The bridge saddles are adjusted for string height, intonation, and the pickups are adjusted. Pickups do have a sweet spot.
The truss rod adjustment is checked and set. At this point the guitar will be set aside for a day to allow the wood fibers to acclimate to the stresses of the string tension. I ship the guitar fully strung and ready for playing. When restringing, I recommend doing so one string at a time so that the neck remains under tension. It is a precision setup, and the slight movement caused by releasing the tension can alter the geometry. It would require several hours to return to optimum under tension.
Day two, the entire process is repeated, and re checked. Now I will begin playing, and playing, and playing…. I give it enough attention to assure any little gremlins can be uncovered and purged from the complete assembly. I’ll let ‘er sit another day or so then recheck everything.
Once I’m happy, I’m pretty sure you will be too, because I am my own toughest critic. But I do it because I love building guitars, and if I’m going to send one out into the world, I must be proud of it.
You’re going to love playing a performance tuned instrument, but just like the dangers inherent in putting an amateur in an Indy car, and the confidence of seeing a trained professional driver take the seat, I recommend my guitars for the advanced player.

