Sunburst Strat Build
Part Five - Body Finishing

The BODY!! Oh yeah! That babe should be about ready…..let’s rock. This time, I’m using a power sander on a variable speed control to do the initial “break glaze” its 500 grit being used wet with water. This tales literally about 1 minute to do both sides. I only do this to break the glaze and allow the hand sanding to gain “purchase” much quicker.
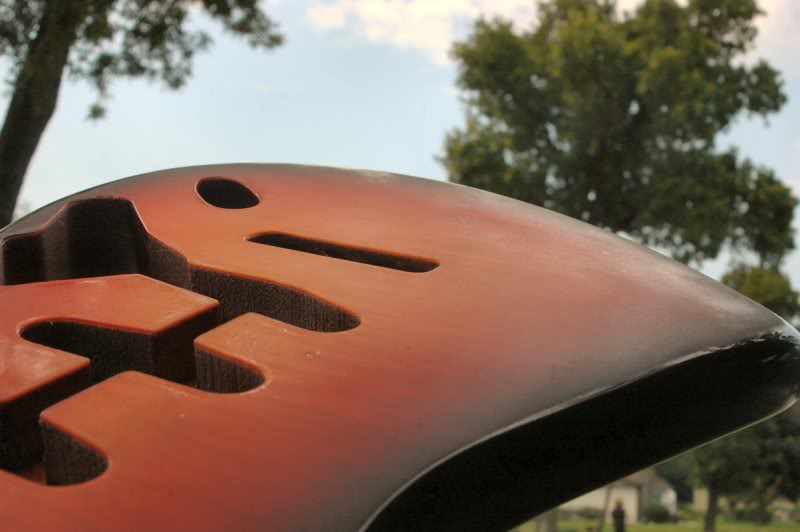
As you can see in this shot, the surface is darn near ready for polishing...
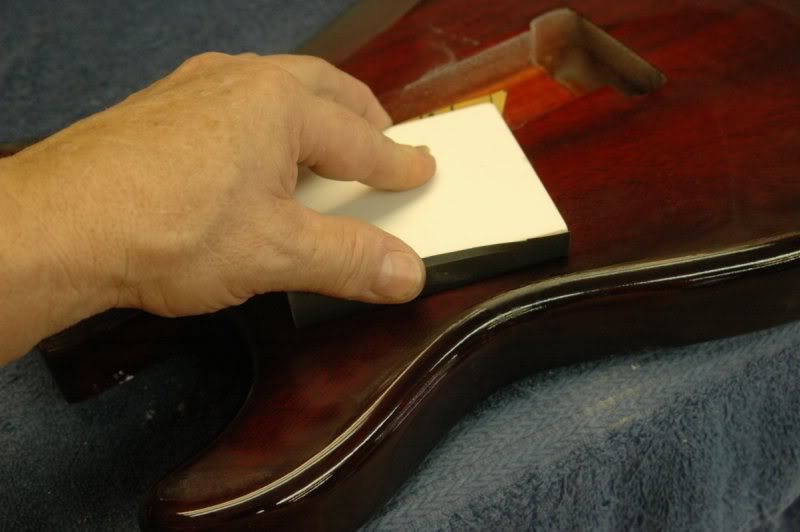
...but I’ll go over it by hand with 800 grit first.

As you're sanding, keep stopping, allowing the surface to dry thoroughly and looking at reflected light to find any “low” spots, they will be shiny.
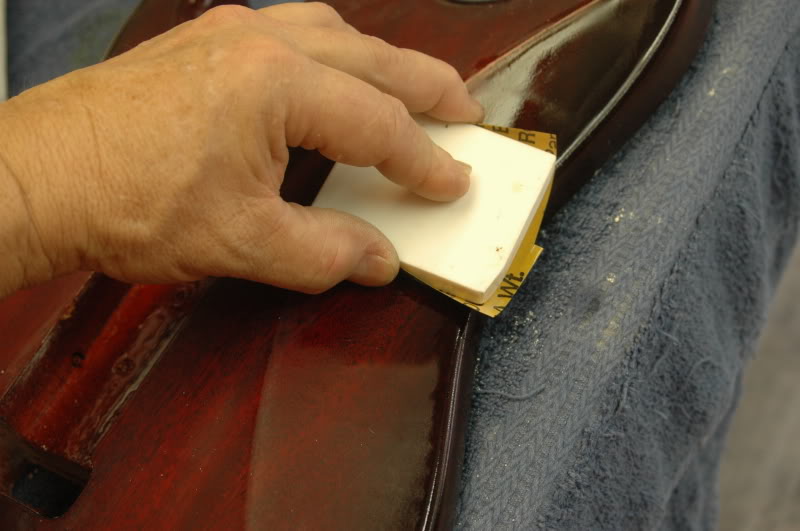
As you’re looking for the low spots, they tend to be along the edge, they can be quickly removed by hand sanding, but doing so will result in a less than Plano-flat surface. If you continue using the block on those areas, your final gloss will be virtually mirror flat. To do concave curves, I made a slight rounded block, this one is made from Corian.
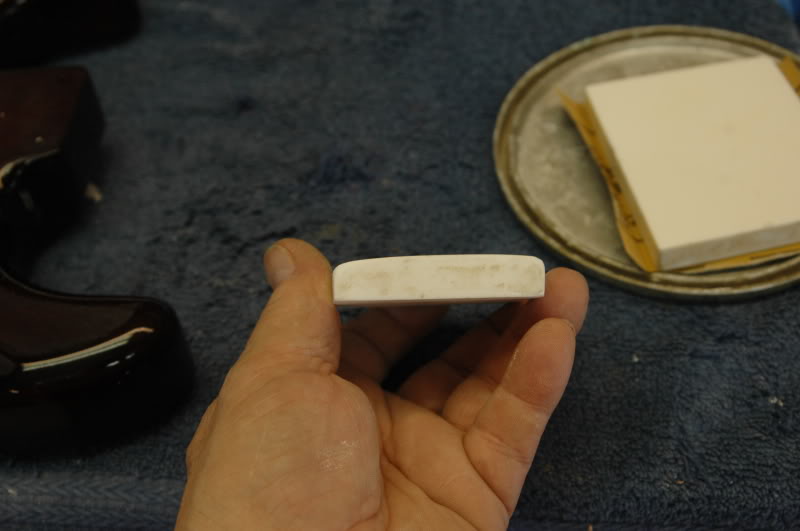
It follows the curve much easier than trying to “make do” with whatever you can find.

The results are spectacular.
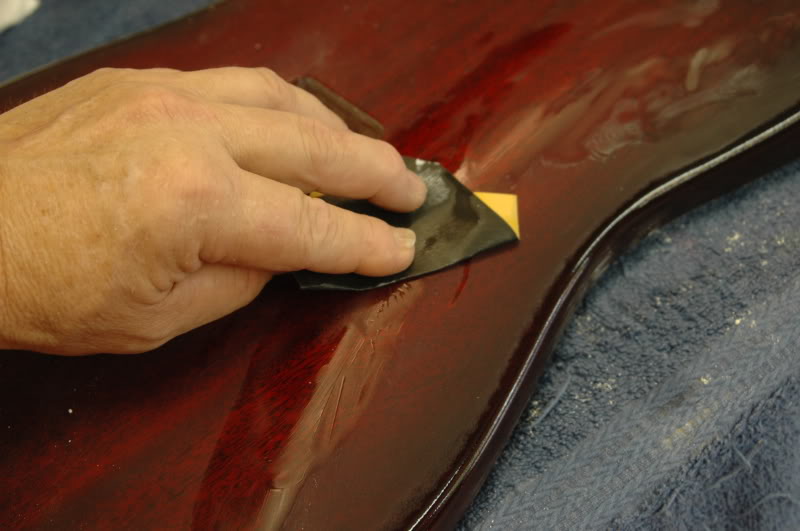
Now the areas where a flat block just are not appropriate, I use my good ‘ol fingers.
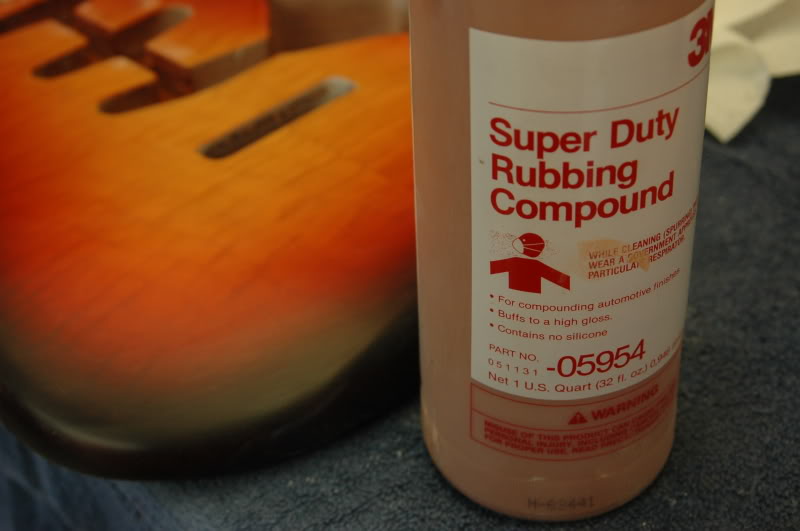
Once she’s all wet sanded, it’s time to choose one of many different ways to polish. For those long on elbow grease and short on bux, you can use plain old automotive cleaner car wax, it will do a super job too. Just rub the heck out of the body and you’re done. I use a little faster approach. First up is red rubbing compound. If you sanded to about 3000 grit wet or dry, you can skip this step, but this is a heck of a lot less fatiguing. This is available in a pint at your local auto parts store over by the finishing goodies, but I use it in the quart size squirt bottle.
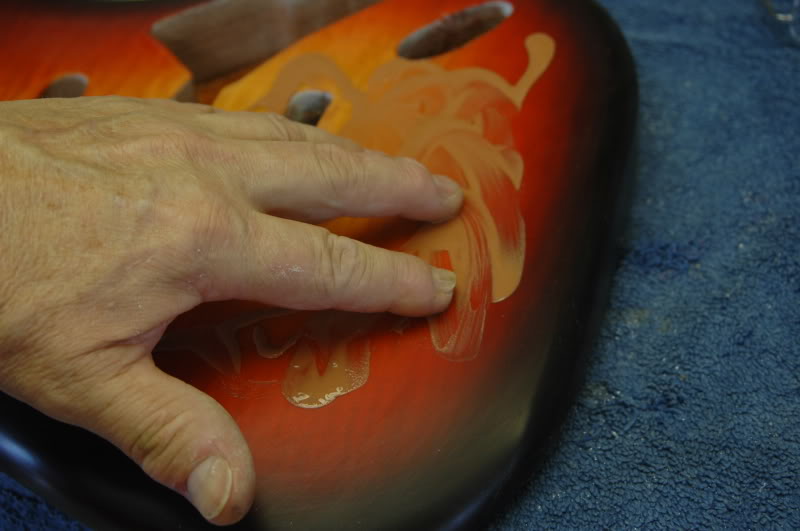
I use a very “tactile” method of distributing the compound once it leaves the bottle, it takes me back to finger painting in kindergarten.
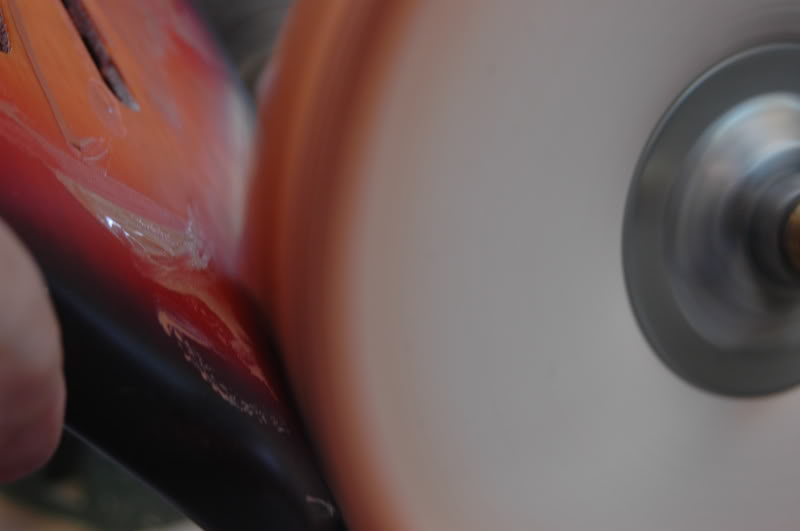
Then it's to the buffing wheel at about 700 rpm, and a gentle quick touch. This stuff will burn through faster ‘n you can say... um... "Dammmm I hate it when that happens.” You will notice the wheel shows red residue, that’s because I use a specific wheel for the specific compound, you don’t want to move to the next finer grade using the same wheel.

In a few minutes, literally, you have a semi buffed surface. All this is doing is removing the microscopic scratches left by the wet or dry paper. Now we move up to a finer polishing compound.
The fine polishing compound is usually identified by a white color; here I'm using a compound stick, its compound suspended in a "wax" substrate. You simply "charge" the buffing wheel by holding the stick against it for a few seconds.
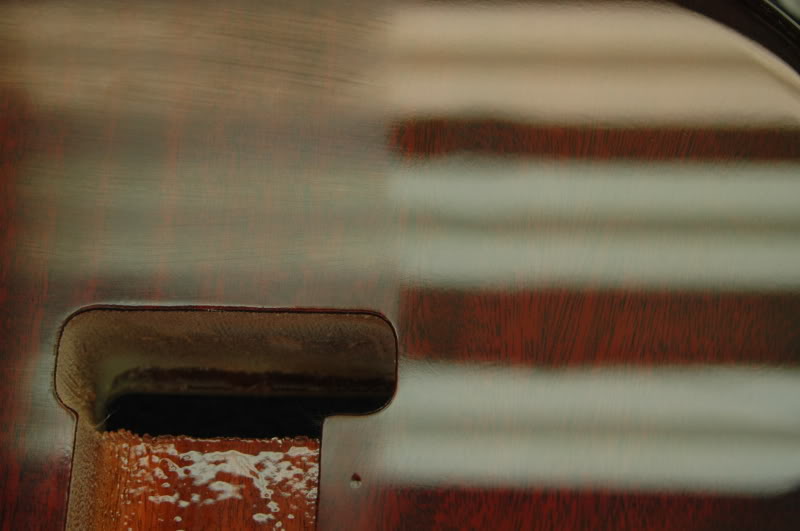
Here you can see the difference about 10 seconds makes between the red compound, and the white. Oh, at the auto parts store, next to the cans of red compound, you will see the white. This is the finer, roughly the equivalent of the compound stick I’m using here.
Now, it’s simply a matter of buffing the entire surface. A word of caution for those venturing into this world for the first time. DO NOT buy a small polishing wheel for your Craftsman Grinder, it rotates at 3480 RPM or thereabouts and will burn the finish right off the body and take a bit of wood too, so fast you won’t believe it happened. You must use a relatively slow speed RPM to prevent learning that first unpleasant lesson.
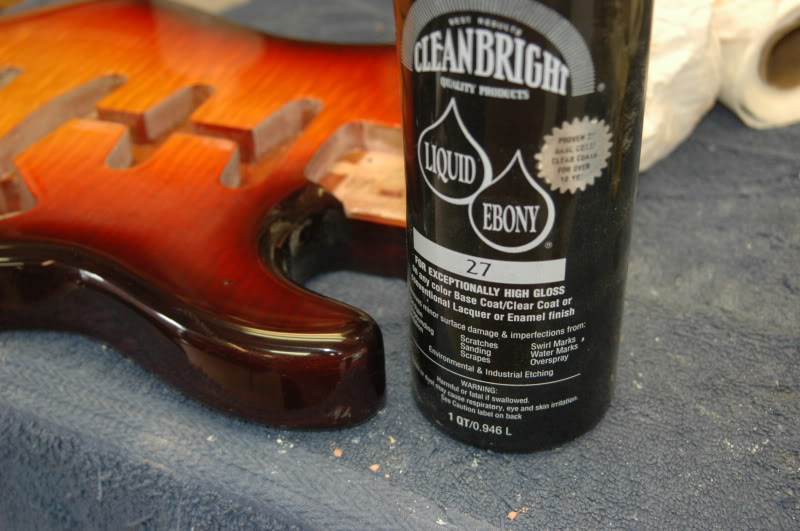
After the entire body is buffed, examine it carefully, making certain it is indeed done. Then you can now choose several other methods to finalize the polishing. Simply wax the body, it’ll look darn good, or use one of the many automotive glamour waxes to give it a wet appearance. Or, as I do, I move to an extremely fine polishing compound, roughly equivalent to 10 to 20,000 grit they tell me. It’s a super fine volcanic ash suspended in something wet (that’s the technical description) but it does put down a hellava shine.
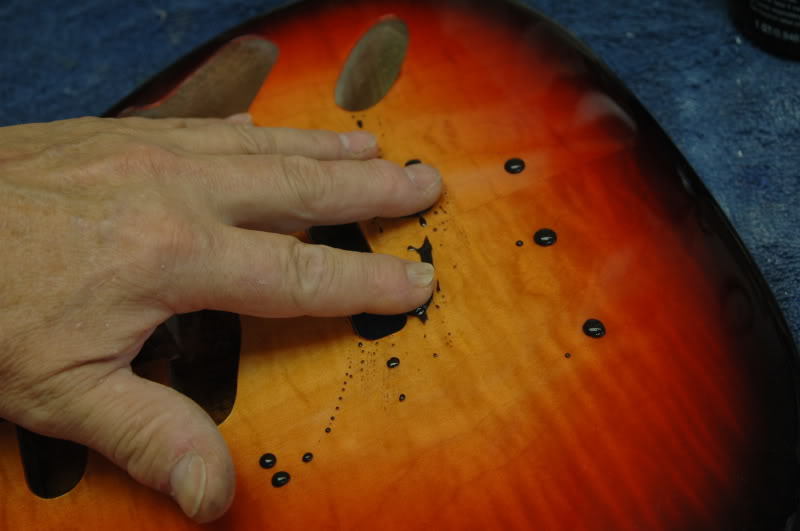
Again, I rely on my tactile method of application, you will notice its very wet and it only takes a few drops from the bottle. Interestingly it also smells a lot like burnt rock.
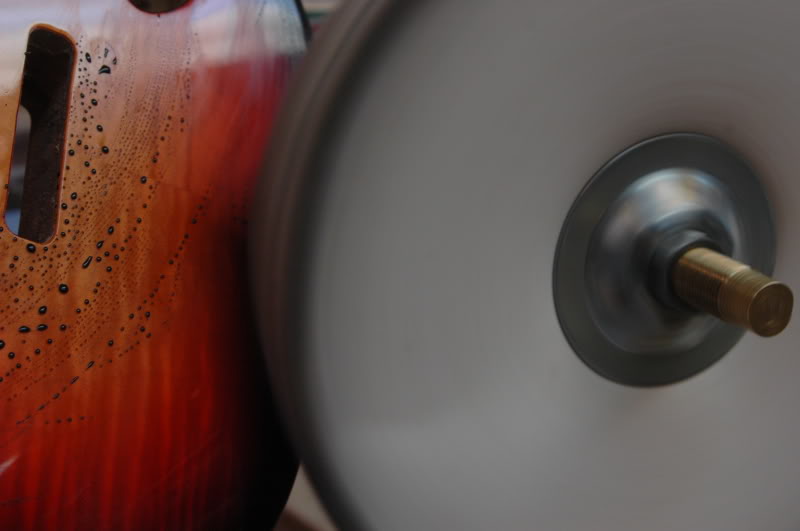
And back to the buffing wheel. Once again, I have changed to the appropriate wheel for the compound.
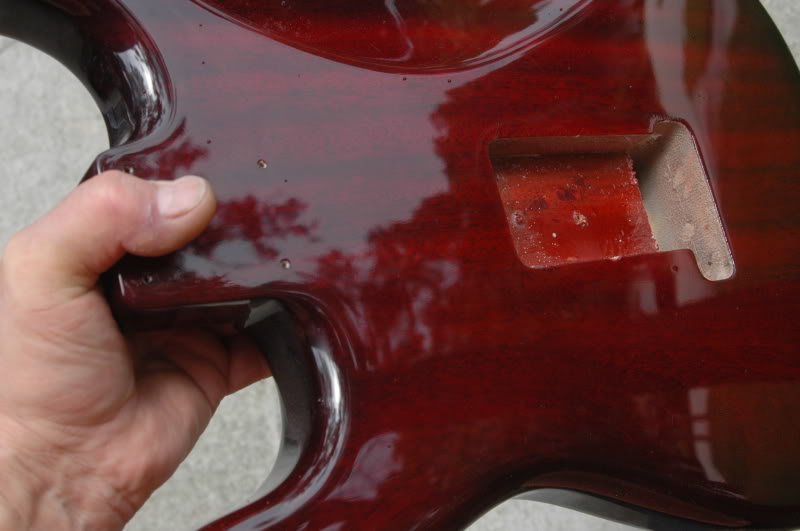
Go all over the body once again, adding compound as necessary. And the results, is one shiny body. At this point, I’ll give the entire body a coat of a good wax. It simply adds a layer of protection as we enter the home stretch.
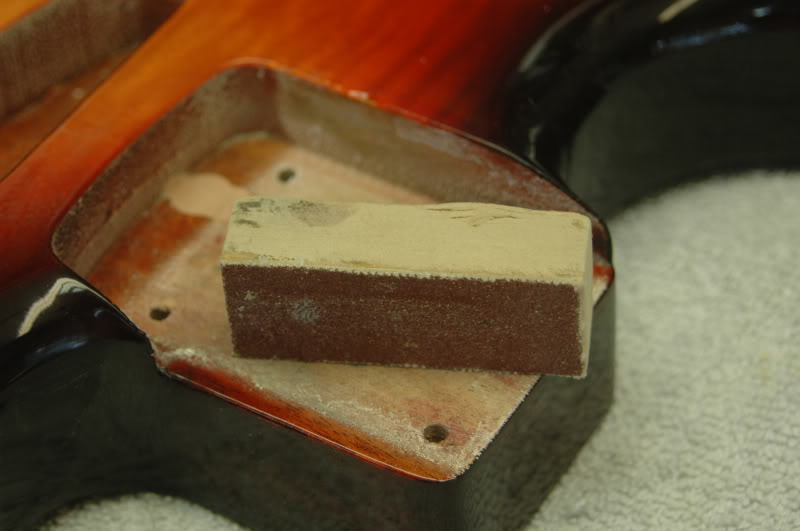
At this point, I’ll fit the neck to the pocket. As I’m making the body, I keep things tight, knowing that as I add lacquer to the neck, it will get even tighter, therefore I’ll take a small block I have made...
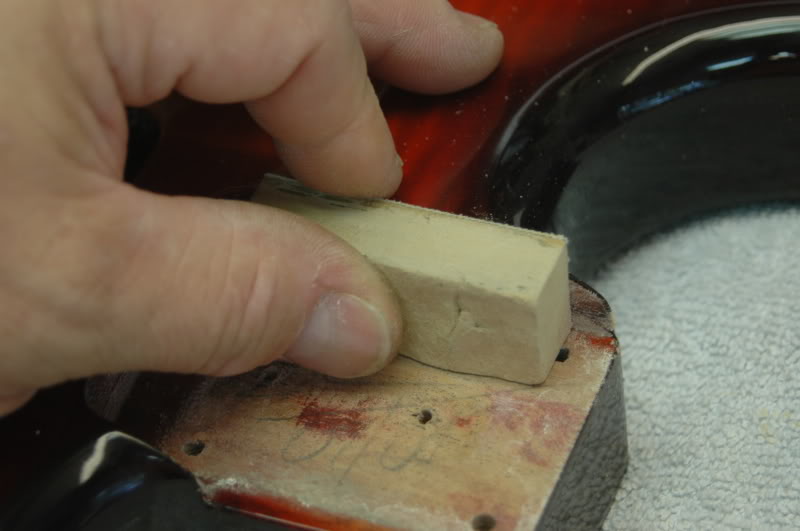
...and remove lacquer buildup and a few thousandths from the inside edges of the neck pocket.
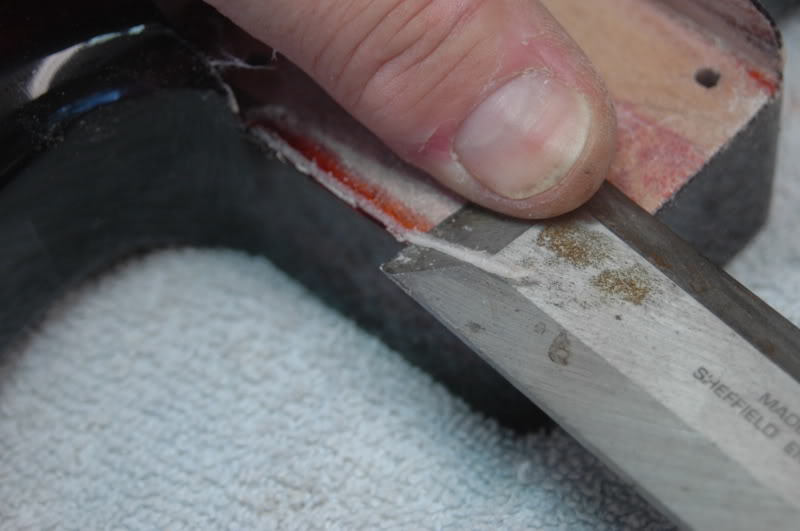
I will also remove any accumulated crud from the neck pocket. Here, the lacquer buildup.

This gives me a clean floor for the neck.
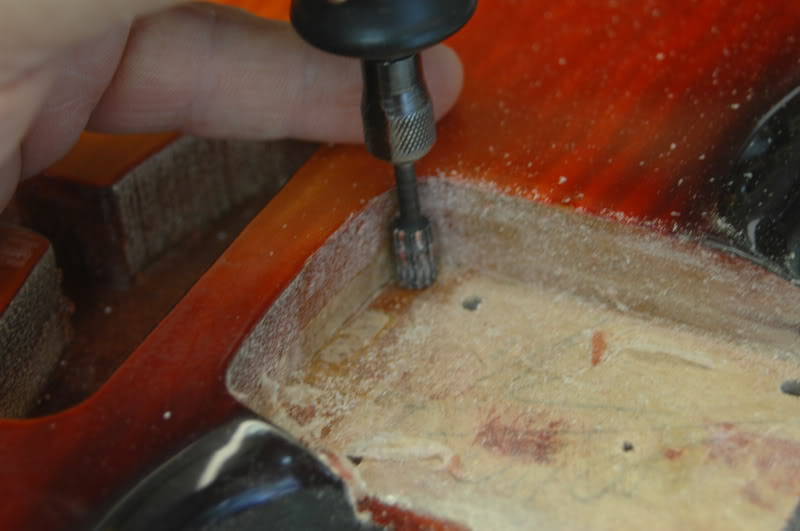
Taking the Dremel, I’ll go at the lacquer on the walls to get a secure fit.
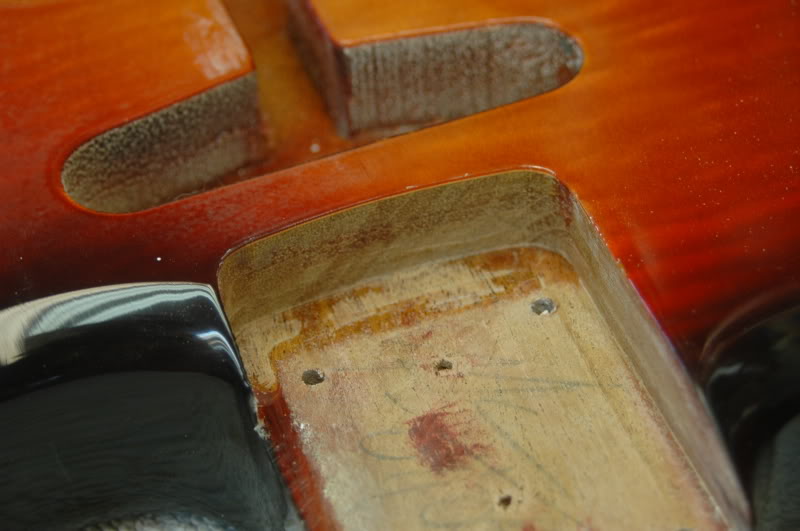
And follow up by scraping any remaining funk into oblivion.
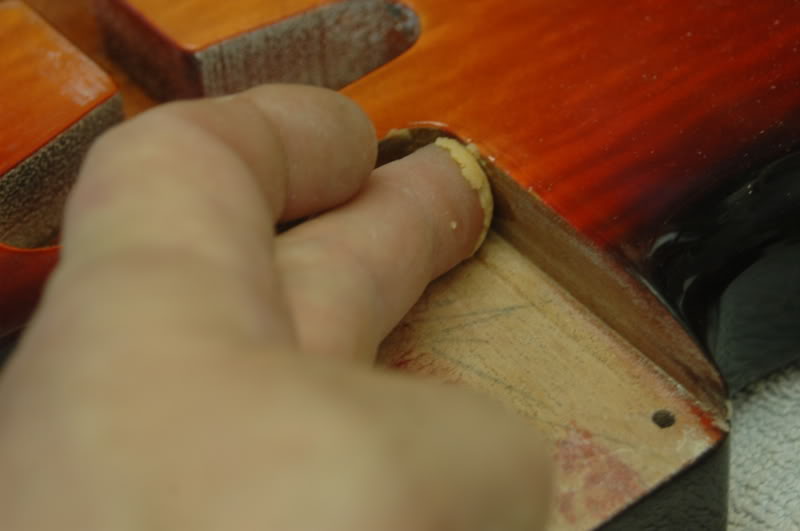
Because I know it’s snug, I give the walls a good coat of wax, Minwax Finishing wax here, but there are plenty of other brands available.
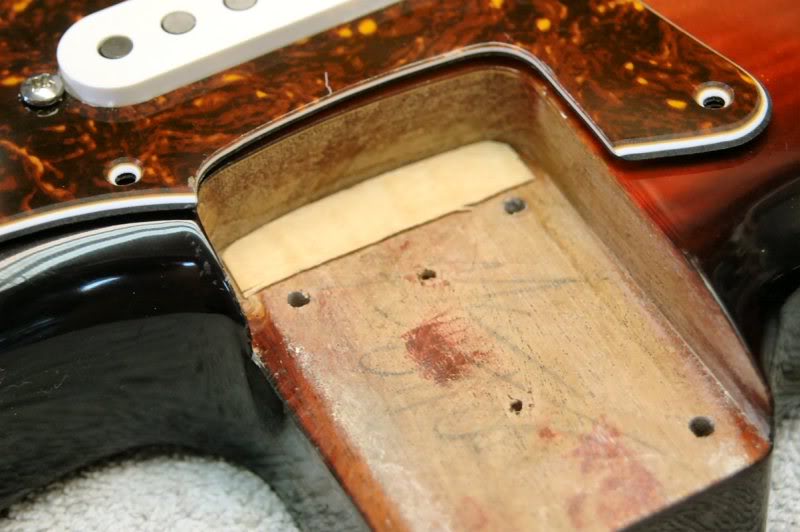
Throw in the shim, I shim all my S-types, then it’s time to get serious. For those wondering why go to al the trouble of removing all the funk if I was going to shim, well, why not??
To continue to Part 6 Finishing Touches
Choose: Slide show viewing or Single Page


Shaping the Body | Color and Lacquer | The Neck | Pickguard and Electronics | Body Finishing | NEXT - Finishing Touches | Final Assembly and Setup | Finished Sunburst Strat