Sunburst Strat Build
Part Two - Color and Lacquer
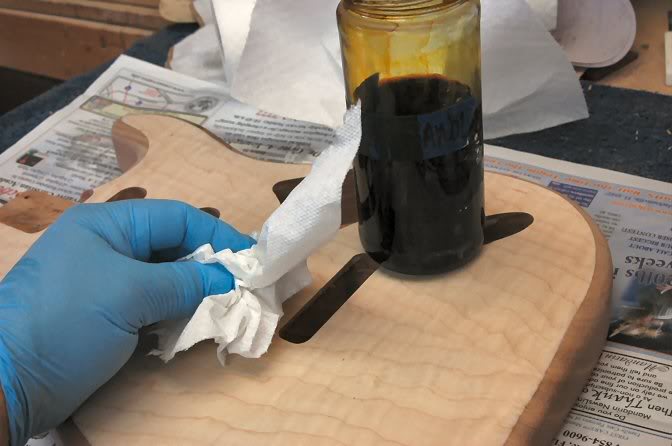
It’s time for Latex world.
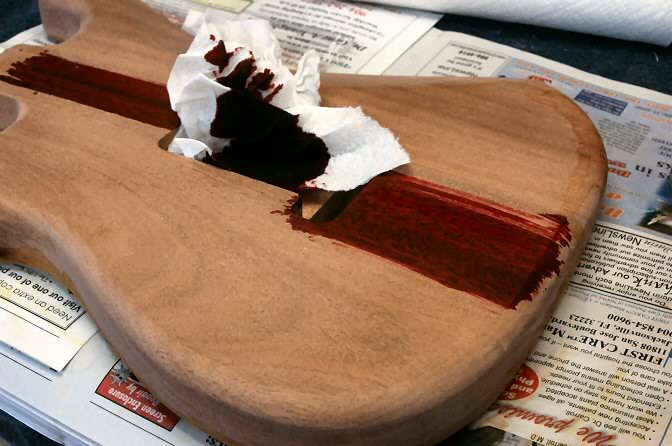
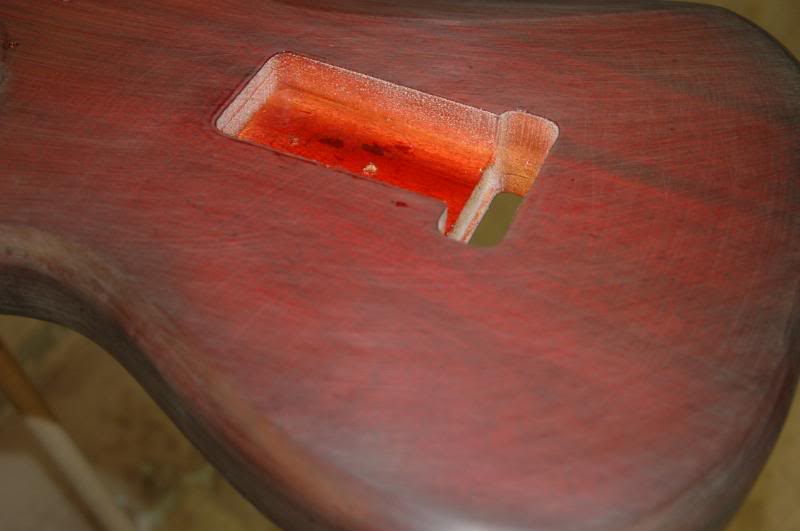
I can’t stop to show the steps because this is an alcohol based dye, and dries at light speed, so there isn’t time to clean hands, find camera, focus, shoot, and resume. By that time the stuff’s dry and streaks would happen. But I stain the wood, while you can tint the lacquer (I do that too) by staining the wood first, the grain really pops out. So yellow on top, red on the mahogany on back.
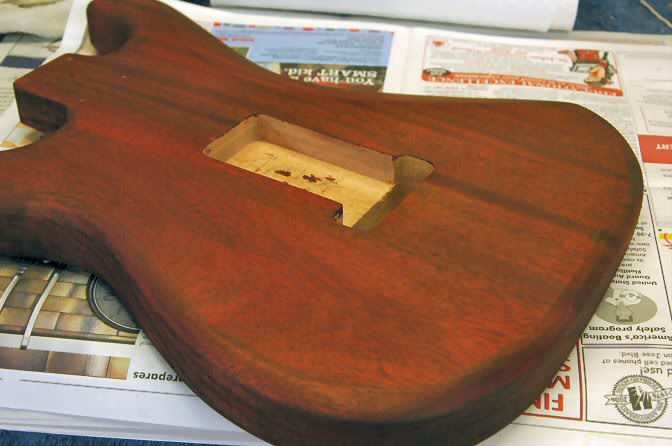
The red doesn’t streak like the yellow does. This is Sherwin Williams Universal Dye, an Acid dye, we think. Don’t get it on ya. It only comes off via abrasion.
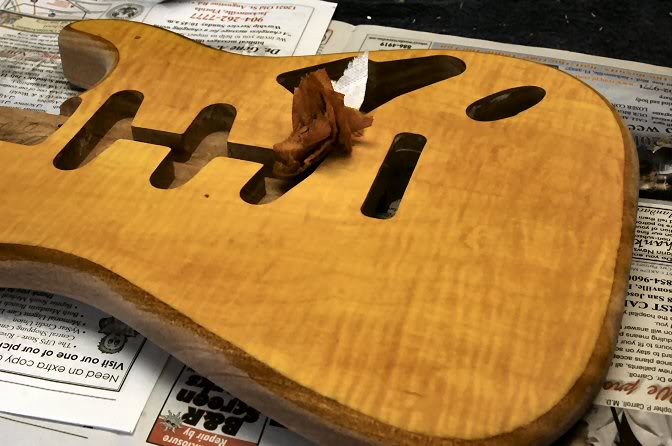
And the yellow side. Looks pretty darn yeller don’t it? So I take a clean paper towel, soaked with alcohol and wipe it down, a few times.. this reduces the intensity by allowing the color to be absorbed into the wood. Oh, dye vs. stain…. Dye soaks into the surface. The wood is now what ever color you dyed it. Stain lays on the top, kinda like a thin paint.
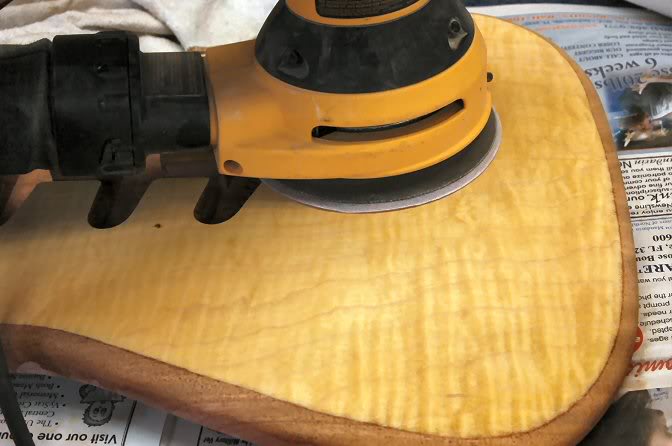
So I wash it down a couple of times, and let it dry to analyze the shade. Then I’ll lightly sand. What this does is take away some of the “high” spots, which leaves the lower areas really intense.
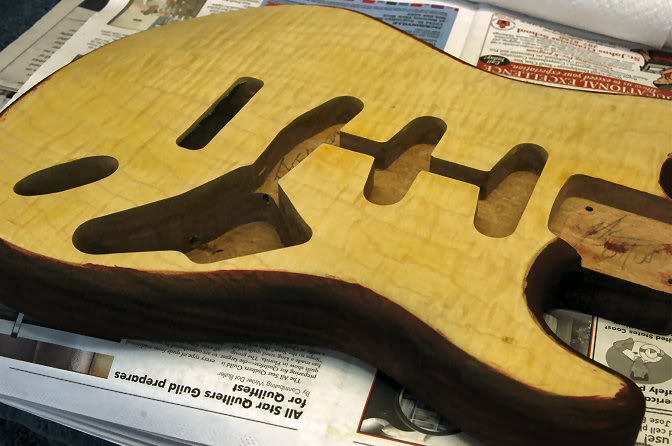
She’s now ready to get dressed.
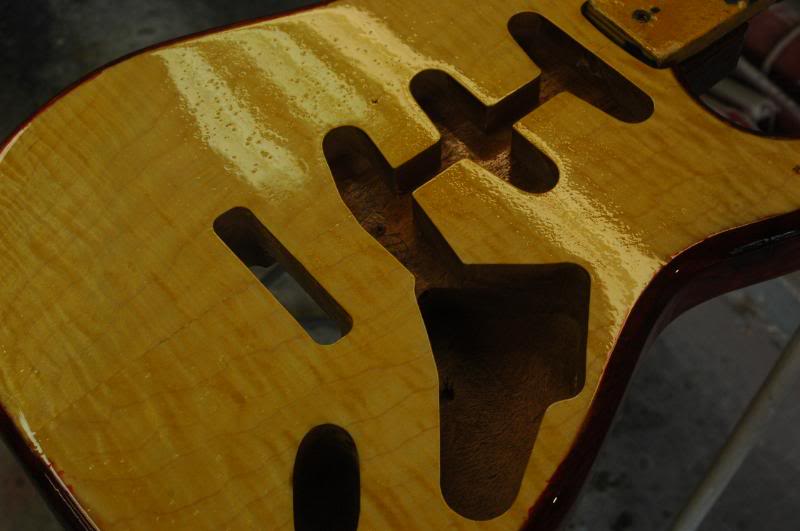
Allow it to dry over night to be certain all the alcohol has evaporated, then I shoot it, front and back with a few coats of a clear, very clear, sealer.
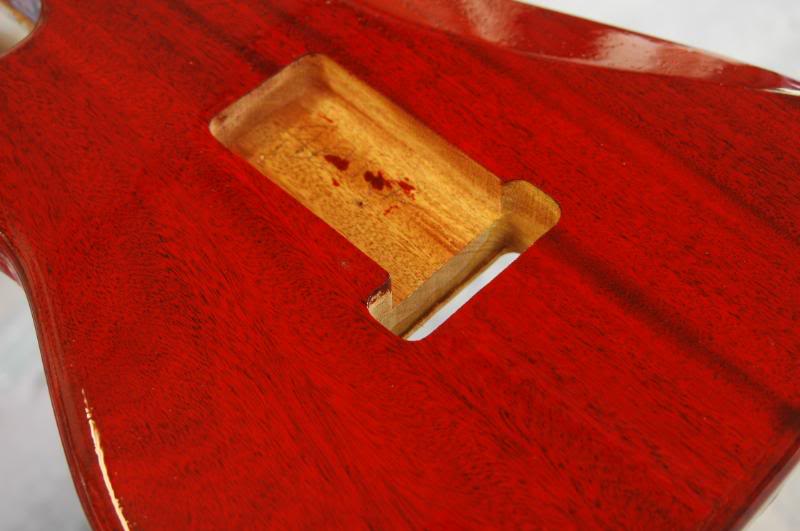
I’ll give it a few coats, then a good sanding with 220. Maybe a few more coats, then it hangs for a few days. FYI, I rarely use grain filler. I'll apply the sealer, sand most off and recoat, and it's ready for lacquer.
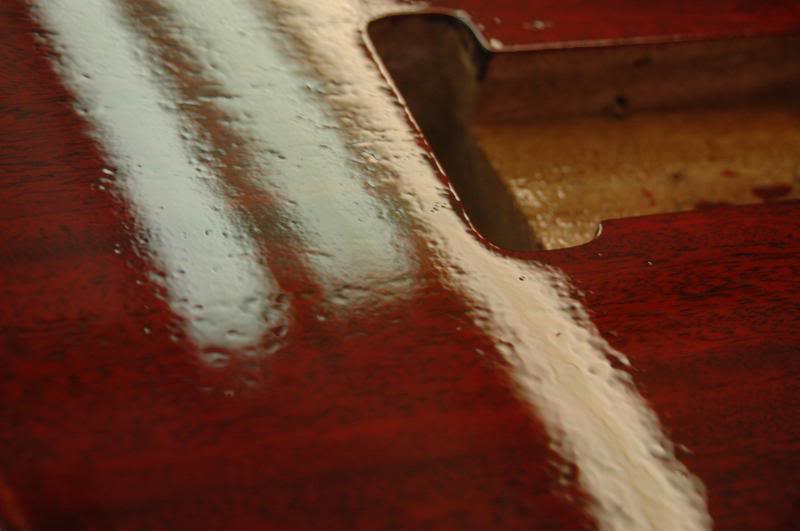
Ok so I have a coat of sealer on ‘er. I keep applying coats until I have a completely sealed surface. I watch the light’s reflection as I spray, watching for small points where the coat doesn’t cover minute grain irregularities. If a few show, I’ll touch them with a needle to release any trapped air while the coat is very wet.
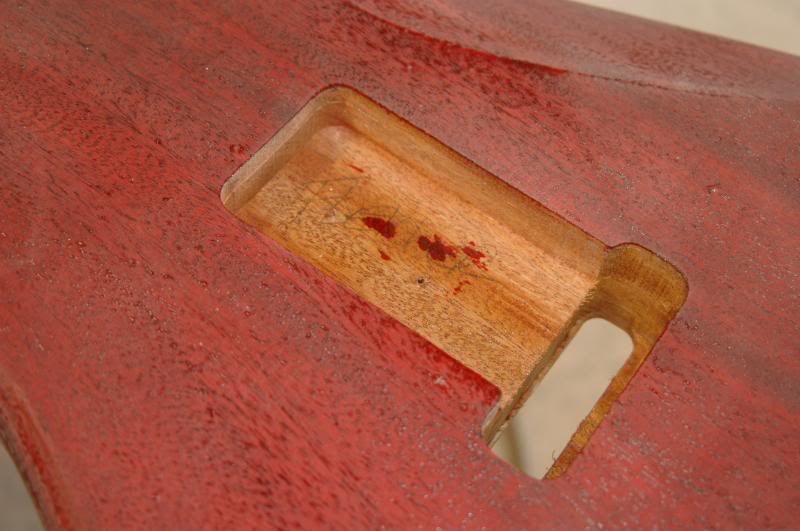
Once I see complete coverage, I allow it to dry thoroughly. By thoroughly I mean is has to be able to “powder” when sanded. Many sealers will feel quite dry after a few hours, but try to sand it and it “loads up”. This means the particles of the finish removed are still sticky enough to bind together, leaving “globs" of finish stuck in the sandpaper. Imagine sanding old chewing gum. It just does not work.
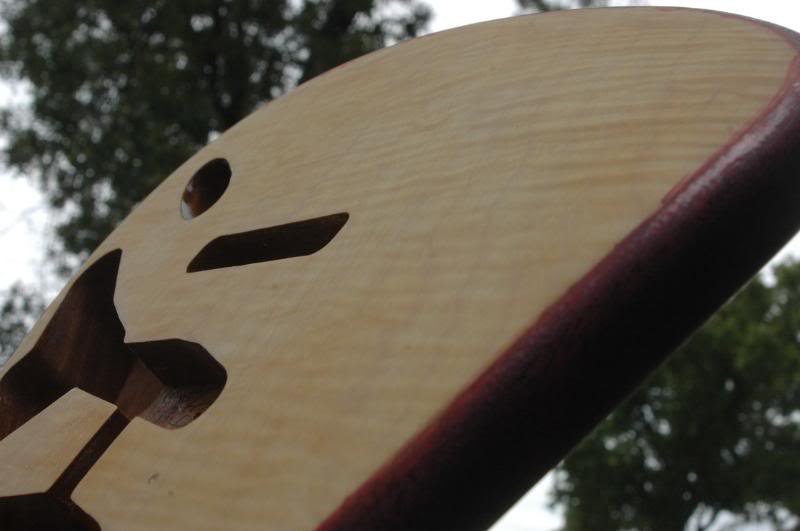
After sanding..
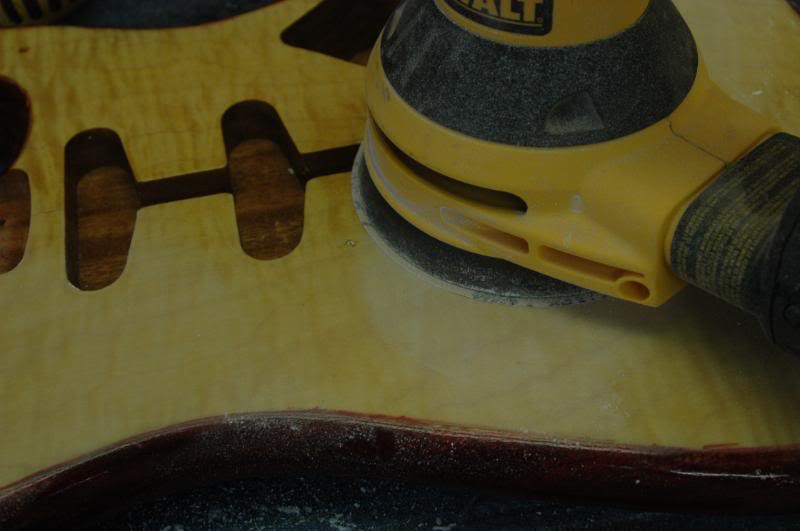
And more sanding. I now give it a good sanding with 320. This is to ensure adhesion between the lacquer and the sealer.
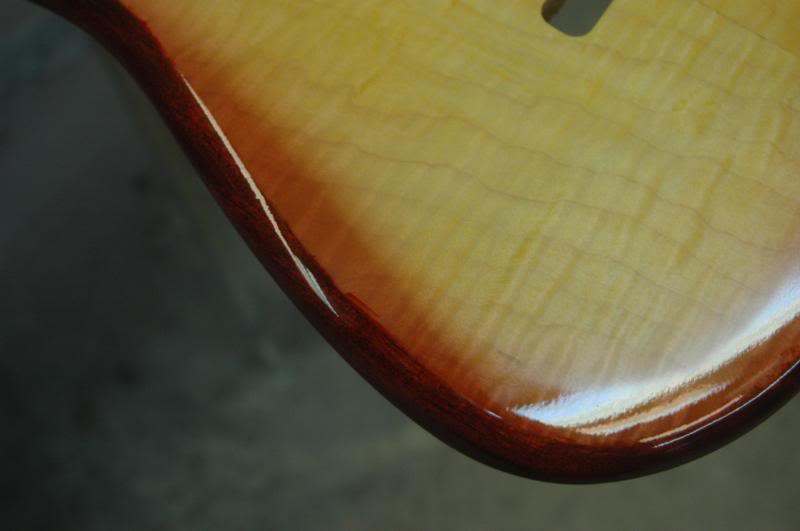
And it’s time to begin. First I give the whole body a coat of clear lacquer, then begin with the edge by shooting a dark coat. Being careful to direct the overspray away from the center of the body.
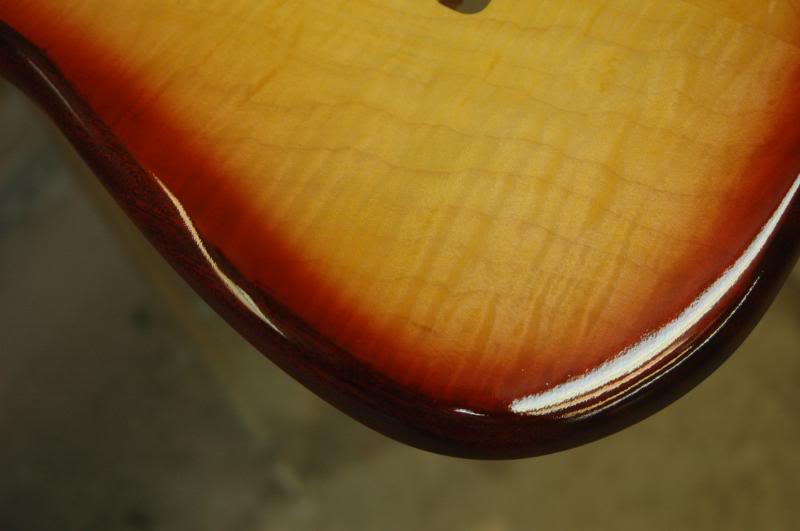
I have seen many get carried away, trying to get full coverage with the first coat….not good. It’s a sure way to develop runs. Runs + Transparent colored lacquer = major problem. Take it slow and easy. Adding additional color only after the last coat has “flashed”.
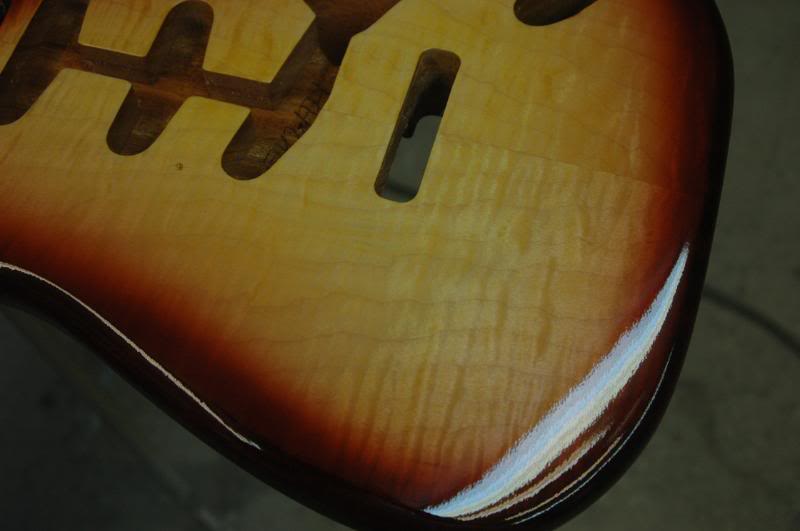
And finally. Every few coats of color, I will give the whole surface a coat of clear. What this does is melt any overspray into the clear giving a gradual transition from the center yellow, to the dark edge. If you notice most ‘bursts have a very abrupt transition, giving them a “mechanical” appearance, the method I use makes for a very gradual flow from one shade to the next.
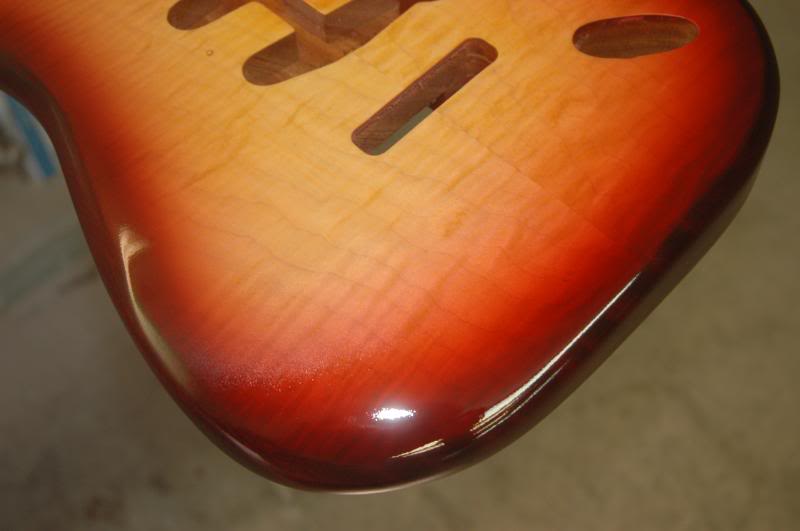
Now, I’ll change color to more red. Even though the previous shots looked red, they were a very dark brown, the lights just punched through.This shade is much more red. I’m using an automotive detail spray gun, it holds about 6 ounces, in that I will put about 10 drops of red and one of brown Sherwin Williams Universal dye. And I continue with the previous technique. A thin coat of color, a coat of clear. Allow it to flash and repeat allowing the tint to gradually build up to the intensity I’m looking for.
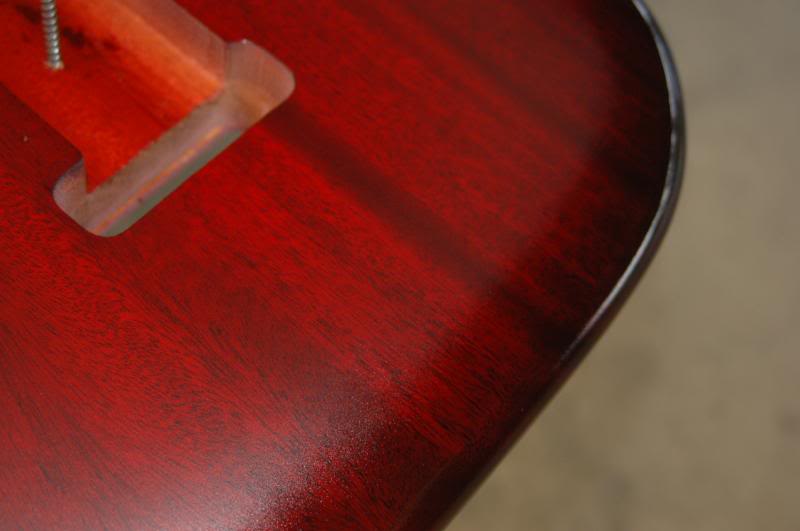
At this point I will begin tinting the edge of the back. I haven’t yet because I wanted to get the top’s veneer edge to closely approximate the density of the mahogany. Now I’ll give it a coat every time I do the top.
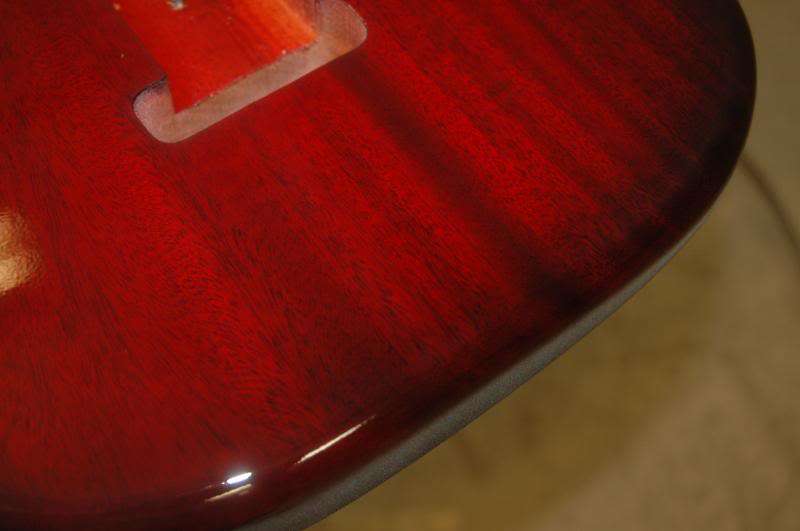
I also give it a coat of clear to melt the overspray into the previously applied lacquer.
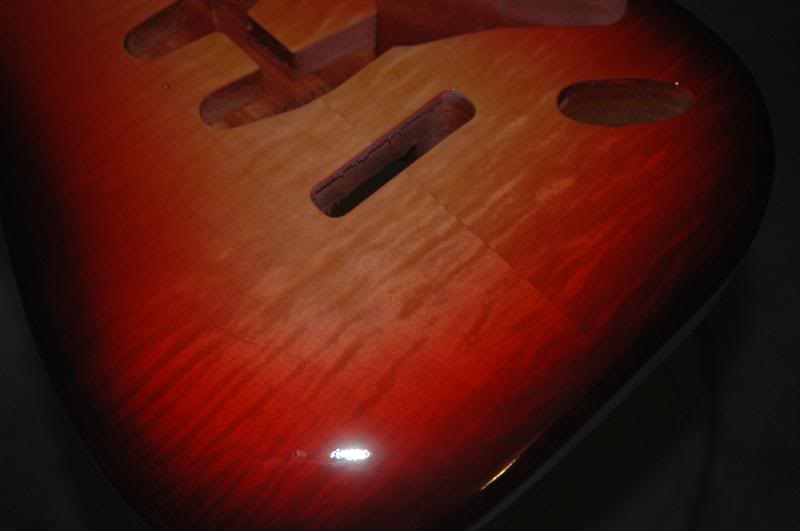
And continuing with the top, working the tint looking for a specific look.
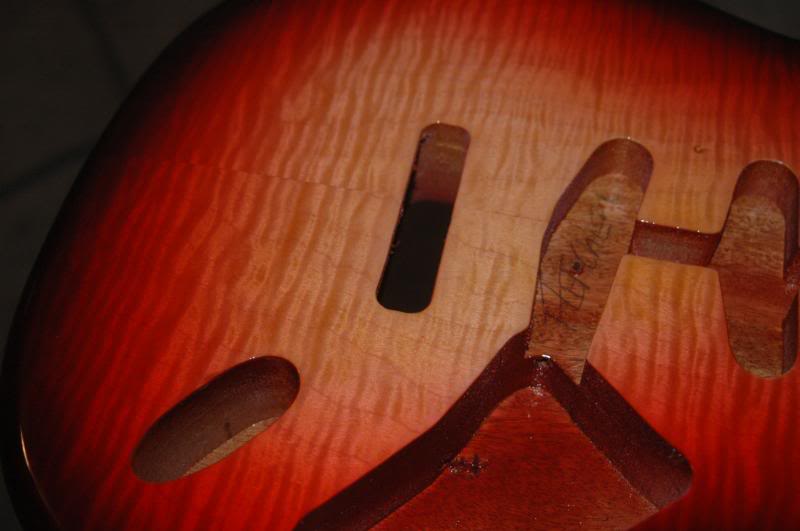
You may notice, the center looks a touch pink at this stage. Ain’t no biggie, don’t sweat it. It’s mainly the lights, which seems to exaggerate Red. But I continue, possibly 10 to 20 times, to get the correct intensity.
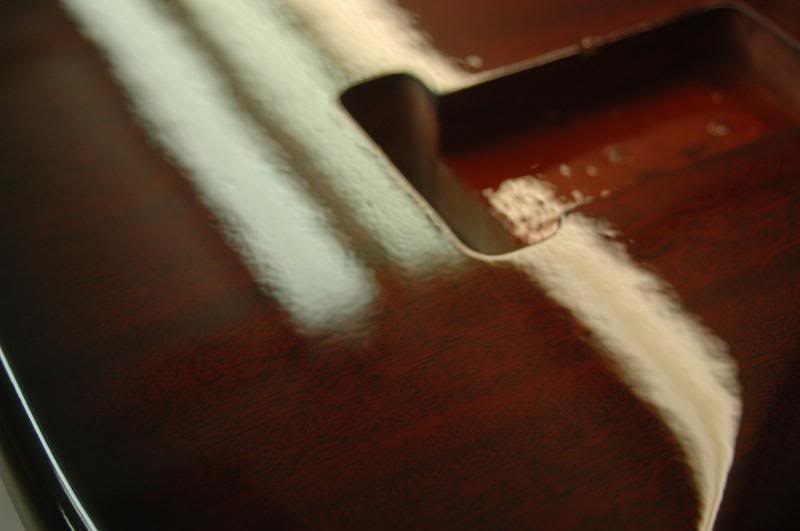
Again, watching reflected light, to verify lacquer coverage.
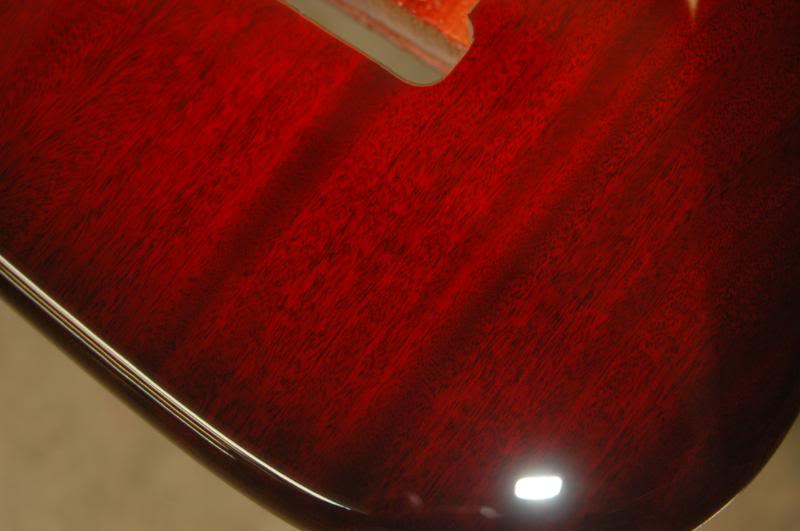
And this is what she looks like at this point.
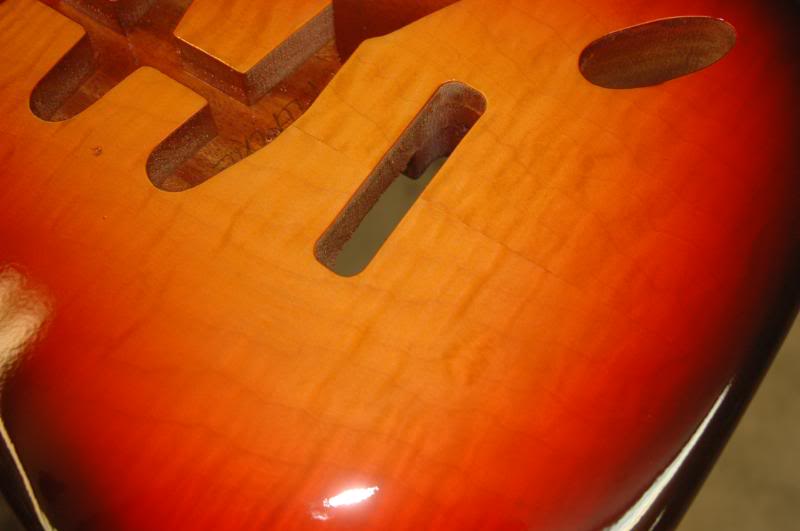
Here I have given it a coat of amber to bring the slight red hue back under control and give the whole thing a warmer appearance.
Make use of the reflected light. It makes applying the finish a lot easier, and as you near completing the final coats, the wetter you can apply them, the easier the wet sanding will be.
Smoother..
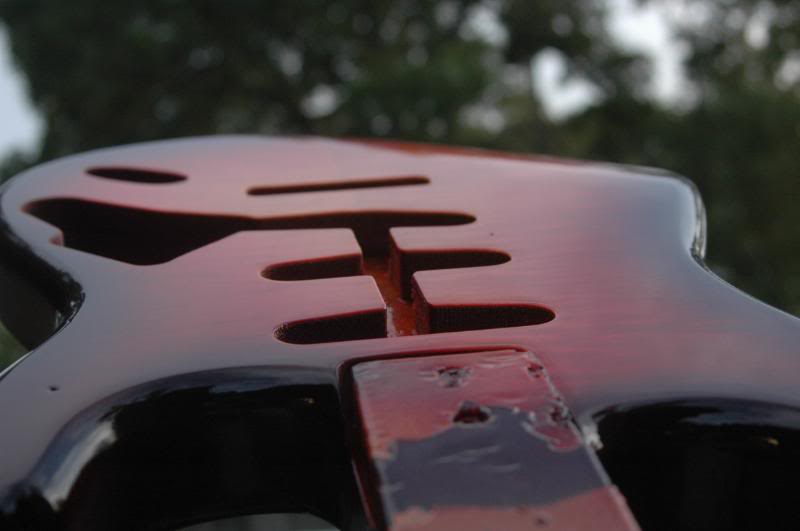
After the color is completed, I give the body about 5 good wet coats of clear...
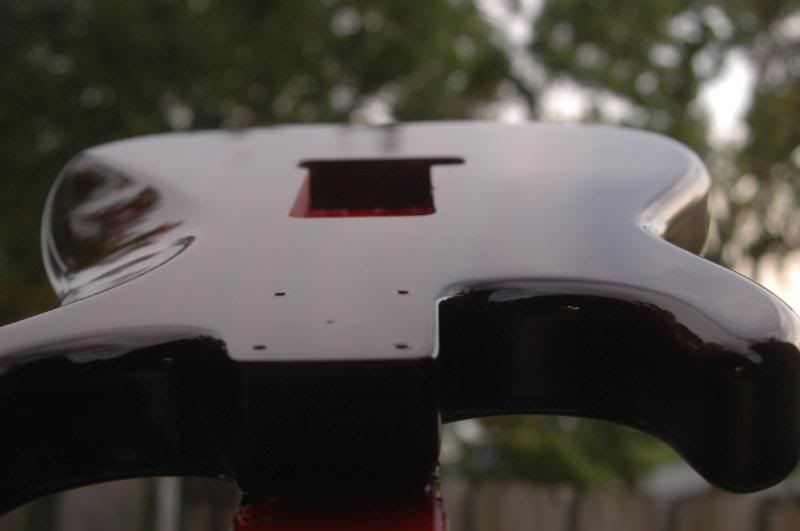
allowing about 20 – 40 minutes between coats. Now, I allow it to dry for a few days before giving it an interim sanding. And the last of the clear coats…
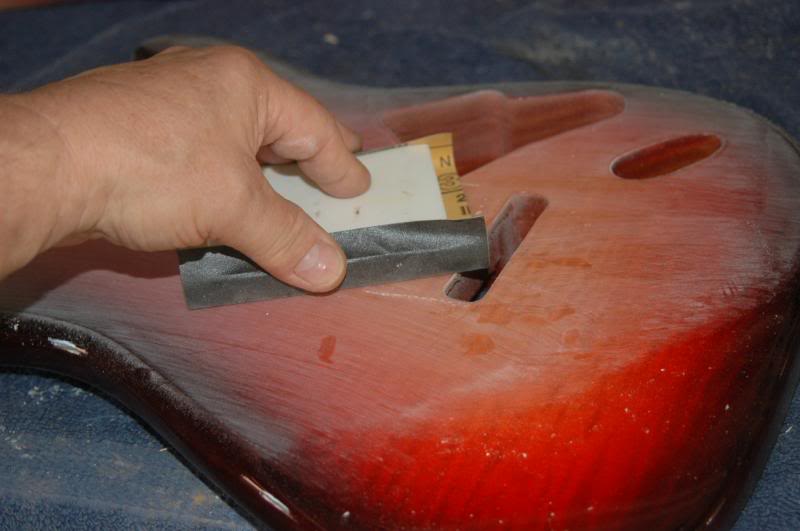
I’m into the boring part. Sand and squirt. I have let the body sit for a few days so the lacquer would harden enough to sand without “loading up” the paper. So, I sand… with 320..
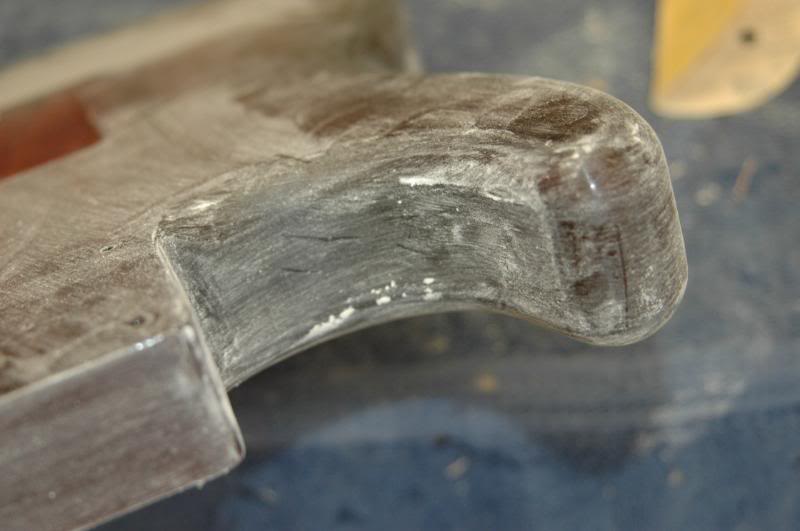
and sand... sand thoroughly.
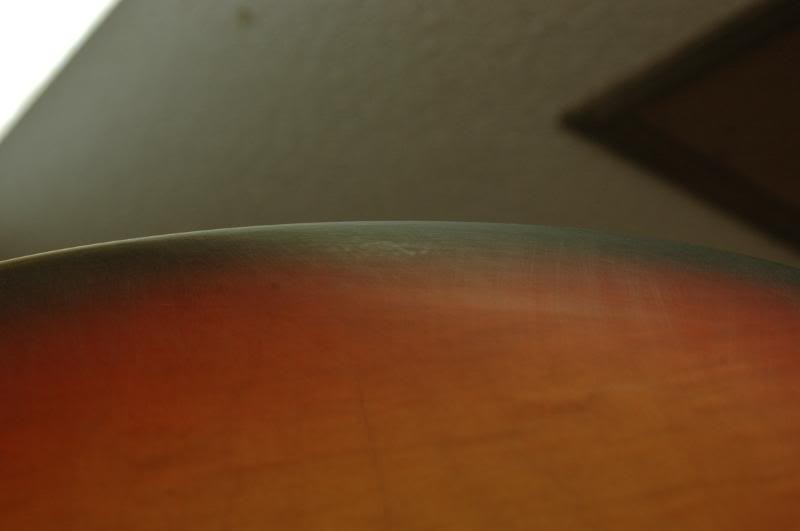
Then, dust and check for anything I missed. You can barely see at the edge an area that has not been touched by the sandpaper.
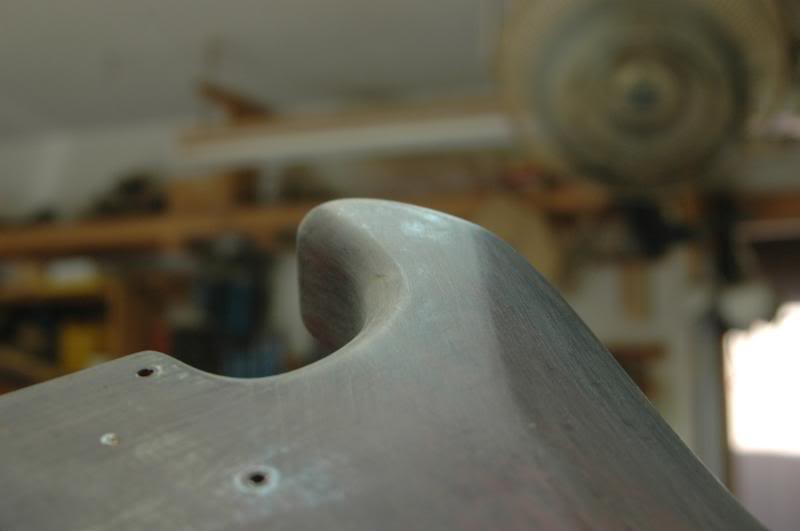
And here too. While not hyper important, getting it all flat now makes the final sanding much easier.
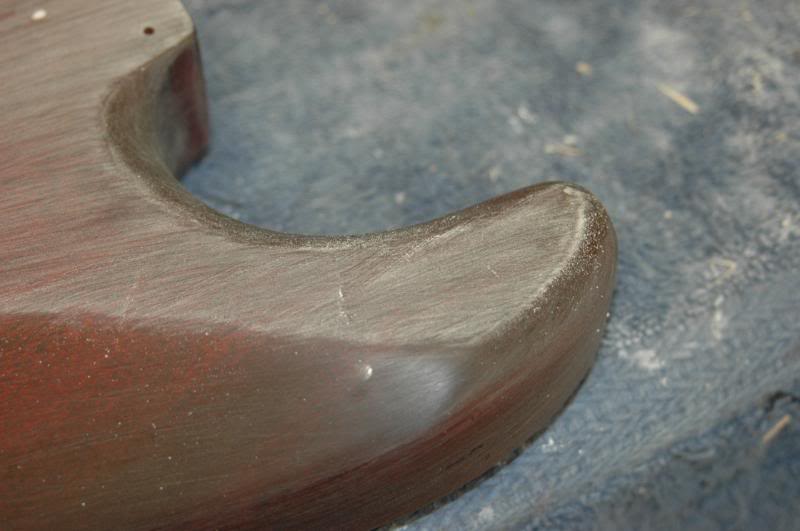
Now simply go over any areas that need further attention, getting them all “blocked out”...
..sanding with a flat, very flat sanding block until the entire surface is evenly matte.
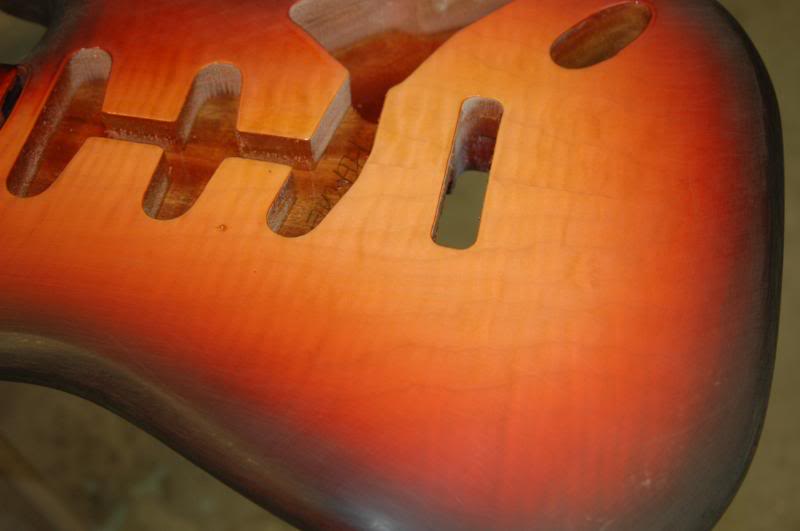
And the front.
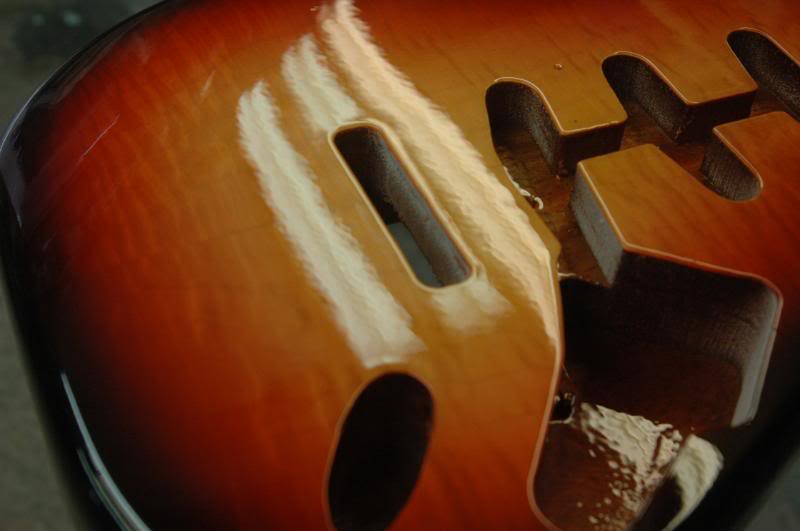
Now, I begin spraying wet coats of lacquer. I’ll spray several, wait a while, spray a few more, until I have about 5 good coats. Then I let it dry and harden for a day, check for coverage, and if any is needed, I’ll give it a few more coats, checking the overhead lighting’s reflections to verify the coat. After which, it hangs for a few weeks. Sorry I don’t make the rules. This is the same kinda stuff Leo used 50 years ago, and he had to let ‘em hang for a few weeks too.

To continue to Part 3 The Neck
Choose: Slide show viewing or Single Page


Shaping the Body | Color and Lacquer | NEXT - The Neck | Pickguard and Electronics | Body Finishing | Finishing Touches | Final Assembly and Setup | Finished Sunburst Strat