Sitka Spruce S Type Build
Part 3 - The Neck
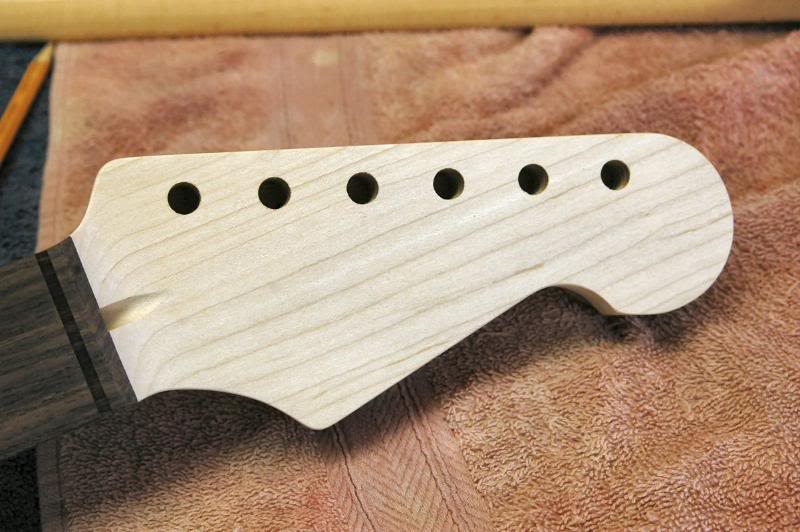
The USGA neck arrived, in the typical Tommy Rosamond fashion. Impeccable. But since the headstock needed to be reshaped, there was a little work to do prior to finishing.
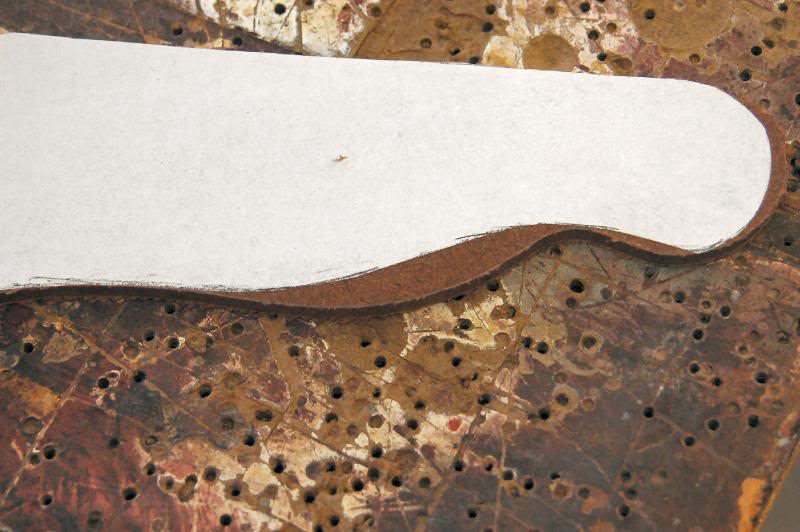
The choice of headstock shape can be a controversial topic, so here I’ll use other photos showing the process as it is shaped into the headstock I use on many guitars.
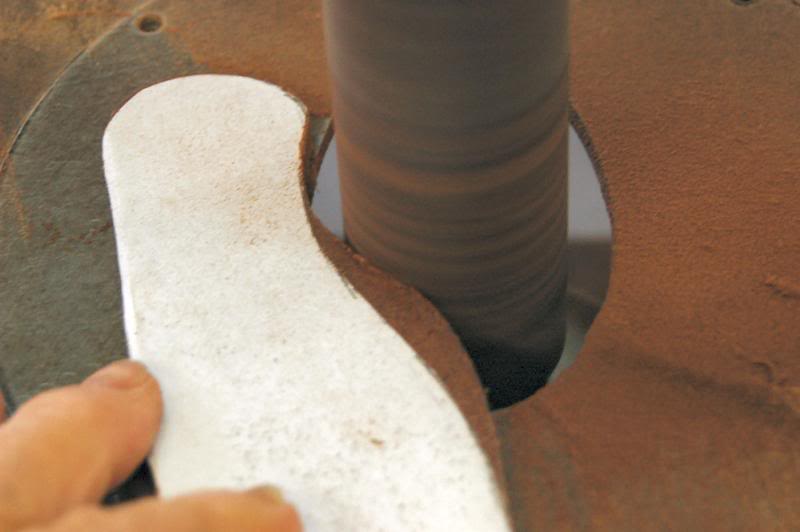
The first thing is to create a template, of the desired shape, I trace out the existing headstock, re-draw the new style, then using a spindle sander fine tune to the final shape.
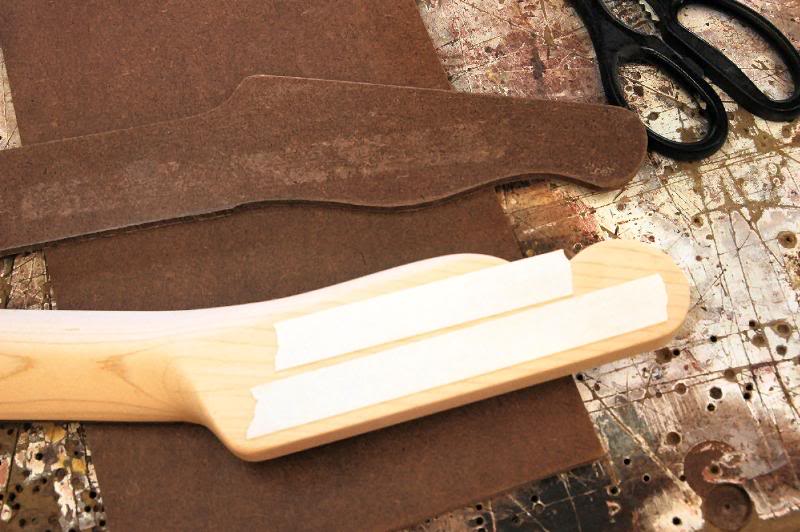
Once I’m happy with the appearance, using double stick tape, fasten the template to the headstock.
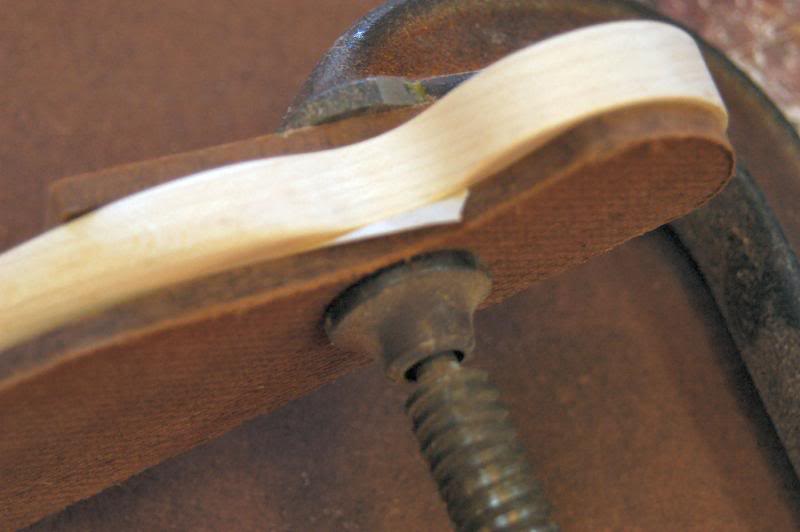
If using tape to secure the template, be certain it is firmly attached, you wouldn’t want any slippage here now would ya?
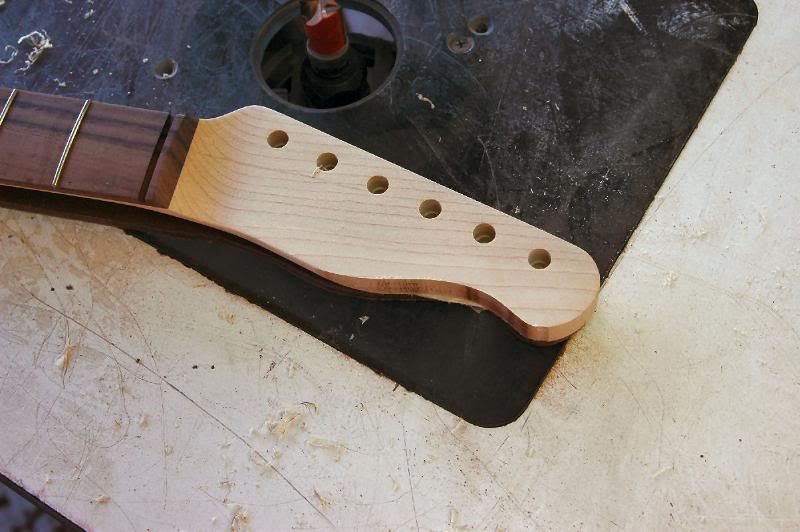
Now, I use the router to SLOWLY remove the excess lumber, working down to the template. If you’re removing large amounts of wood, you may want to trim the excess with a band, or jig, saw first.
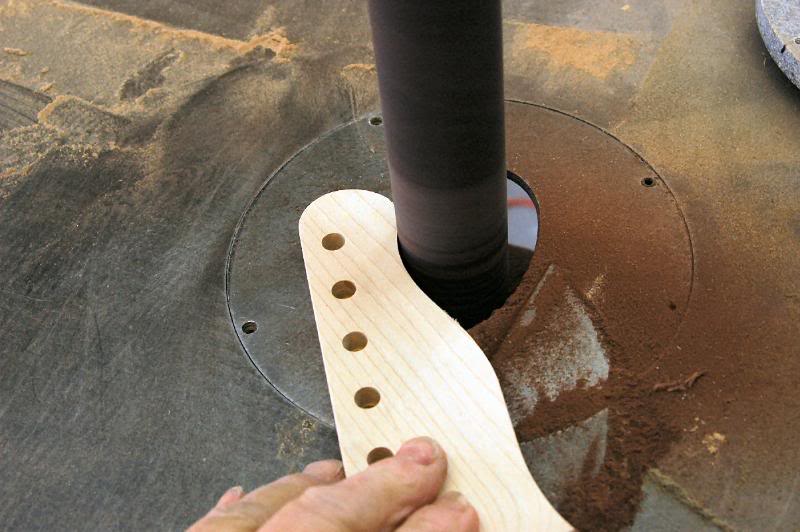
Once the final shape has been achieved, it’s time to finish sand the bugger.
Since sanding is a concept most understand, I’m not posting a lot of photos, showing my chubby little fingers pushing paper over the lumber, I just begin at the spindle sander then hit it with something like 150 grit, then 220, and finish with 320.
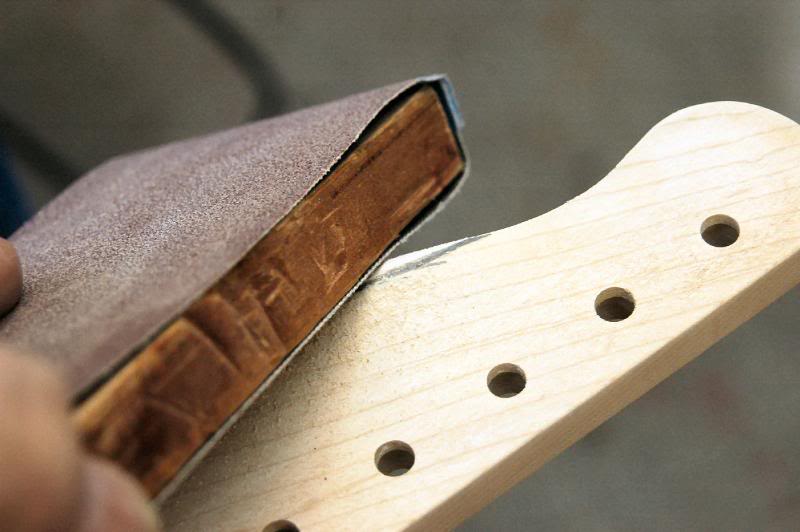
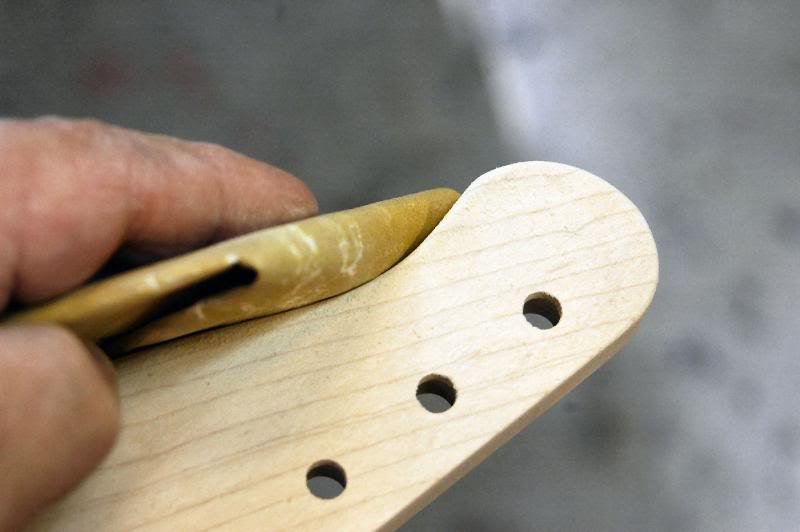
There are a few little things to do to fine tune the shape, mainly the flow from the back of the neck’s profile into the headstock. I just take a small sanding block and 150 paper and allow the block to follow the natural curve of the neck, removing the hard edges the router left.
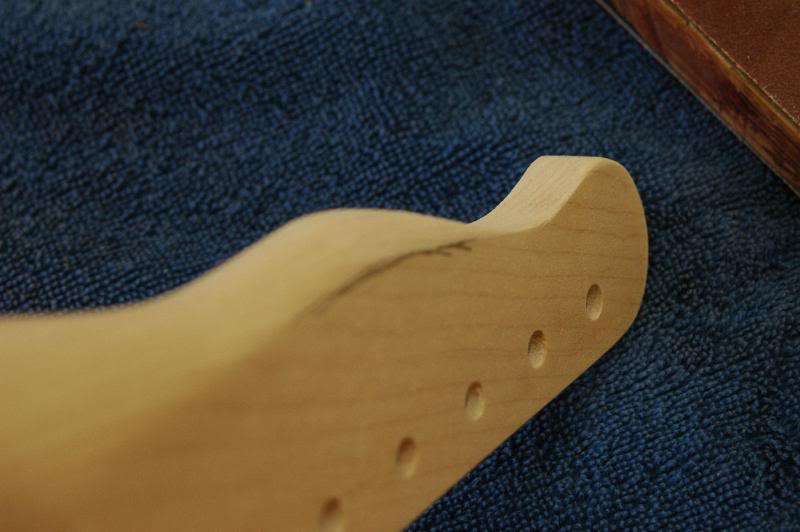
Once it’s about right, I check in the sunlight, the ‘ol shadow trick, and then finish sand.
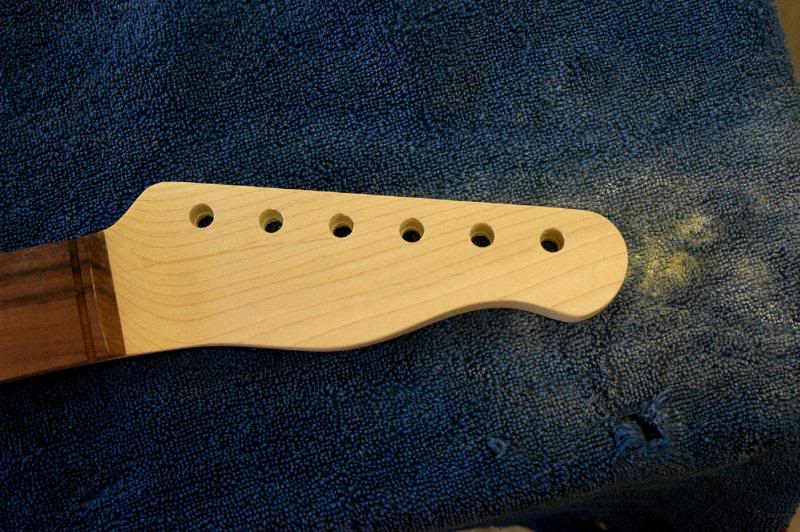
Correct any foibles the sunlight may reveal, and that’s completed.
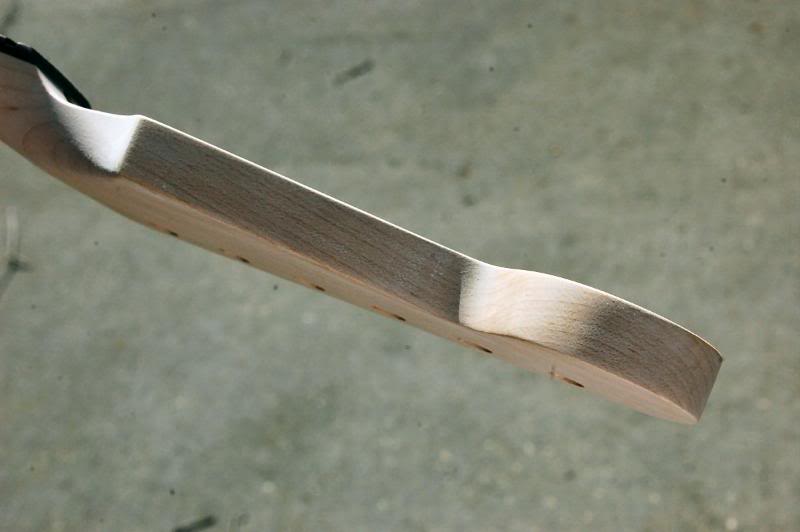
Now, back to our regularly scheduled program, in progress, the neck for this guitar. In the sunlight, the shadows will reveal any irregularities in the graceful curves, some may be as subtle as .001 of an inch, but can be quite visible when it’s finished, so a light sanding will correct it and make life easier as you check your finished project in a few weeks.
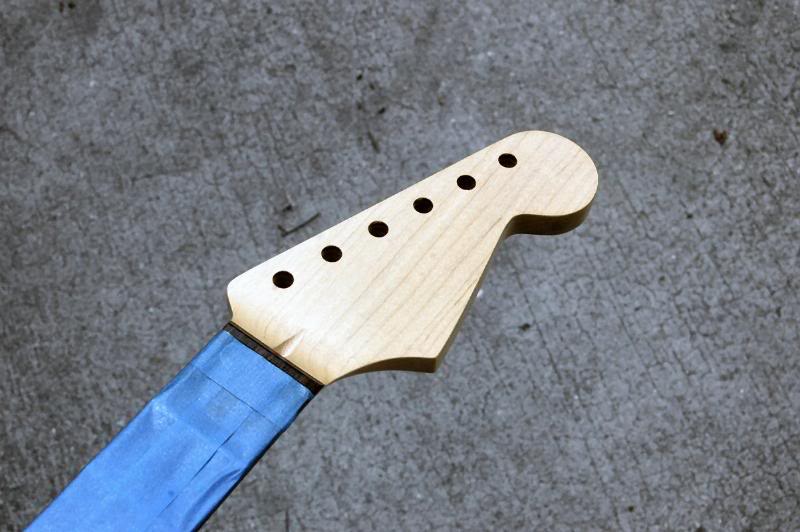
If you have a fingerboard that doesn’t require lacquer, do not forget to mask it.
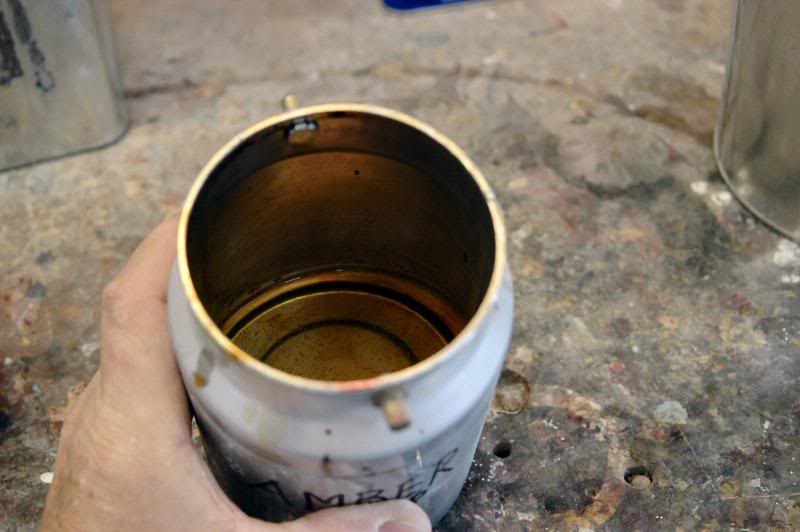
Now, let’s make a little amber. I take about 8 oz of lacquer, give or take. This ain’t rocket science.
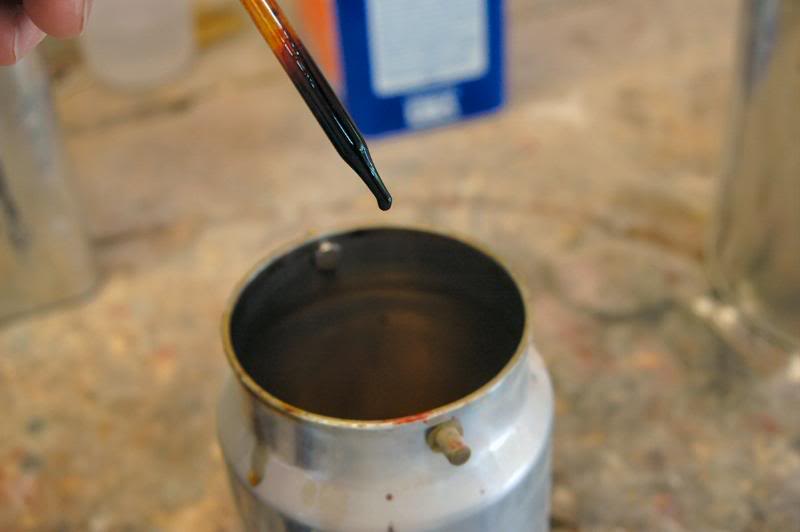
And add about 8 drops of yellow. Sherwin Williams Universal dye… it’s not cheap and not easily removed from anything you get it on.
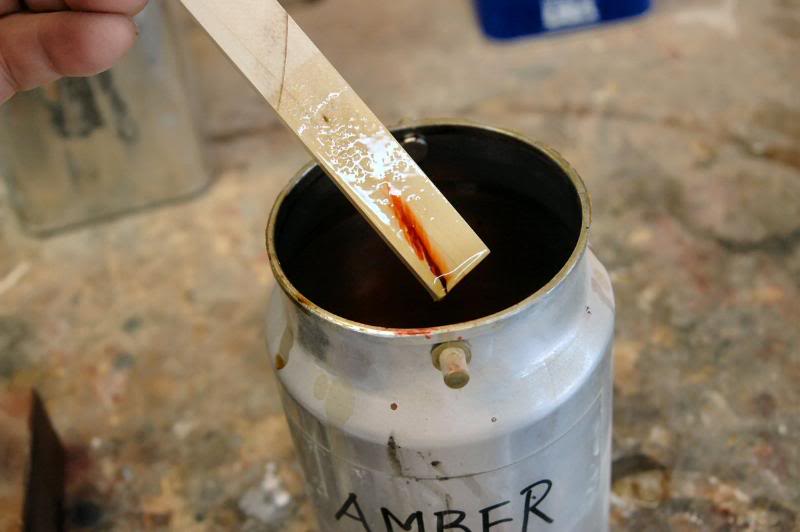
Since yellow is yellow and not amber, I need to add a some red. As I’m mixing, I use a paint stick I have made from a piece of scrap maple as close to the color of the neck as I can find. This allows me to assess the tint as I’m mixing. Here I’ve added a drop of orange… orange because it’s red and yellow. A single drop of just red would be too much.
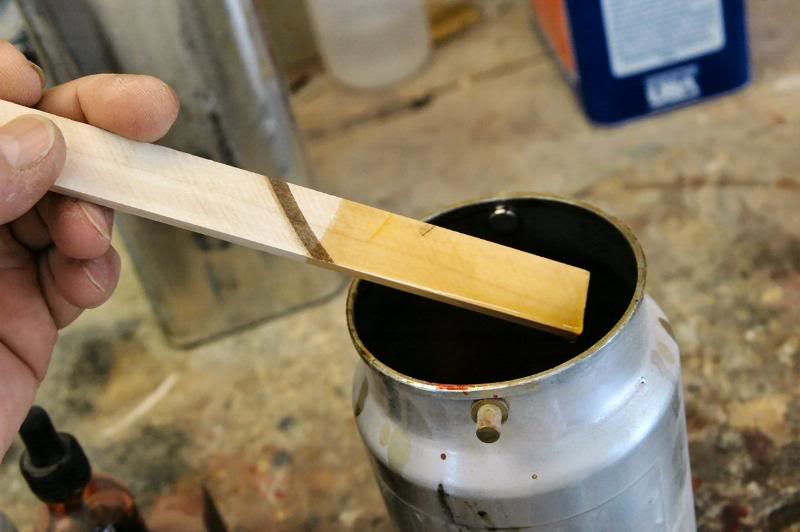
Here you can see the color is about right.
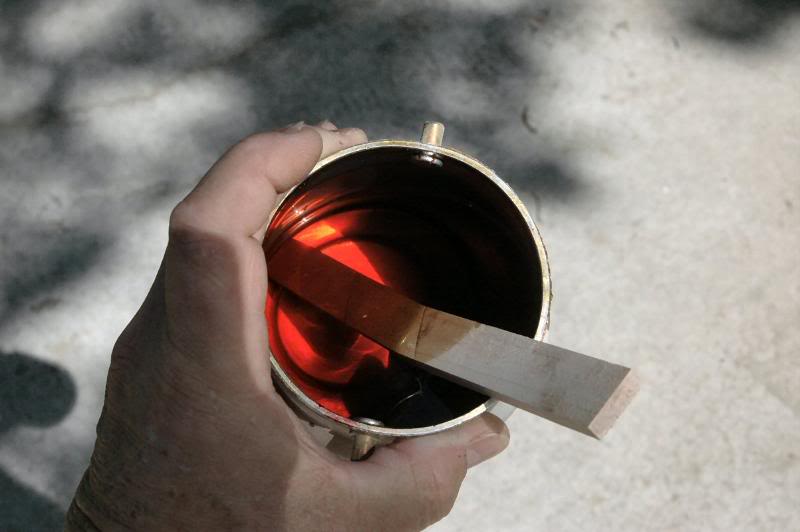
What you want is a pot of lacquer that is about the same shade as a bottle of fine scotch. Also, when mixing your tint, keep it “thin”. You want to have to spray several coats to get the correct shade, this makes it much easier to control.
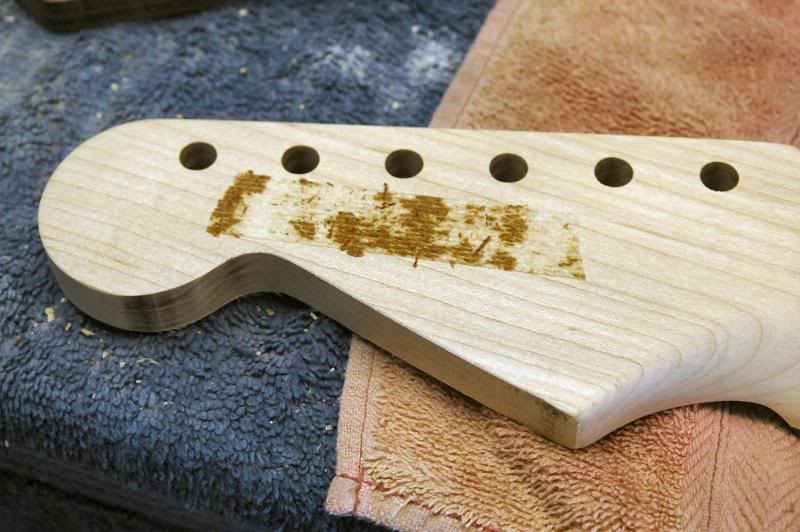
Wipe the neck with a good degreaser, to remove any fingerprints or other funk that may have landed on it. I use lacquer thinner… and don’t forget the area where the tape was attached, it can leave a very thin residue, clean it well.
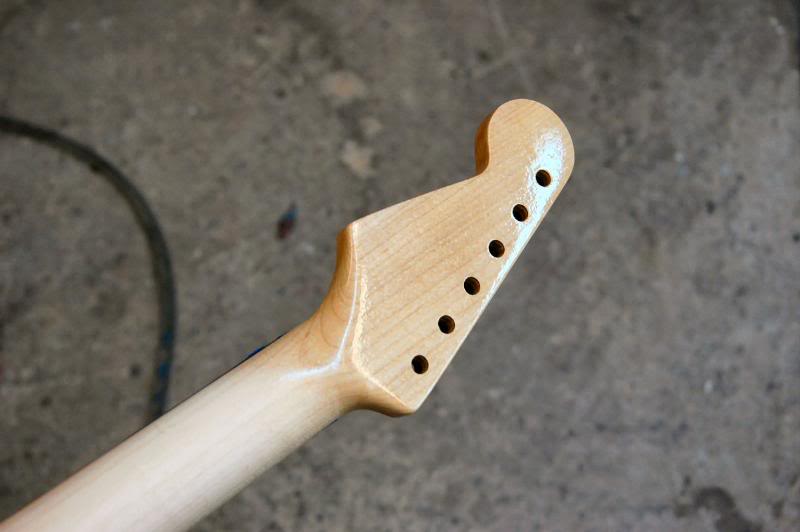
And then give ‘er a squirt. Here I sprayed the head, so you could see the comparison with the un tinted maple.
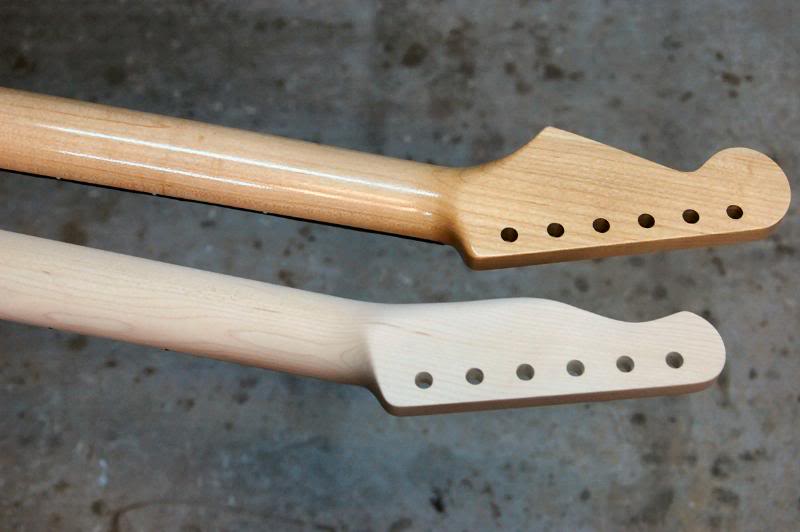
And here’s the neck with one coat compared to one un sprayed.
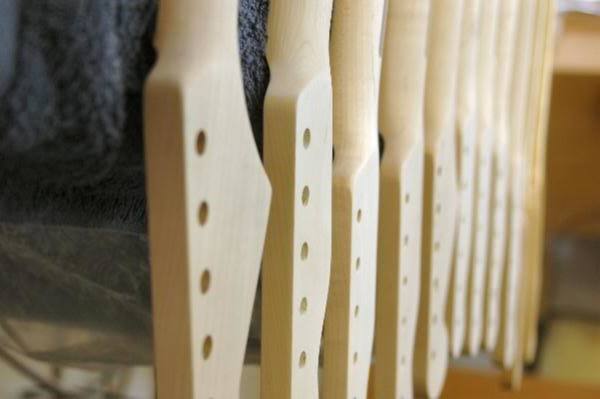
On this day I had a neck or two going, so there was one or two others to compare it to.
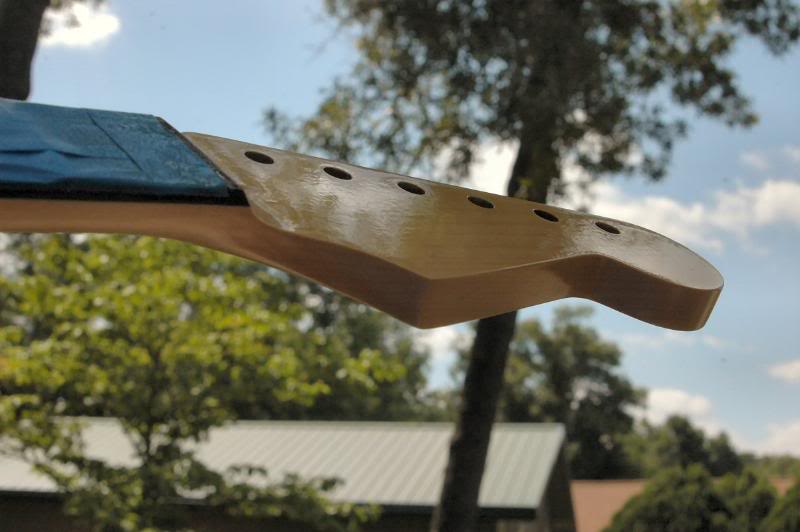
Now it’s just a matter of re-applying coats until you have the shade you want. Once the correct color is applied, allow it to dry for about a half hour or so, or a month. Then shoot the head with a few coats of clear, to make a bed for the decal.
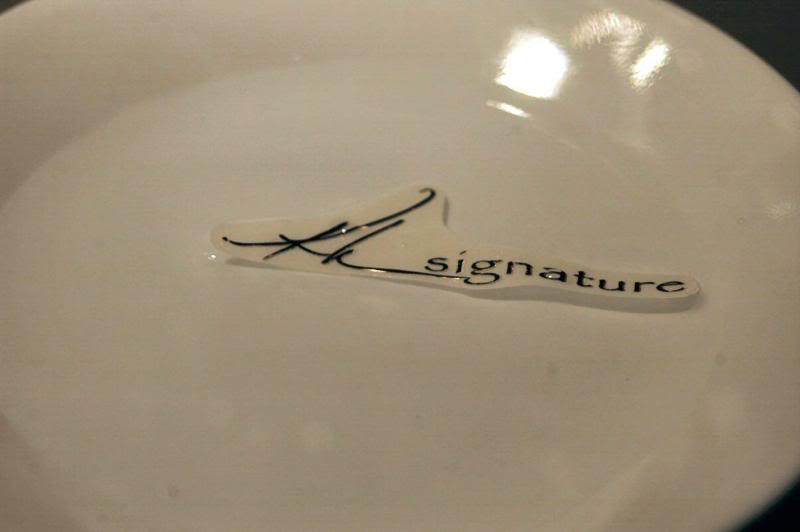
Now that the lacquer has dried for a few hours, I can apply my decal. It’s a water slide, so I let it soak for about a minute, or until is slips freely around. With today’s modern decals, the film is generally a synthetic material and will stretch, so be gentle.
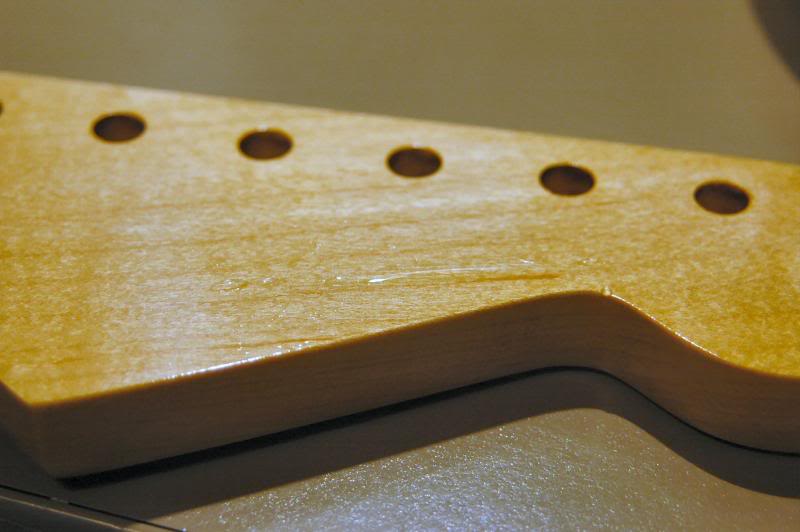
I put a drop or two of water on the neck to facilitate placing the decal.
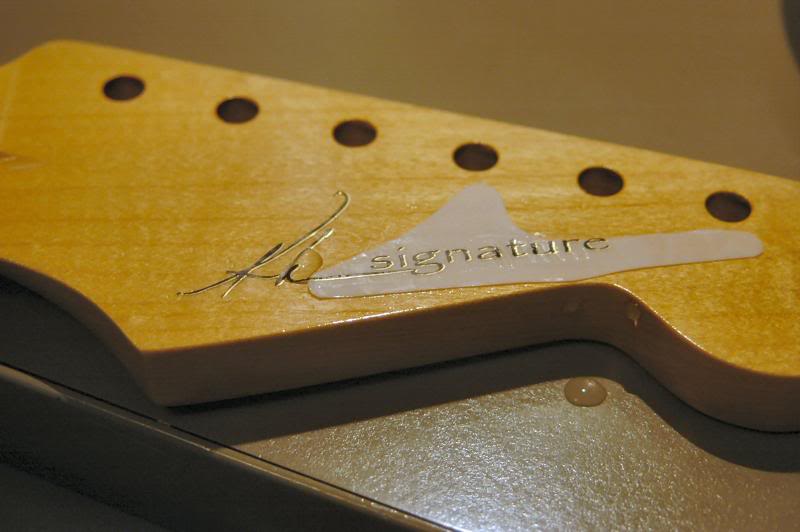
Then slide the decal off the paper base onto the neck.
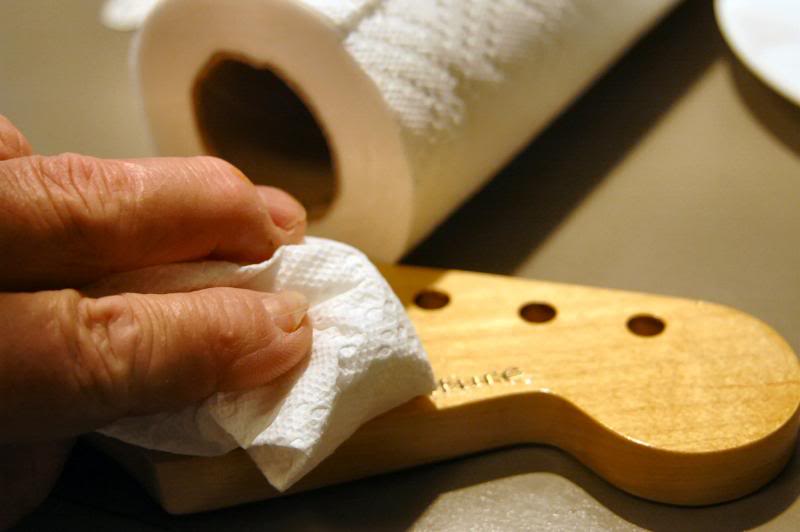
I very lightly press the decal into the approximate location, not hard enough to squeeze the water from between the decal and the neck, just hard enough to keep it from floating around. But I can still move it if I need to.
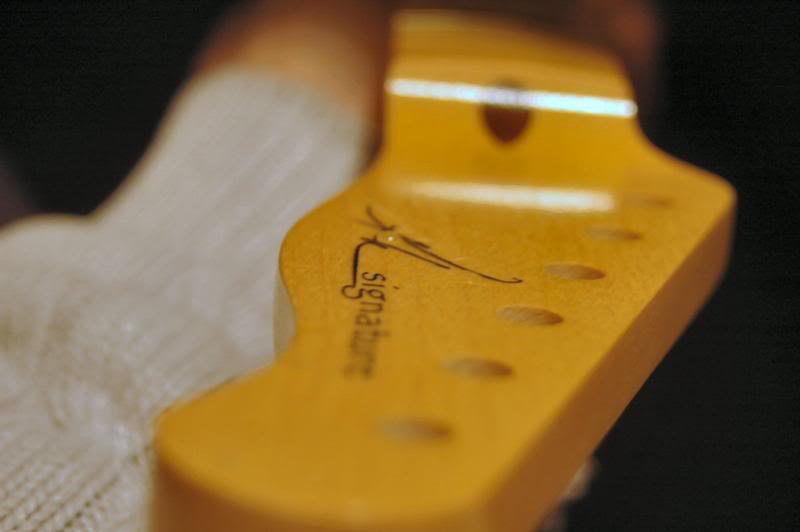
Now I “eye ball” down the neck to get it visually “straight” relative to the apparent “lines” of the neck.
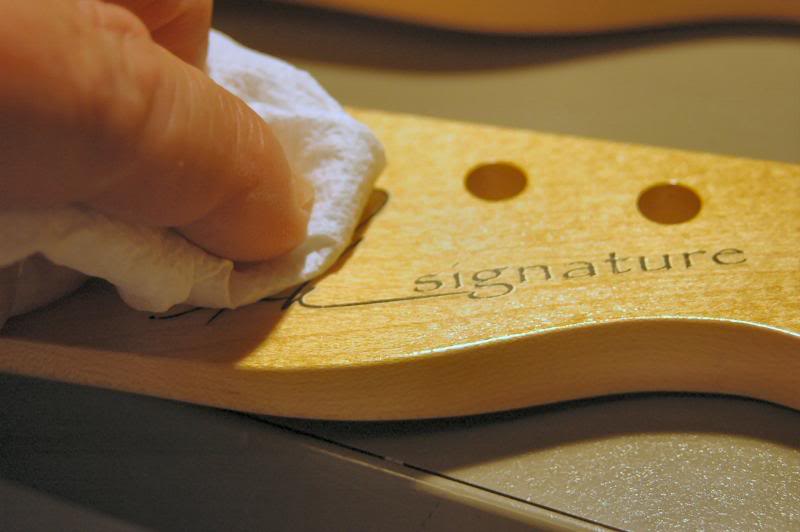
Now using the appropriate applicator, I start slowly working the water out from between the neck and decal.
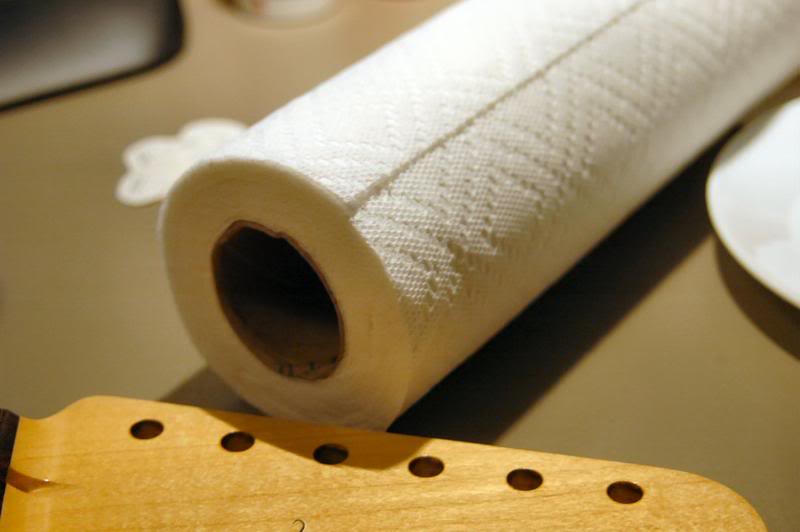
The applicator is one specially designed for this particular use, here you see a roll I keep handy, I find keeping a “Bounty” of them handy is a good thing, also they can be used as a “quicker picker upper”.
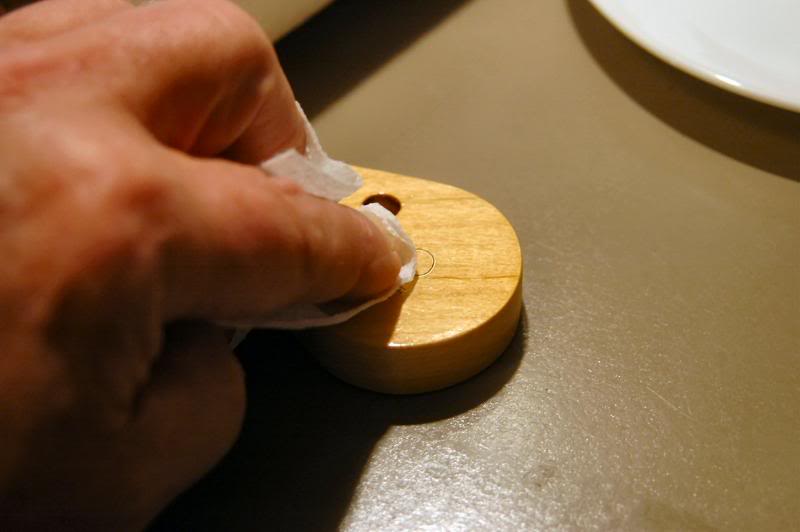
You will see when the decal attaches to the headstock, then I increase the pressure, to work the remaining moisture out. If you have additional decals, apply them now, it the same manner.
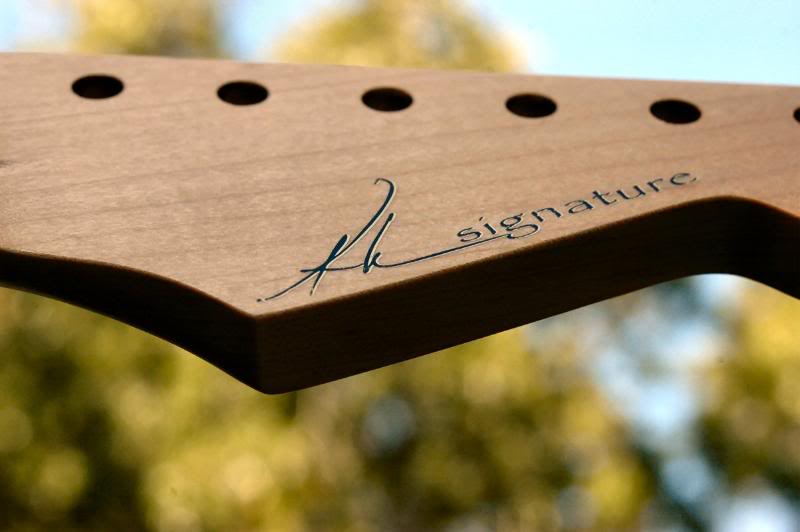
Once the decal is set, check it closely in good lite from several angles…
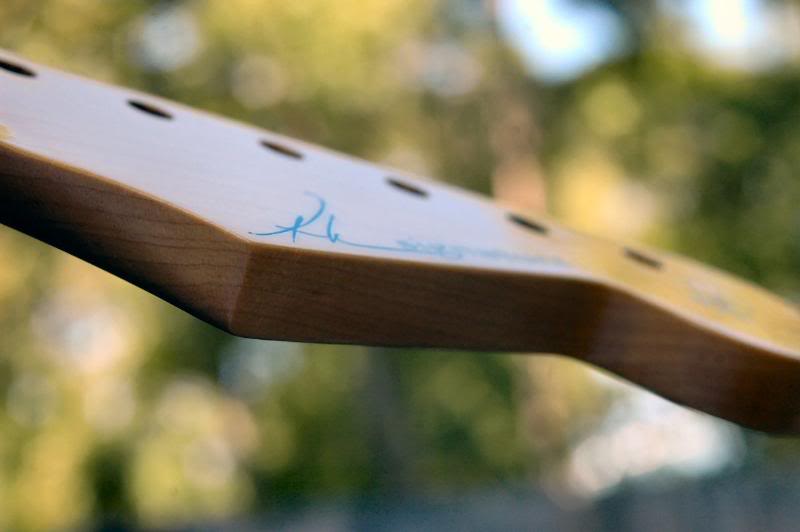
Now I let it dry thoroughly over night. Tomorrow is lacquer day.
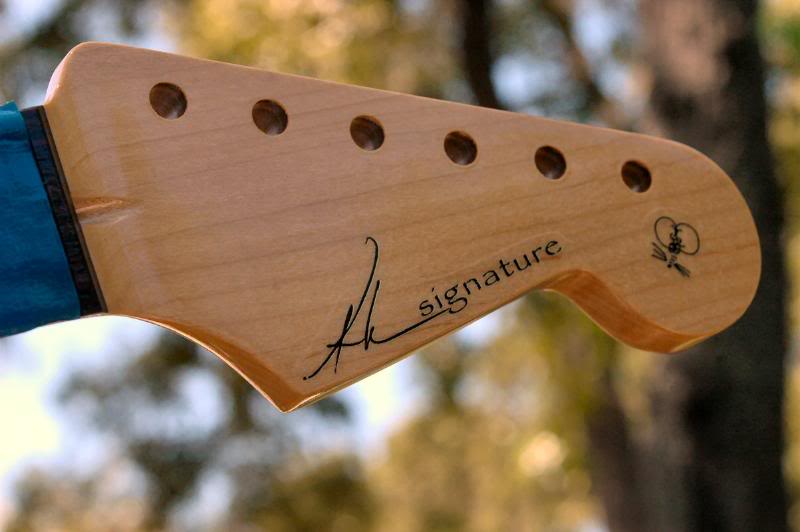
I put down about 5 coats of lacquer on the whole neck. The thickness is about equivalent to one coat of an enamel, poly, etc.
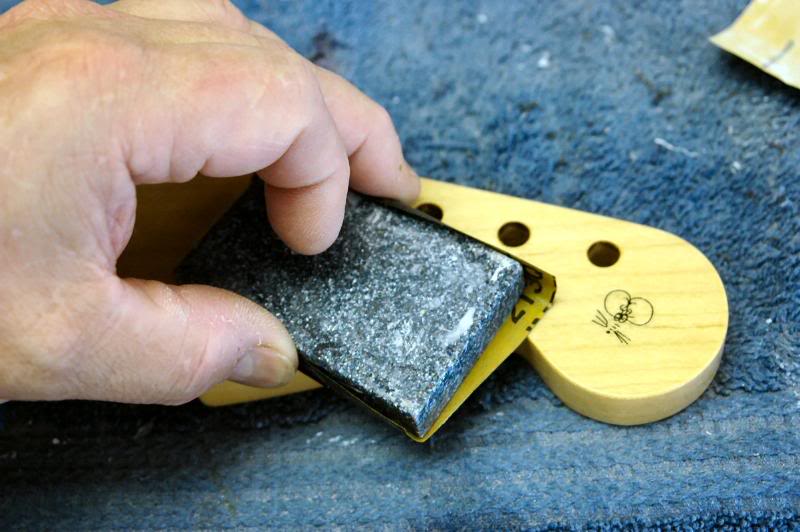
After a little wait, I wet sand to reduce the film thickness over the decal get it approximately level with the surrounding area. I let it dry then lightly sand the decal, to reduce the obvious hump the lacquer leaves.
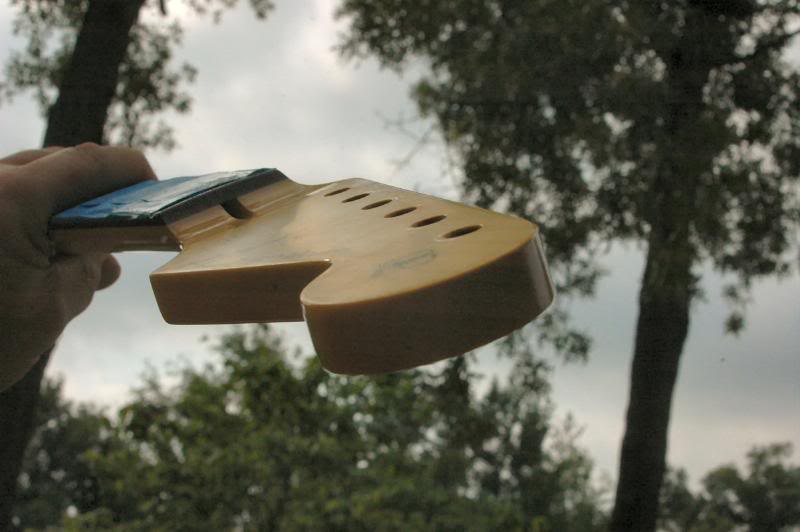
Then I will spray only the headstock face and decal with 5 more coats, allow to dry a day or so, sand, then will finish with another 5 coats. Since I’ll be putting 5 more coats on ‘er it doesn’t need to be perfect at this stage.
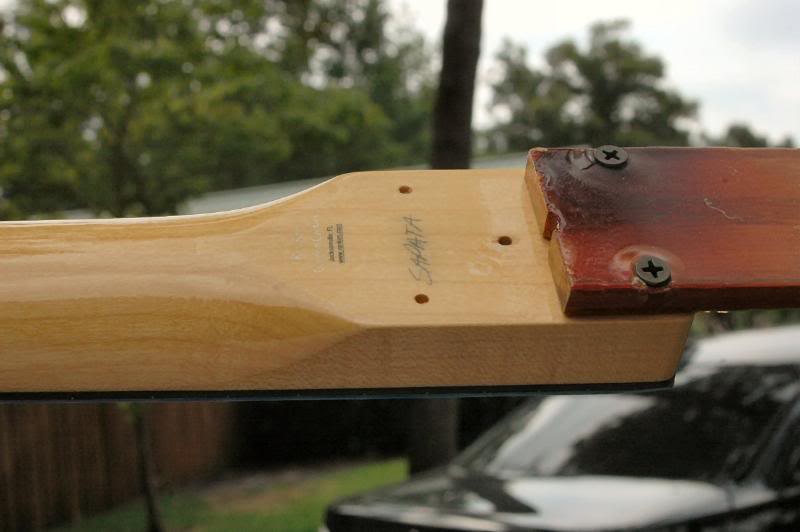
I do the back of the neck too, since it a large flat area, it just makes final wet sanding that much easier.
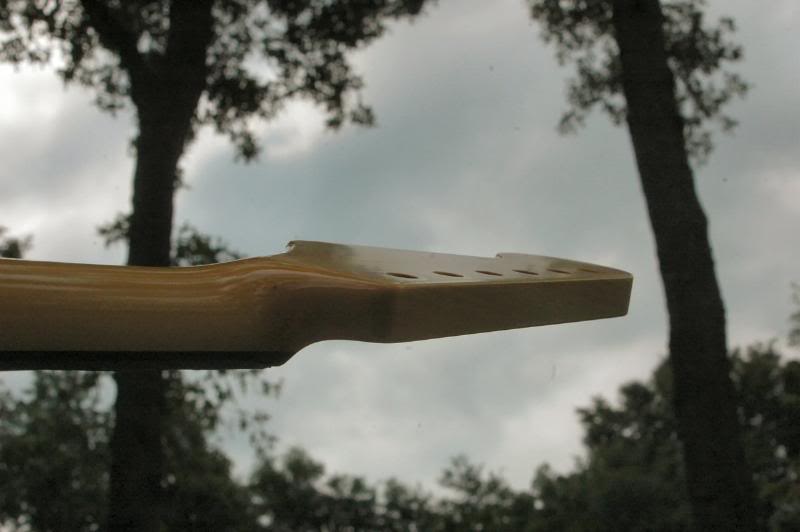
After this interim sanding, it’s back to spraying for a few more coats. But now, back to the body…
To continue to Part 4 Body Buffing & Pickguard
Choose: Slide show viewing or Single Page


