Sitka Spruce S Type Build
Part 5 - Finishing the Neck
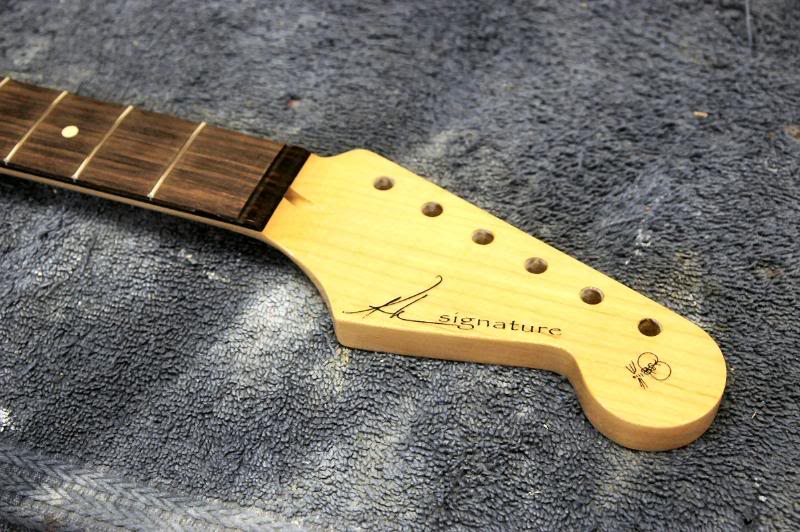
Time to convert a well lacquered neck into the business end of a great guitar. First thing to do is adjust the truss rod. I don’t use some over-priced specialized tool. This is because I know the neck is not level, and a few thousandths variation is normal, thats why we do a fret leveling.
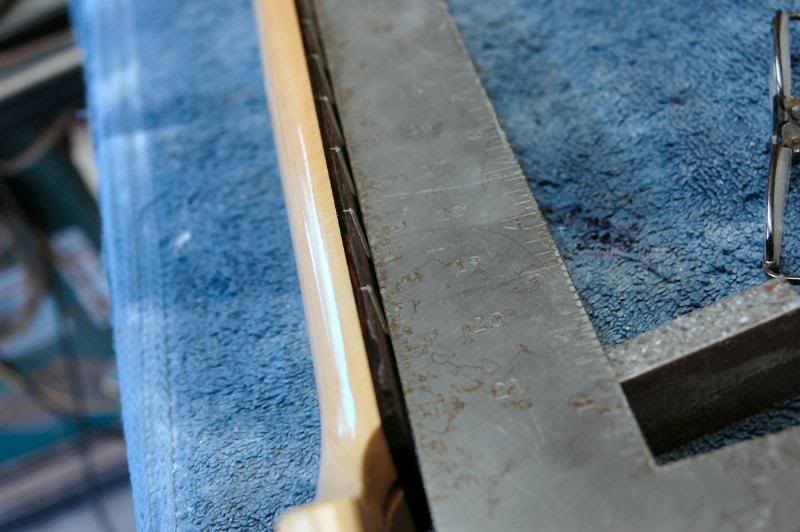
Further, every neck made needs to have the frets leveled to achieve optimum playability, every one. Sure, with very high action you can get away without it, but if you want em lighting fast, you gotta do it. So take a reasonable straightedge. I’m using a framing square here, ‘cause it was close at hand. Anything of reasonable straightness will do.
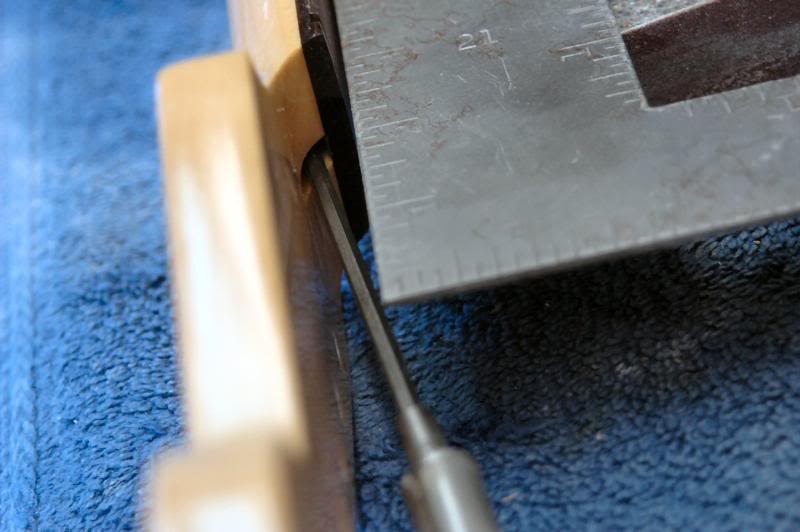
Adjust the truss rod, so that it’s “pulling” the neck to flatness as opposed to releasing the tension to get it there.
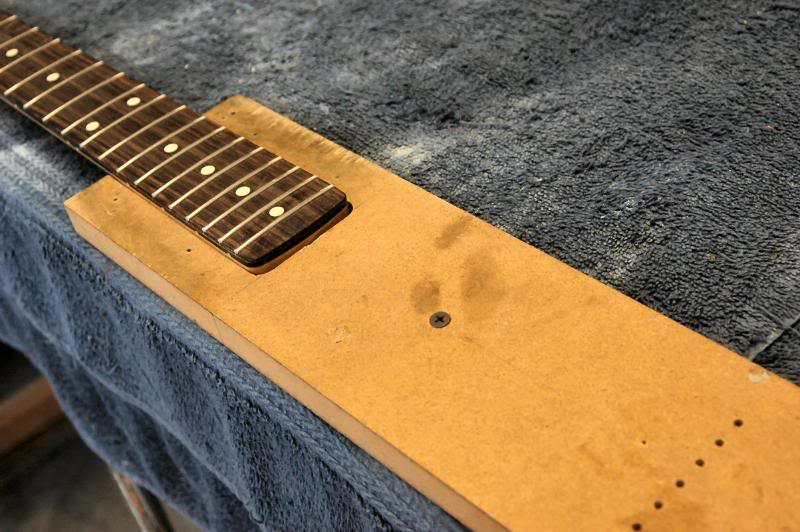
Then use whatever method you’re comfortable with to secure the neck so you have full access to all the frets, all the time and it doesn’t scoot all over the work bench. I just use a piece of MDF screwed to the workbench.
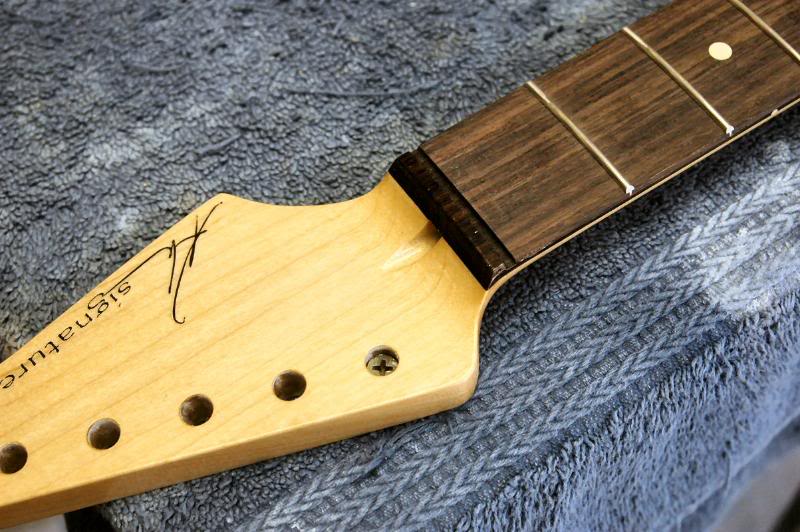
And a screw through the tuning key hole.
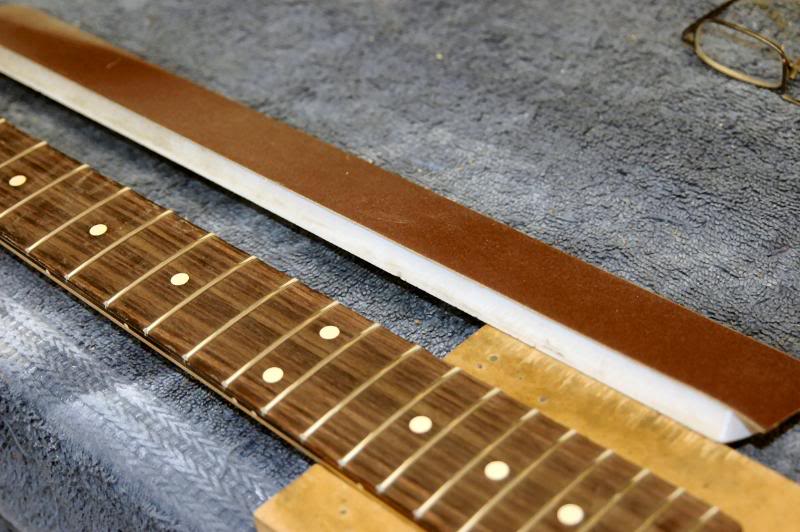
Now, using a ridged flat (should be certifiably flat) piece of whatever. Attach an abrasive. Here I am using a piece of Corian, with 180 grit resin backed sanding tape. Corian is a wonderful material around the shop. Flat, rigid and machines with any woodworking tools, although carbide is recommended.
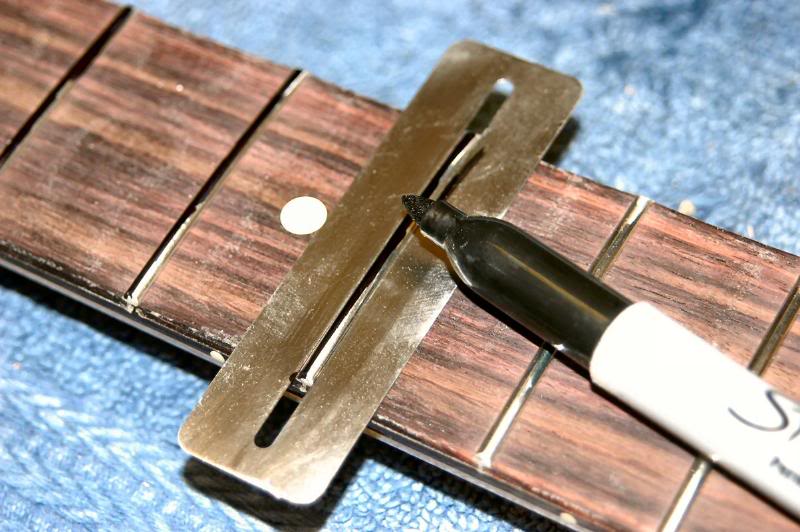
Take a marker and mark the top of each fret, this will allow you to see the progress much easier.
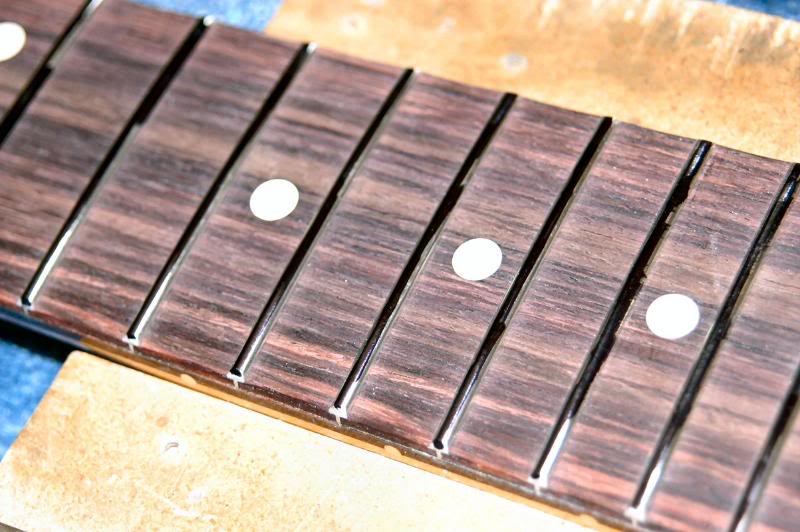
All ready to rock.
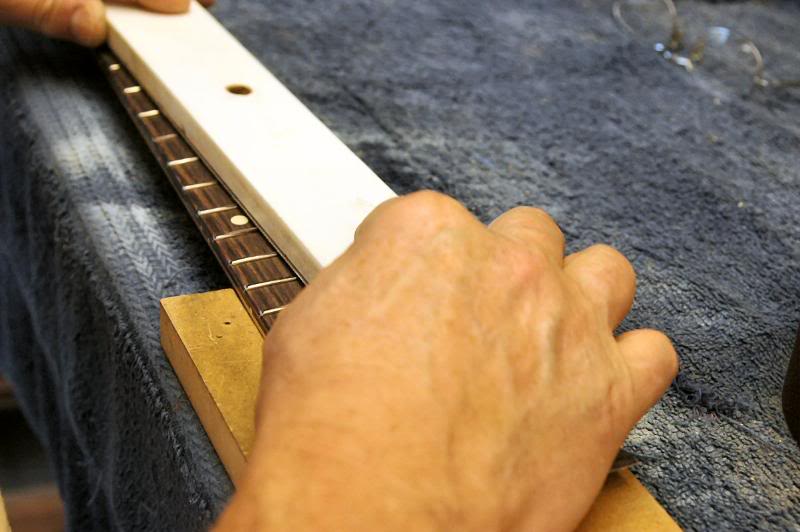
Now I start scrubbing up and down the neck. Allow the weight of the tool to do the work. If you start pressing, even very rigid tools can flex slightly, but by allowing gravity to hold ‘er in place, the cutting is equalized over the entire fret board.
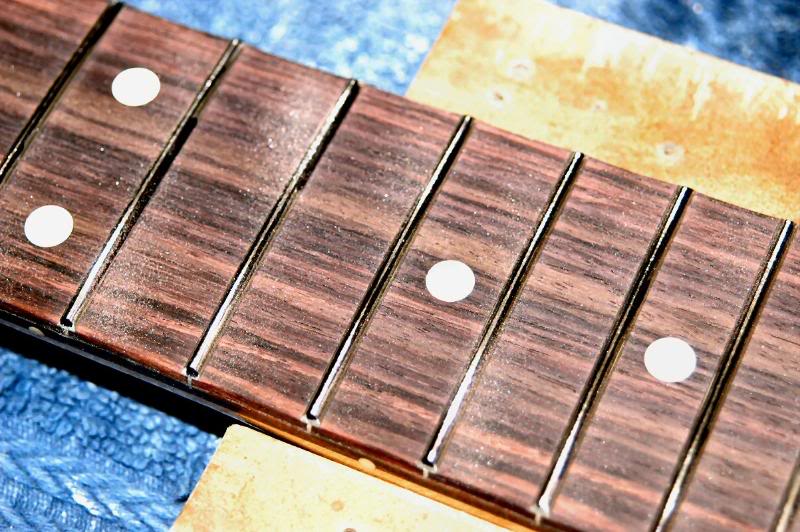
This is the results after about 5 passes.
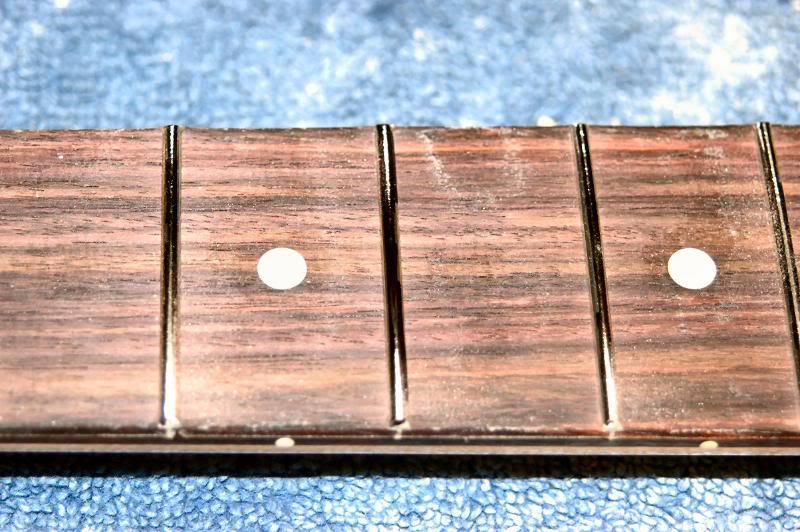
Here you can see the frets as they are being cut.
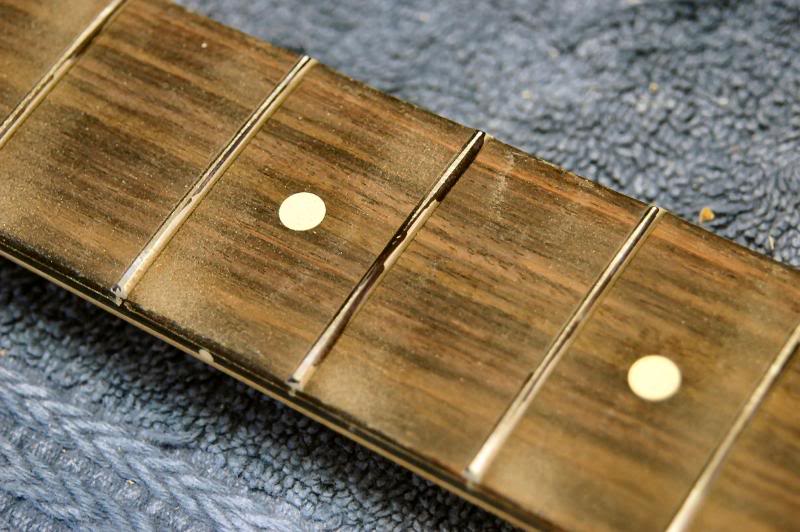
And in this shot, all are leveled, except one. There is always a stubborn one. But you stay with it, allowing the tool to cut all the frets down to the one that is so obstinate.
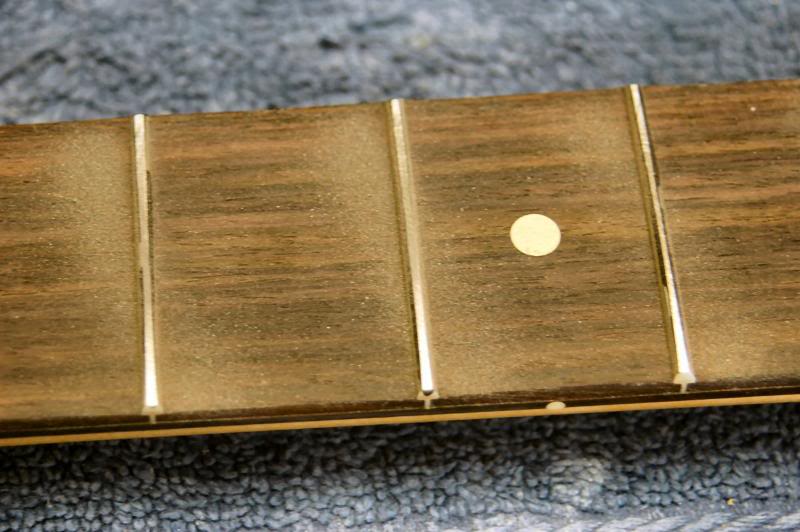
Now we have ‘em all under control, each one level relative to the others. Here’s a trick of the trade.. frets above the 12th are the ones that give the most trouble for achieving fast action, or for bending notes. Take your leveling tool and apply pressure take these frets down a crack, while not affecting those below the 12th any more.
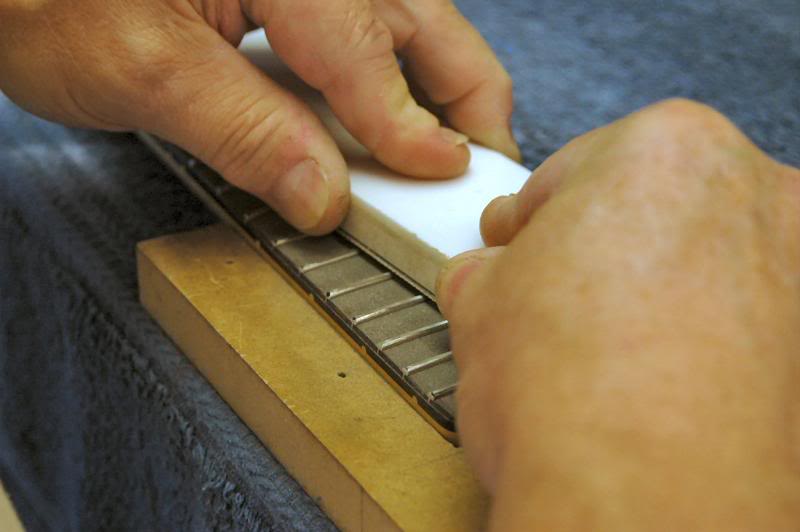
What this does is cut those frets a few ten thousandths lower that the others, allowing for slightly more clearance for the strings. Some neck manufacturers are now offering this as a service, but since the neck needs to be leveled, what’s the point?
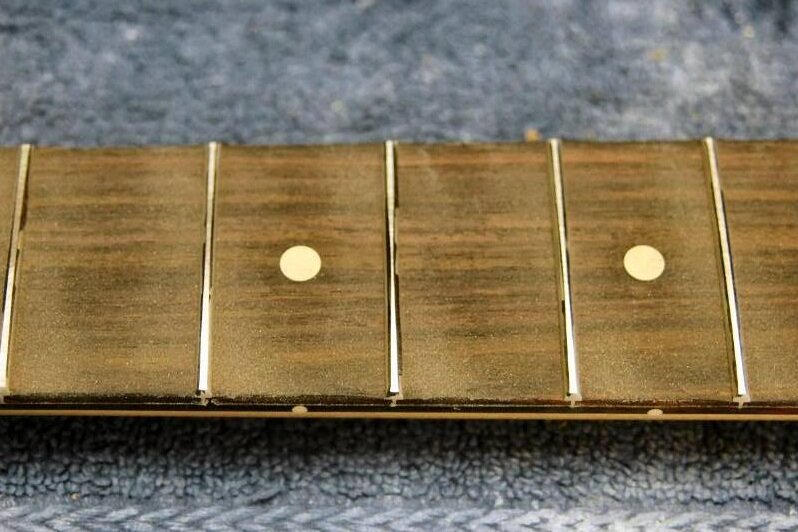
This bugger’s done.
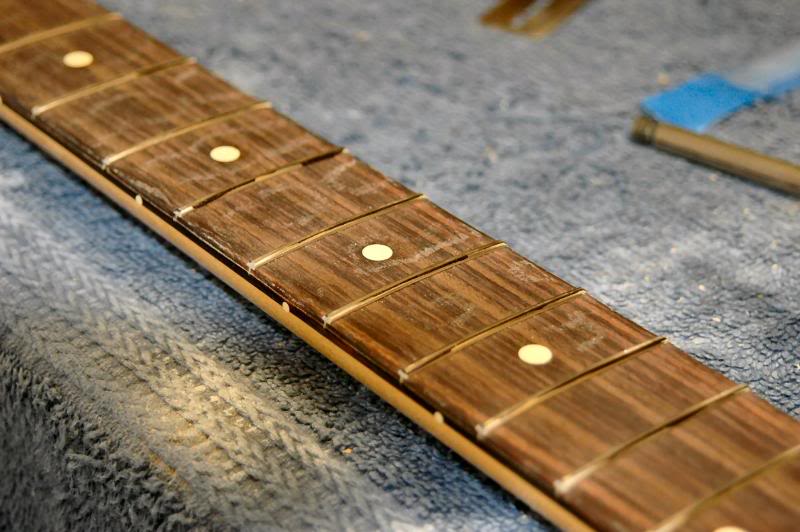
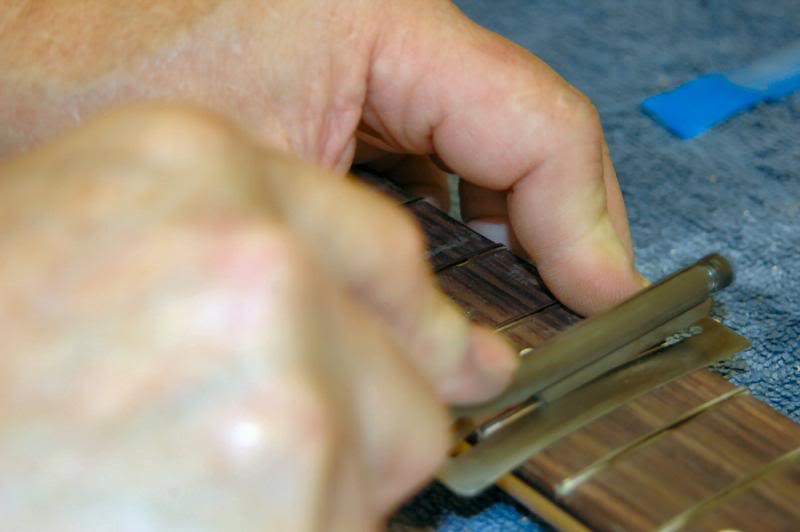
Ok time to finish the frets. One of the few tools you cannot make, or find a substitute for is a fret crowning file. You gotta take the leap, and get a real fret file.
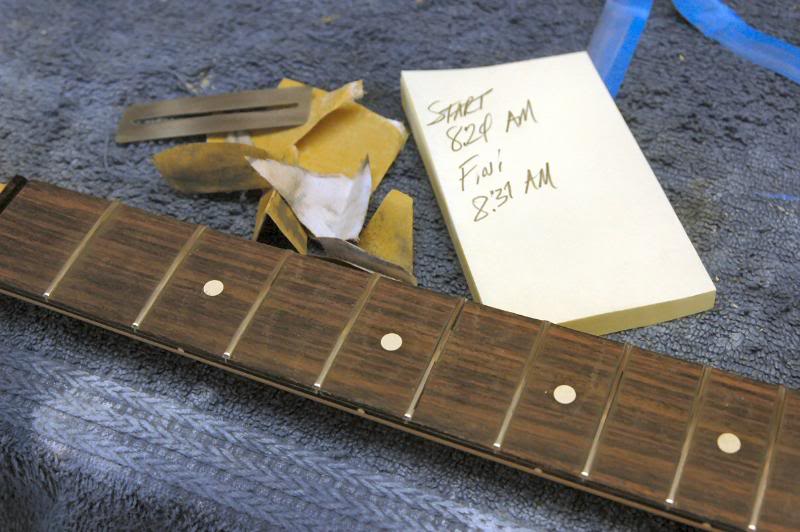
Here I gave ya a time stamp, to give ya an idea how quickly this goes. Crowning the fret correctly is a matter of watching the crown. The leveling tool leaves scratches from the sandpaper across the frets, and the crowning leaves scratches along the length. So you can see what’s happening. It’s crowned, when you can just see a faint amount of the leveling marks remaining, just a hint.
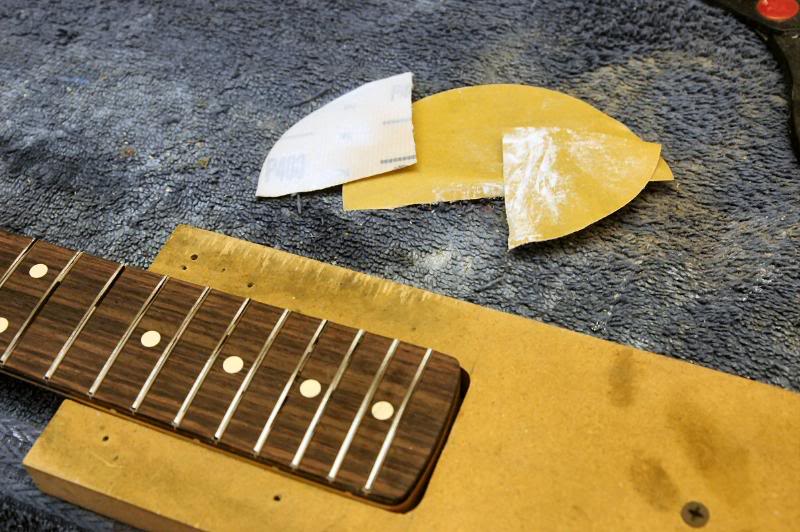
To polish them, I save most of my old sand paper, just for this occasion.
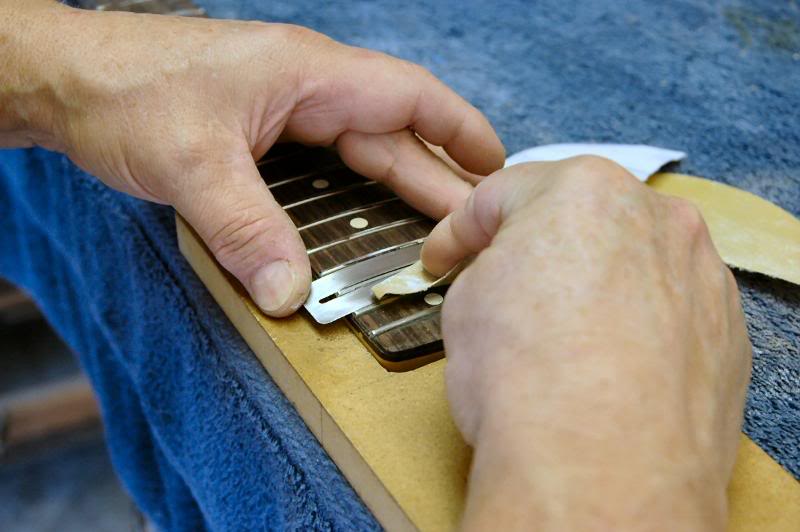
Then using whatever method suits you to protect the fingerboard, start sanding each one. I’m using 400 grit here.
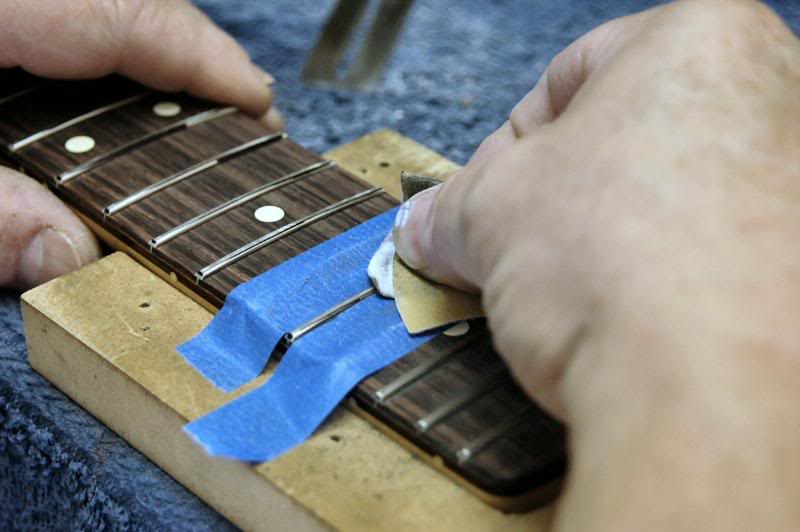
To protect the fingerboard, tape works well too.
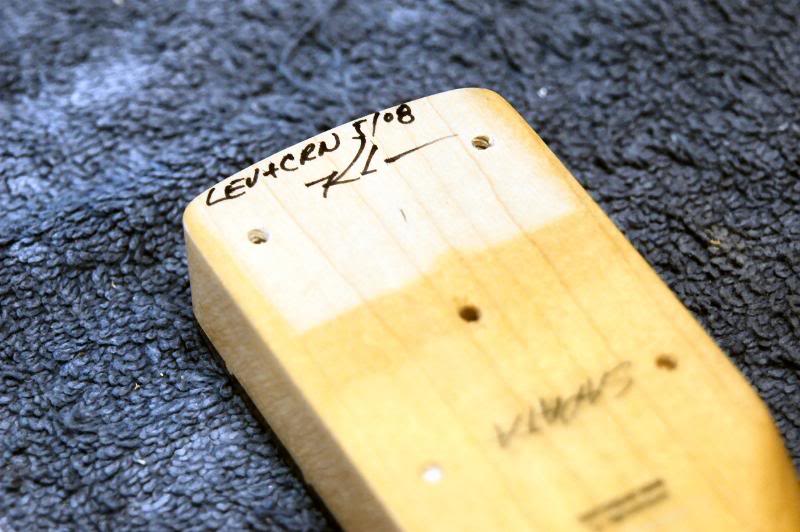
Once that’s accomplished, I mark the heel So I know it’s been leveled.
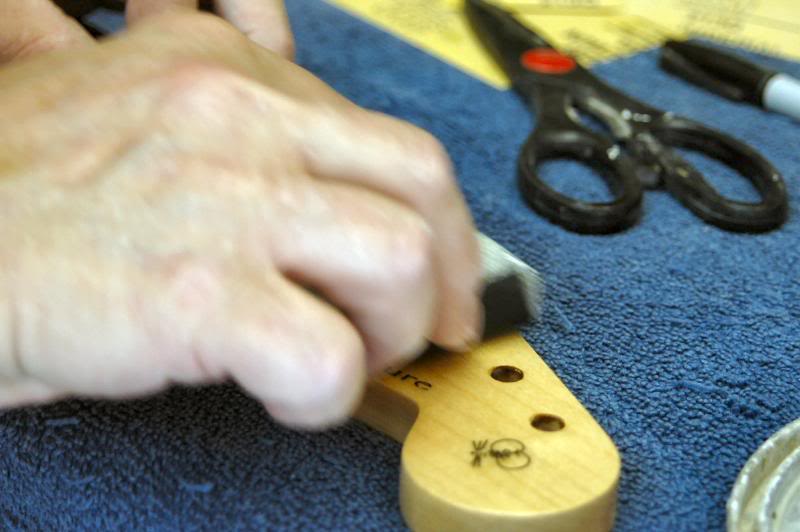
Time to wet sand the neck. Here I use a small block, a piece of Corian again and 600 wet or dry paper.
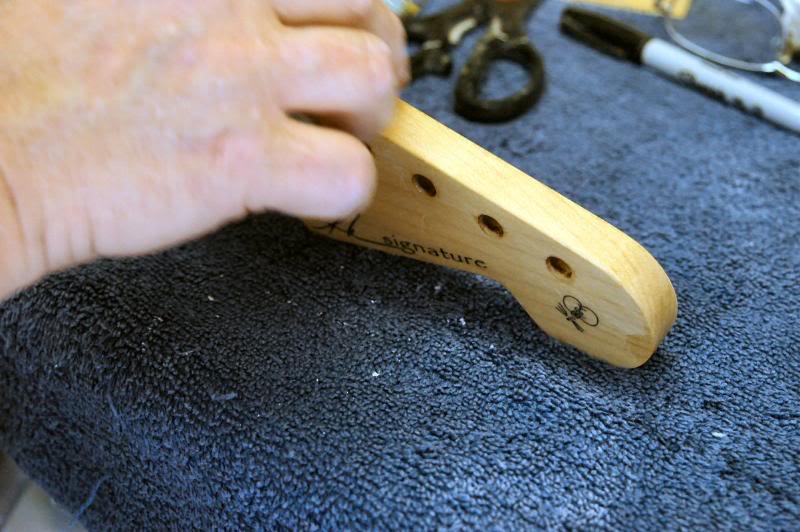
Pay attention to the details, use a flat block and be careful around the curves, it’s easy to sand right through here.
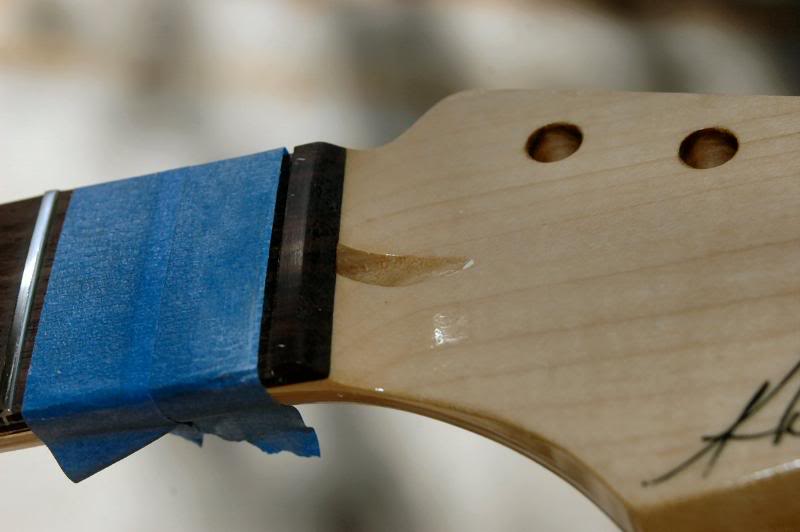
Once you think you’re through, back into the sunlight, check closely for those elusive shiny areas, they indicate a low spot that hasn’t been hit by the wet sanding yet. I mask off the fingerboard so I can sand the rosewood behind the nut, it gives a more complete detailed appearance.
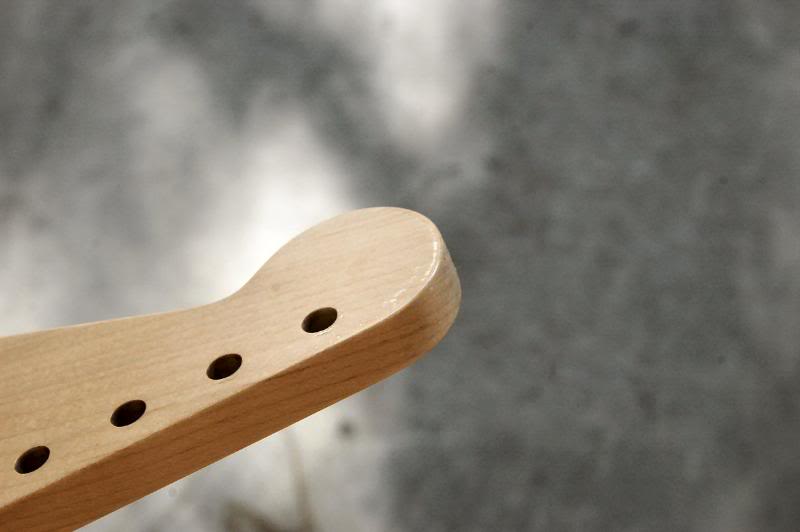
Note the edge where the lacquer can accumulate. Sand until it’s all level.
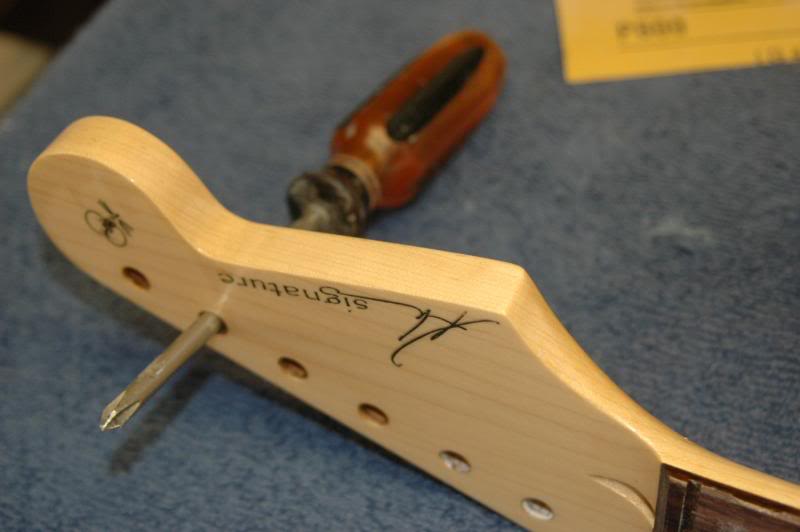
I now use a specially designed tool to support the neck, this one I believe was designed by a guy named Phillips.
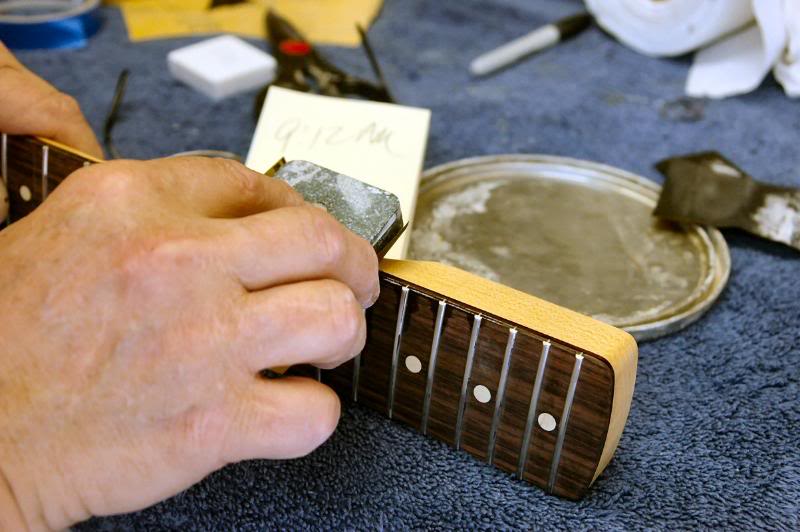
Using the block, I sand the edge of the fingerboard. I continue until the lacquer edge it completely “feathered” into the wood, so you cannot feel the edge.
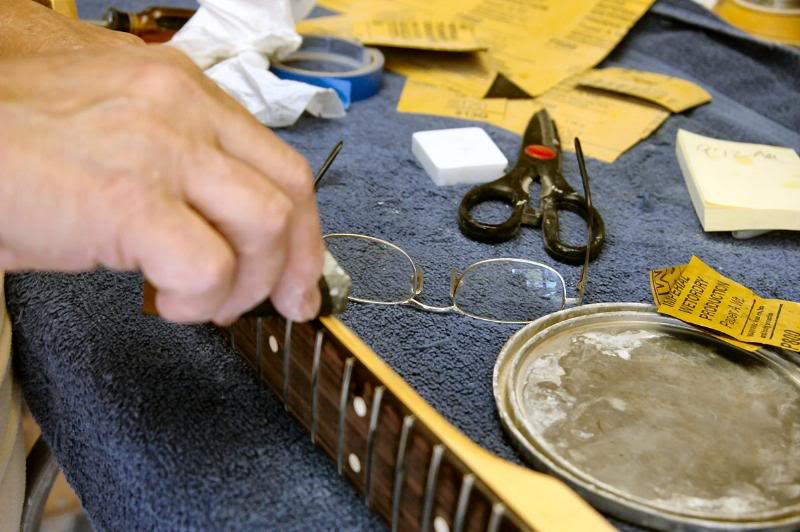
Once the edge is done, I sand about ½ inch onto the back of the neck using a rolling motion to keep the block flat with the neck.
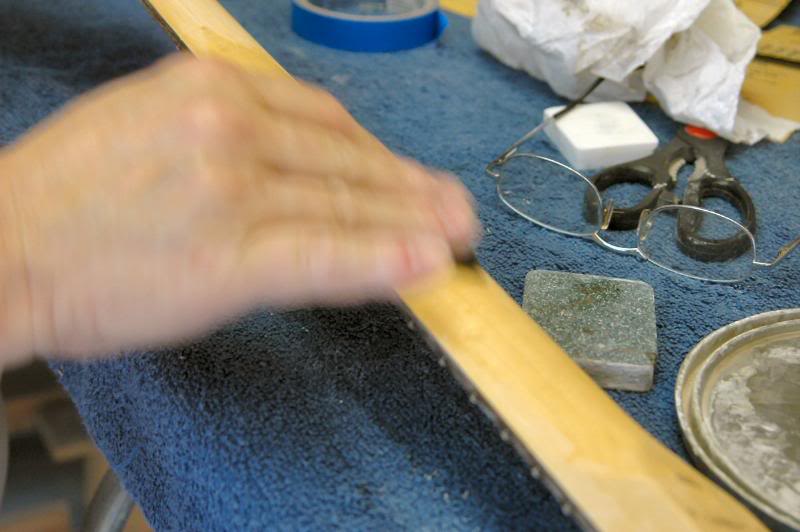
Once the neck is done with the sanding block, I will now go over it all by hand. I wet sand using mineral spirits. I’ll repeat everything with 800 grit after I do the initial sanding with 600.
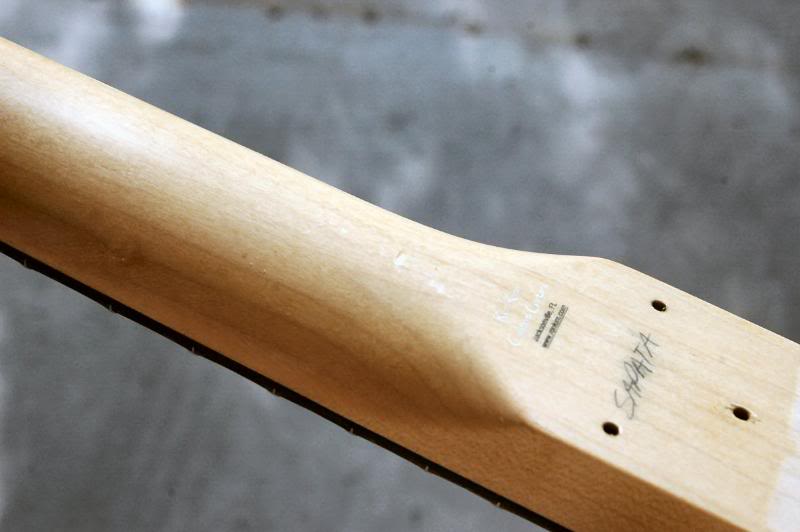
As usual, go over everything visually looking for the tale-tale, shiny spots, and sand ‘em before moving on.
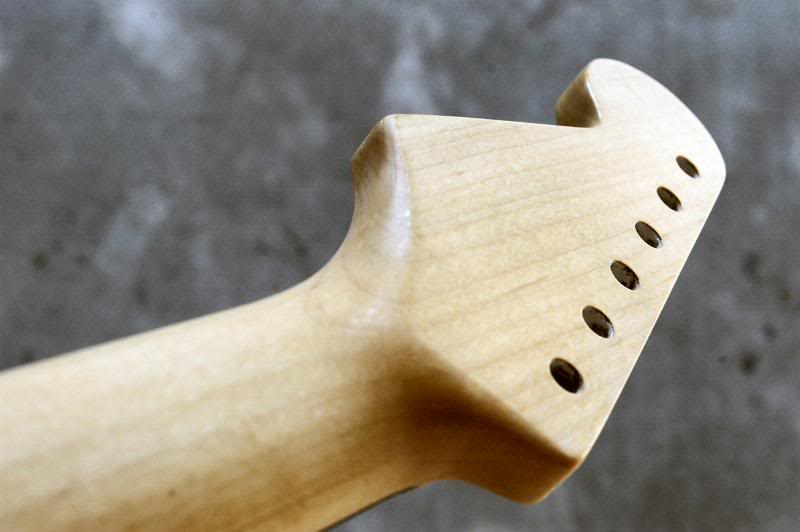
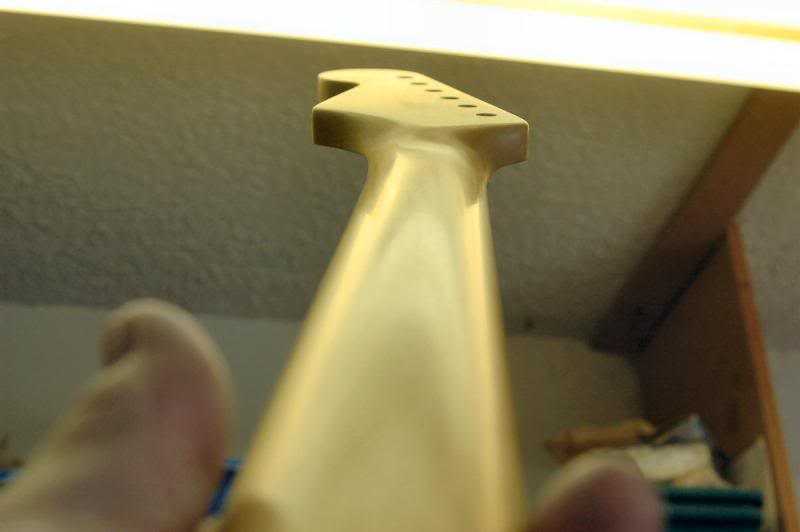
Once that’s done you should have a nice consistent matte, or semi matte surface begging for polishing.
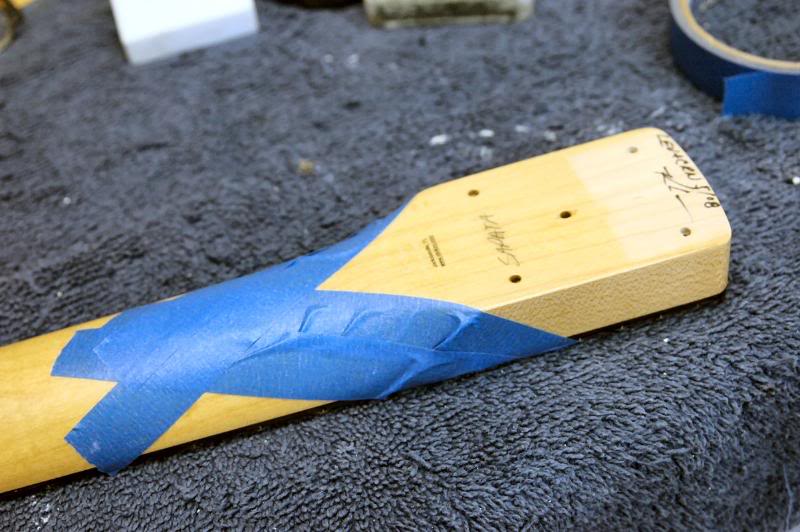
Most people want a matte back of the neck, as do I. So I don’t polish the back of the neck. The matte finish is vastly superior to the sprayed semi gloss clear coats manufacturers use, and gives the neck the feel of a well played naturally worn neck. Instead, I mask off areas. This gives a clean delineation between the gloss and the matte areas, it just looks nice too.
Charge, load, or whatever you wanna call it, put some polishin’ stuff on the buffing wheel…
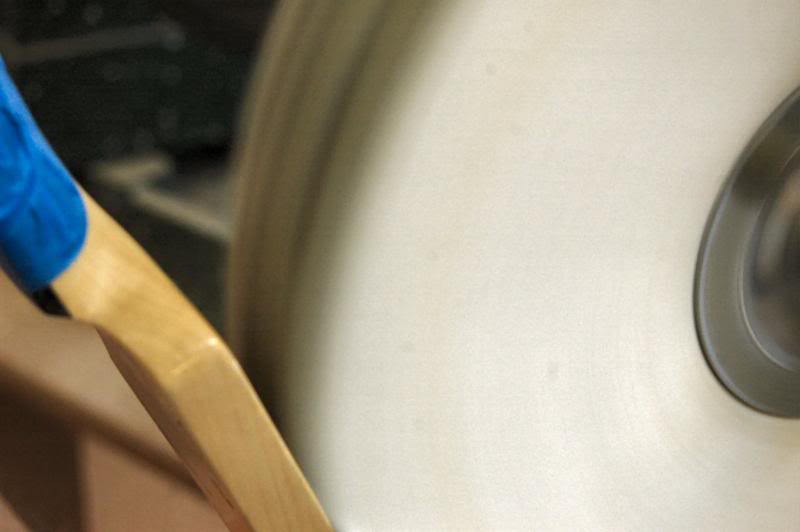
and start polishing.
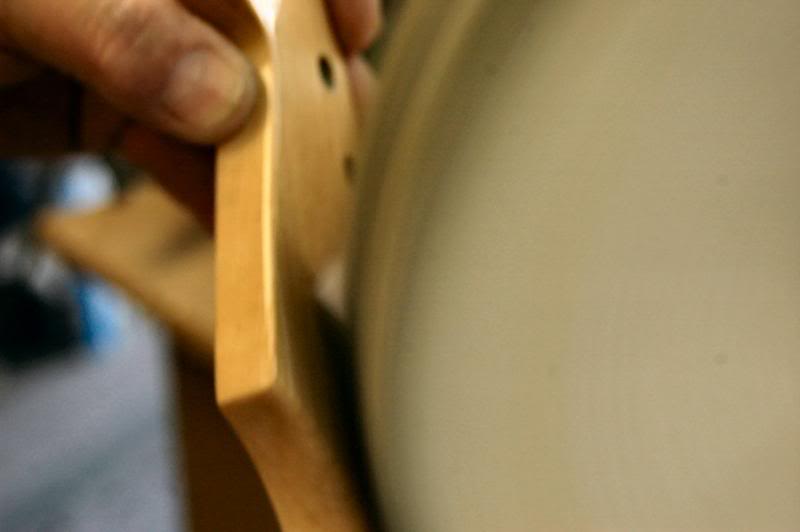
If using a power buffing machine, stop every so often to keep heat from building up. Heat is not your friend here, unless you have been doing this a very long time and learned how to use the heat.
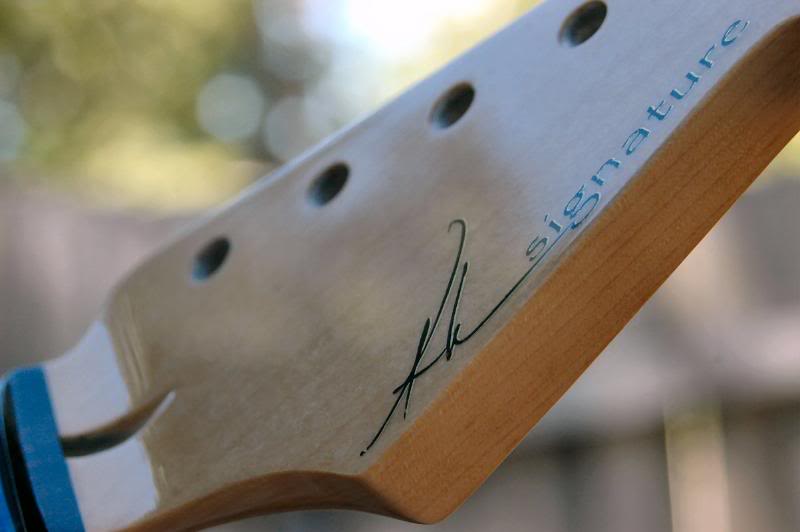
By now you should have a beautifully polished neck.
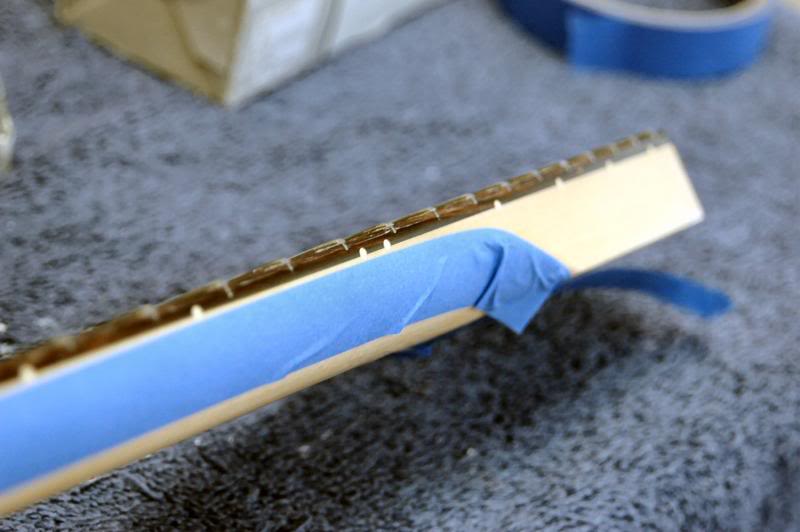
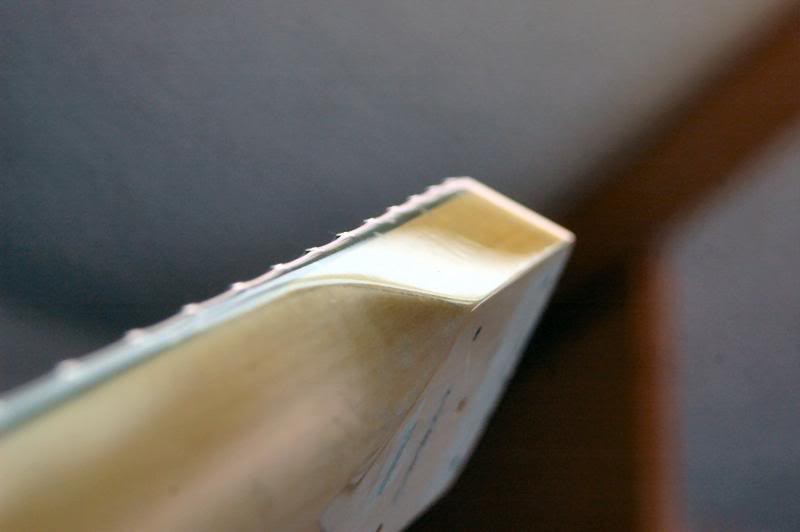
Ready for the home stretch…
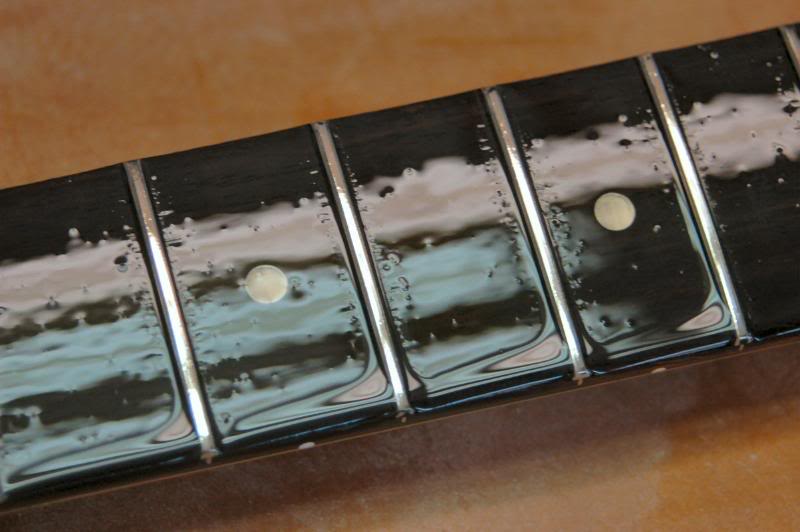
I’ve already sanded with 400 grit, no polishing is really required. The act of playing the guitar will press the strings into the frets burnishing them. But that’s not the way I do it, mine go out so highly polished, I get calls asking how I do it…. Hehehe my little secret.. gotta keep a few cards hidden. But now I dab oil onto the fingerboard.
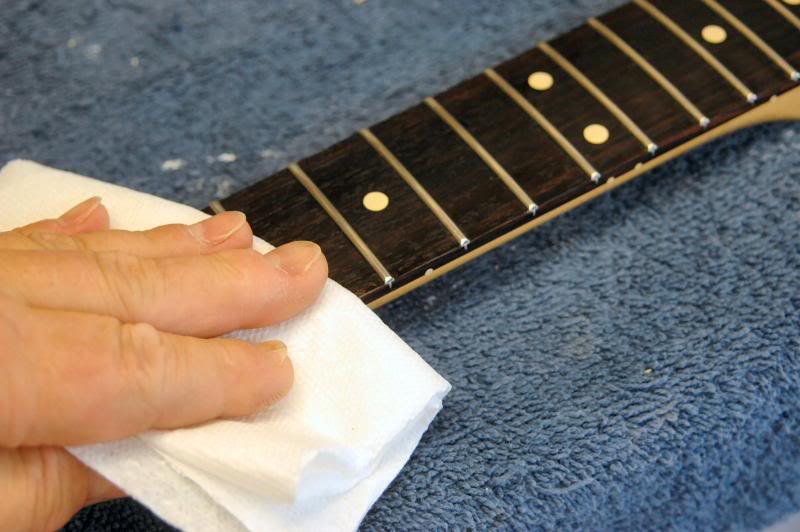
Then sit it aside for a couple of hours to let it soak into the wood. I use any number of oils, lemon oil is great and easy to find. Do not use oils that dry. Tung oil, linseed oil and such are not good choices. After allowing the oil to be absorbed, I clean the excess thoroughly.
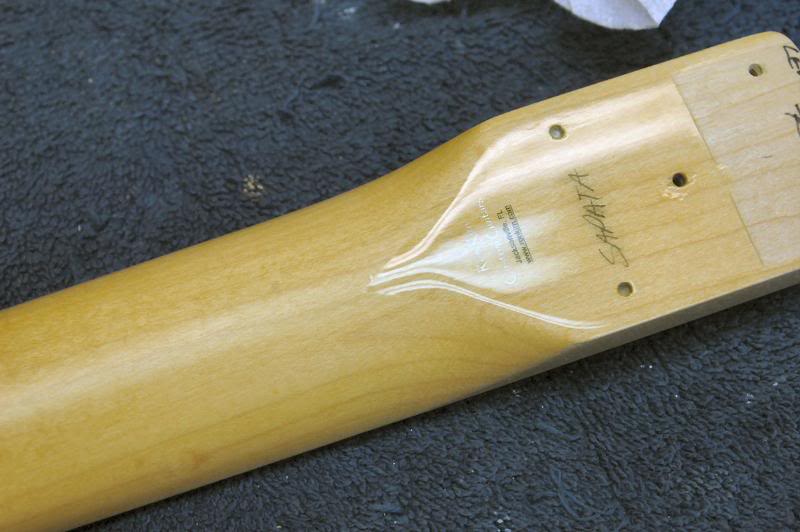
The final step. I give it a good coat of a quality wax, one with a high carnauba wax content, and this is the results of the masking.
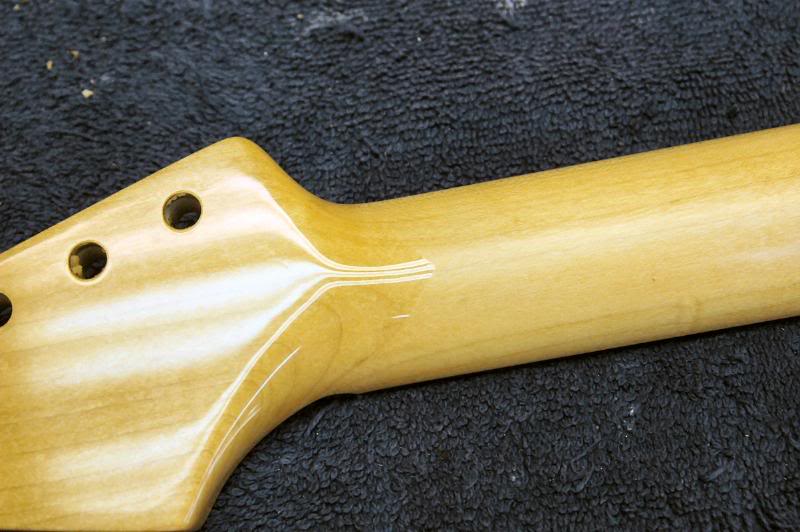
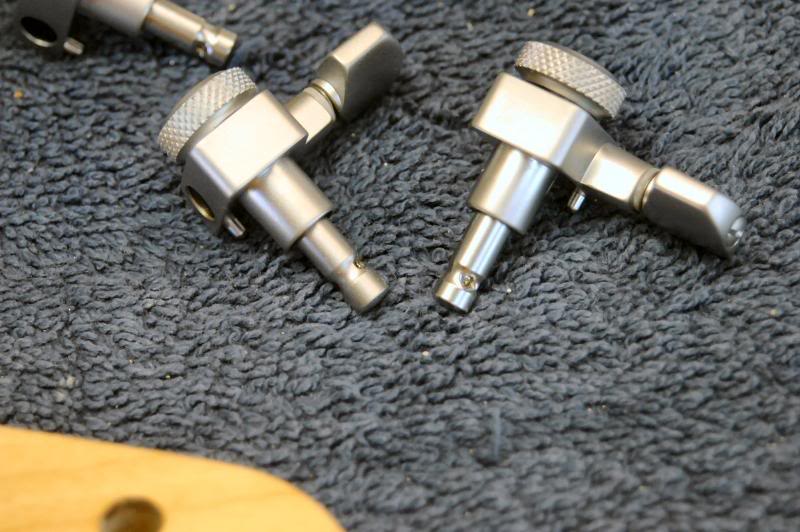
Installing the keys isn’t too difficult, but this is how I do ‘em…. Shaller Locking. Note that most of them are staggered today, that means the posts are shorter on some. Place the shorter posts on the 1st, 2nd, and 3rd strings. Some will have 3 lengths, the middle length would go on the 3rd and 4th in that case.
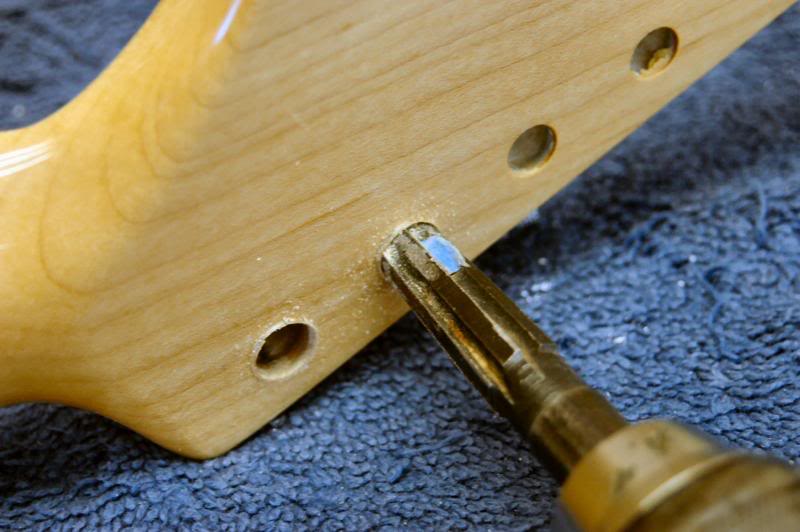
Even if you ordered your neck drilled for the specific keys you are installing, you are going to find they will still need reaming. For Kluson vintage style ream the face until the ferrules slide about ½ way in. For Schaller and Sperzel, ream the back side until the key fits.
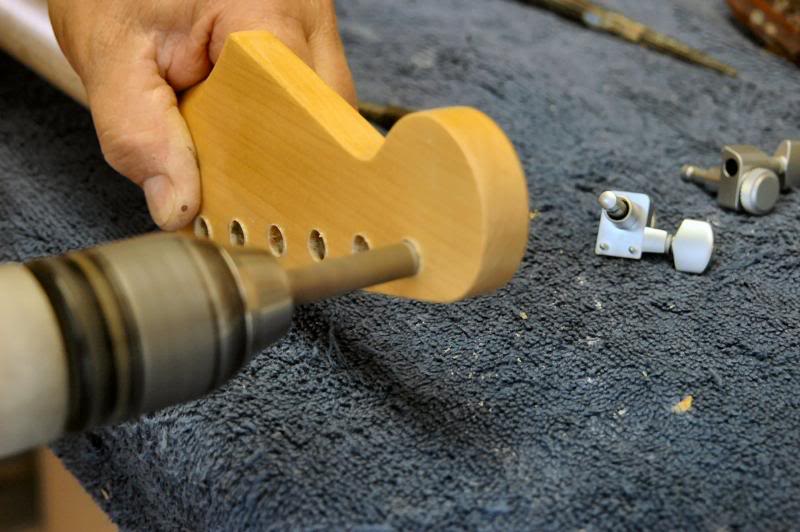
Be very careful reaming. I recommend getting a real reamer. A drill bit will grab the soft wood, chip lacquer, split headstock. You want something that removes wood slowly. A Dremel works well too. This does not have to be a precision fit, just snug. I have a rotary file that is the exact size, I use it to complete what I began with the ream.
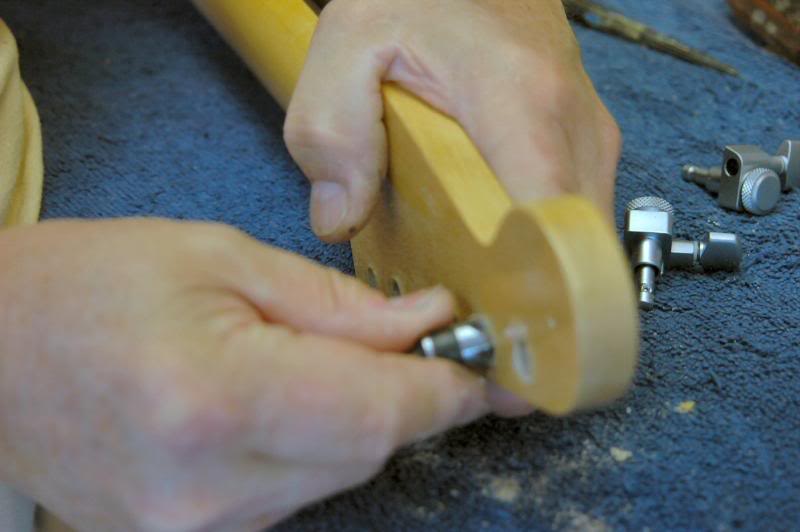
Reaming leaves lacquer curled up... remove it with a small countersink by hand, and then place the keys in the holes.
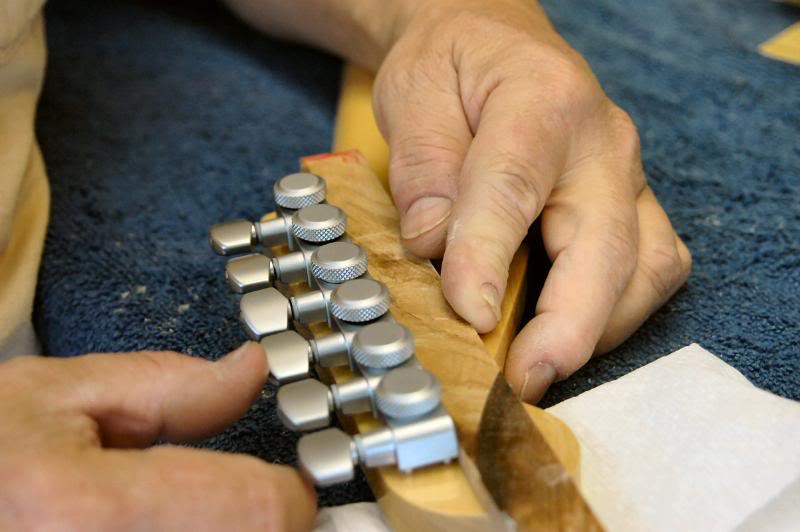
I use a small relatively straight edge to position the keys so they aren’t skewed relative to each other.
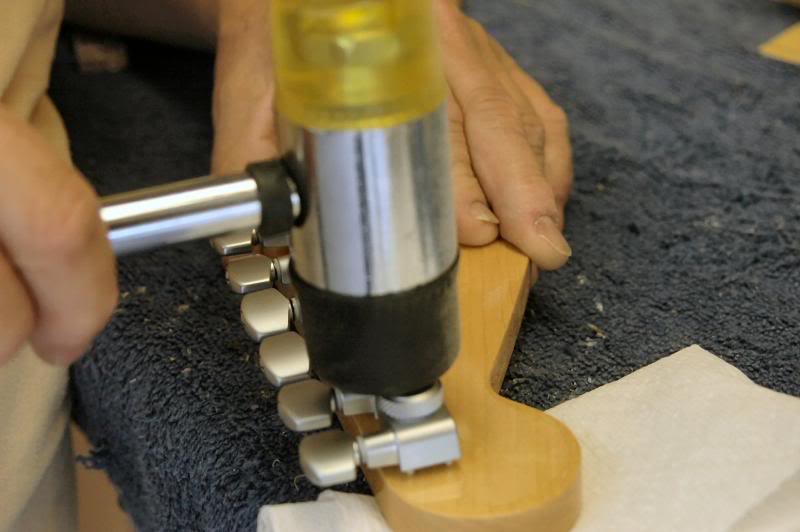
Now give each a light rap with whatever… just something soft so you don’t scratch the keys.
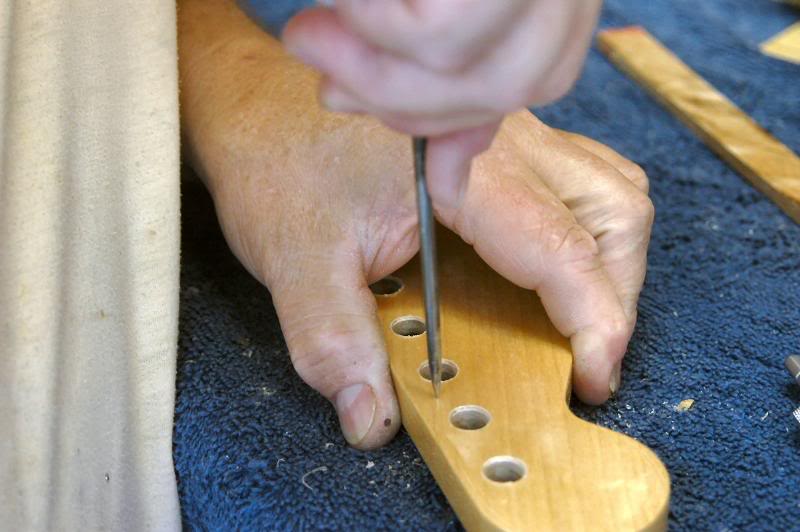
Which leaves a slight dimple marking the location of the pins that secure the keys and keep them from rotating. I now take an awl and mark then for drilling.
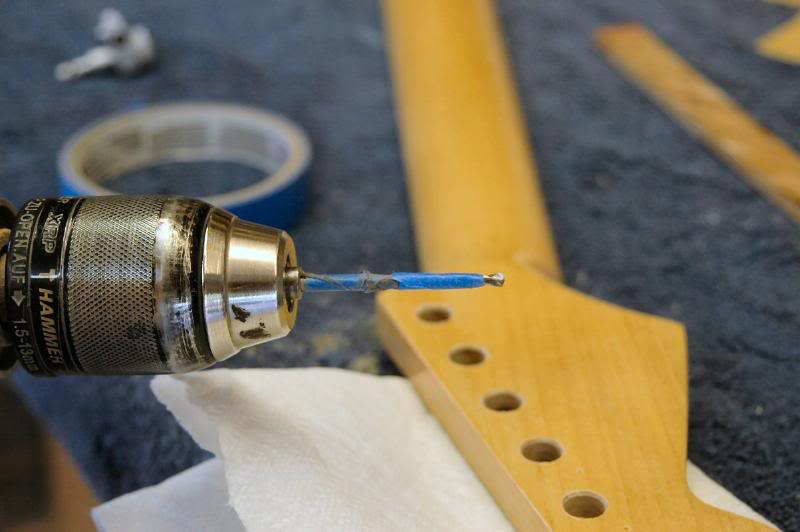
The tape is self explanatory.
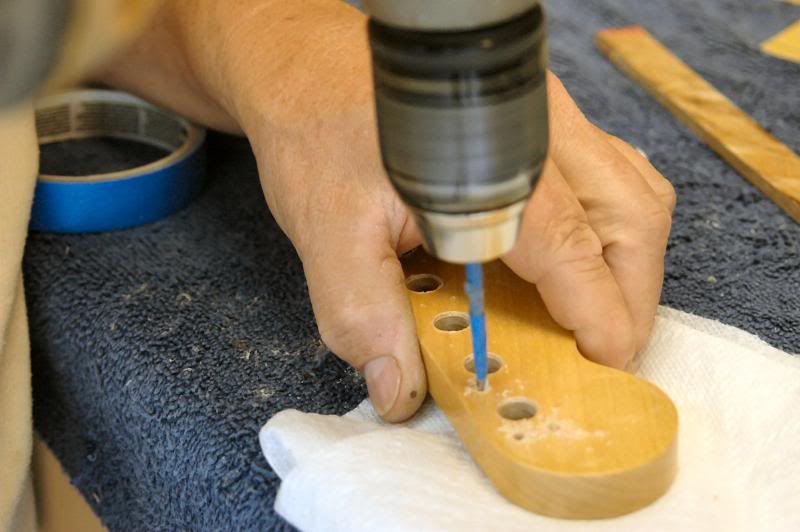
Now… drill away.
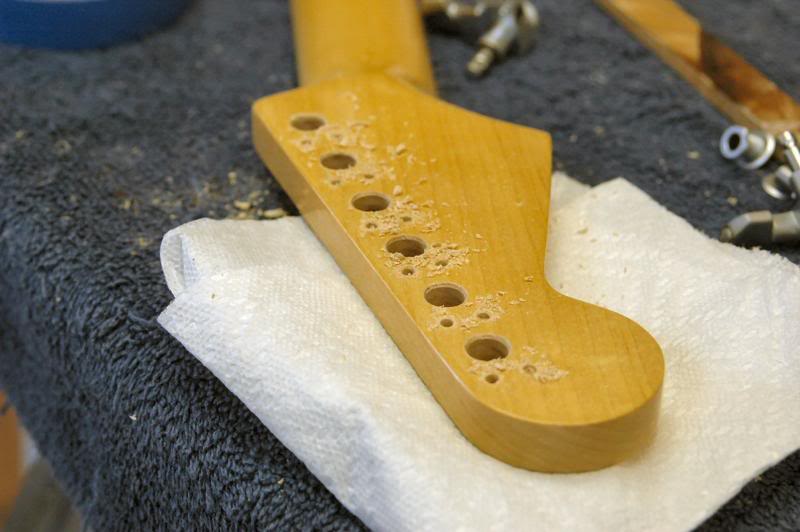
Clean the shavings and insert the keys. Screw in the bushings finger tight. NOTE - on Schaller and Sperzel, the threads are very fine and cut into soft metal, stop at any sign of resistance. You can cross thread these babies at the drop of a hat.
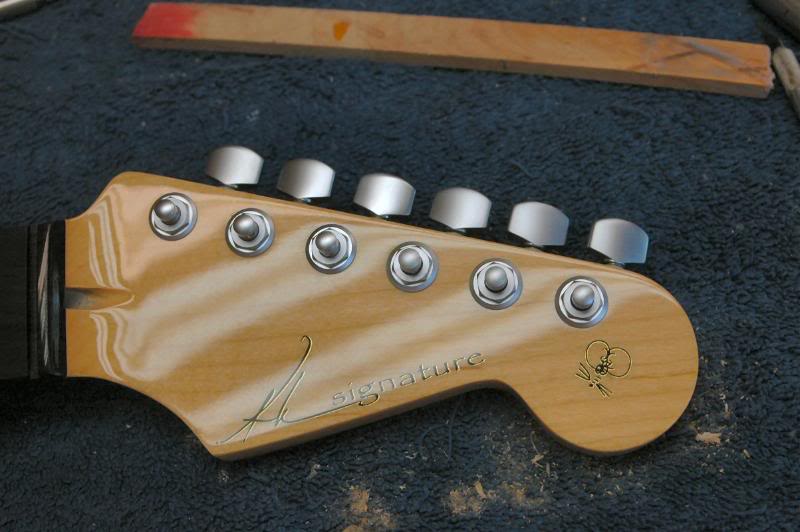
Now, tighten with the appropriate socket, 10mm for Schaller, 7/16 for Sperzel. And use a CLEAN socket, not the one you used to take the lawn mower apart last weekend. We now have a very nice neck. And no, I cannot put the retainer in yet. Next up, the nut…
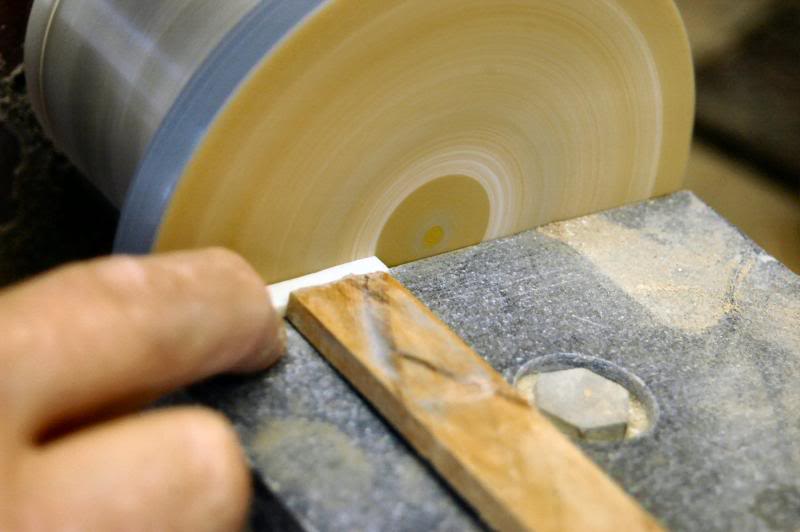
I stock the curved nuts, and re cut it where necessary for a flat nut slot. No rocket science here, just be sure to hold it flat to the work table so the bottom is at 90 degrees.
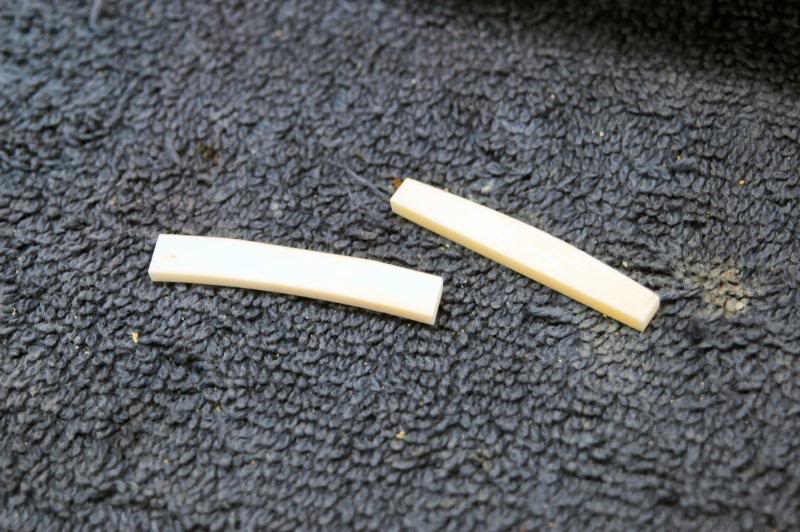
Before and after.
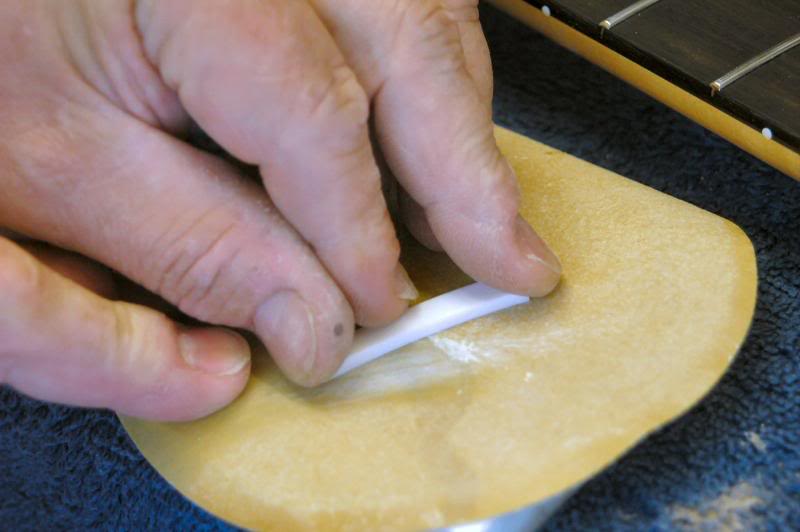
The raw nut is rarely the correct thickness, so it has to be lapped down to the correct size. I just use apiece of 320 grit on a good flat work surface.
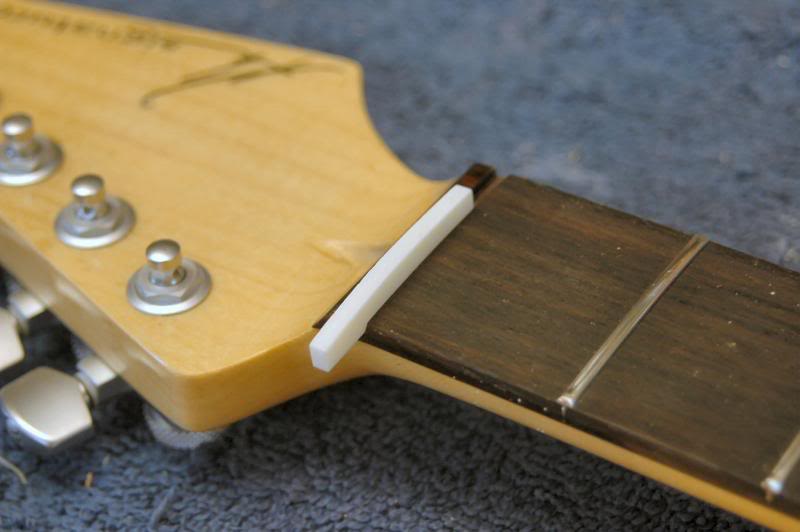
Working it back and forth, making sure to apply even pressure and check often, what you want is a snug fit. Snug meaning you can press it in, and get it back out.
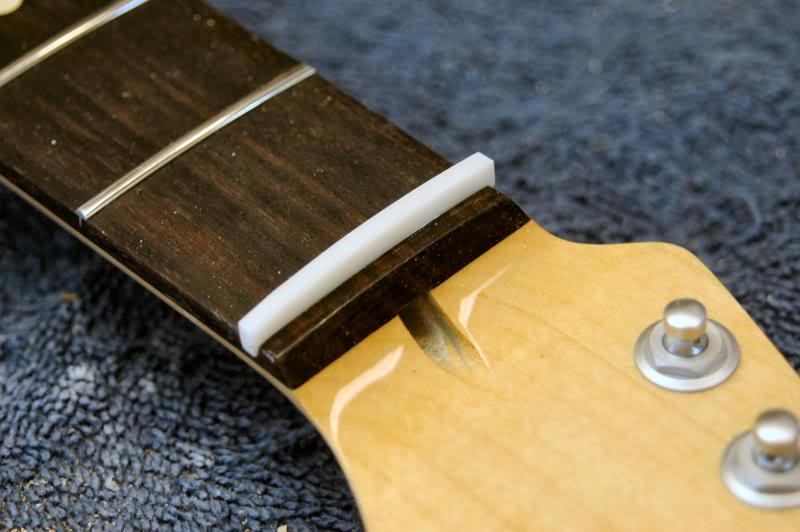
In the last pic, you can see the nut doesn’t fit in all the way, so back to the sand paper. I forgot to photograph it, but I use a dial caliper to check to see that it’s consistent along the length.
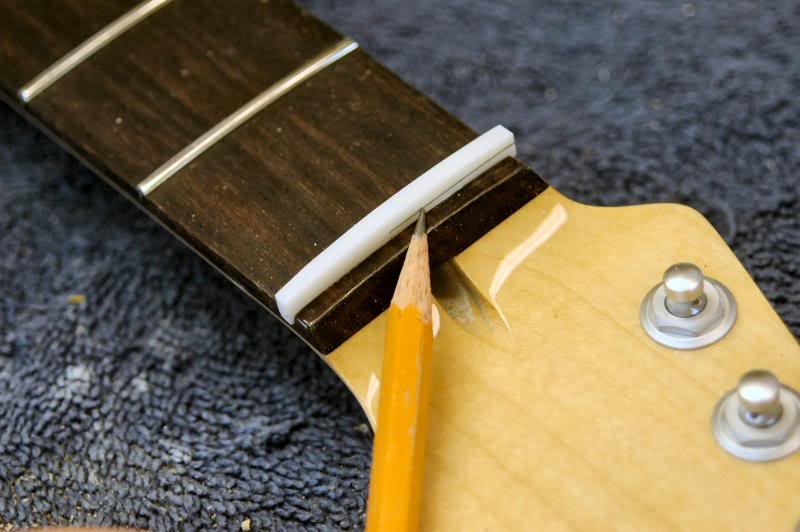
It fits… so let’s get it ready for the slots. A raw nut is entirely too high and wide. So I mark it as seen here, I just leave enough so that I can slot it, then finalize the height.
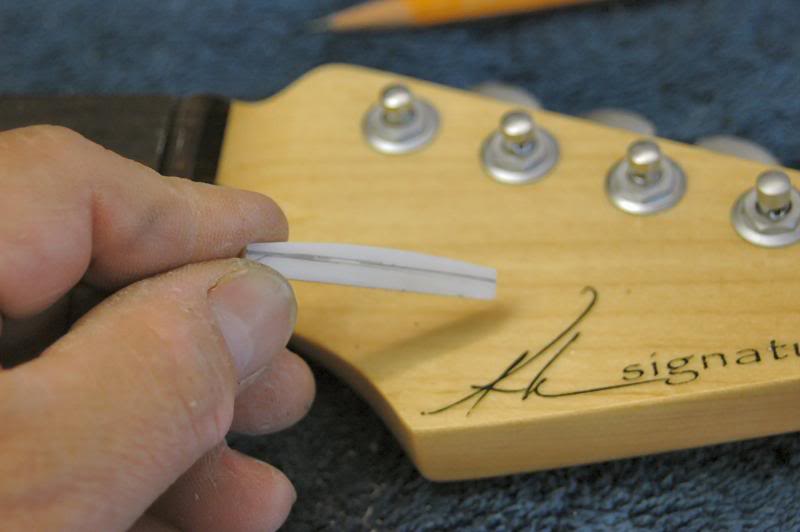
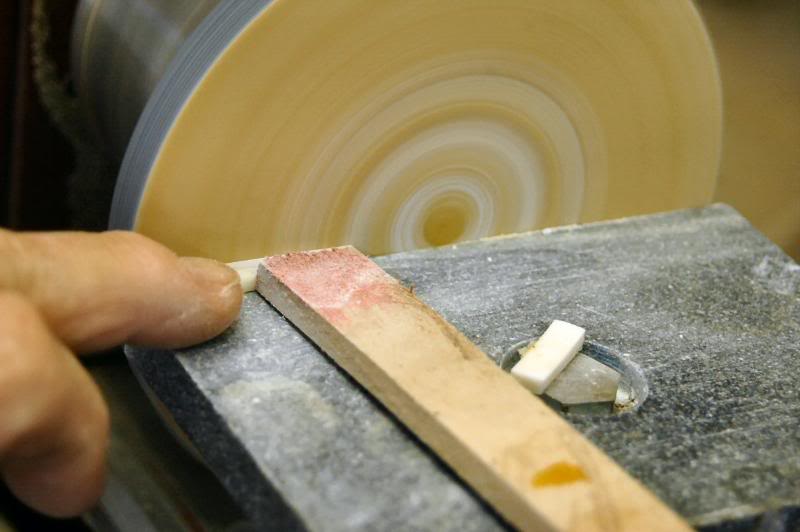
Now back to the disk sander. I use the stick to press it against the disk, and pressure with my finger to hold it flat.
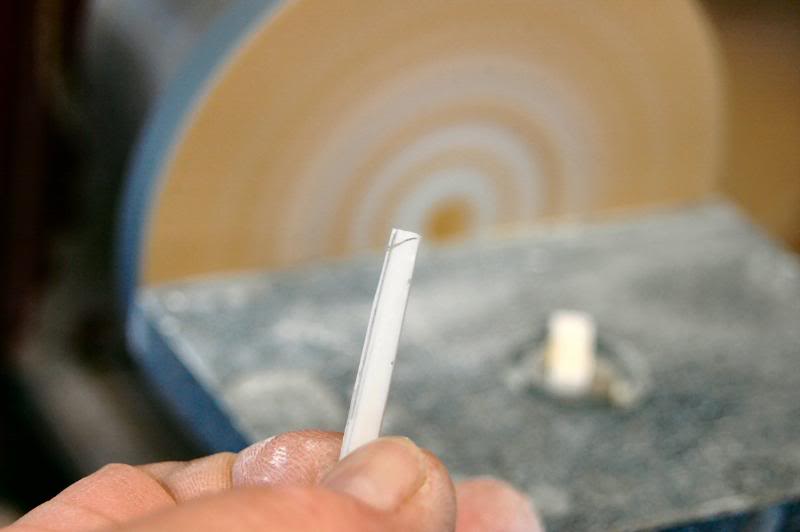
Now the ends….
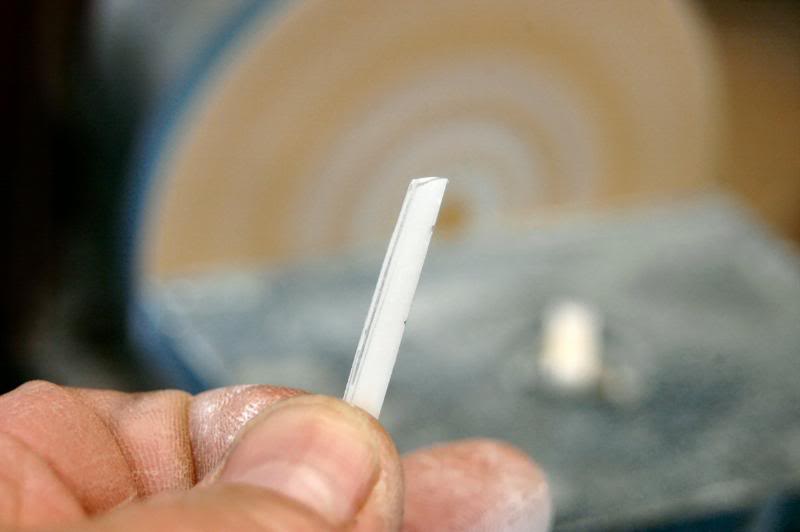
I just stay with it until it’s the correct length.
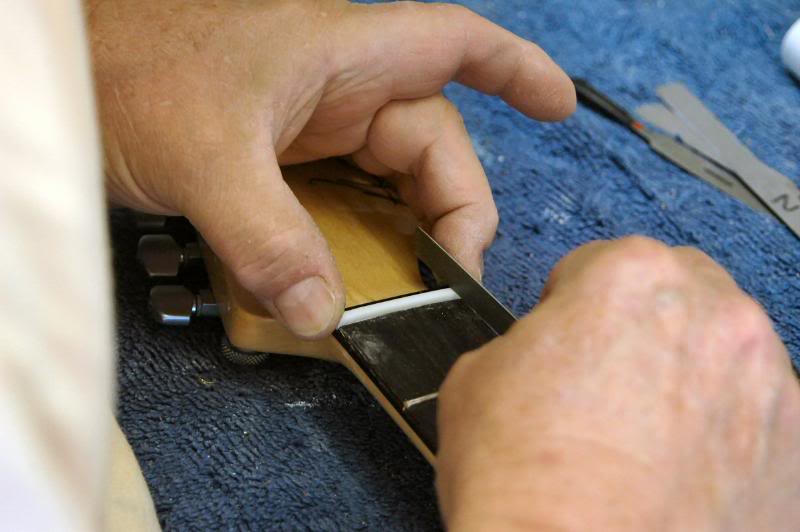
Now I cut the 1st and 6th string slots, allowing for enough relief at the edges. Some like ‘em very close to the edges, some like ‘em all bunched up about in one notch. It just depends on what has been requested.
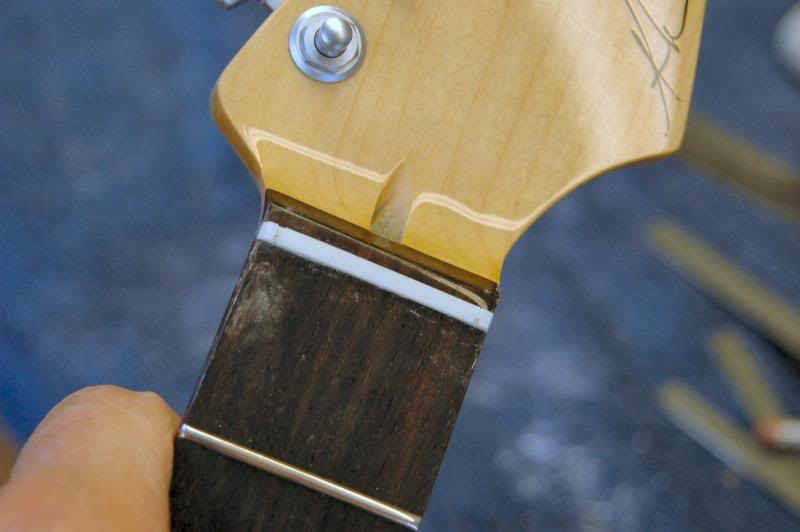
Once those are cut, they become a reference for the Stew Mac nut slotting ruler. This is 25 bux well spent if you’re doing several guitars, and I know you will, won’t ya?
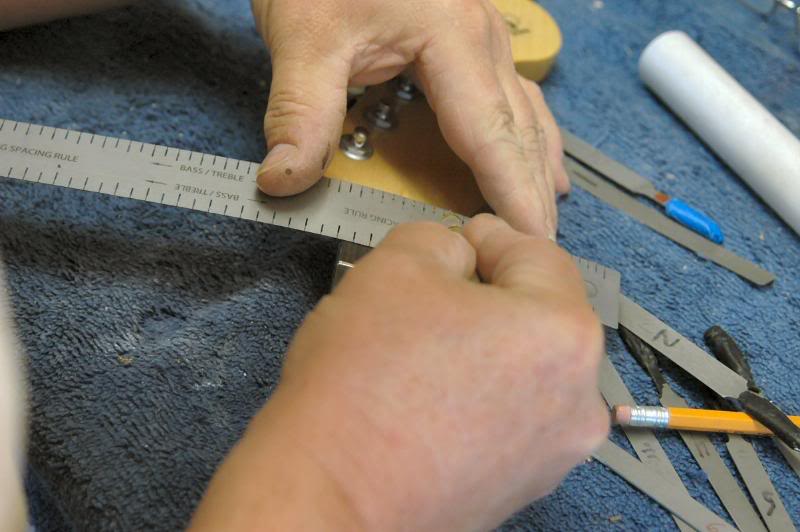
Using the Stew Mac tool, I mark the location of the remaining notches. The tool automatically spaces each string so they are visually evenly spaced. If you space them with dividers or other means of marking, while correctly spaced, they look uneven due to the different gauges. I use an X-Acto knife, with the tip of the blade broken off, this gives a very fine scratch tool that just fits inside the slots on the Stew Mac tool.
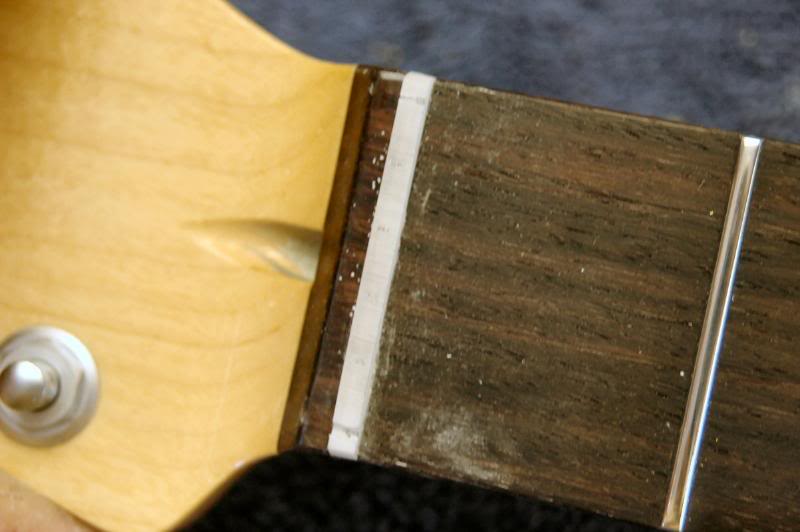
Once it’s marked, I go over it lightly with a pencil to highlight the marks.
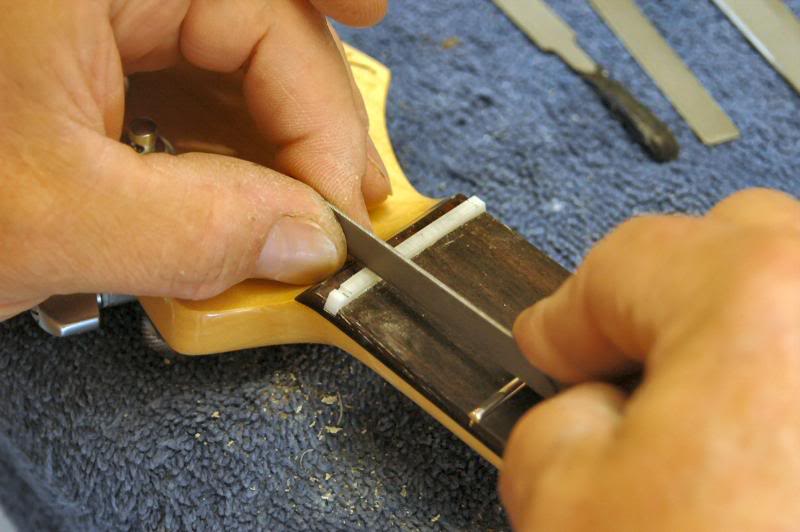
Now I use one of the smaller nut files to cut a preliminary slot. I use the smaller file because it’s easier to see down the sides to get the slot cut exactly on the mark.
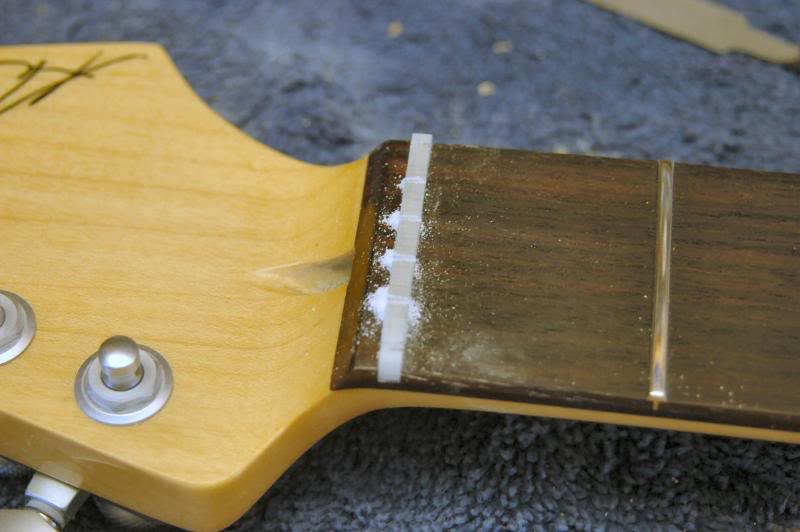
Now, I follow up with the correct file for the correct slot. I do not try to cut them to the correct depth now. That happens during final setup, after I finish shaping the nut and polishing it.
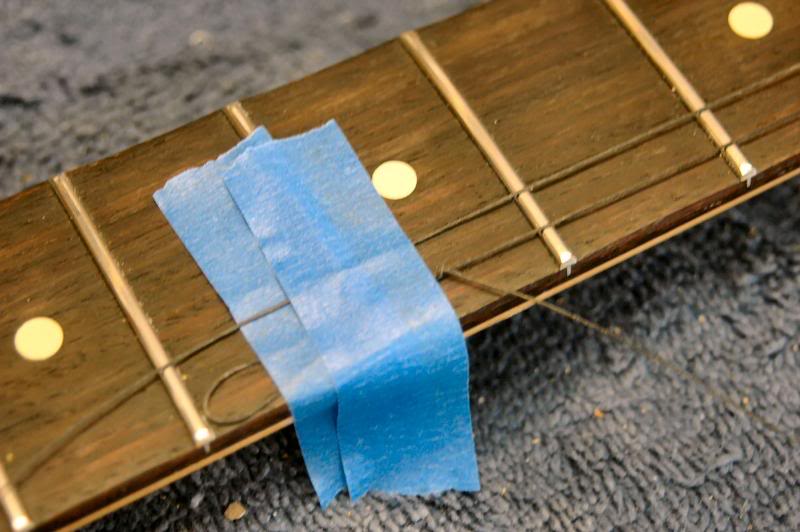
Now, it’s time to place the string retainer. I use a high precision tool to simulate the location of the 1st and 2nd strings… a string. I tape it to the fingerboard, run it down across the 1st string nut slot, around the key, loop it under and around the second key, across the 2nd string slot and tape the end.
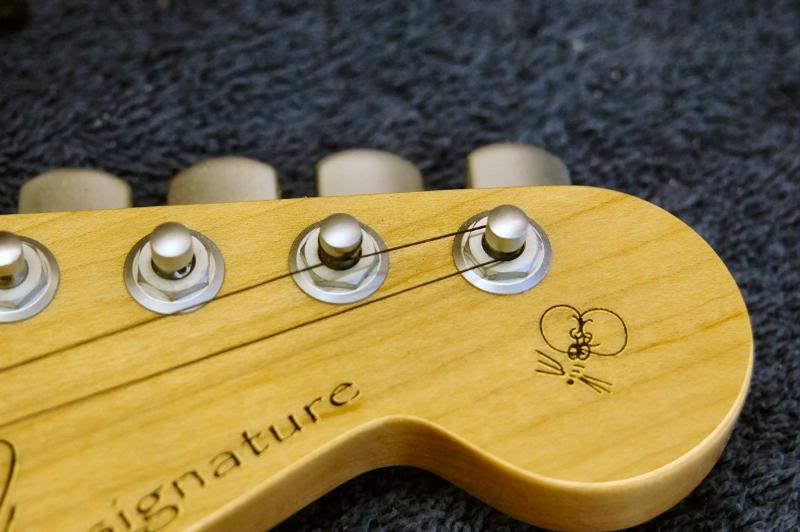
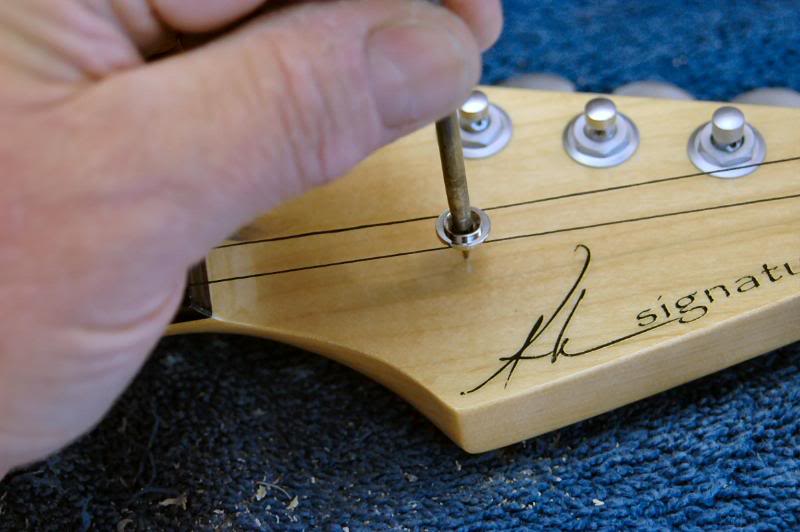
Now take the retainer, place it over the string in the correct location, take an awl and mark the location of the screw. Drill a pilot hole and run it in.
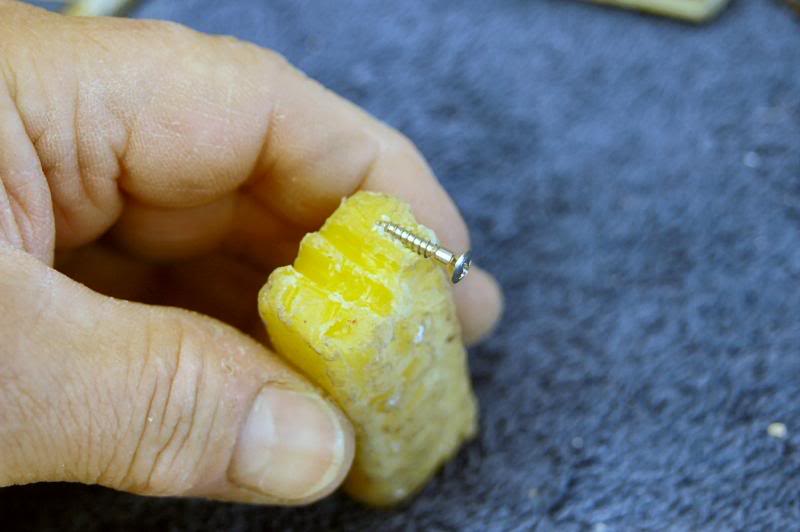
As a tip, I always coat the screws with bee’s wax, an old candle will suffice too. This facilitates running the screw in what can be very hard wood.
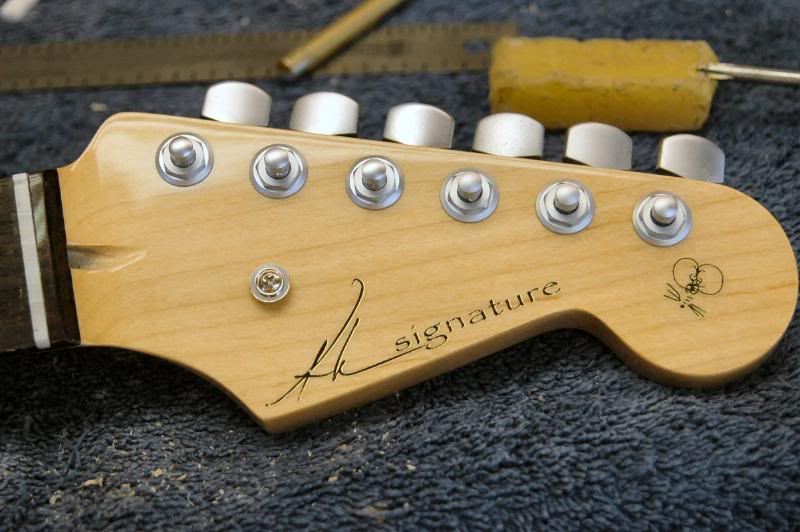
This baby’s done. The nut will be finished after set up.
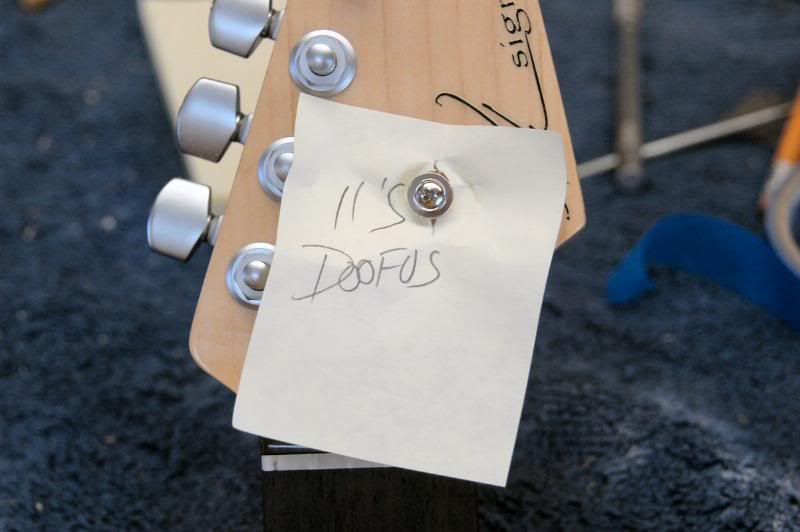
I’ll now make myself a subtle note to remind myself of anything I need to know when I begin final assembly in a few days.

To continue to Part 6 Final Assembly
Choose: Slide show viewing or Single Page


Shaping the Body | Color and Lacquer | The Neck | Body Buffing and Pickguard | Finishing the Neck | NEXT - Final Assembly