Sitka Spruce S Type Build
Part 2 - Color & Lacquer
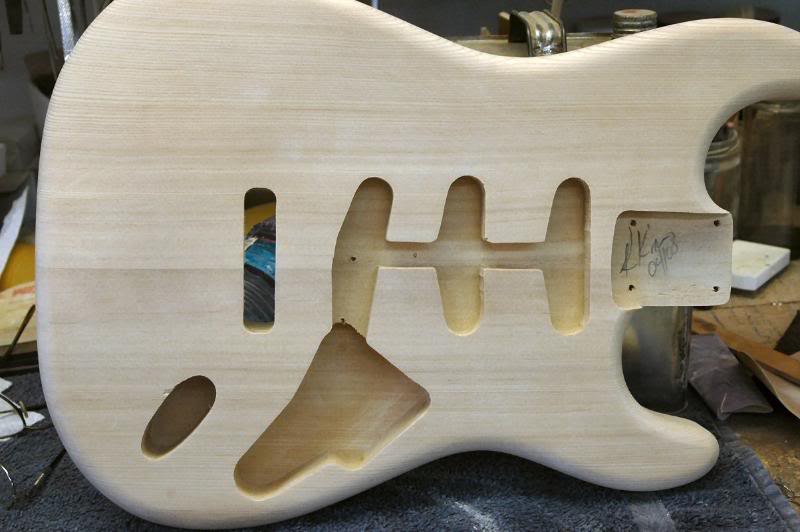
Now give the body a final (this will be about the last final) sanding with 220 (320 if clear finish).
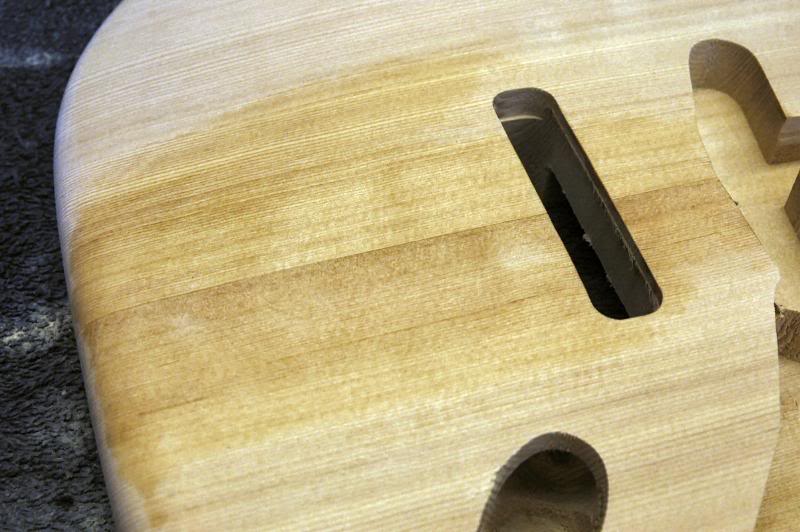
The lumber revealed a slight coloration when it was planed down, and while it will be virtually unnoticeable under the semi transparent Honey Blonde finish, it bugs me.. so I’ll dig out the air brush. I wet it with alcohol to make it more apparent.
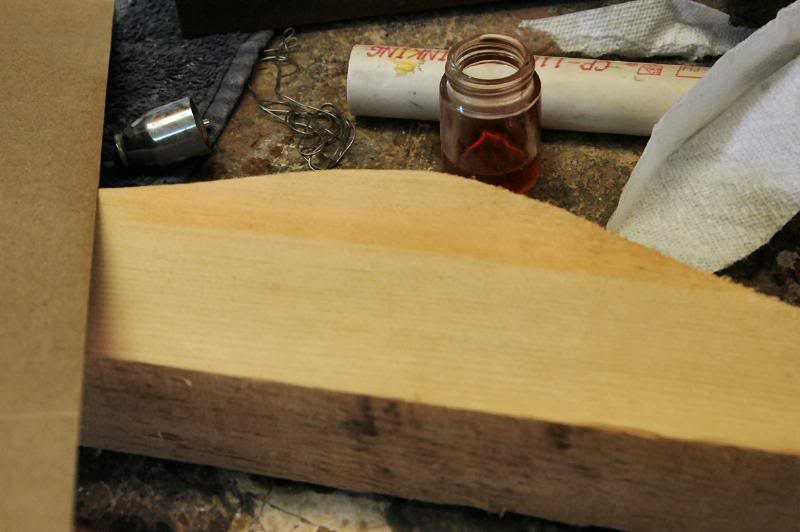
Using a piece of scrap remaining from the blank, I’ll mix a little dye in lacquer thinner, with a very small amount of lacquer to give it a little body, then try it on the scrap. You can see it is a little too pink, so I add a toothpick tip drop of brown and try again..
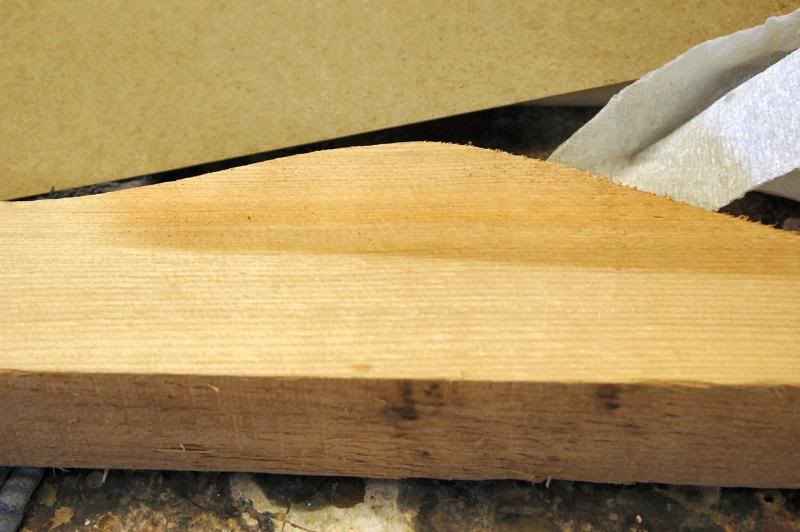
That’s about right.
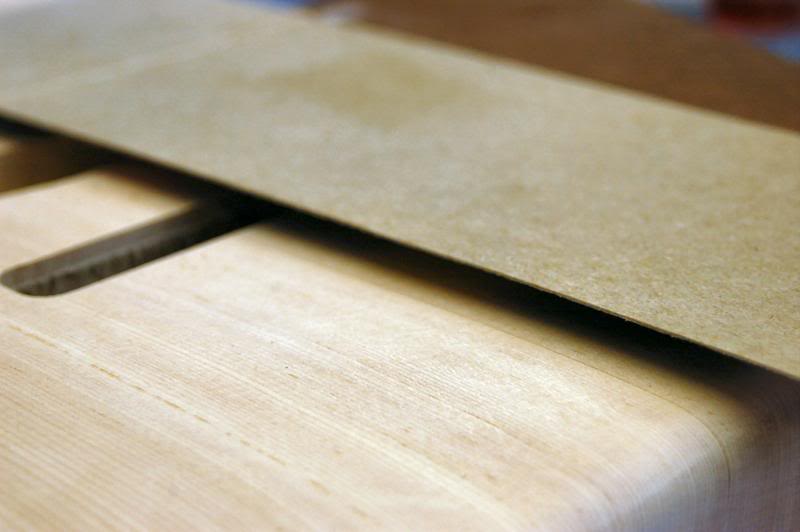
Now I shield the area that is already dark, suspending it slightly above. This allows a little “blow back” to soften the edge and look much more natural.
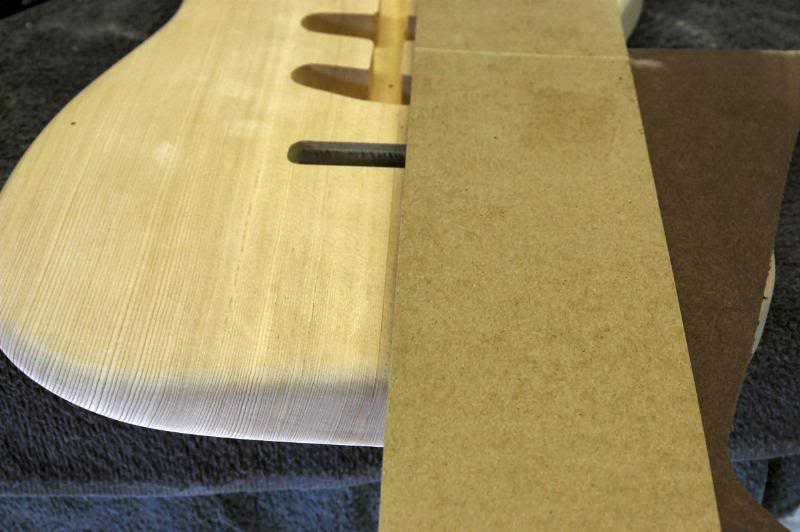
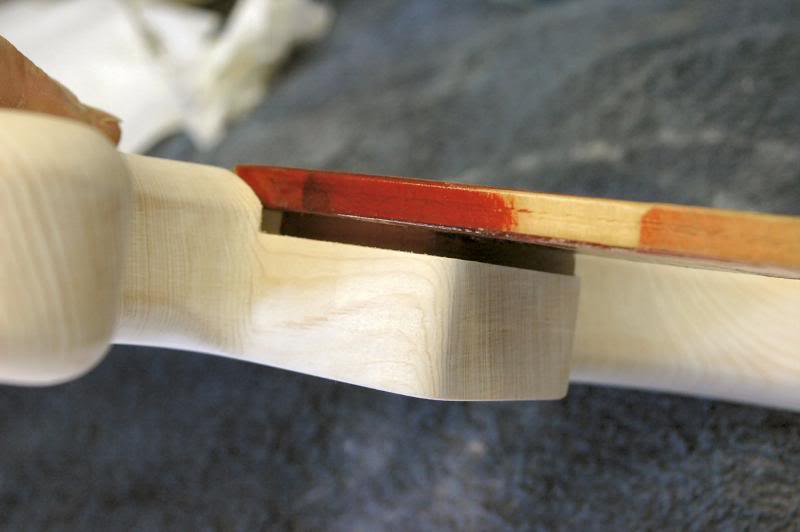
I now mount a paint handle, keeping it above the pocket so there will be no chipping or peel off when I remove it in a couple of weeks.
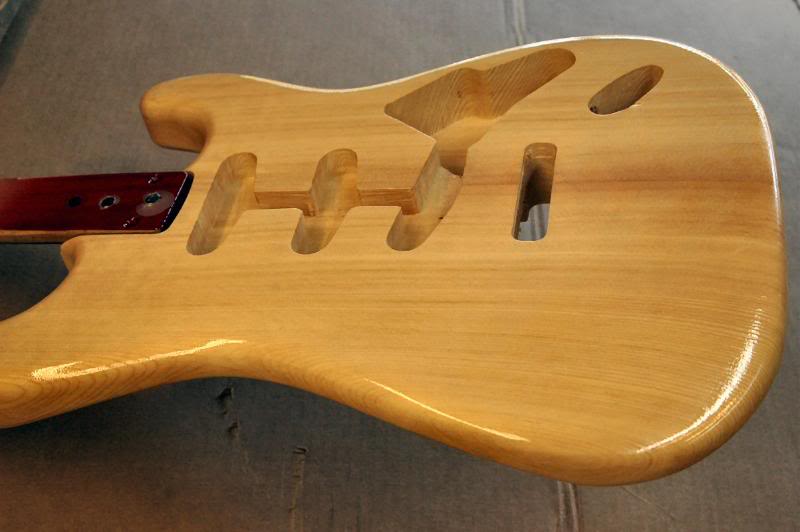
So it gets a few coats of sealer. Which will be thoroughly sanded before any color goes on. You can see the dark strand looks much more natural now.
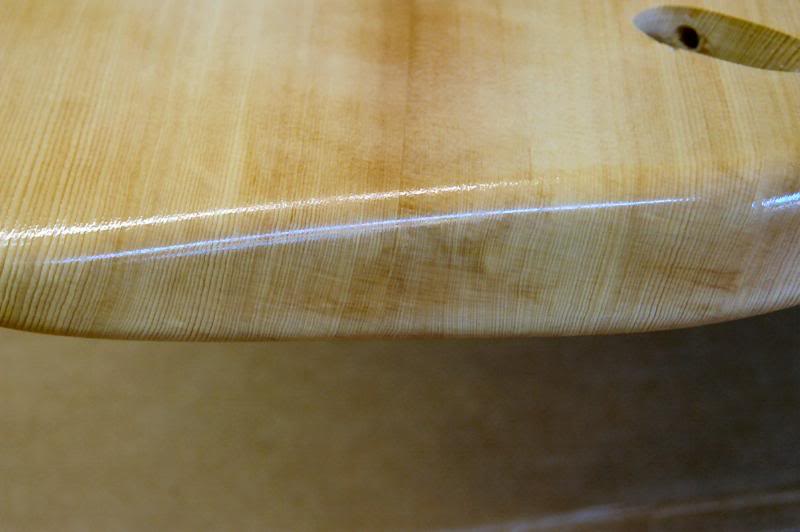
And remember, I jointed at an angel to reduce the point where the two sections were joined? It’ll sit for a few, then it gets sanded too.
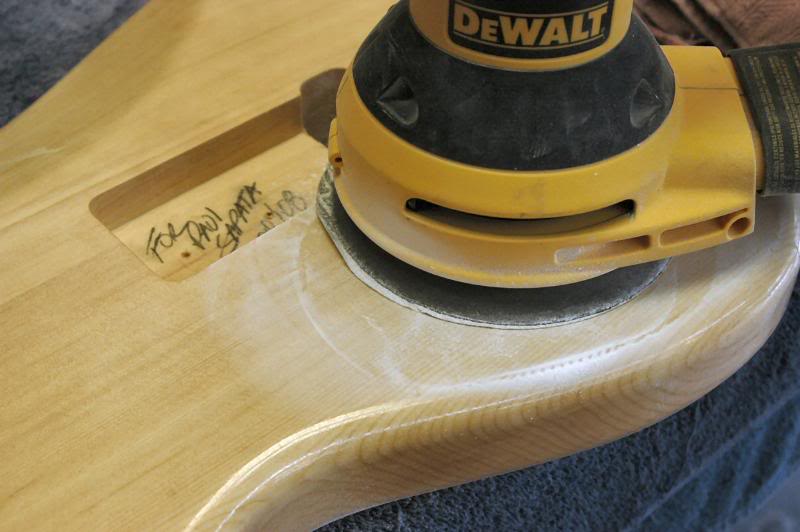
It was hot and dry, so the lacquer dried quickly. After it’s plenty hard, I sand the surface with 220 grit. I use a finish sander on the flat surfaces and I slow it down with a variable speed control.
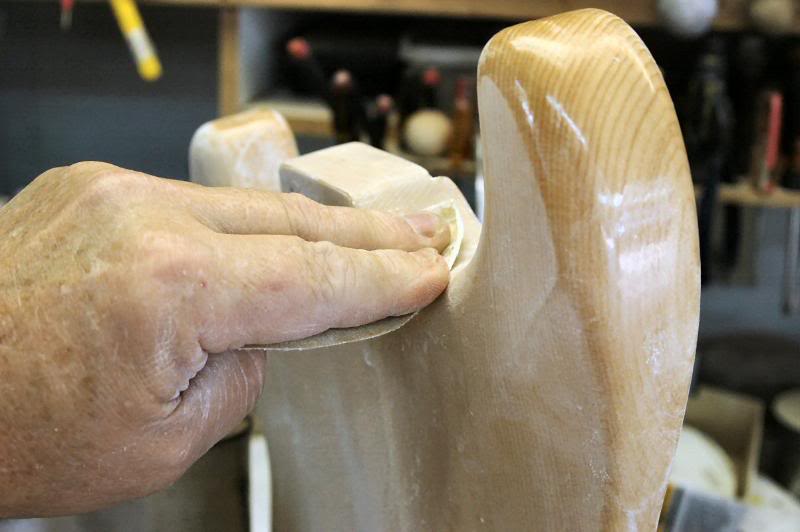
And on the inside and outside curves, I use a specialized multipurpose tool I always have at my disposal. On an S, I prefer using my fingers for the same reason you would not want to use them on a flat area, they create a more flowing surface, not mechanically flat like you want on the larger flat surfaces.
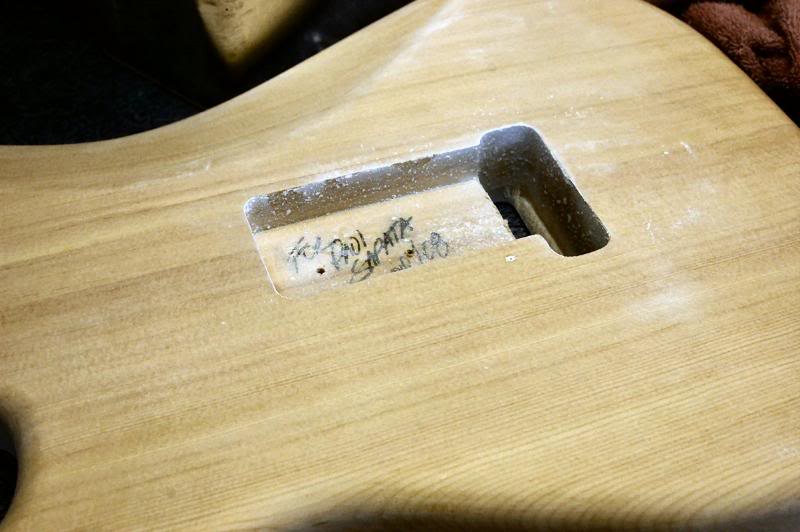
I now have the complete surface sanded with 220.
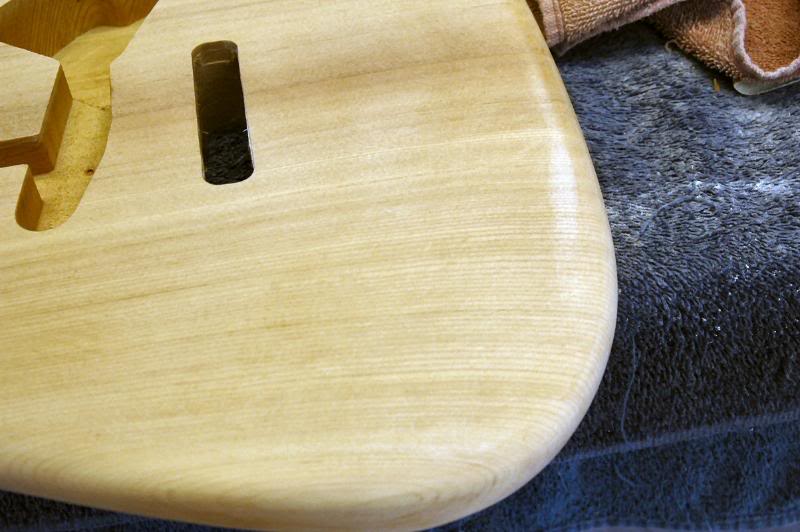
Here I went through the sealer, but since the stuff I use soaks into the wood slightly, it’ll be fine, but check the complete surface to be certain you haven’t missed anything. Fix it now BEFORE the color coat goes on. Fixing small dings that have gone unnoticed can be drop filled, and any visual anomaly will be covered by the color coat.
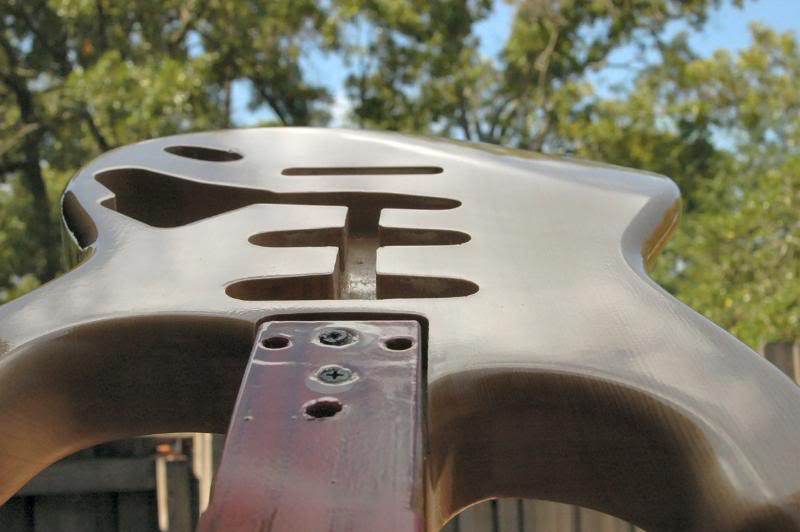
Now, I’ll give it a good coat of nitro, and check it in as many lighting conditions as I can to check for anything I don’t wanna see when she’s finished.
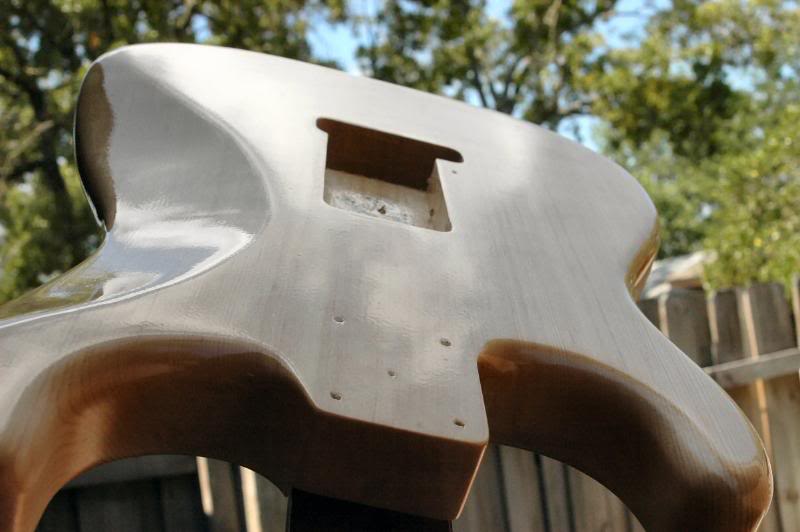
Lookin, good, time for a bit of color. Before I begin this, please to those that have been doing this for a considerable time, I appreciate input, but I am self trained over 40 years, and I ain’t uh gonna be changing anything I do, ‘cause what I do works just fine for me.
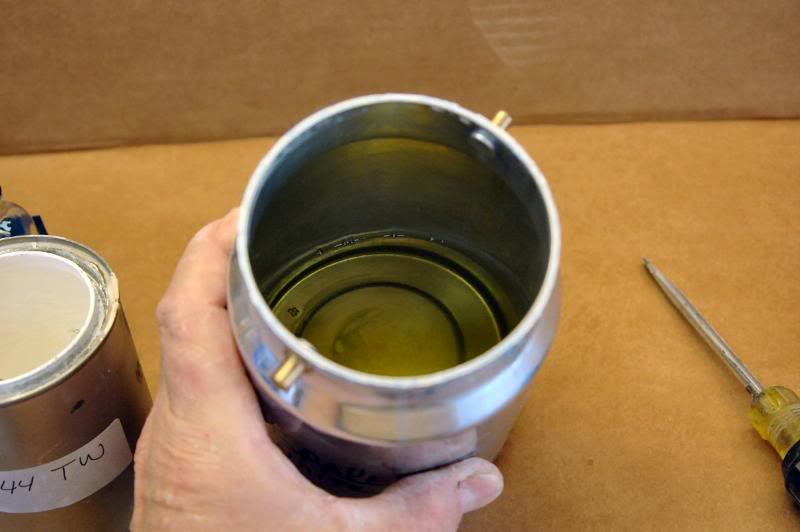
So I start with a pot of lacquer, nice ‘n clear.
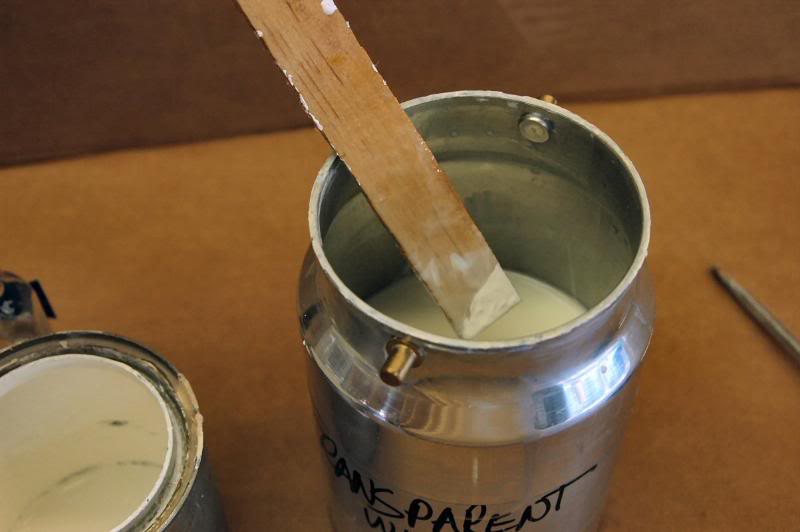
Then I add a stick tip full of white tint. Tint differs from dye because it is opaque, and can, if enough is used, produce a completely opaque white lacquer. I just add touch to produce something that is like watery milk. This gives me something that would be perfect for a Mary Kaye finish. But we want a Honey Blonde.
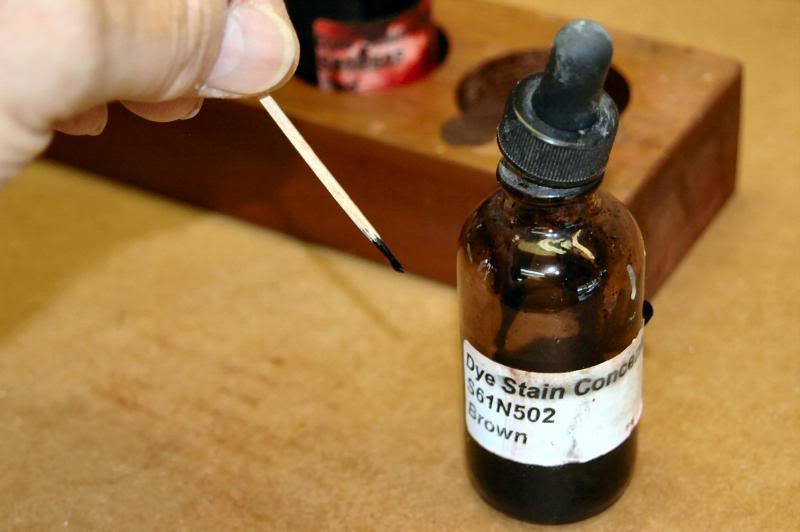
Now I add a toothpick tip of brown dye. Dye changes the color, but not the opacity.
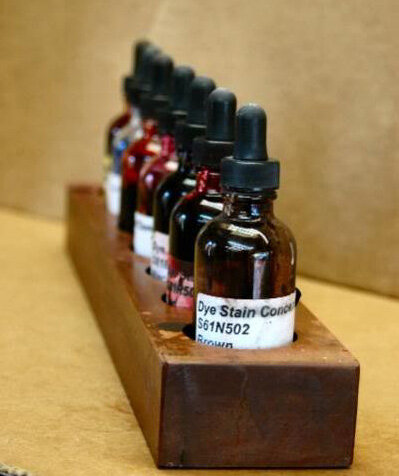
I keep a good selection of colors. Using this stuff is as much an art as anything else. It’s just something you have to get in there and do to get the hang of it. It’s a matter of adding the basic color, and adding other tints to get where you are going. You MUST consider the color of the base wood too, it’s going to be seen too.
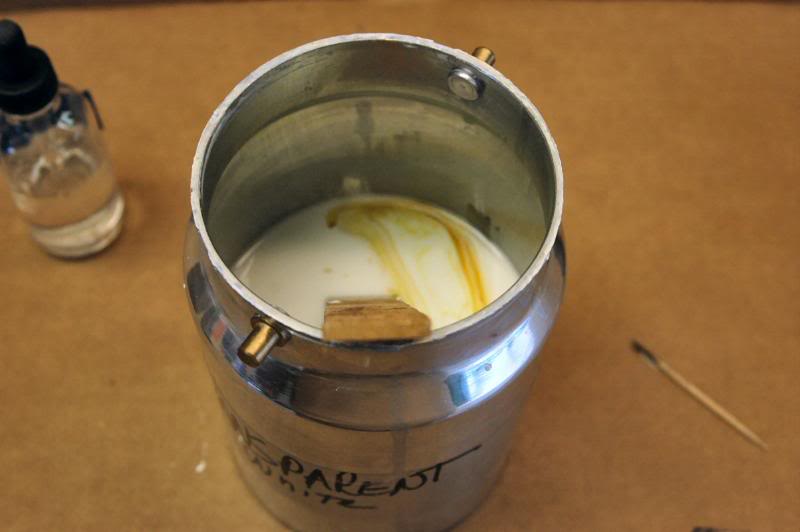
The brown alone didn’t do it, so I add a drop of yellow.
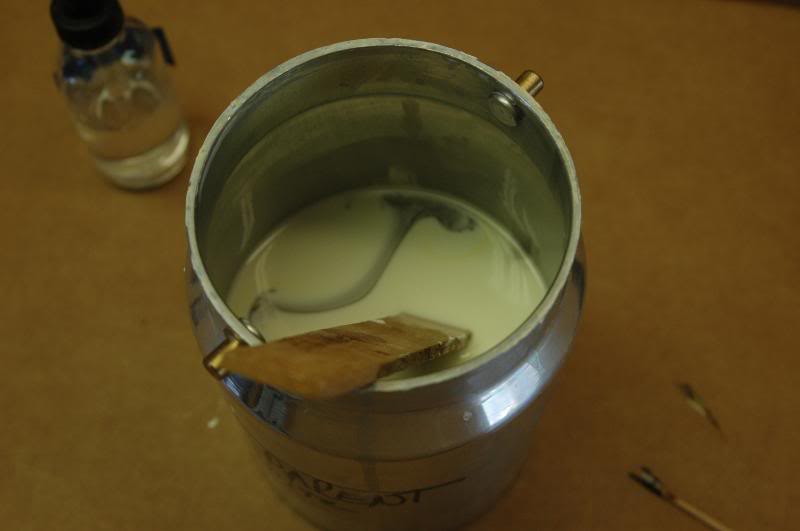
Which wasn’t correct either, so more brown. Now it’s looking about right. I always try to keep the color lighter that what I expect because I know I can correct during the clear coat.
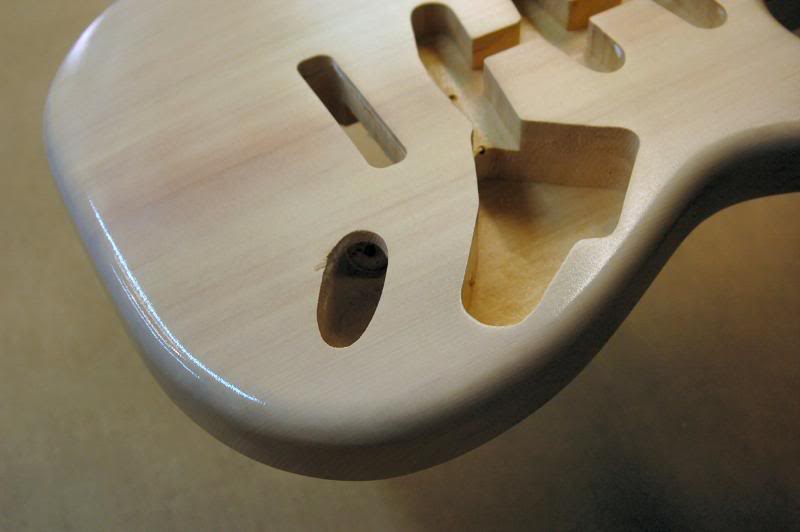
Mix it thoroughly and put down a light mist, to check color.
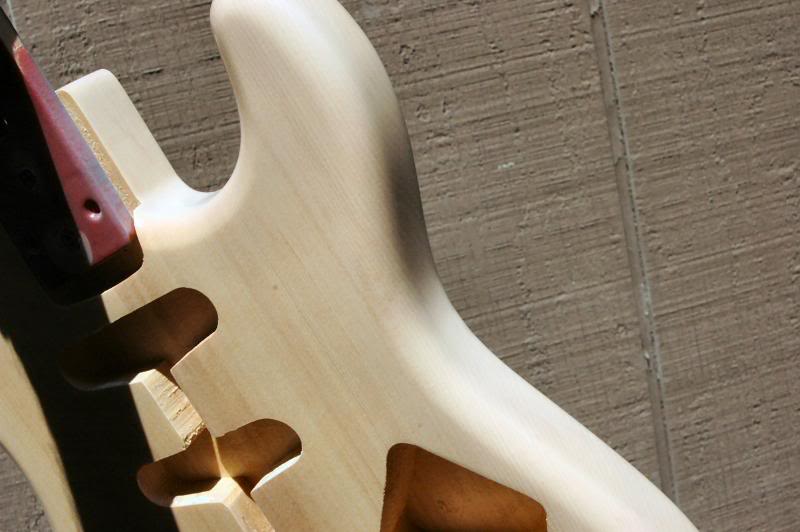
Have a good look in different light to see what you have done.
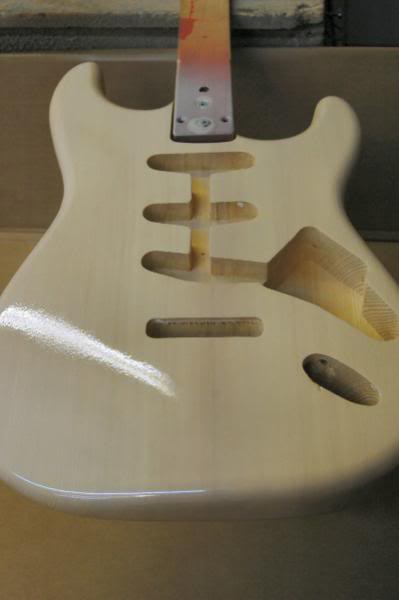
I now go for the full Monty. I put it down in several light coats, which allows me to control the density and the evenness of the coverage.
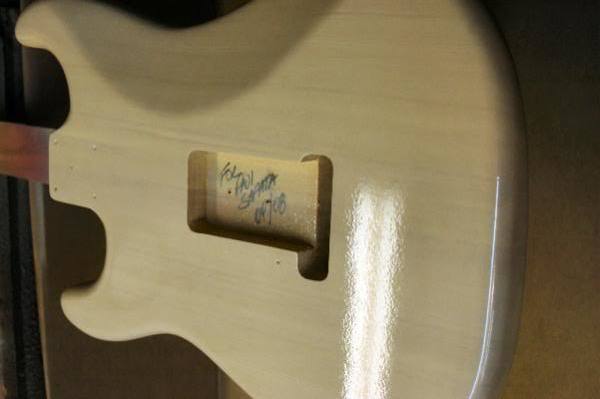
Since I’m putting down light mist coats, I can never get to a full wet coat which reduces the “orange peel” effect.
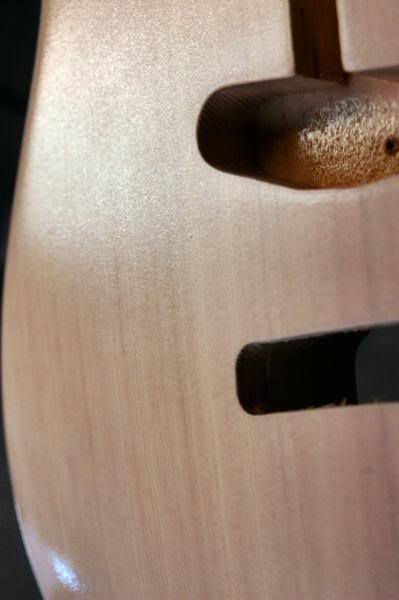
This is what I mean by the “orange peel” look… not good.
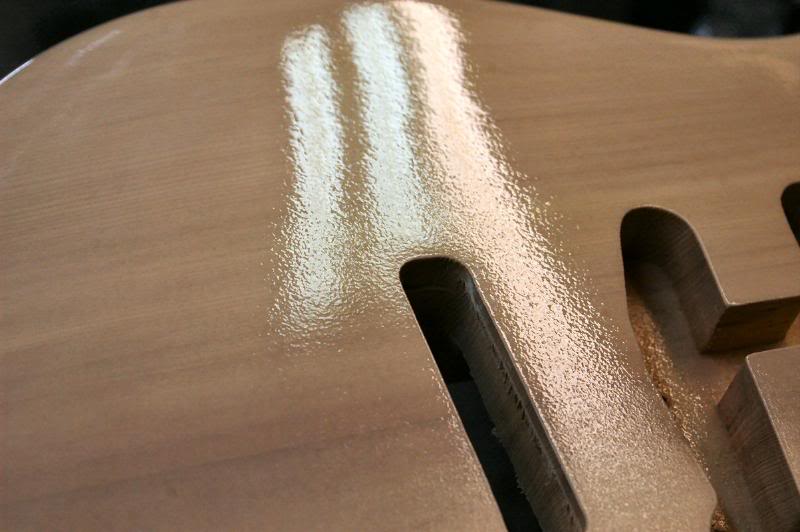
In this shot you can see an area with a good wet coat, and the as yet un-coated mist section. Oh yes, after the several mist coats to achieve the correct shade, I give it a good wet coat of clear lacquer to blend everything. That’s what I’m doing in these shots..
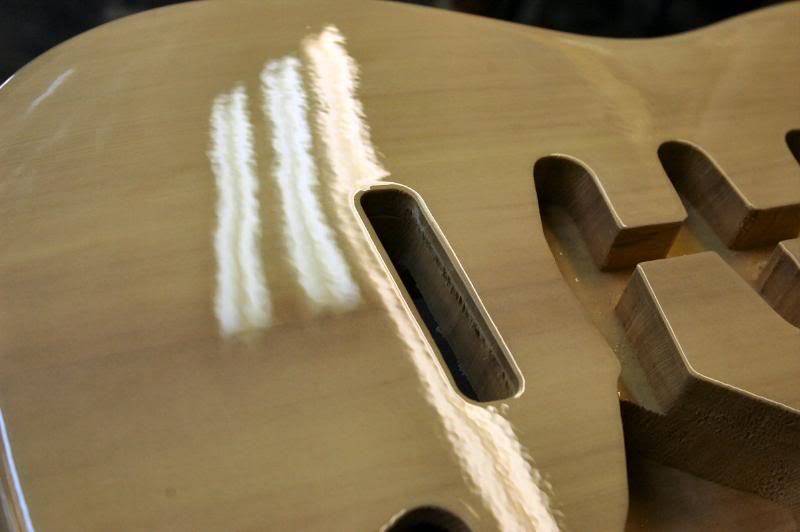
Now I have a full wet coat. What I mean by wet coat is I continue laying down thin coats until I know one more and it’ll run… that’s a “feel” thing it just takes time and practice.
By mastering the wet coat thing, you can dramatically reduce the amount of wet sanding you will need to do. Learn to look through the finish at reflected light to get a good idea of the quality of the coat you’re putting down.
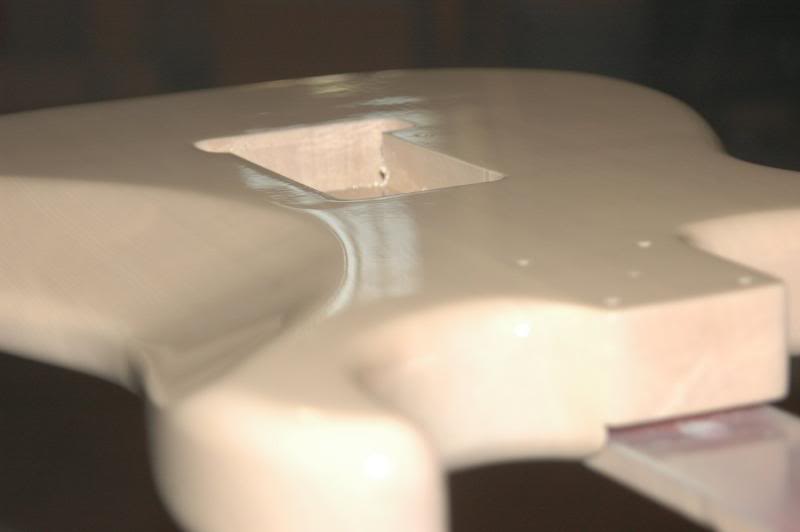
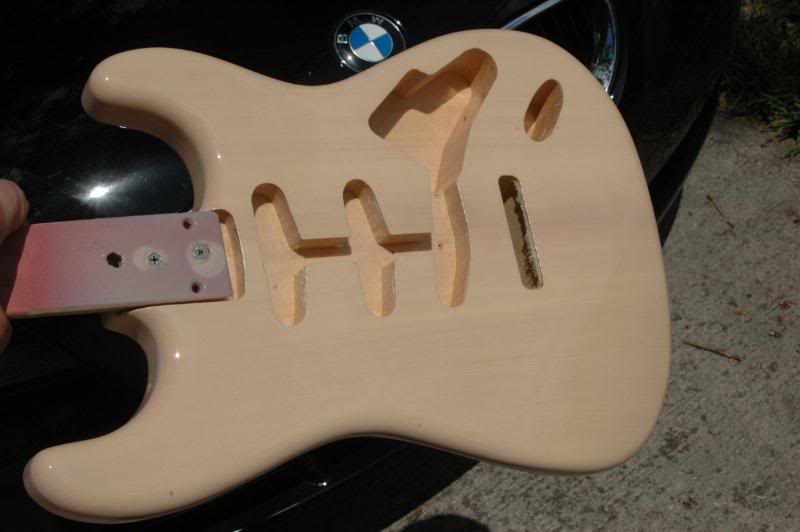
I now have a finished color coat.
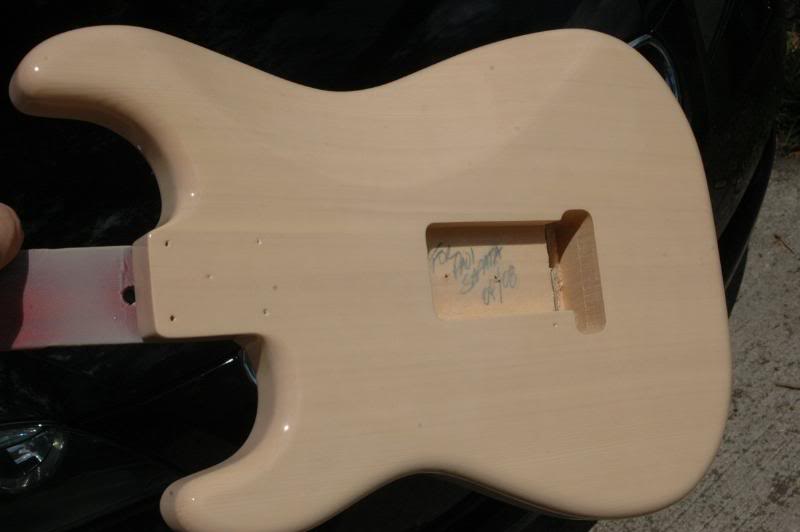
I applied several coats of clear, and allowed it to cure for a few days before sanding. Then repeat paint and sanding again. I gave the lacquer 3 days to harden. Down here it’s about 90, so that’s like 3 months in the rest of the country.
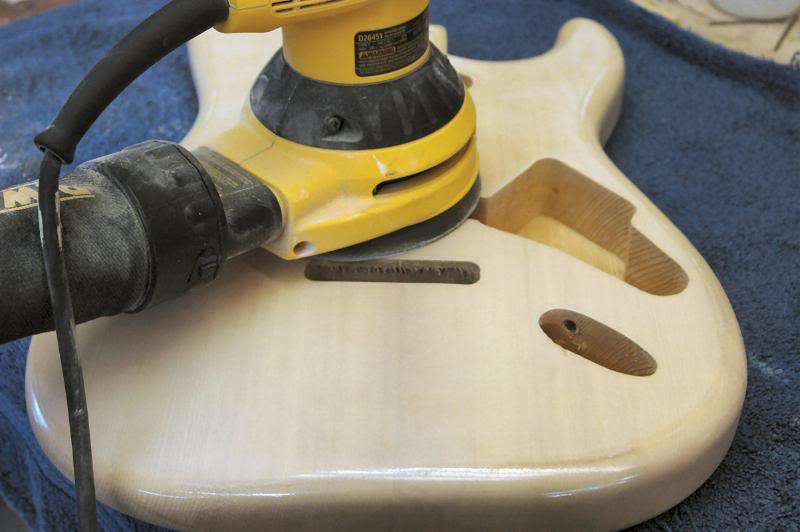
So I take 400 grit (I was out of 320) and use a random orbit sander at about 50% speed, I just want to take down the high spots, I am NOT going for a finish sand, this is just an interim to prevent build-up on the high spots of the minute hills and valleys in the lacquers surface. Also roughing it up facilitates the new coat’s ability to melt into the previous, becoming one homogenous film.
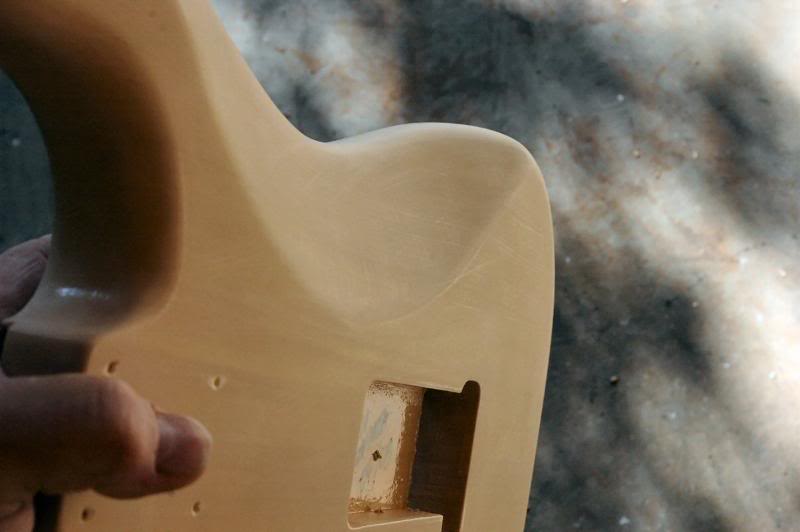
I use the sander on the flat surfaces, then my fingers around the periphery. There is no need to use 220, then 320, then 500, 800, it just consumes sandpaper, and makes you sore. Also, you absolutely, positively do not want to sand through the clear, into the color coat, and worse, through the color. Watch everything closely. Once sanded, check it thoroughly, looking for anomalies that may make the final surface funky, take care of them now.
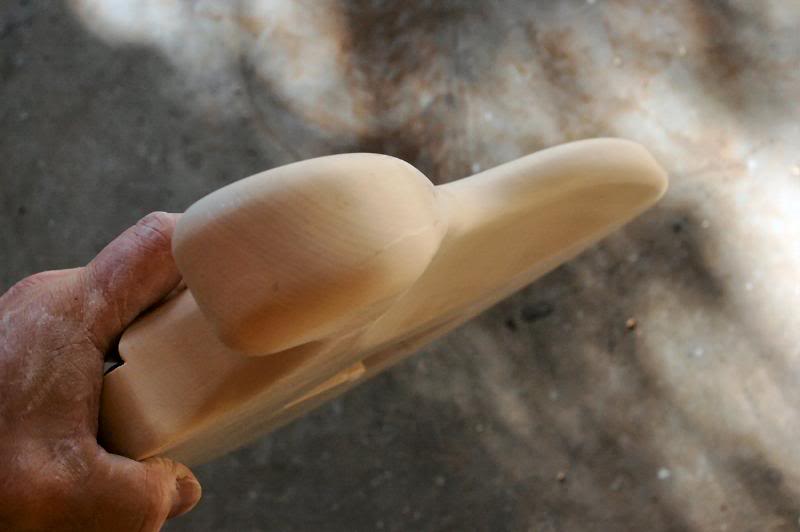
Remember, resist the urge to put too much time and effort in sanding to a perfect flat surface, you are going to be spraying more lacquer, and you will be right back where you are. Once this sanding is completed, it’s time to get ‘er wet again.
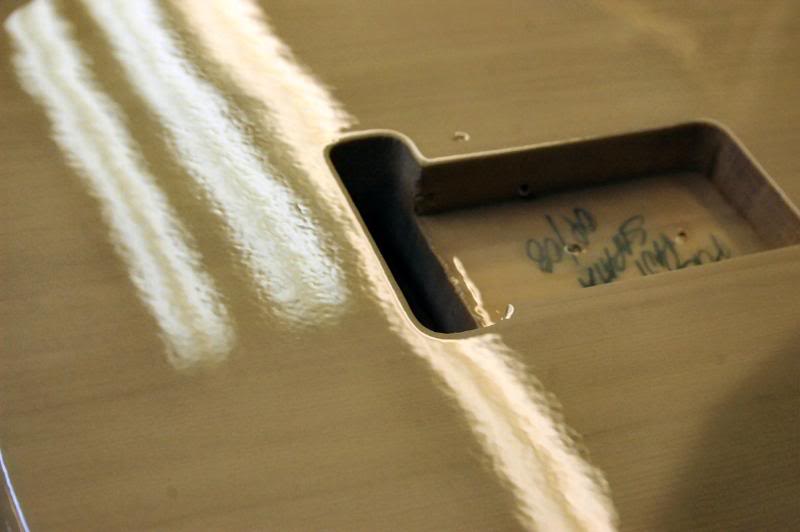
Here’s what the first good wet coat looks like.
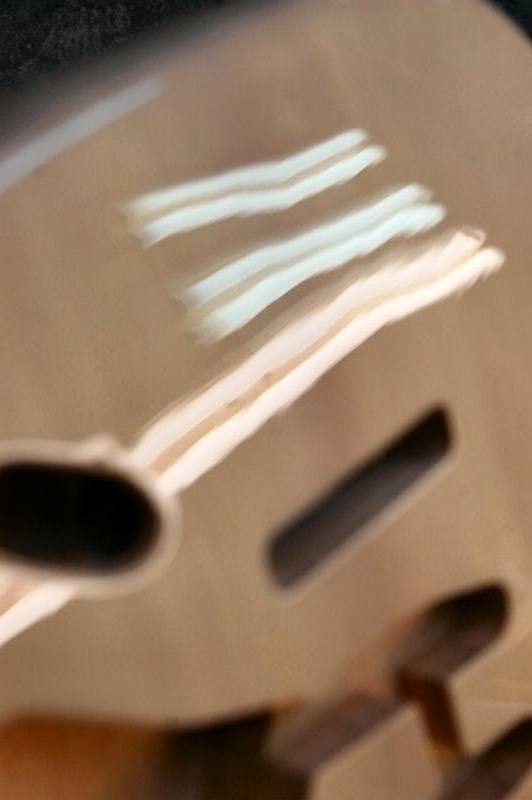
And here’s what it looks like looking through the finish. By that I mean look at it like it was a mirror and you were watching whatever light source was being reflected, here the light fixtures on the ceiling.
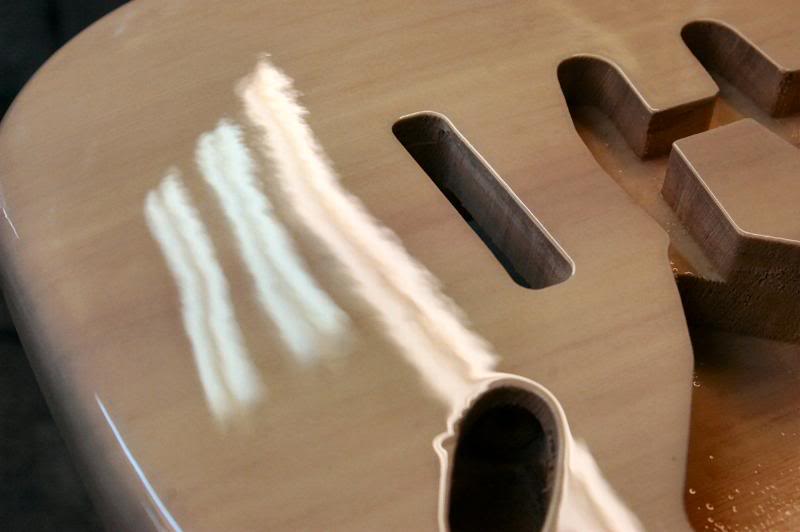
After about 10 minutes, it is just about completely dry to the touch, but still feels just a “crack” damp. I give it another good full wet coat… stopping just before it’ll run.
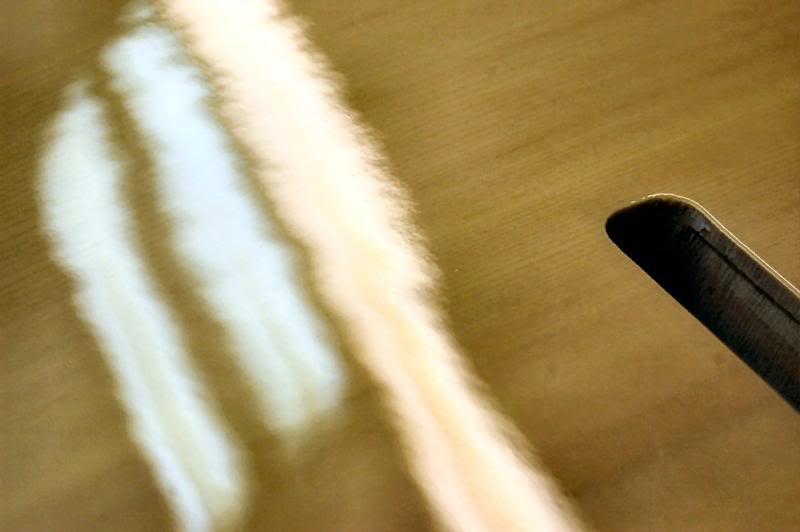
Good wet coats help previously dried lacquer to melt into the new lacquer. Thin coats will never accomplish this, and when you get to the sanding, the new coats will peel. Here the body has dried a few hours, you can see the slight “orange peel”. But what you can’t tell is how very shallow the “pits” are as compared to the “hills”. It’ll only take about 3 passes with 800 wet or dry to cut that down to dead level.
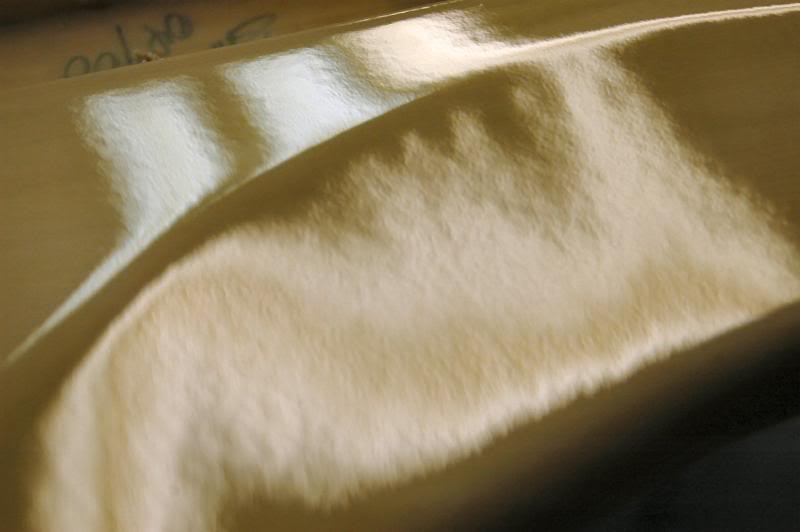
And heres the back at the area of the tummy contour. So this pretty much concludes the finishing stage on the body. Now it’ll hang in the back room for about 2 weeks before I get around to wet sanding and polishing ‘er. In the mean time, I’ll work on the neck.

To continue to Part 3 The Neck
Choose: Slide show viewing or Single Page


Shaping the Body | Color and Lacquer | NEXT - The Neck | Body Buffing and Pickguard | Finishing the Neck | Final Assembly