Sitka Spruce S Type Build
Part 4 - Body Buffing & Pickguard
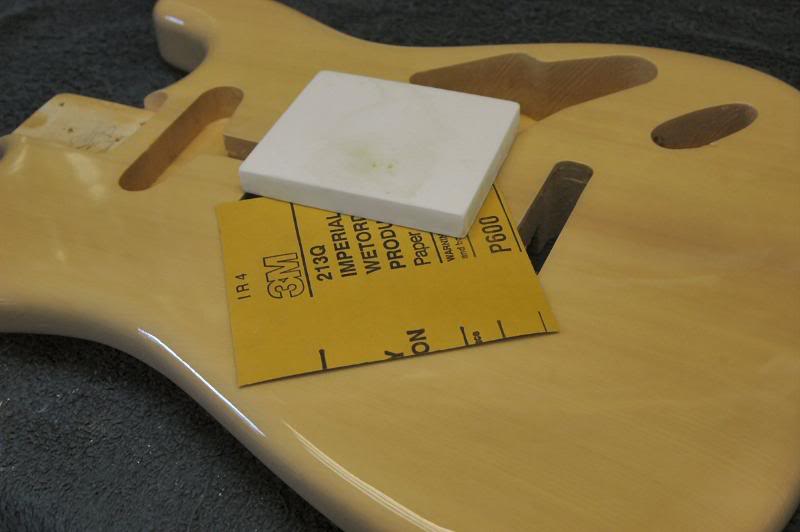
OK, time to scratch ‘er up a little. I use 500 or 600 grit, then 800 on nitro. On harder finishes, I may take it one more step to 1200 grit. But here, I’m using 600 first.
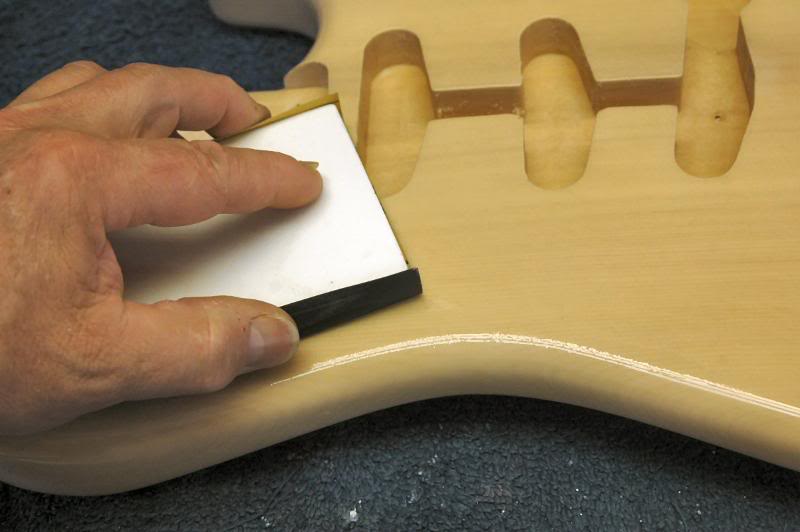
The large flat area helps “block” the surface to a very flat condition. Here, I’m using a piece of Corian that’s about 3 ½ by 4, more or less. Using mineral spirits as the wetting agent, I use circular motion watching the reflection of the lights overhead in the wet surface.
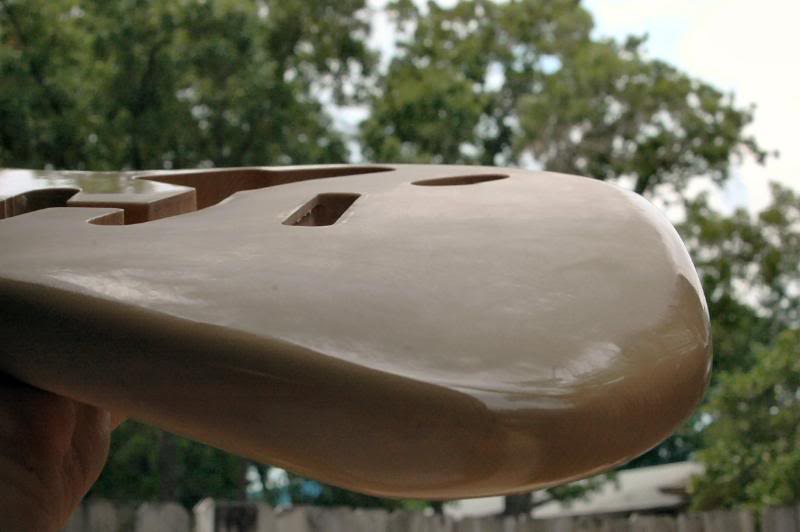
After a few minutes, wipe the surface, allow the residue to dry, and check in natural light.
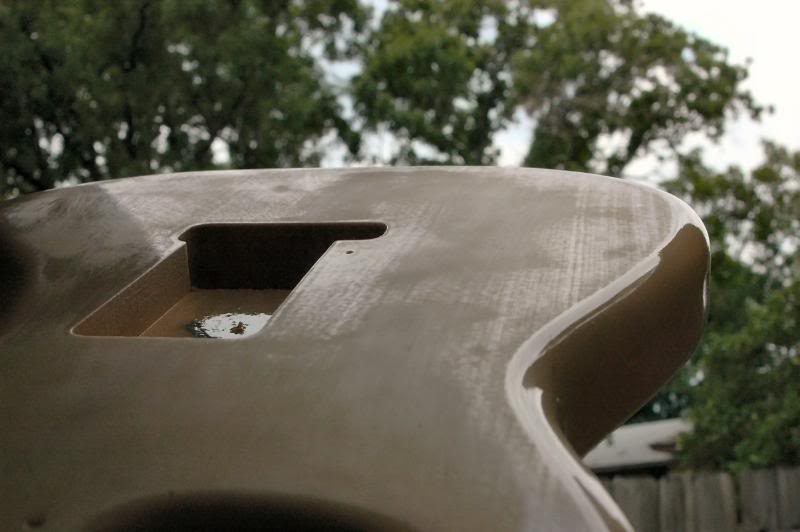
You are looking for a nice even matte appearance, no glossy spots should remain. Here on the back, I have stopped early to show how not to do it. While this could be corrected as I move up to the next grit, that would be slower cutting, resulting in more work. So go back, wet it again, and continue sanding until the surface is completely matte.
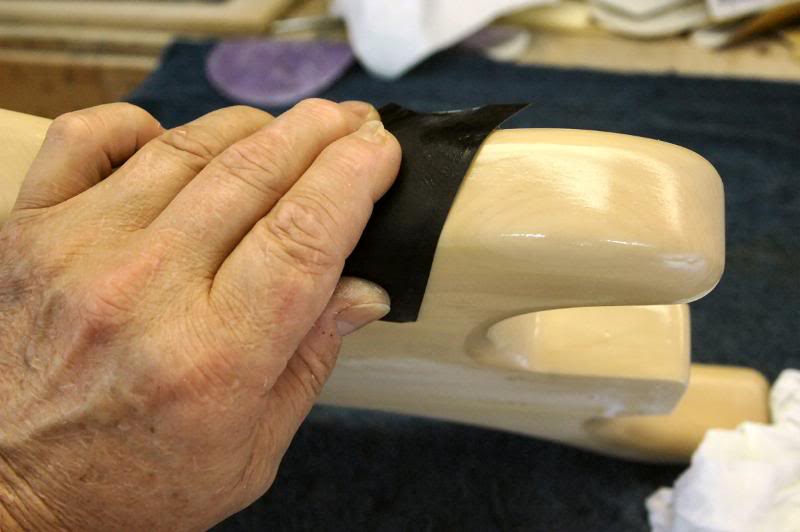
To do the edges, on a Strat since about everything else is a curved surface, I go to using my hand, this allows great control and feel.
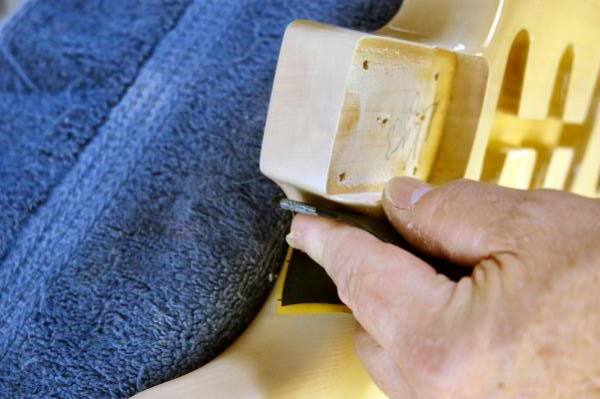
On the inside areas, you will find them a bit more tedious to sand, but stay with it until the entire surface is matte.
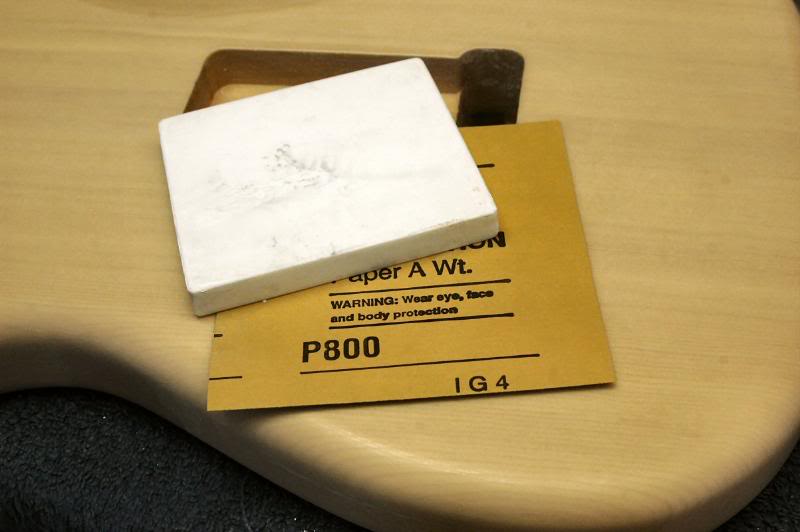
Once that’s done, it’s time to move up to the next grit. I’m using 800 here, which will be the last. There is considerable difference in the various brands of sand paper. There’s Norton, Gator Grit, Mirka, Klingspor, 3M and on and on. I have found that the 3M Imperial is about the best, fastest cutting around.
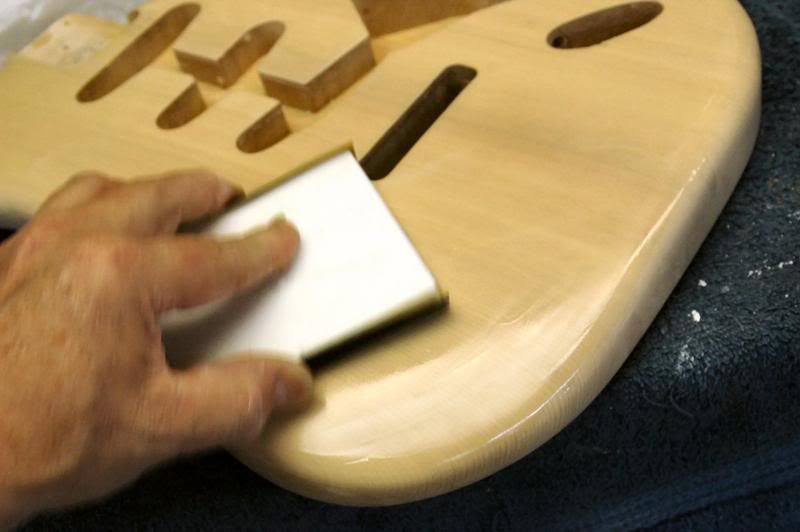
Now just repeat all the previous sanding, but you will see, it takes much less time and effort this time.
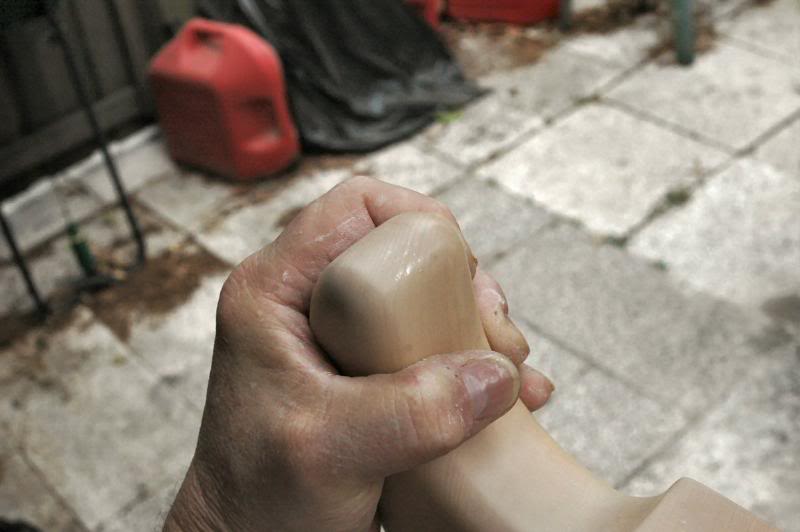
Now get in the sunlight and check for any areas that may have been missed. They will appear glossy.
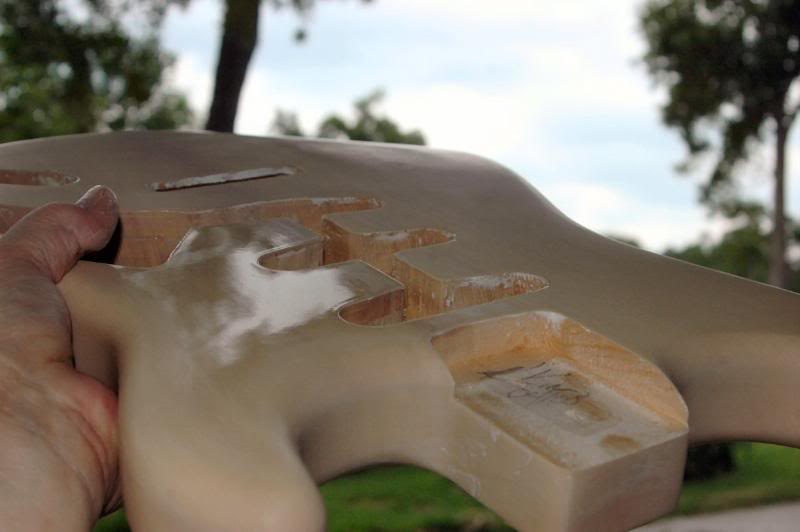
Give it a good look…
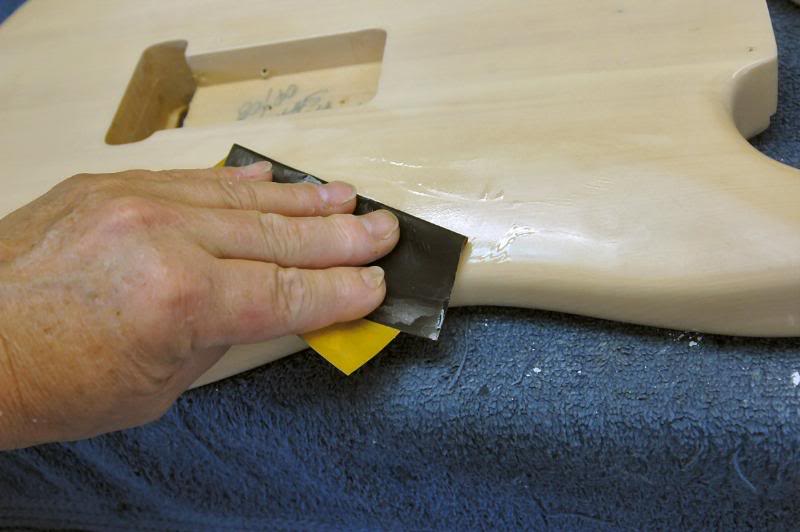
If any areas are still glossy, go back and correct them. It doesn’t matter how small, they will stick out like a lunar crater in the finished body. You should now have a smooth, evenly matte surface, ready for the buffing wheel..
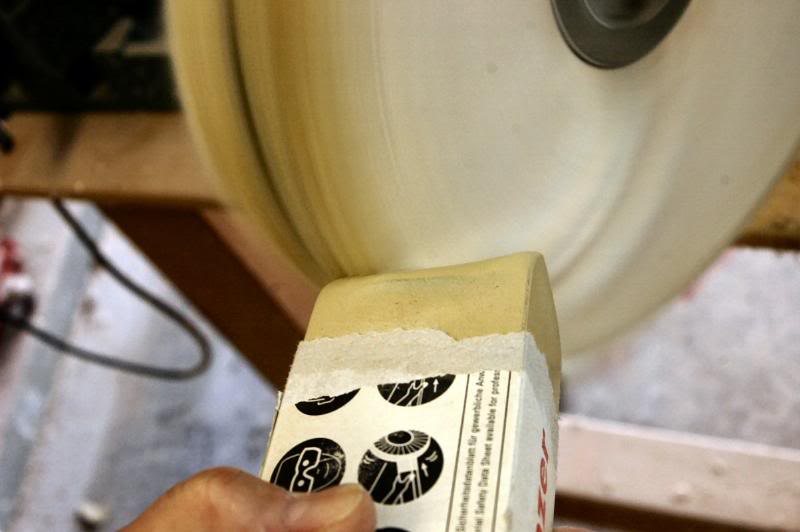
So we have a nicely sanded body, waiting for a chance to shine. I “charge” the buffing wheel with tan buffing compound, available from Grizzly.com. It’s not as messy as the liquid compounds.
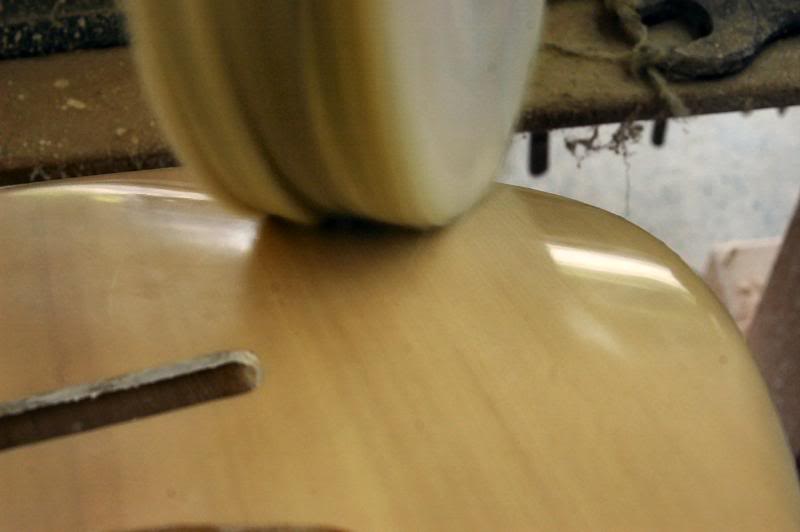
Then just press and keep it moving. I add more buffing compound every few minutes.
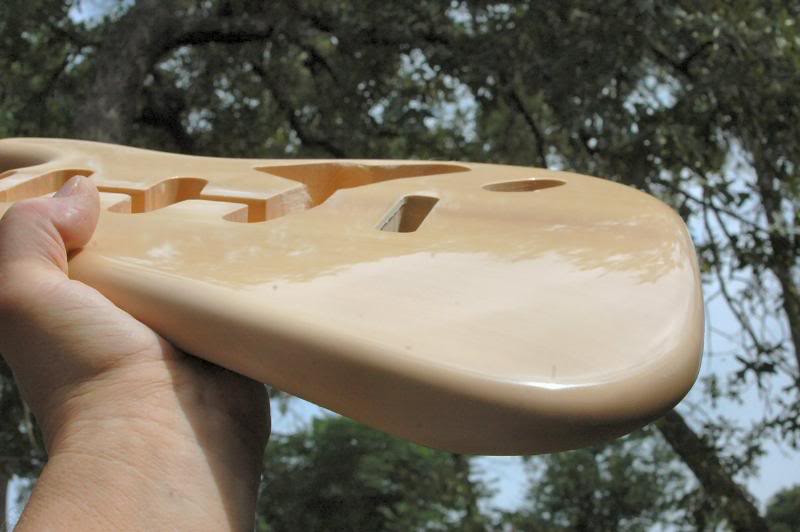
This took about a minute.
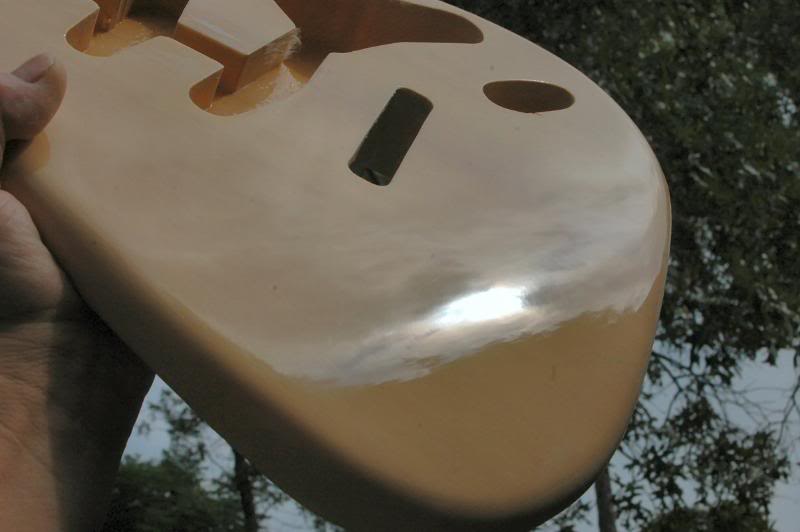
This is about 10 minutes into it. The only caution with lacquer is that it will soften due to the heat generated by friction. This is a “double edged sword”. The soft lacquer takes a polish very fast, but soft lacquer can scratch quite easily too. Jut be careful.
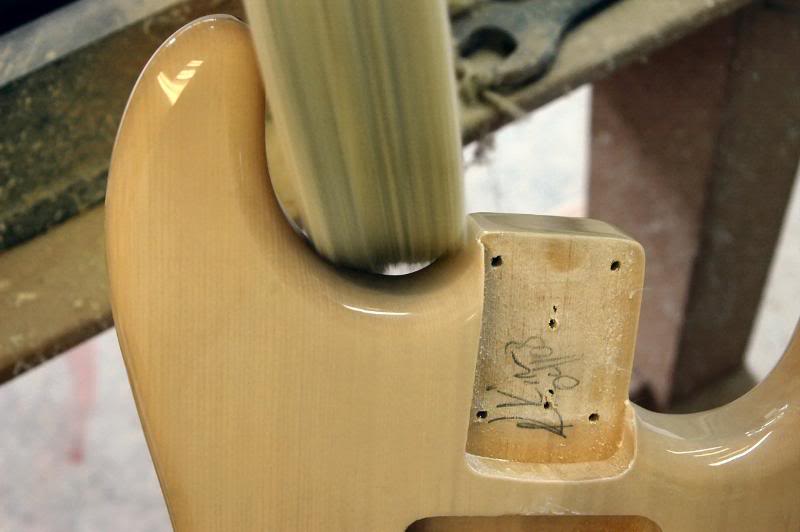
One of the areas that usually get less attention is the inside of the horns. They can be rather tedious to polish. If using a power buffing wheel you must be careful not to allow the wheel to burn through. Particularly on the sharp corners around the neck pocket and heel.
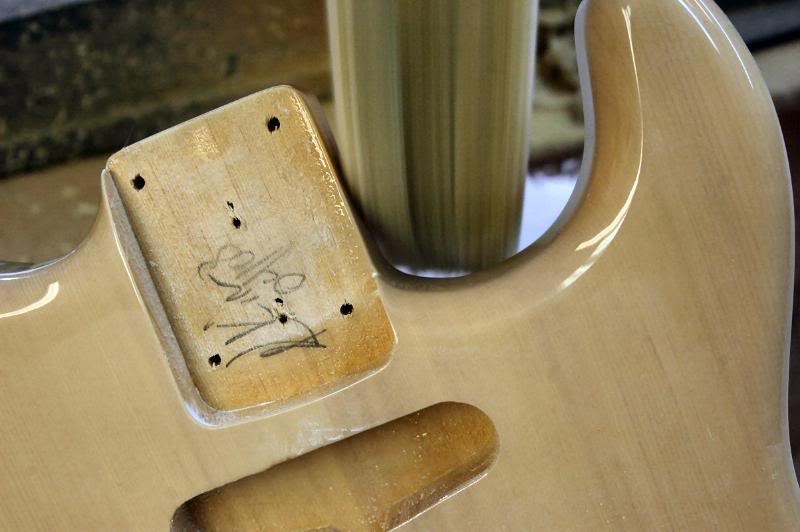
Just take it slow, I usually reduce the wheel speed to the lowest setting.
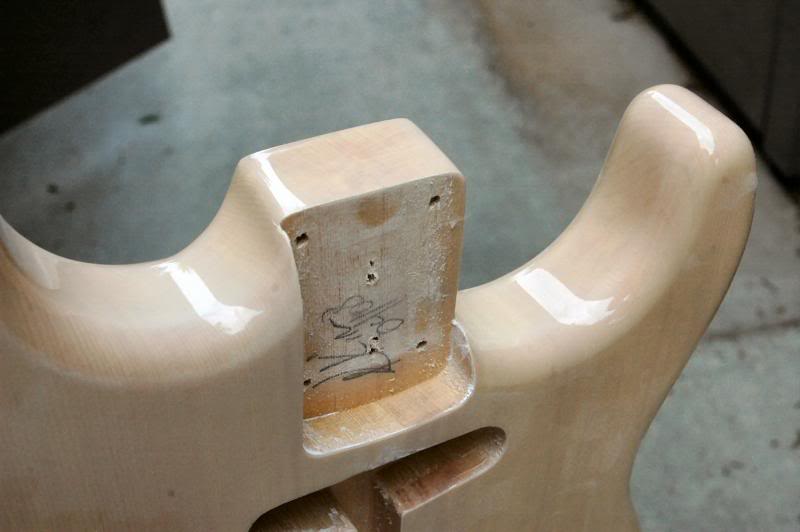
It’s attention to detail in these areas that reduce that much adored “homemade” look to a minimum.
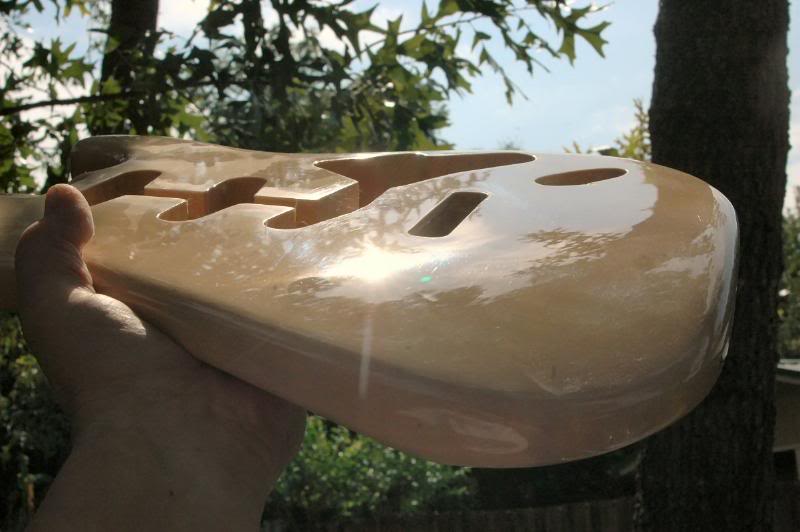
Once this area is completed, I work around the outside edges. Watching the reflections in the gloss on the body, this will allow you to see any abrasions remaining from the wet sanding, and address them. And this is the finished product.
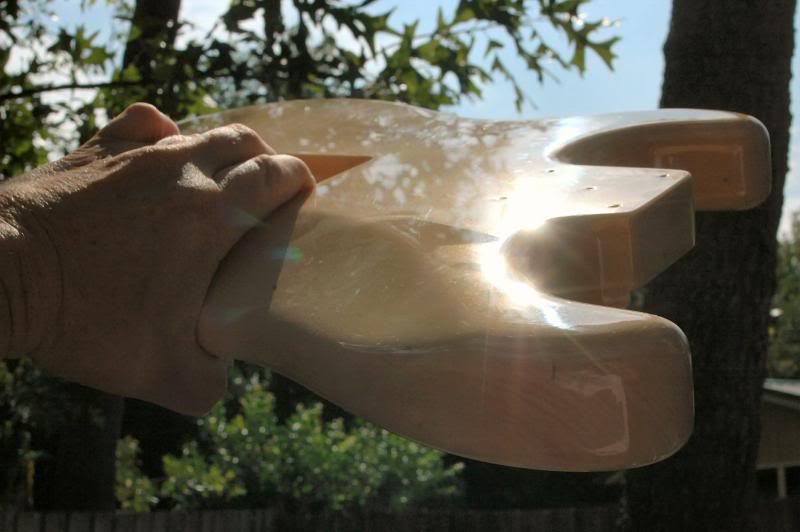
And the back. At this point the body is complete. I will take a good car wax and give it a good polishing. Next, it’s Pickguard time.
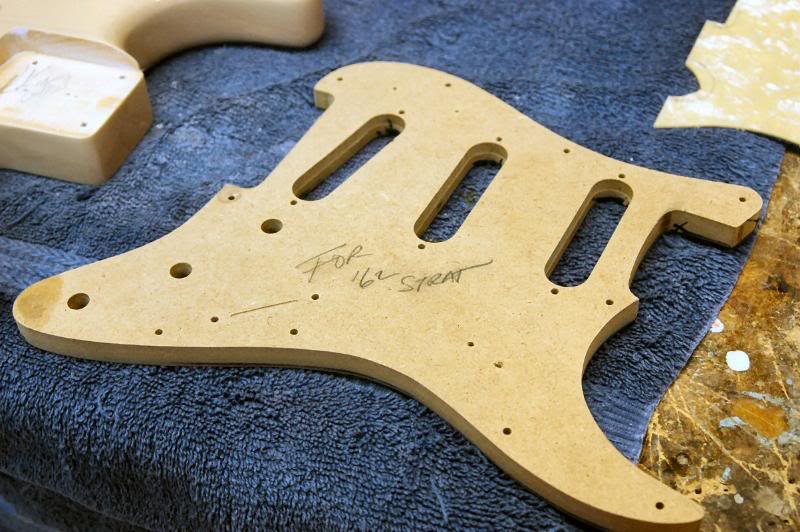
I make my own pickguards, mainly because there is so much variation from one batch to the next from the different suppliers. Also, wood will move on ya. This way, if a body shrinks a little, I can adjust the pick guard to accommodate it. Here’s the candidate for today’s project.
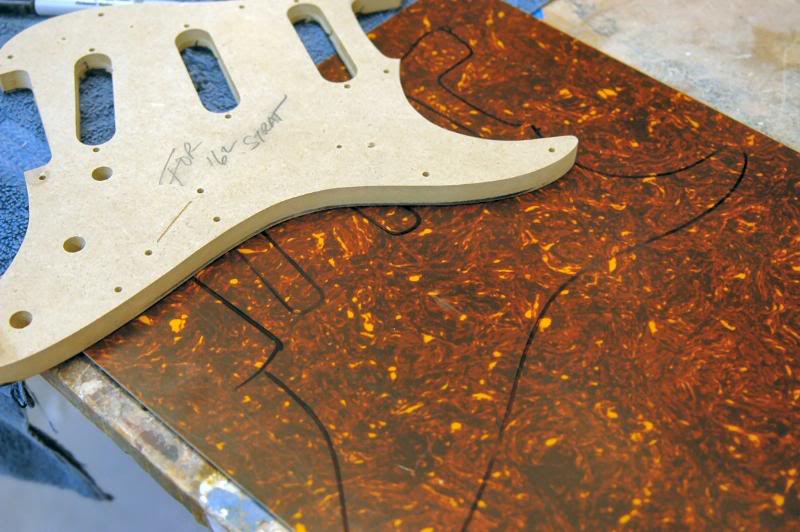
This template has been made specifically for the ’62 S. The body is only a few degrees separated from a genuine 1962 S. Today’s pickguards differ slightly from those found on the ’62.. so I corrected that. Now we determine what shade Tortoise Shell pickguard will look best. I prefer the brown.
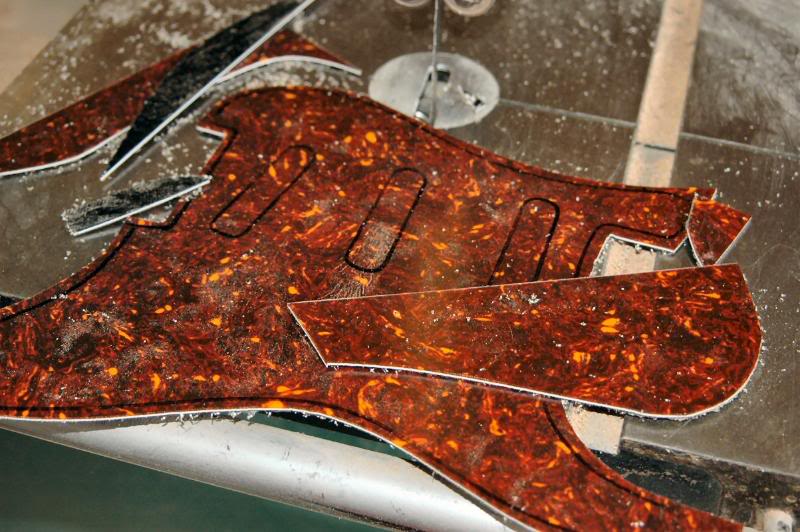
I trace out the shape and head to the band saw to cut out the rough shape.
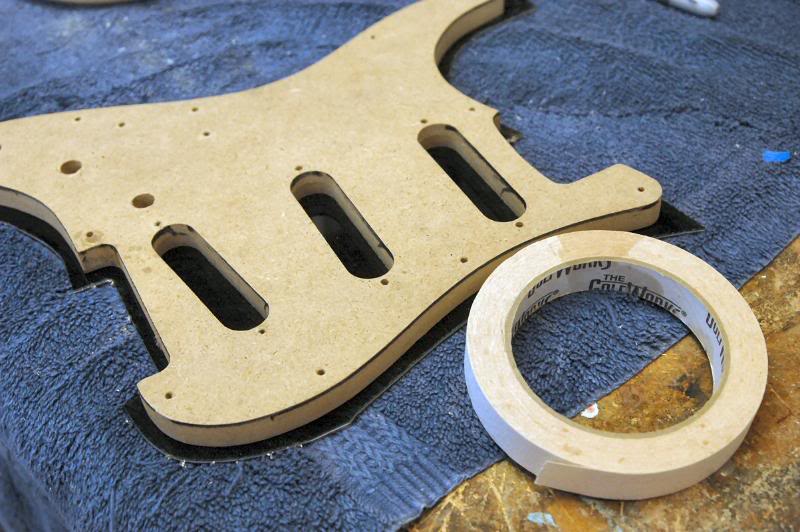
I use good ‘ol golf grip tape to secure the blank to the template.
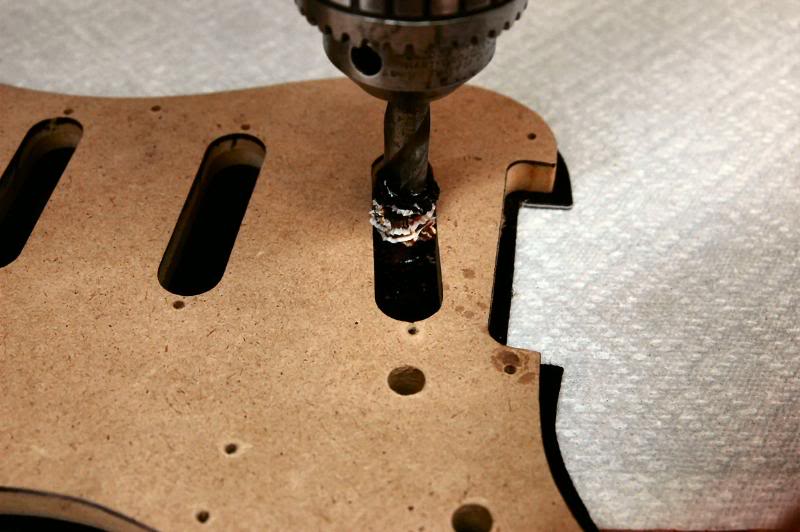
Apply good firm pressure to get a good secure bond, then to the drill press.
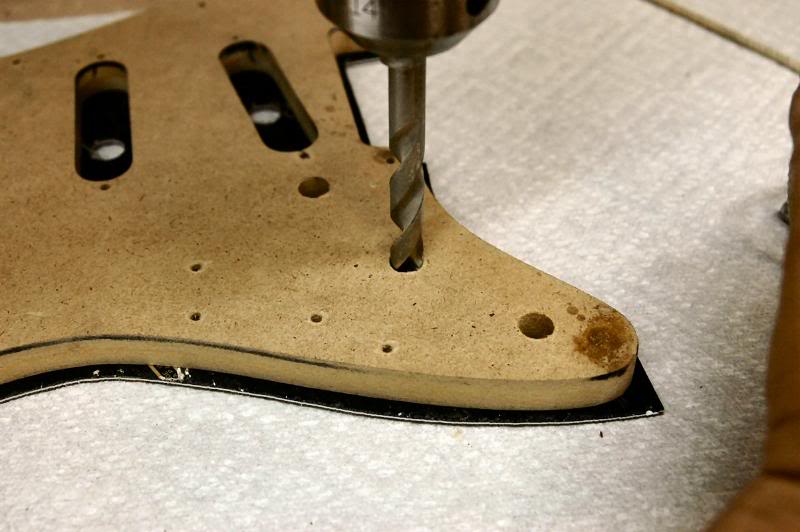
I drill a pilot hole in the pickup holes, and drill the pot mounting holes, and all other holes.
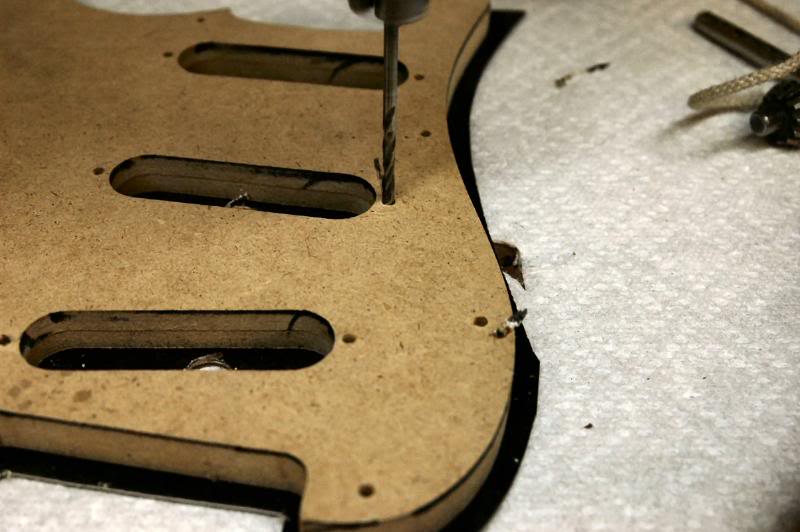
When drilling laminated pickguard material, use a fresh backing. If your table is full of old holes, the downward pressure from the drill press can cause the surface lamination to separate and pop loose. It’s not repairable, so use something under the pickguard that has no voids, and move the pickguard to a new location for each hole.
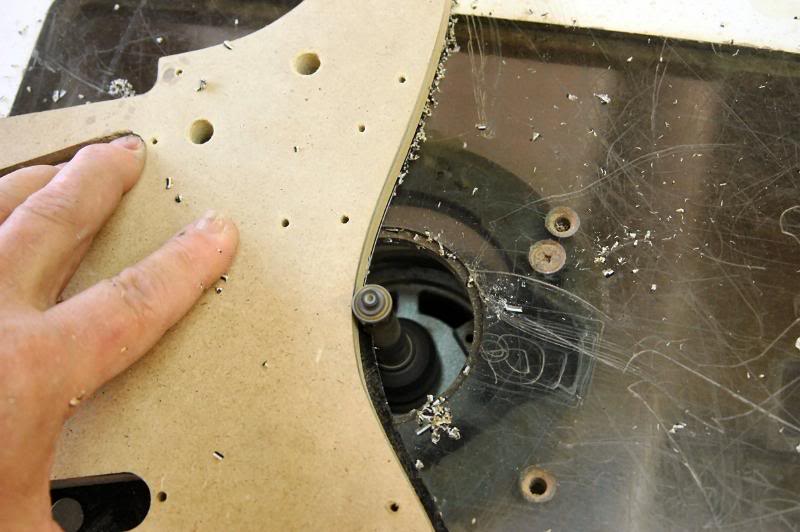
Now it pretty straightforward, just go around the template, rather slowly. Once complete, clean all the plastic shavings off the table and the work and go around again.
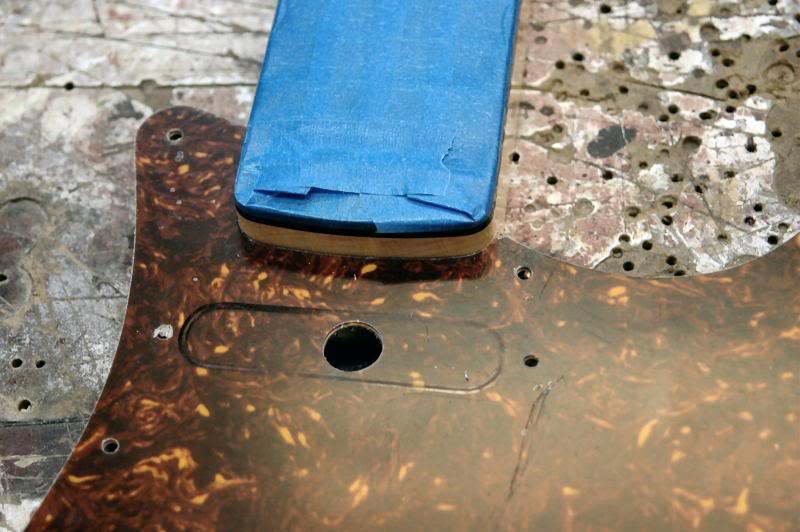
At this point, I check to be certain the neck has a nice neat fit.
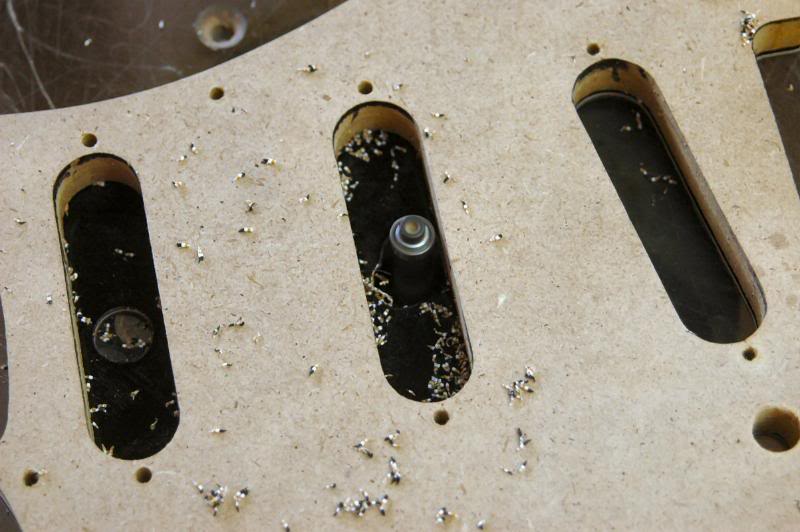
I now change to a 3/8 inch diameter router bit, and cut the pickup holes.
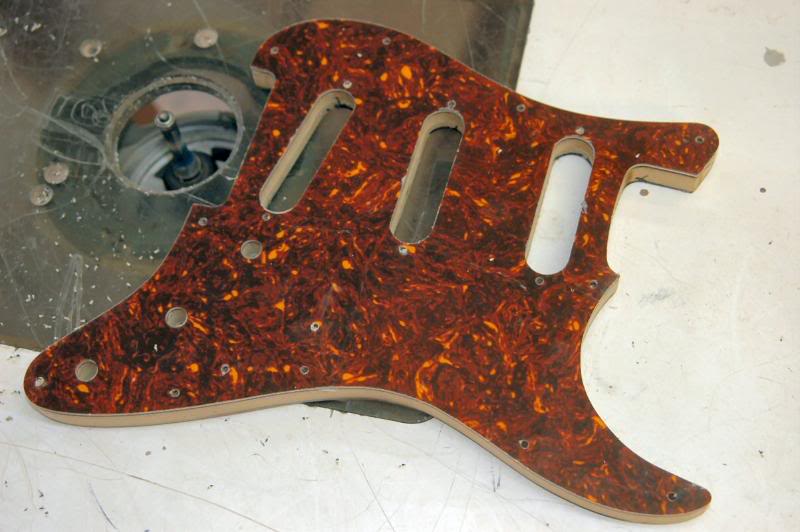
It now looks strangely like a pickguard. Next, the beveled edge…
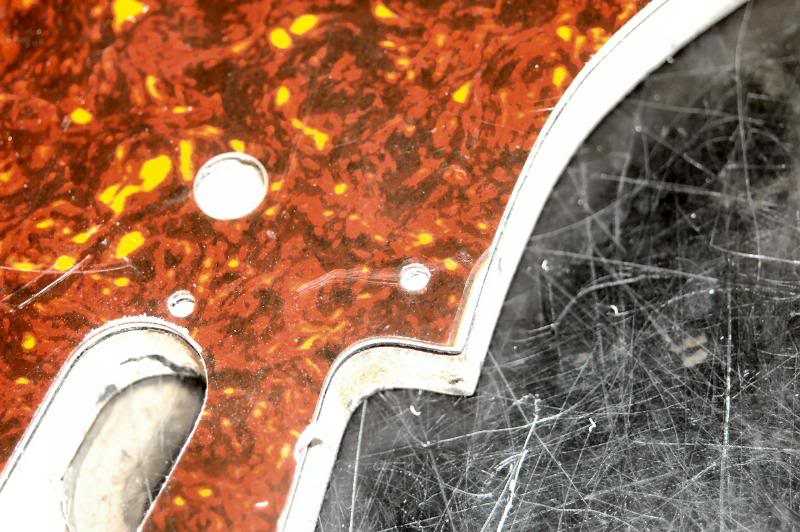
Now put a 45 degree bevel bit in the router. Sorry I plain forgot to photograph it, but it looks like a 45 degree bevel bit. I adjust so I’m sure it will not make too deep of a cut, I want to adjust the height of the bit to get it correct, in this shot, you can see the 3rd ply, the black, is just beginning to “peek” out.
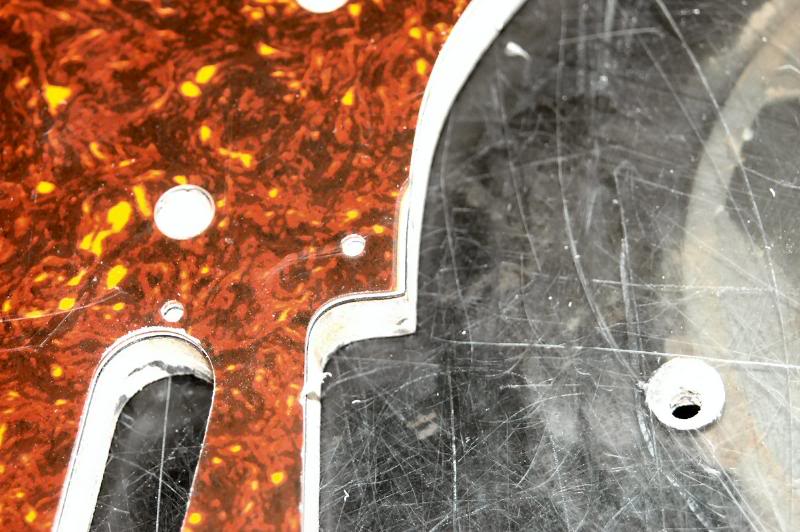
I raise the router a few thousandths, and this is the results. It’s good, so rout the bevel. Be careful though, there are areas that do not get beveled, the neck pocket, and the tremolo cutout.
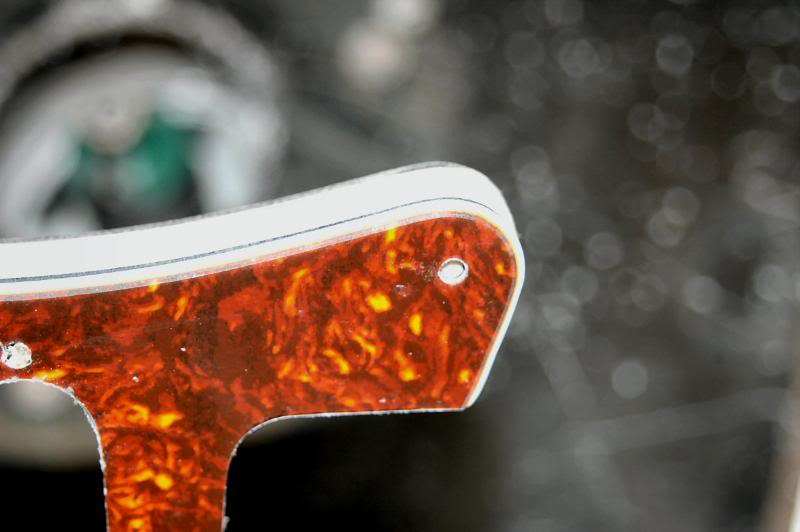
Now go back and check visually to be certain the “lines” are all cut evenly. If you see areas that are cut too shallow so the different layers of the pickguard aren’t even, re-cut, applying more downward pressure in those areas.
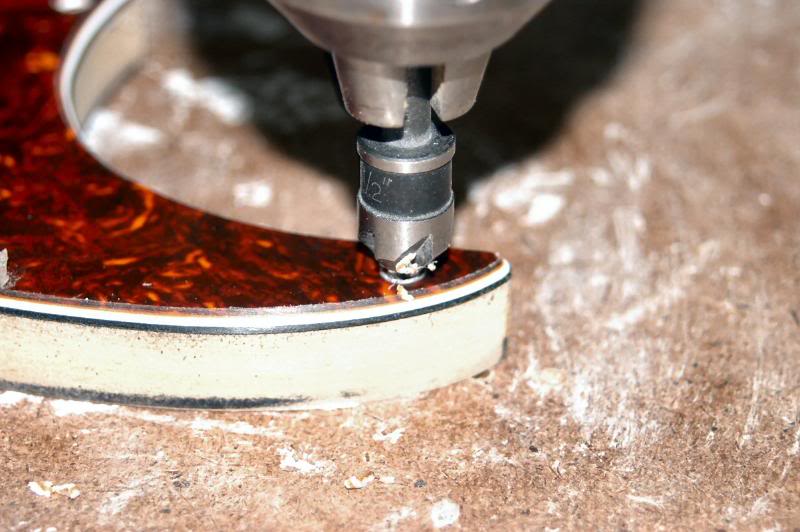
Once the bevel is correct, I move on to countersink the screw holes. I use the layers of the pickguard as a reference, to determine the depth, or you can set the drill press stop and use sheets of paper to work the pickguard up into the countersink to get to the correct depth.
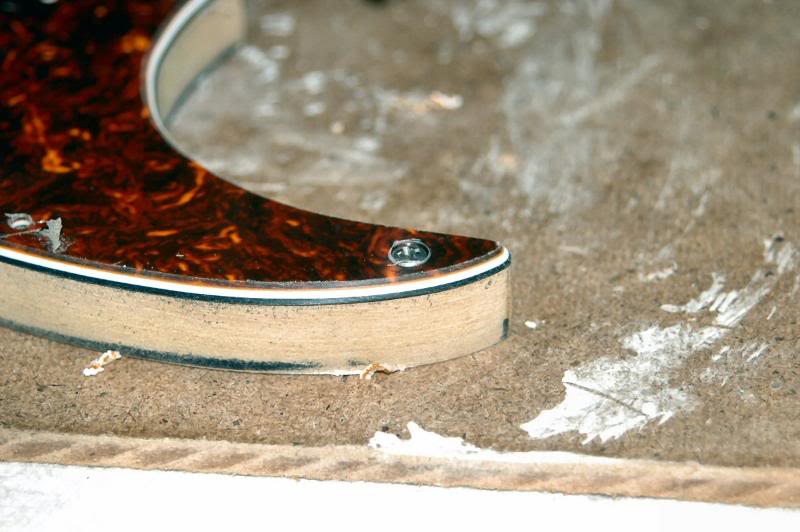
I’ll check with a pickguard screw to be sure I know what I’m doing…lookin’ good. All the screw holes are countersunk with the exception of the switch screws. I need those holes for the next task, cutting the switch slot.
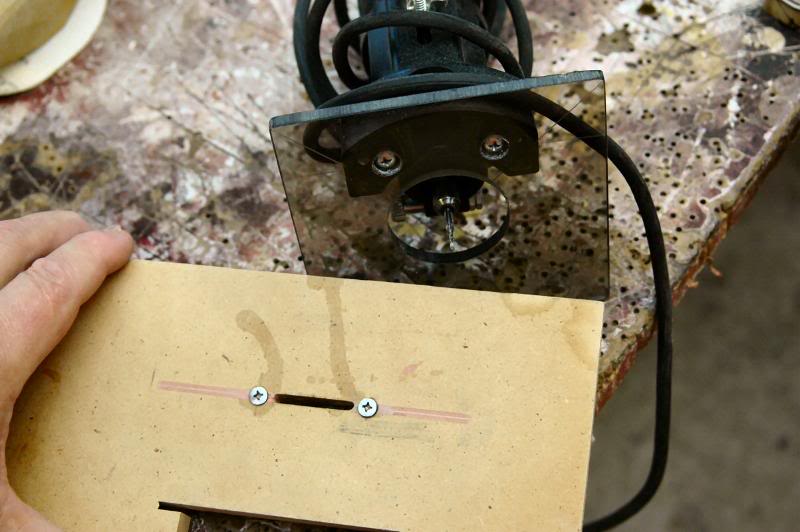
I get my trusty switch slot gizmo… a jig I made, and a Dremel with a 1/16 inch bit.
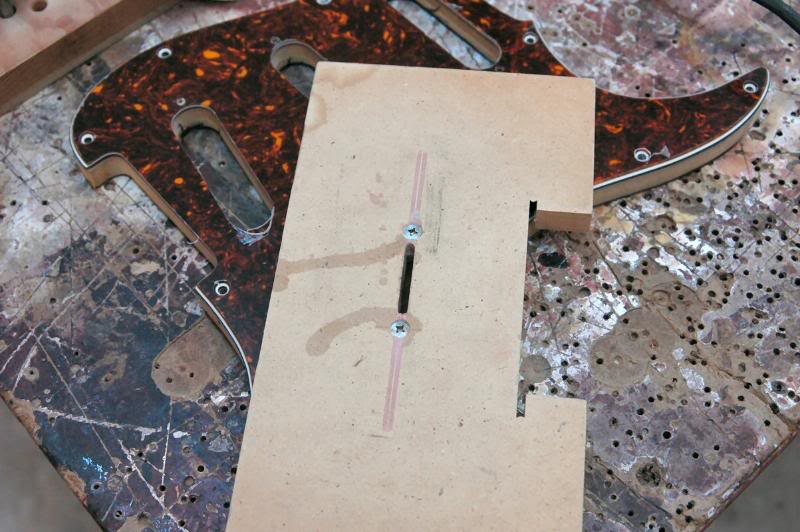
The jig was made so that the 2 hold down screws are in the same location as the switch mounting screws.
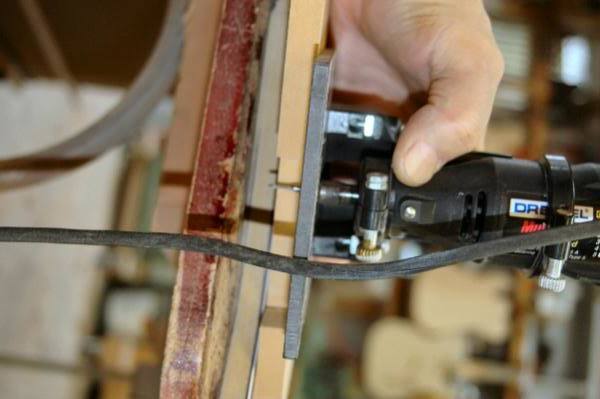
Adjust the Dremel, so it will just cut through the pickguard.
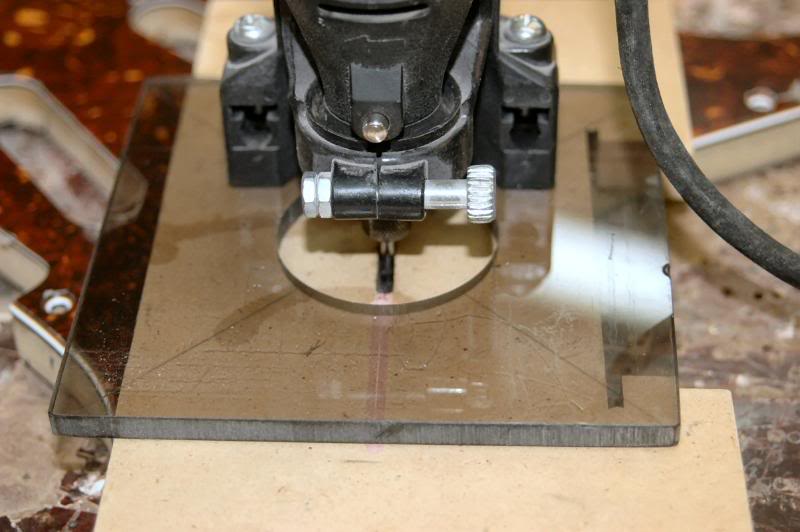
Now it’s just a matter of gently lowering the bit into the slot, and making a pass, while continuing to move the Dremel, turn it off. Once it has stopped, remove it, and clean out all the plastic chips, then repeat.
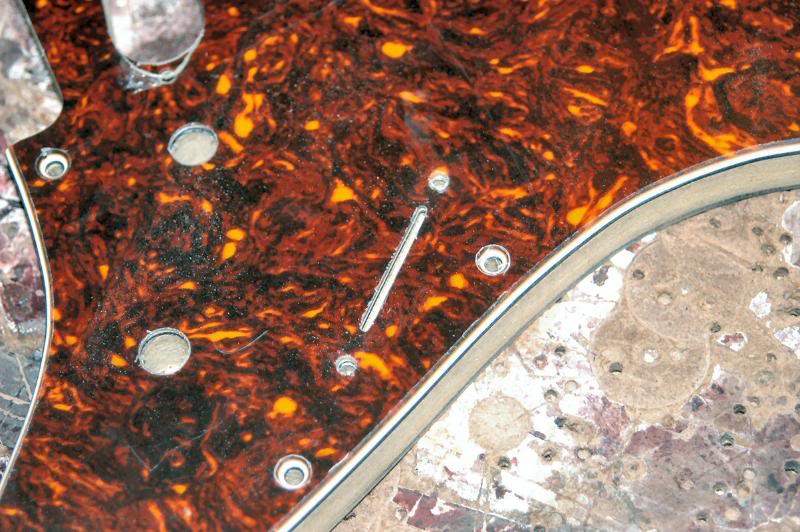
By continually moving the tool you reduce the chance a clump of plastic will attach itself to the bit, and burn a section of the slots edge. We now have a slot.
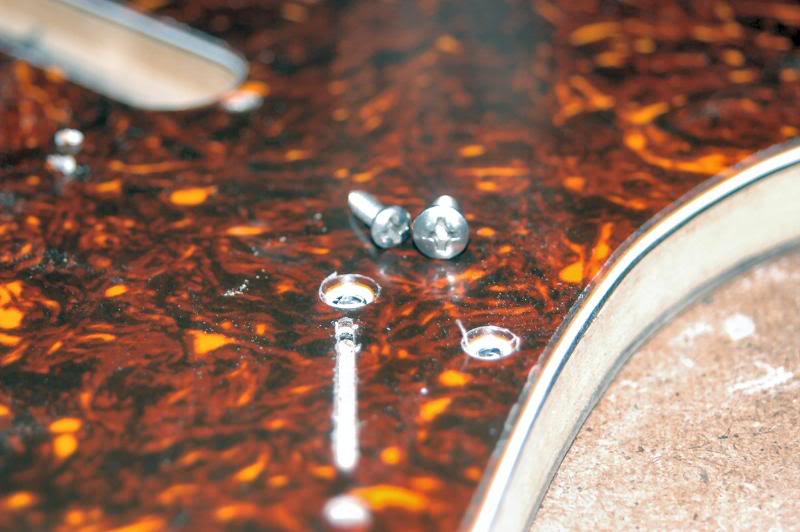
Now since the pickguard mounting screws are a different size than the switch mounting screws, we need to be careful when countersinking the holes.
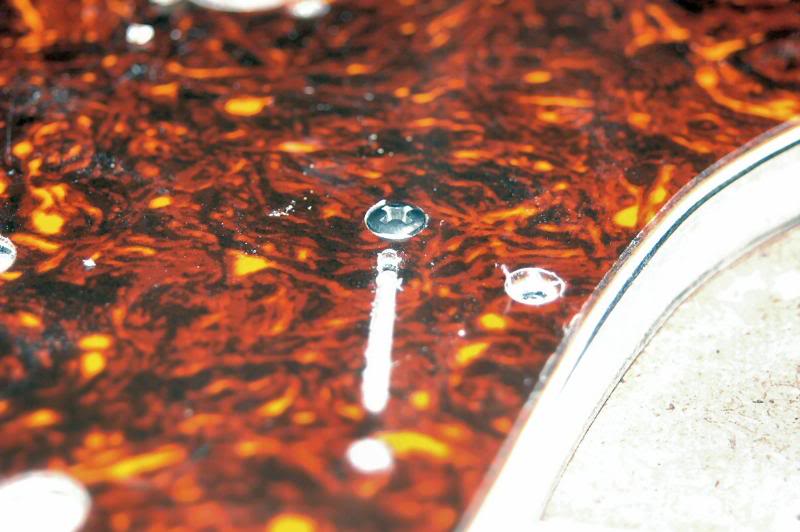
I just use the same process on the drill press, watching the exposed rings of the different layers of the pickguard plastic, then check with a screw.
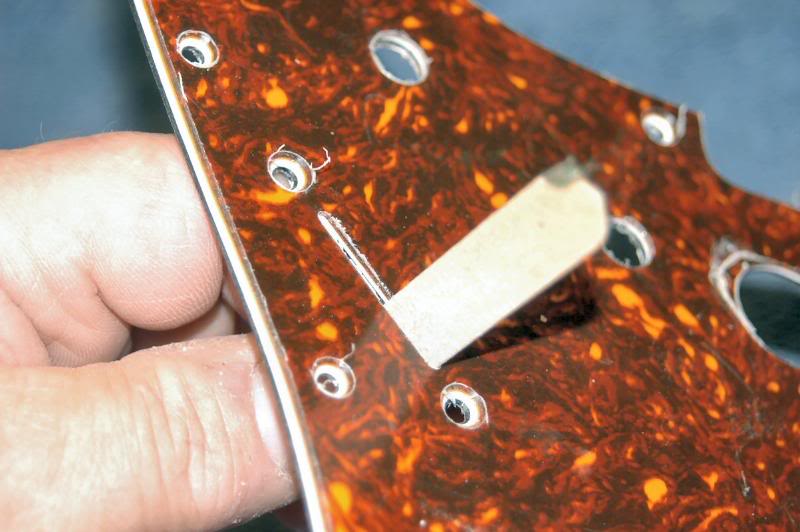
Using an emery board, smooth the switch slot, and clean any plastic shavings.
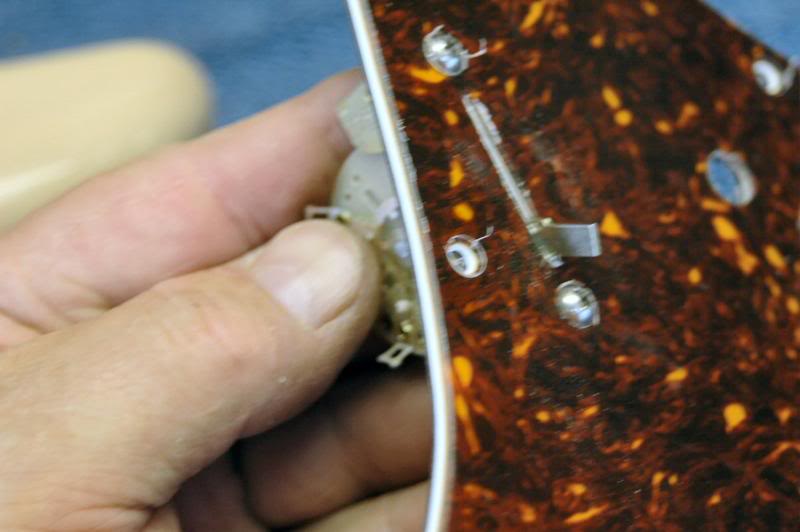
I now install the switch to be certain it fits and the selections can be made without any interference from the pickguard.
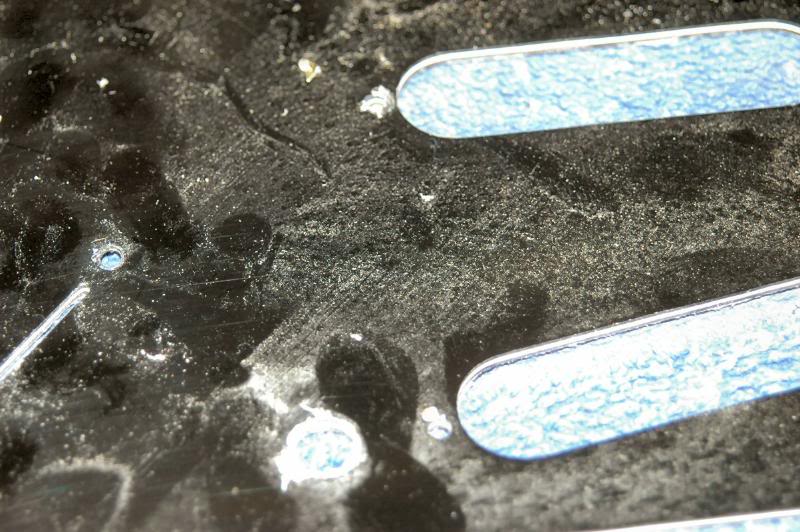
I’ll now take a moment to clean any remaining plastic shavings, etc. from the back side.
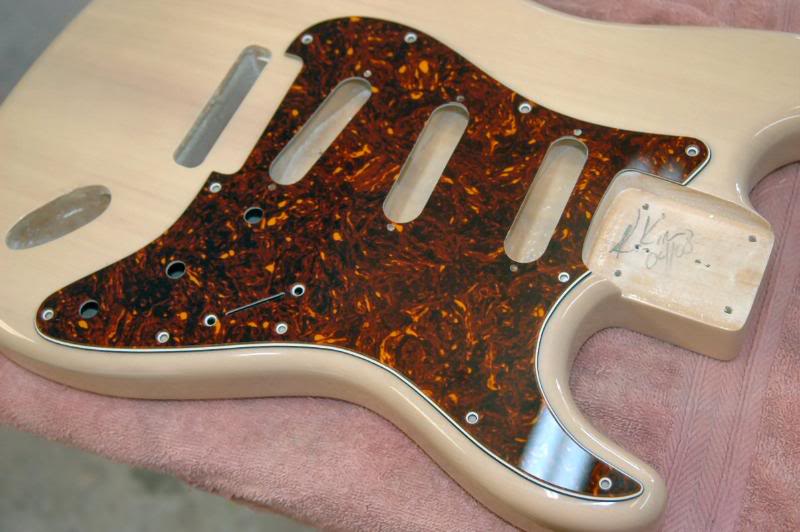
And the pickguard is ready.
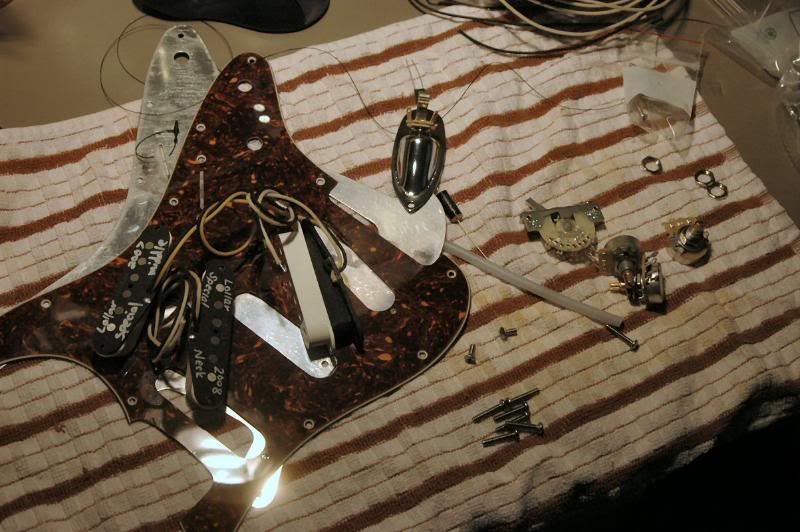
So whadya do with a nice new pickguard, why ya load it up and wire the rascal. So I get all the “stuff” together, and organize it on a specially designed mat specifically intended for assembling state of the art electronics, and wiping up spilled spaghetti sauce.
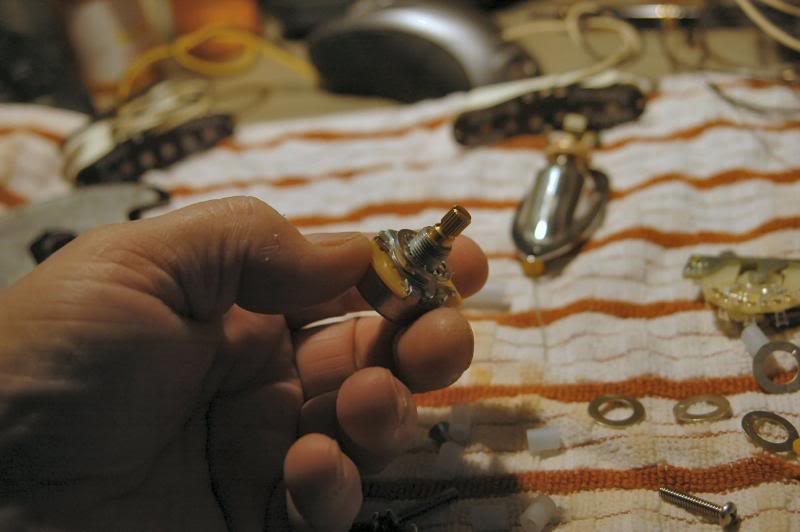
Do the preliminary assembly, lock nut, star washer, and into the hole…
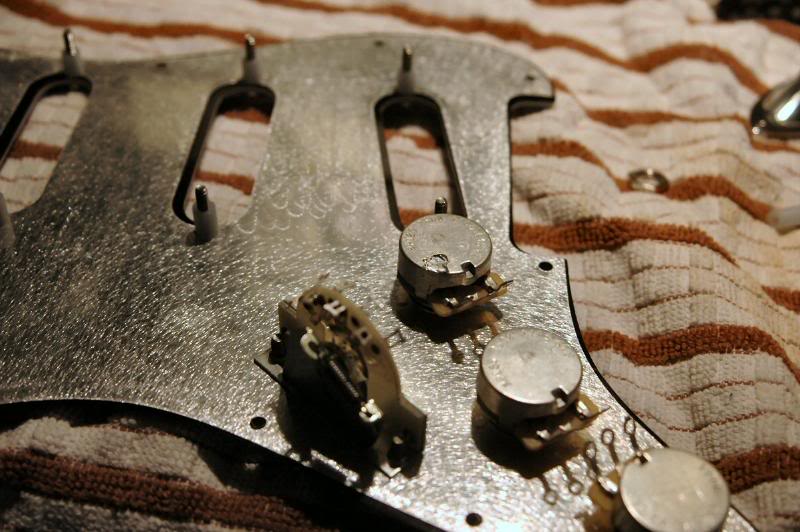
Don’t tighten anything yet, you will usually have to slide the shield, if you use the vintage style, to get it into position. It’s also not unusual to have to enlarge a hole or two to get it all together.
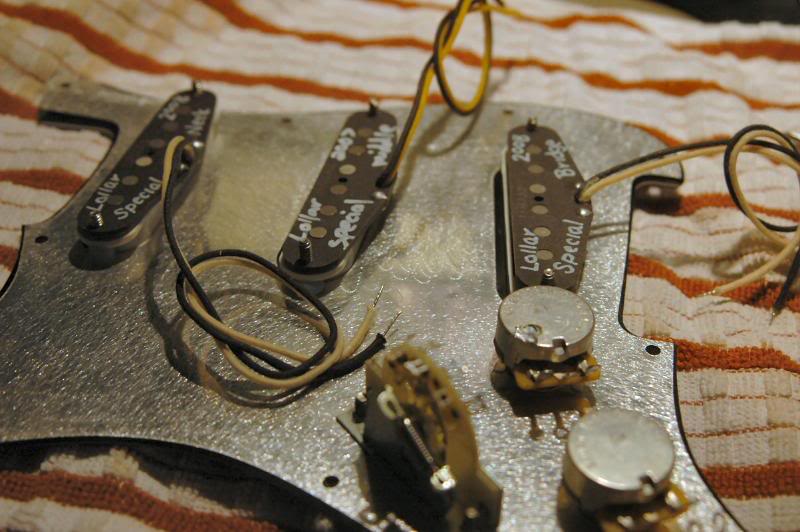
Once everything is mounted, tighten down the pots and switch. I use silicone tubing as spacers for the pickups. It is indestructible, and if you choose the right size, it just fits over the 6-32 height adjusting screws tight enough to hold em in place while you run the screws into the pickups.
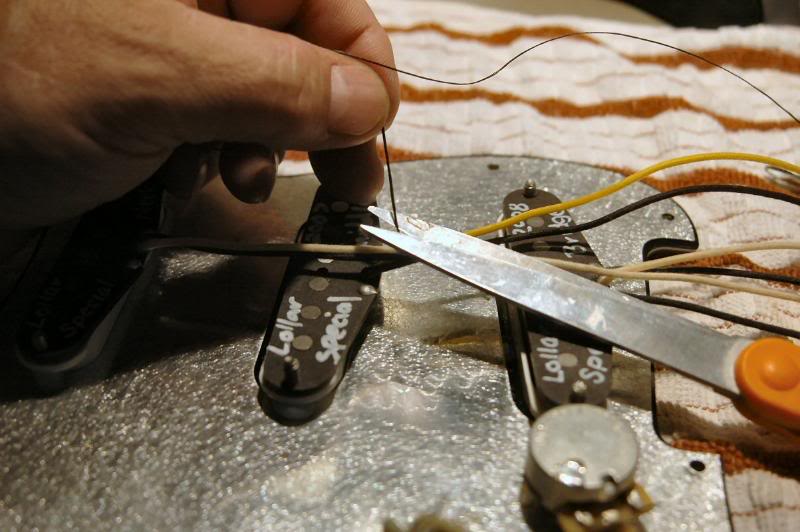
I also use linen string to tie the wiring to make for a neat assembly. I cannot stand to open a guitar and see old tape wrapped around the wiring, the string is so much neater.
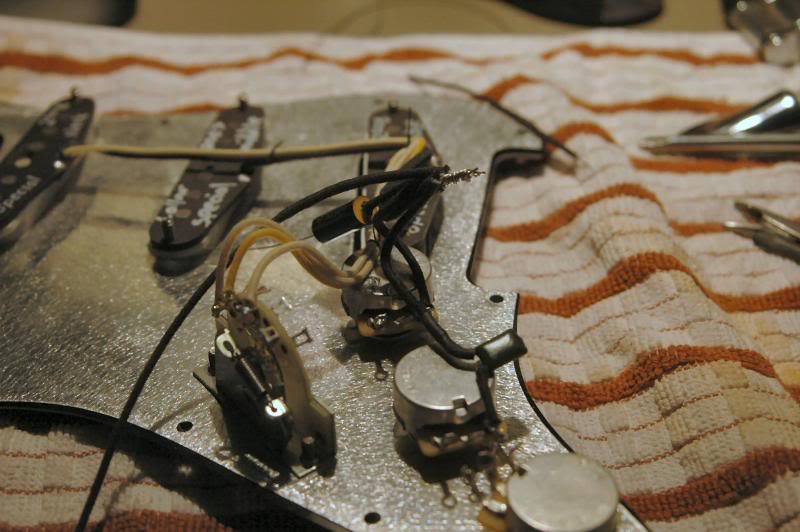
Now I solder the 3 primary pickup leads to the switch, and bundle the 3 ground wires. On most S-types, I will use an isolated ground point, isolated by an audio grade capacitor. There is no sonic change, but the resulting S is as quiet as one with humbuckers. For me, it’s a no brainer.
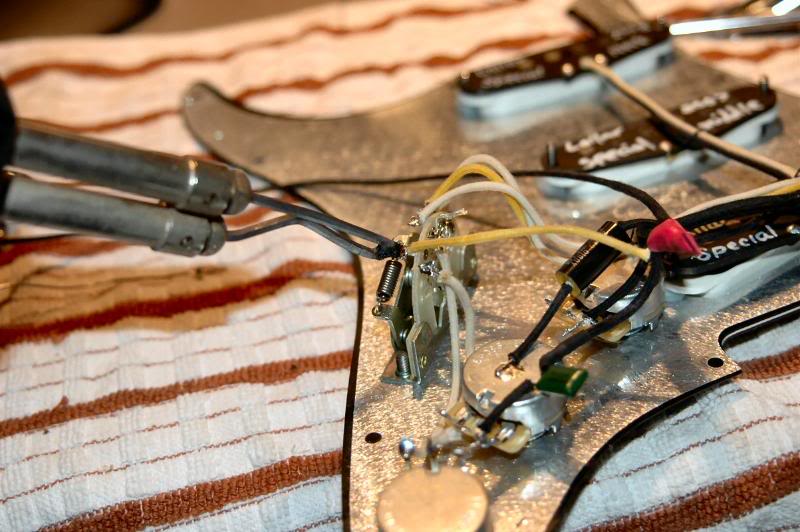
So just keep on following what ever schematic you have selected, until you run out of things to solder.
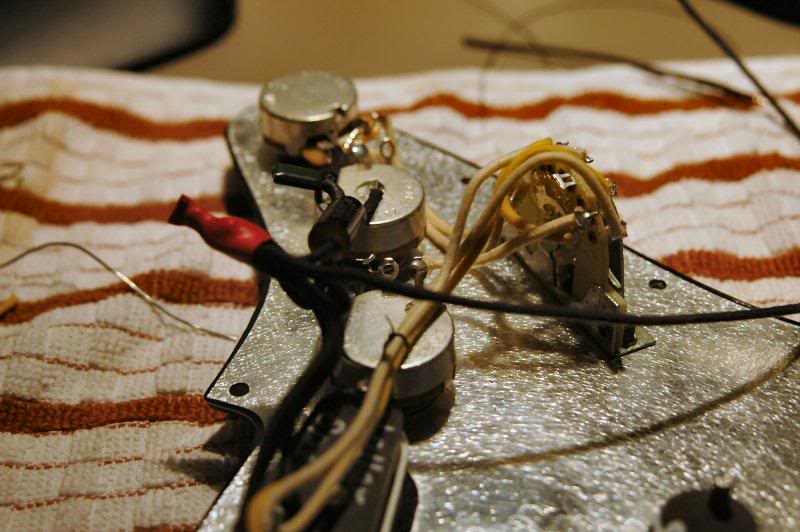
I’ve about completed everything by now.
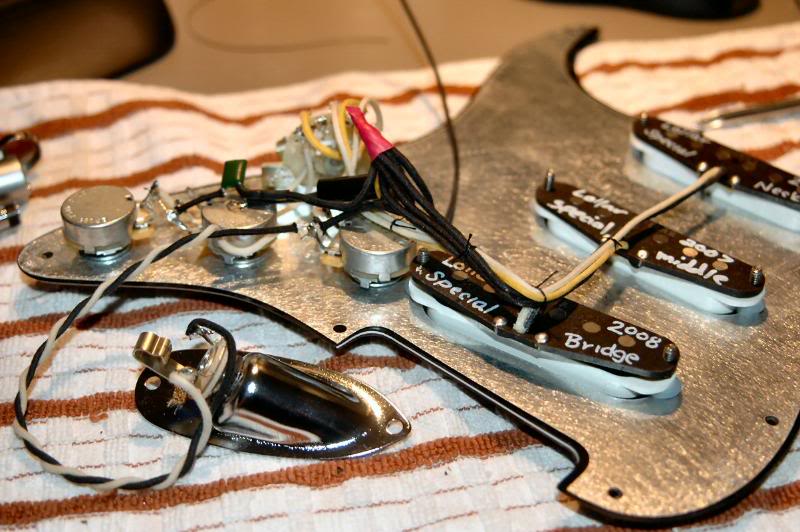
So it’s about time to check things out. I’ve connected the jack. For those that may be unaware, the spiraled hookup wire is for a reason; by spiraling them you get a shielding effect. So if you want it quiet, and want the vintage appearance of cotton covered wire, twist ‘em.
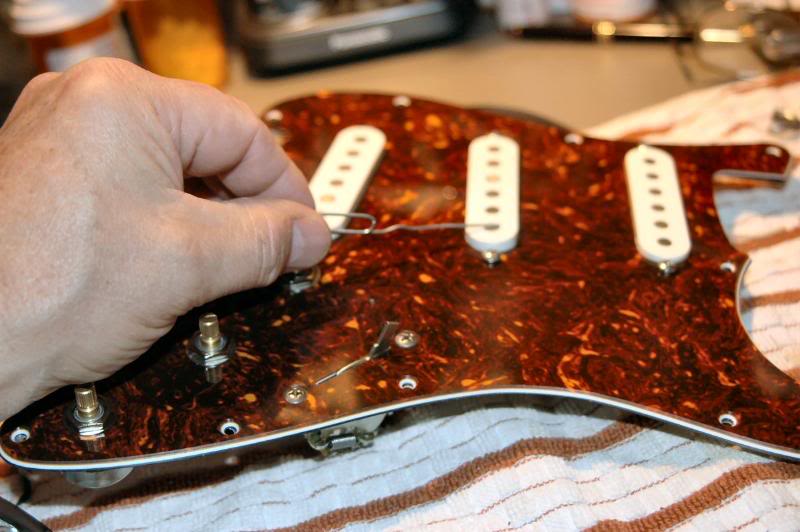
Now, I plug ‘er in to the amp, um, turned down… and using a specially developed tool I’ll test each pickup and switch combination. It’s ready for installation.
To continue to Part 5 Finishing the Neck
Choose: Slide show viewing or Single Page


Shaping the Body | Color and Lacquer | The Neck | Body Buffing and Pickguard | NEXT - Finishing the Neck | Final Assembly