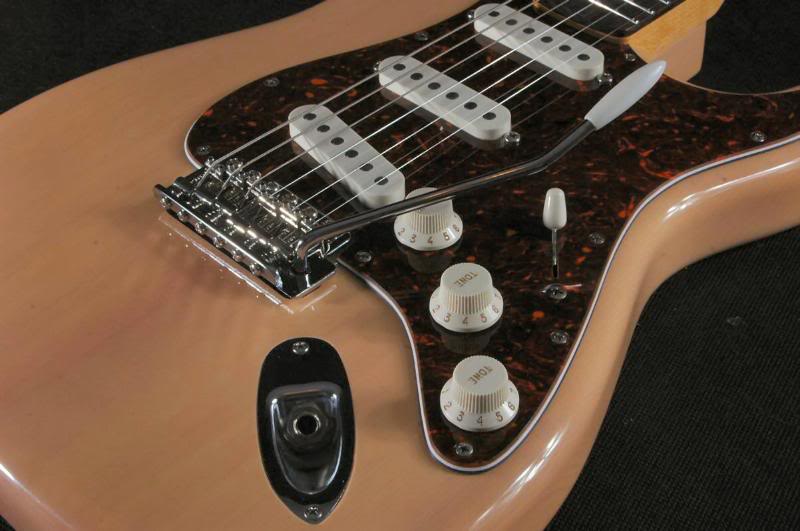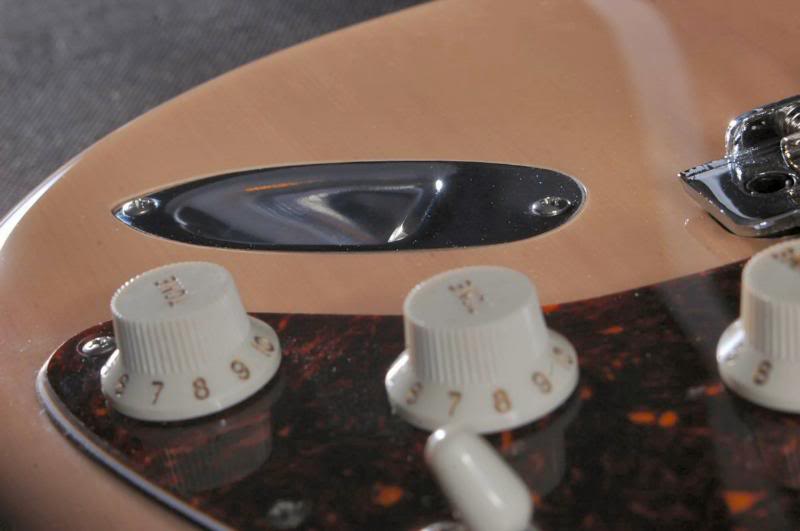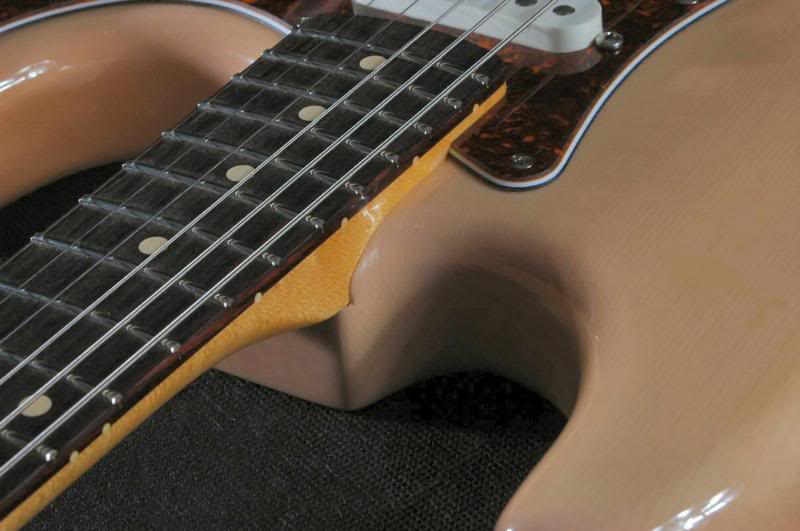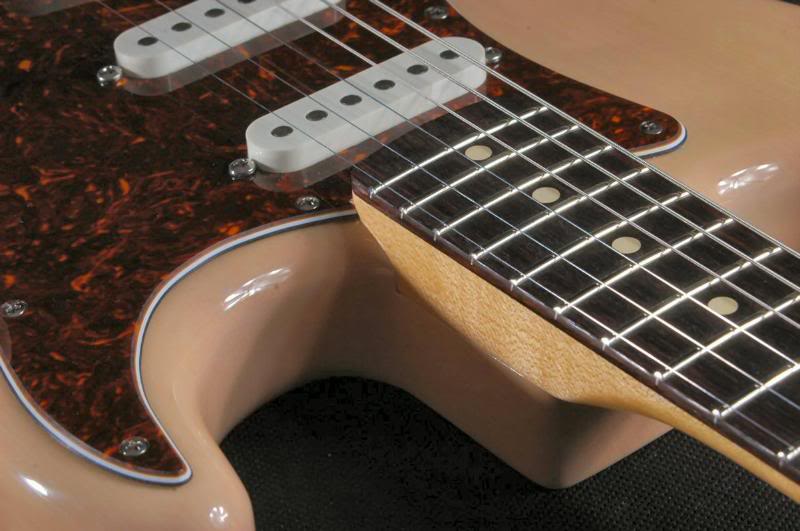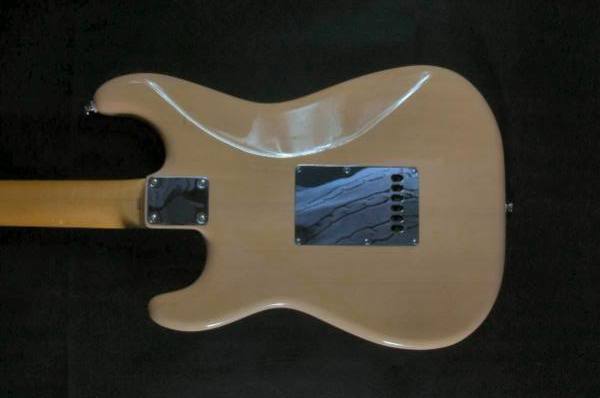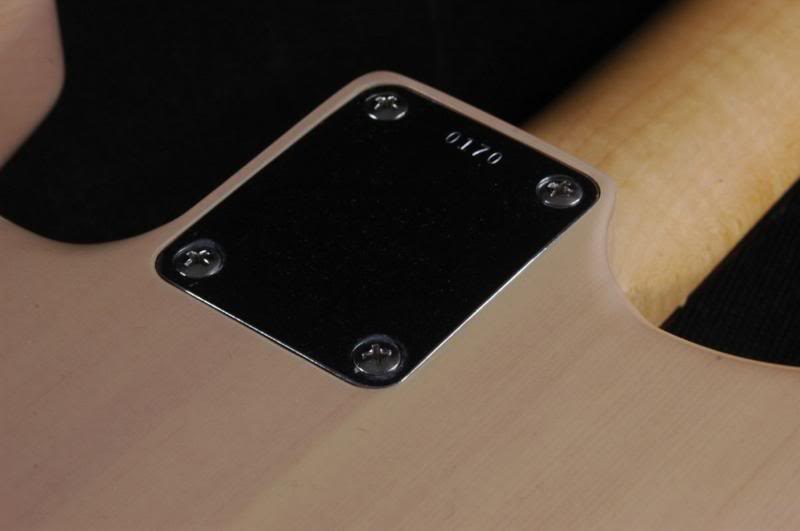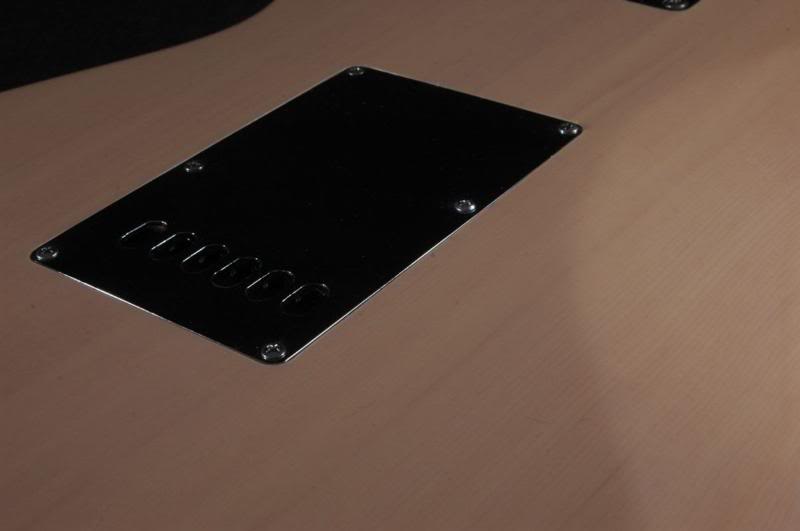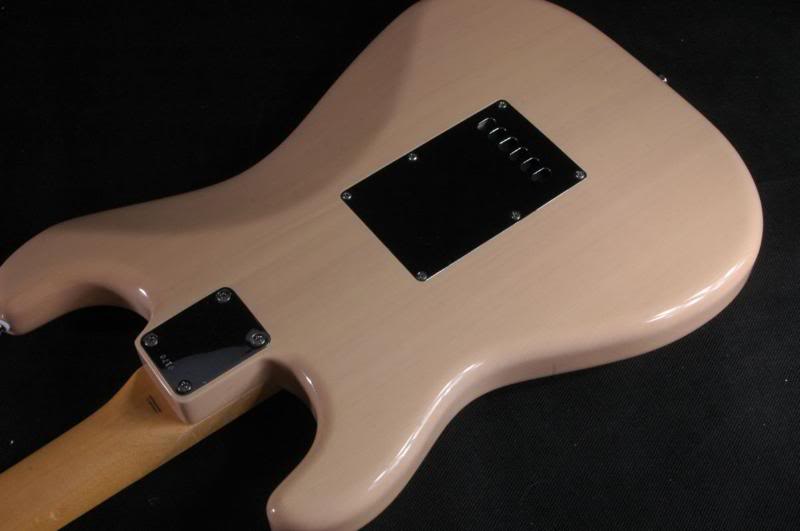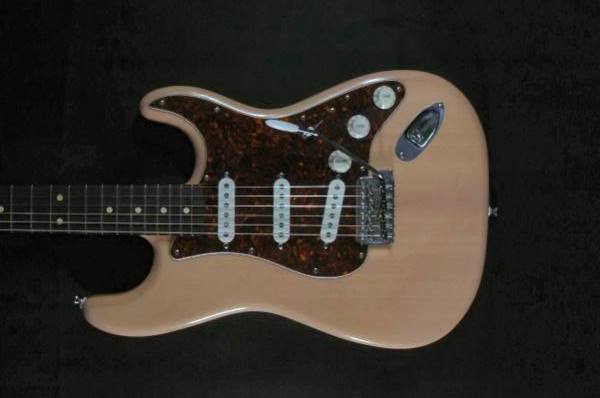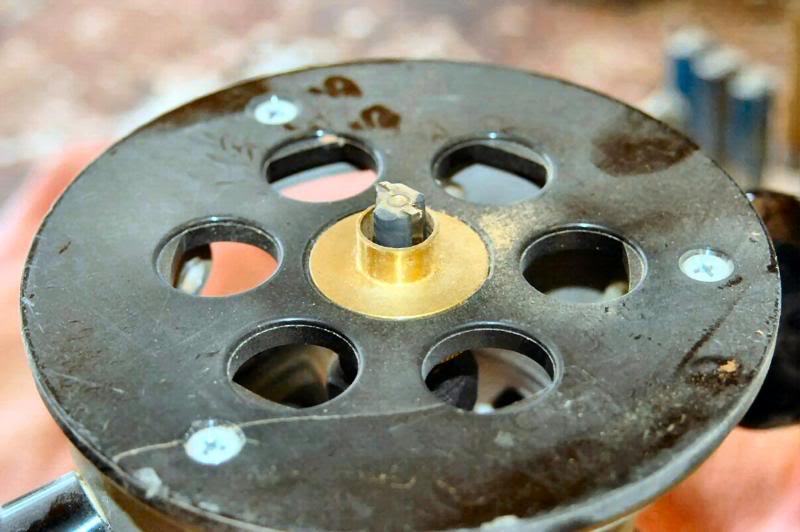
Now that the body is lacquered, wet-sanded, and polished, it’s time to get out one more little tool to finish it off. WARNING! Do not attempt the following, this is a demonstration only. On my guitars, take an extra step and recess the neckplate, the back tremolo spring cover plate, and front the jack plate.
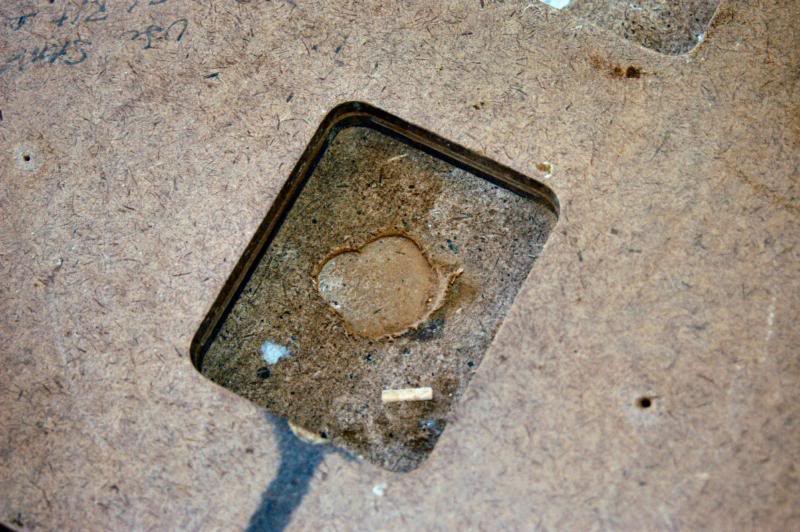
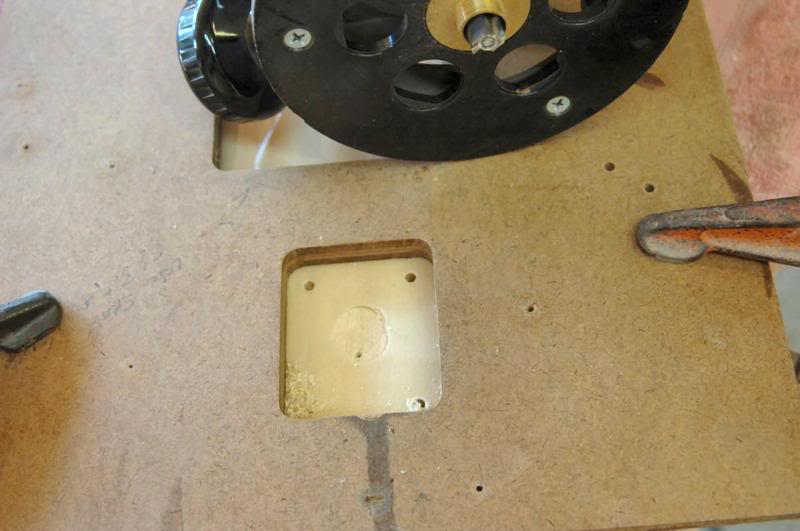
I cannot make a generic template to rout for these components because they always show up made to slightly different measurements. So I first take a template I have made that is a few thousandths too small for most neck plates, and start cutting and testing.
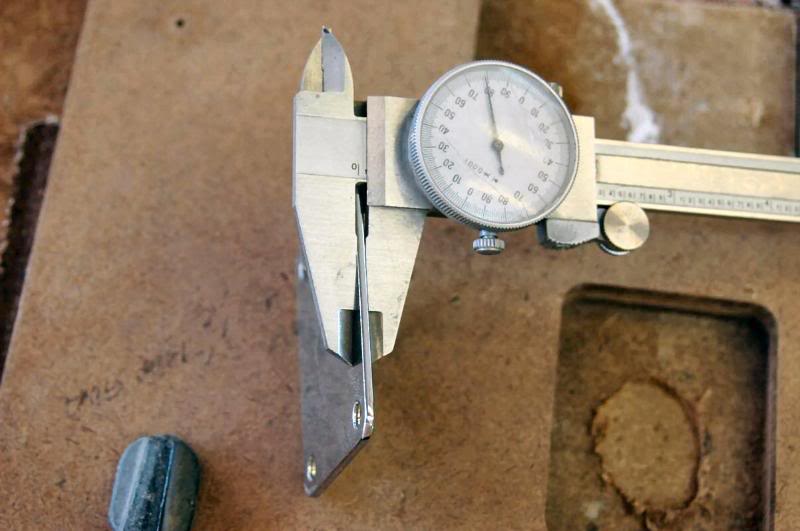
I rout a little and check depth. I want the surface of the neck plate to sit just a few thousandths above the surrounding lacquer so that nothing will snag on the lacquer’s edge, which could cause cracks or chips.
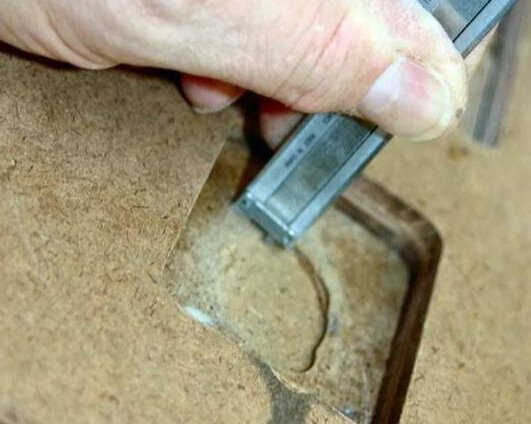
I now make the first pass with the router, then try the fit…
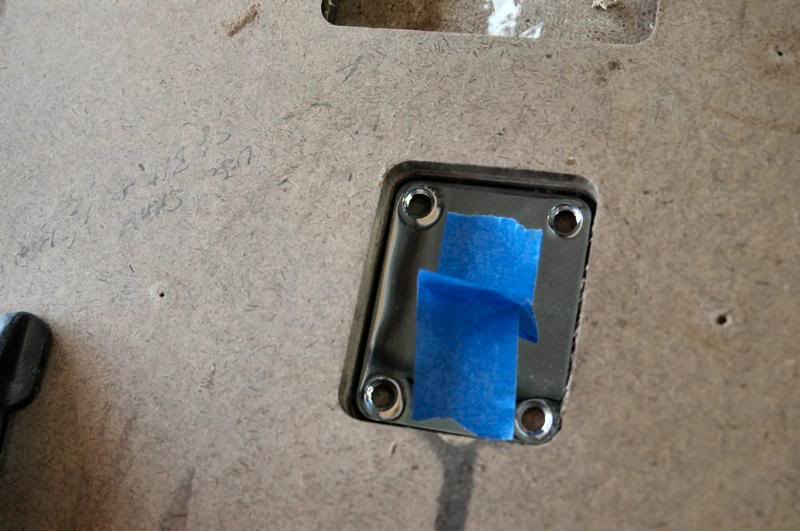
Checking the fit. I do not want to have to press it in. It should drop freely but with no more than the thickness of a piece of paper around it. Why? Because the wood will shrink and swell, the lacquer gets brittle over time, shrinking wood + brittle lacquer + non yielding steel plates = cracks.
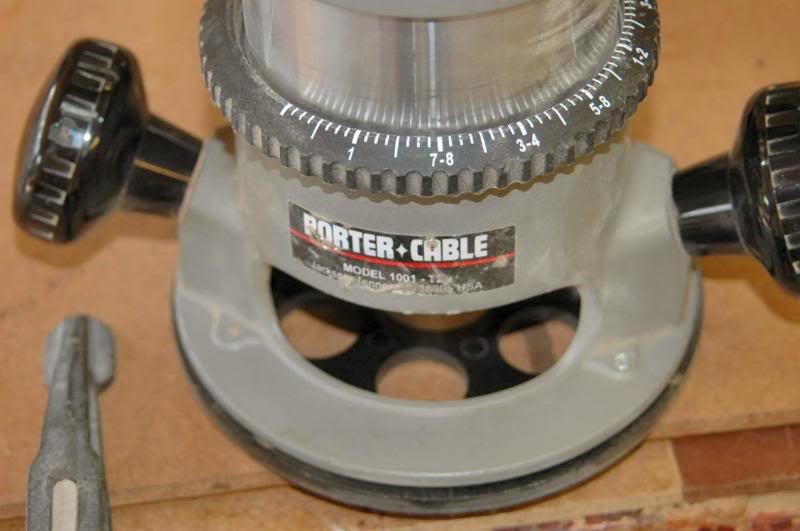
If it fits, and sometimes it does, it’s good to go. But if not, more cutting and testing. I keep a handful of neck plates ready to go because since they’re different sized I may luck out and find one that fits perfectly, but if not…. rout..
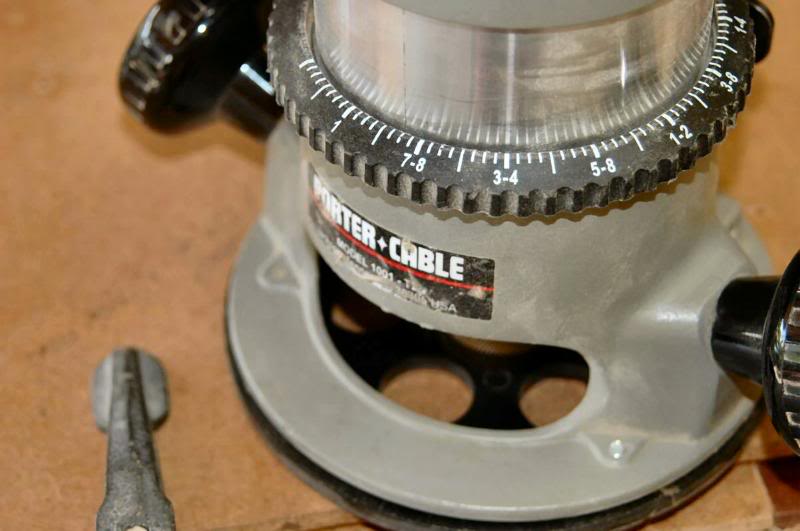
I note the position of the router during the first pass. Place the router back in the template, turn it on, and carefully move it to one corner, and rotate the router 1/8 turn, and make another pass around the periphery of the template. In doing this, am enlarging the recess by about 1/32” each time, using the inherent and minute inaccuracies of the router to my advantage.
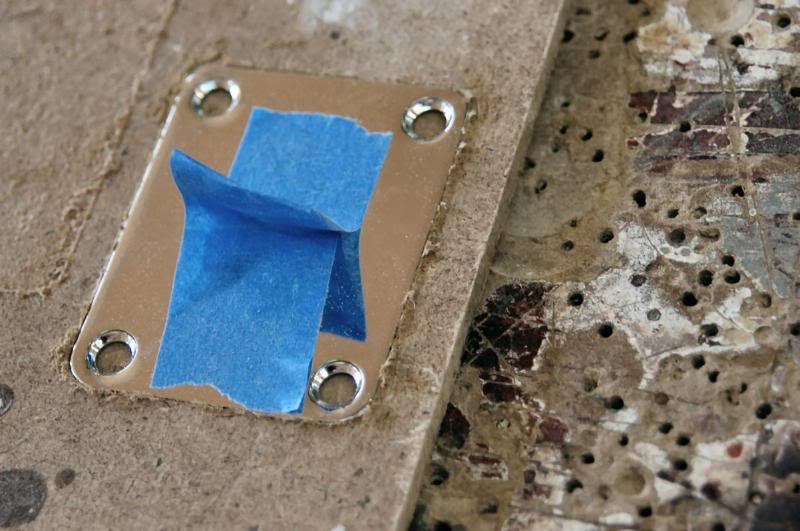
An example of a perfect fit (in scrap).
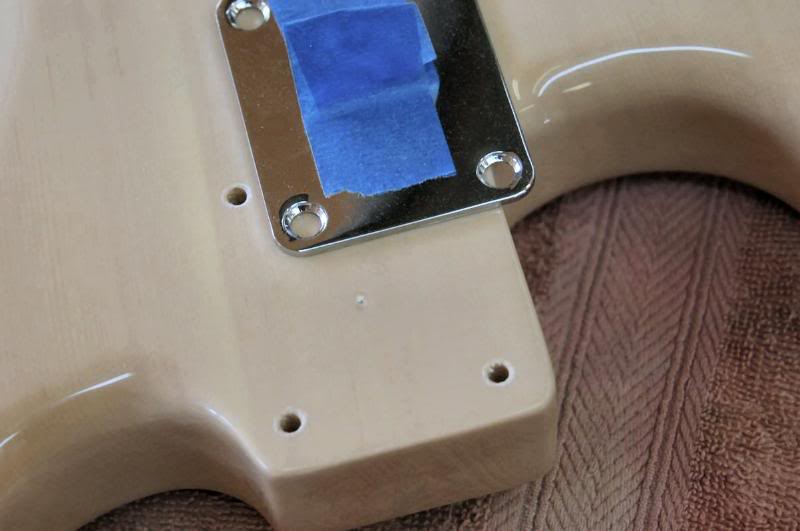
White knuckle time…
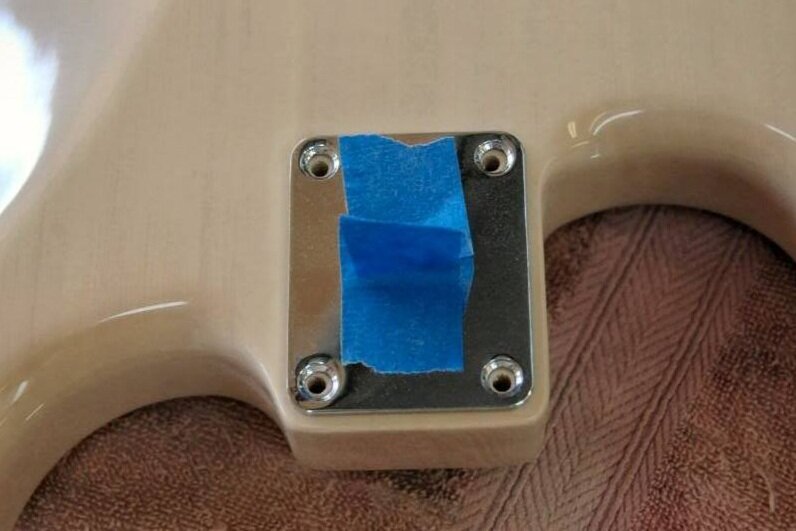
Take the plate and locate it over the screw holes… note, when you tighten the screws the countersunk design will force the neckplate in the direction as indicated by the relationship of the screw hole to the hole in the plate. They rarely are perfect. So you want the plate to get forced AWAY from the thin edges of the body.
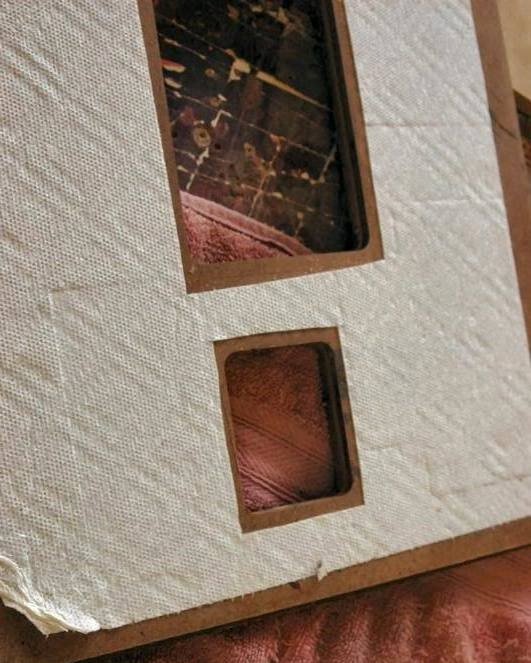
I cover the back side of the template with paper towel to prevent scratches, and use a light mist of 3M – 77 spray adhesive to hold it. NOT double stick tape. I avoid tape whenever possible. The solvents in tape glue can eat into lacquer.

Now carefully place the template over the neck plate without bumping it like I do 9 out of 10 times.
And gently clamp it in position. This is another “feel” thing. Clamp too hard, the lacquer cracks. Too little and the template moves while routing, converting the body, and hours of work thus far, into firewood. So, no big deal. I give it a little tug to be absolutely certain it’s not going to move with the light pressure of the router against the template. I say a little prayer, and rout the mutha…
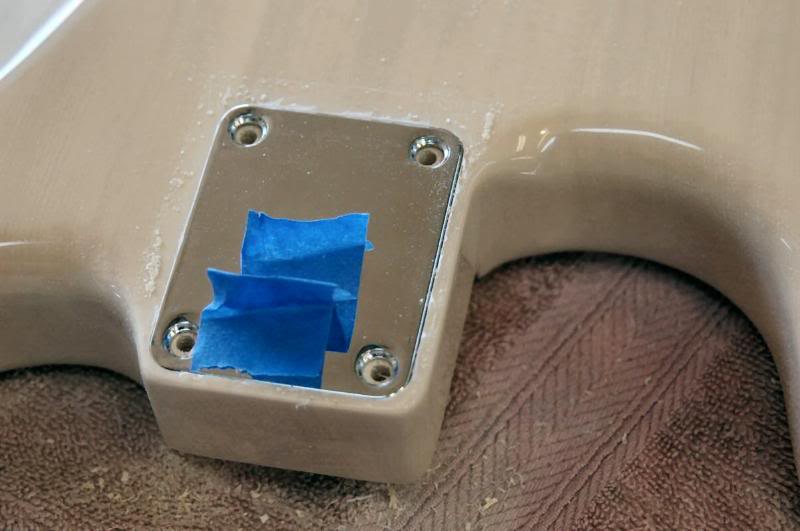
Then I repeat the routing like I did in the test.
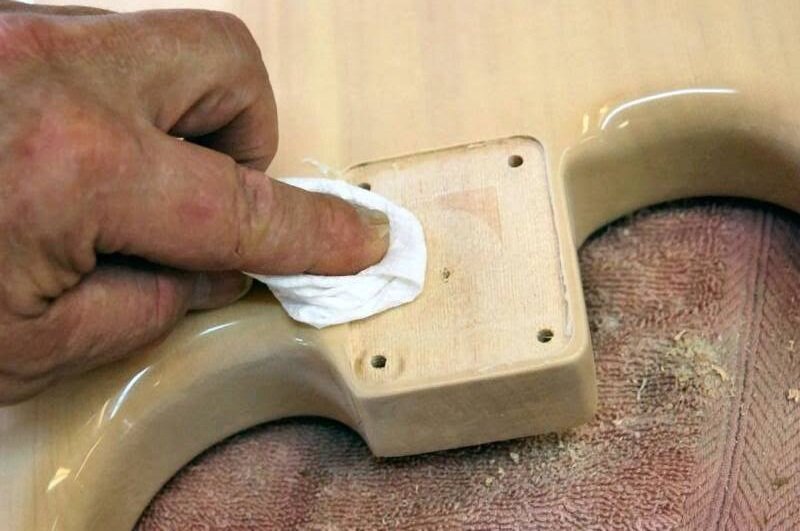
And take a dry paper towel and lightly burnish the lacquer “fuzz” off the edge.
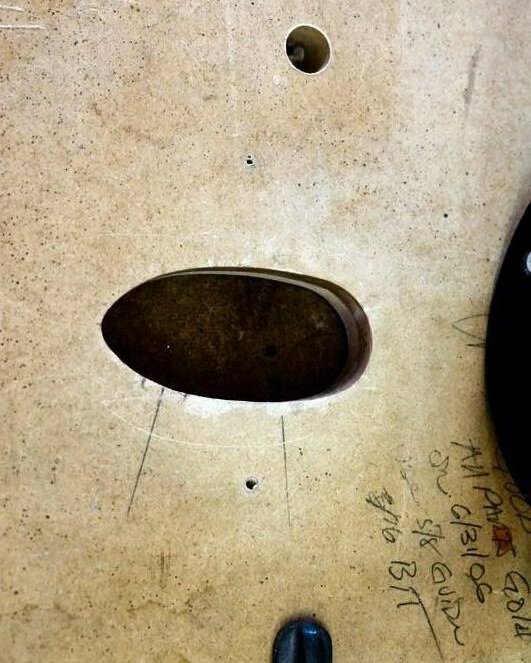
Now it’s double whammy white knuckle time. BTW regarding the templates, I made them by hand with files, sanding drums and whatever I could find. There are an awful lot of details that go into making a template, it is NOT as simple as marking a shape and cutting it out. A lot of detail, skill, and experience goes into making a functional template.
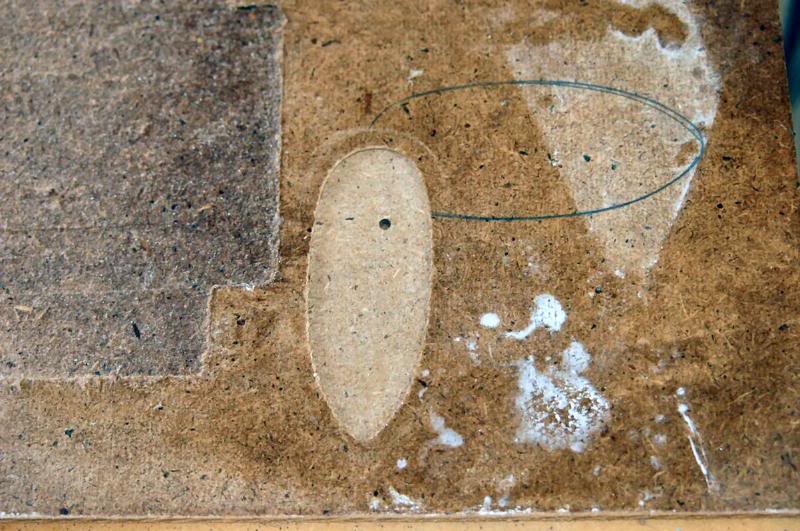
After YOU have made your template, you gotta test it… so cut one in scrap whatever, about .030 +/- deep…
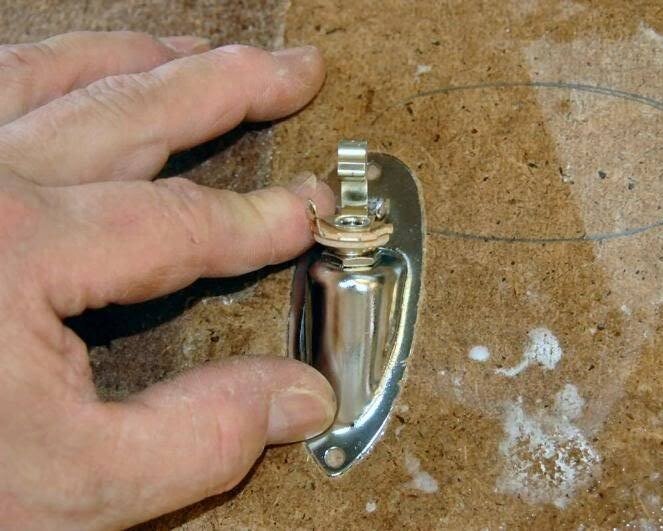
Check with the jack plate upside down.
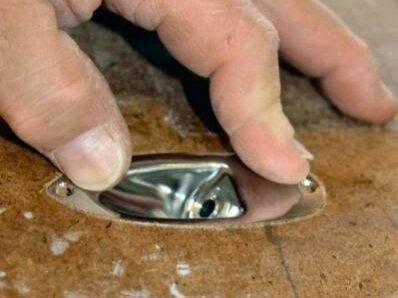
When it fits upside down, create the recess to fit it right side up. You can not depend on the fit upside down, these things are never perfectly symmetrical. I do this for every single jack plate I fit, because they are all slightly different.
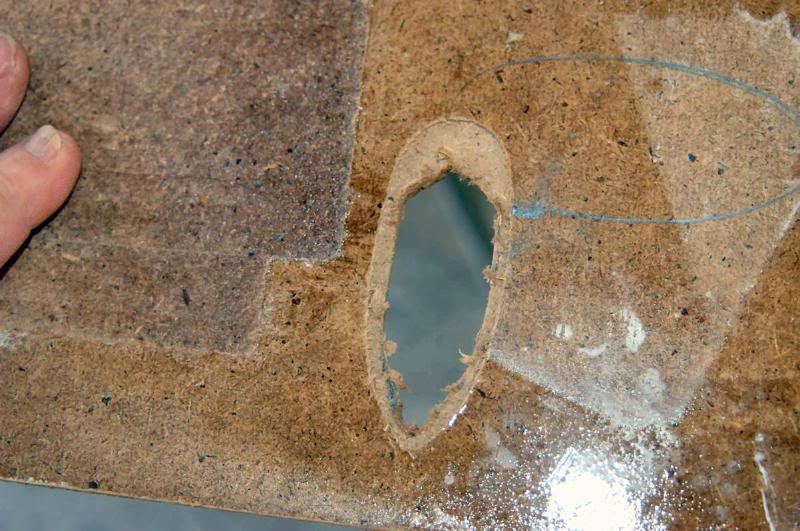
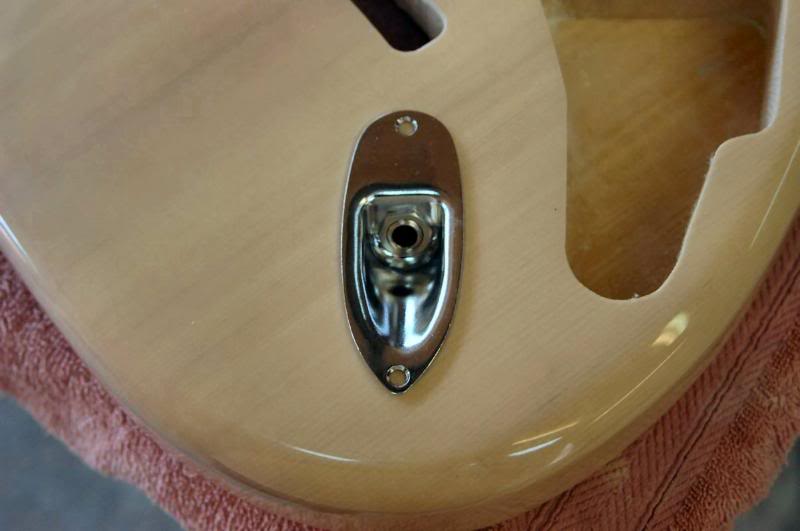
When the fit on your template is perfect, you can place it on the body.
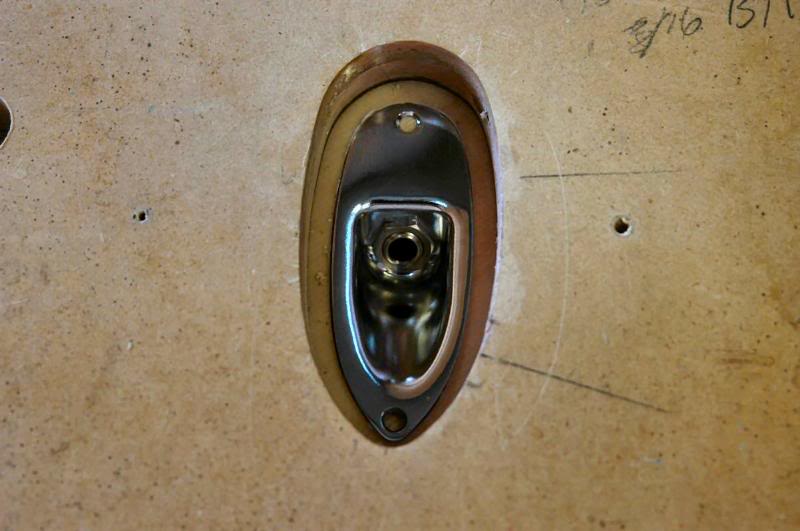
Take the template and carefully place it over the work area. Without moving the template, remove the jack plate, and clamp it down. Again, carefully as to secure it sufficiently, but without cracking the lacquer.
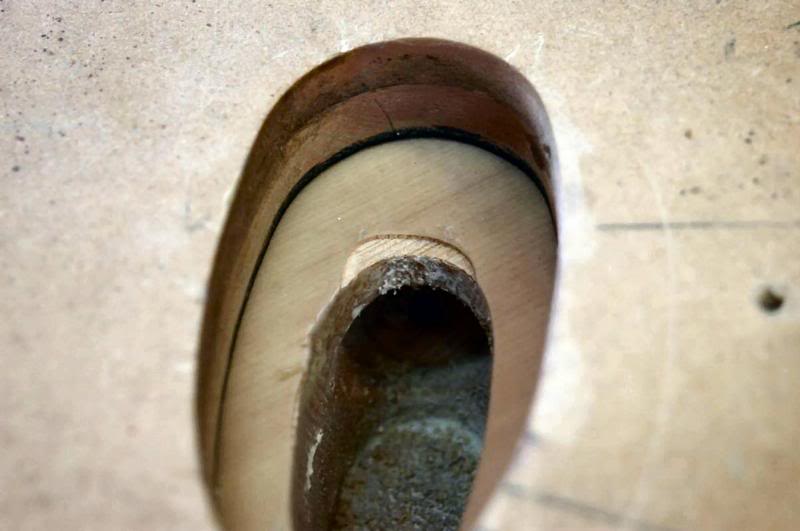
Now using the template guide and bit. The bit needs to be no larger than 3/16th diameter to cut the radius for the sharp round point. And I begin to make the cut. I just nip the top of the body cavity to check depth..
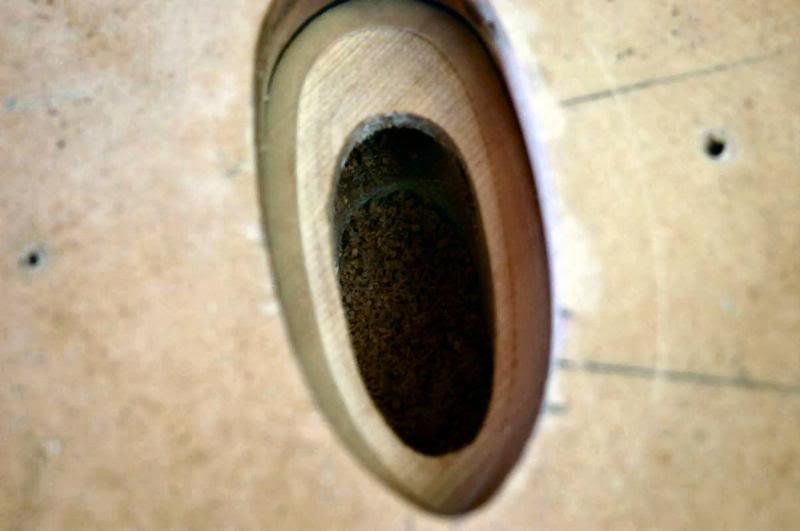
If it looks good, I continue to cut out the whole area. It’s a fine line between perfection and firewood.
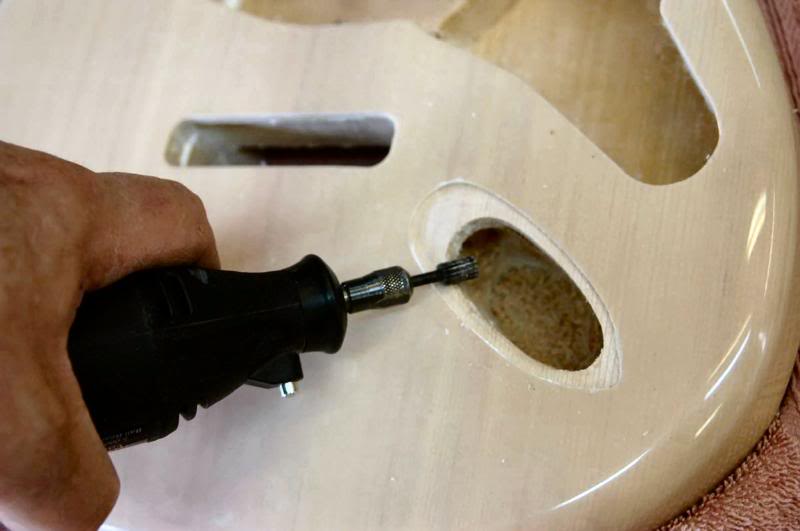
Because the underside is rounded due to the stamping process, you must relieve the hard edge. I use a Dremel.
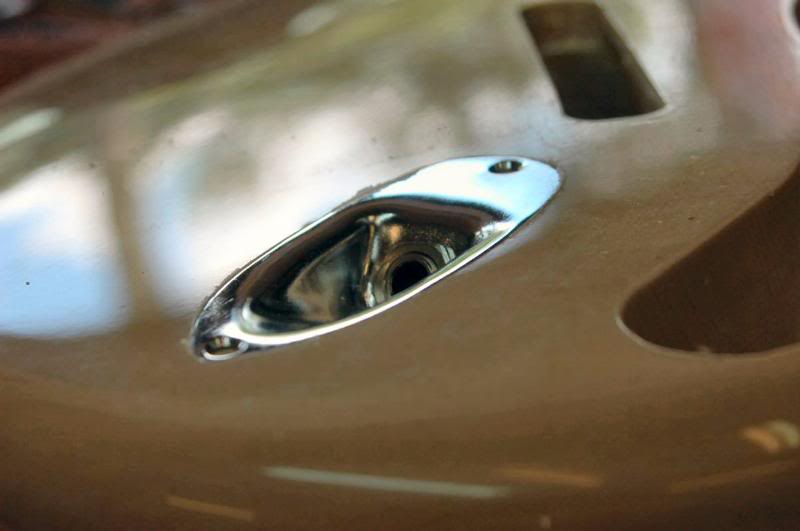
And this is what you wind up with.
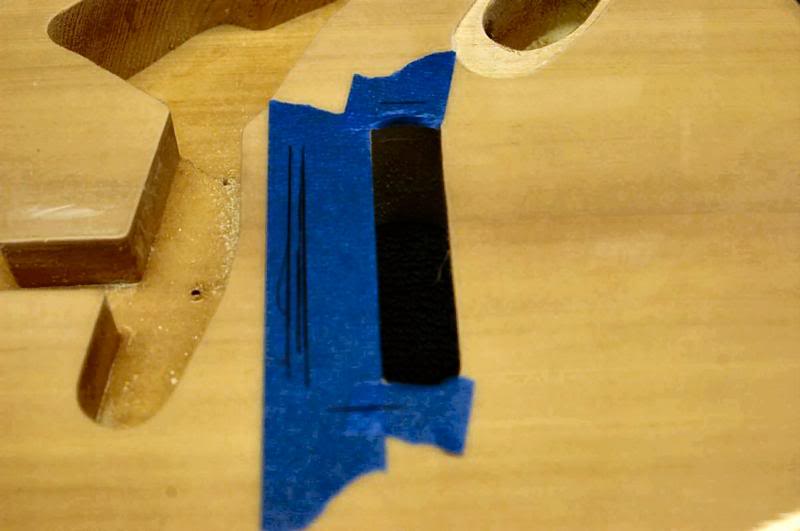
Whew. But not done yet, the trem plate is next. First I have to mount the tremolo. I put a little tape, to be removed quickly, on the surface so I can draw pretty pictures.
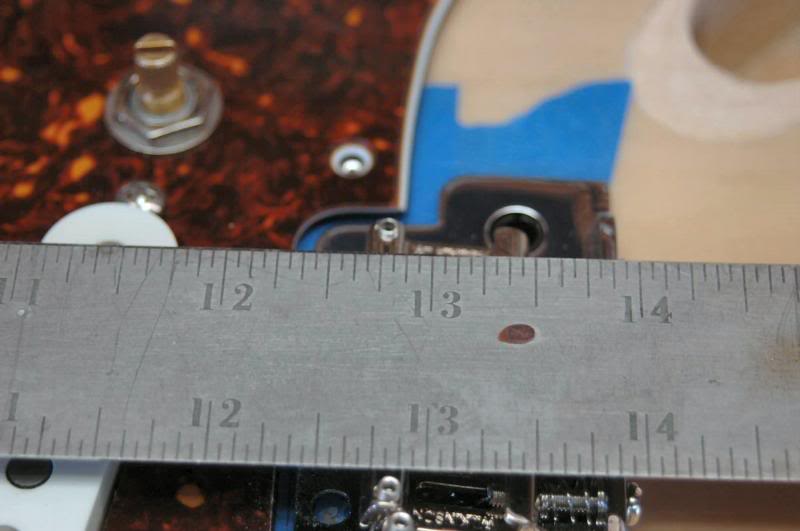
Position the tremolo so the first string bridge is about 12 ¾ from the 12th fret, and mark the position. That’s what all the lines are above. I mark max forward, max back and full right and left, then position the tremolo in the middle of the marks. This gives clearance all around for full tremolo action.
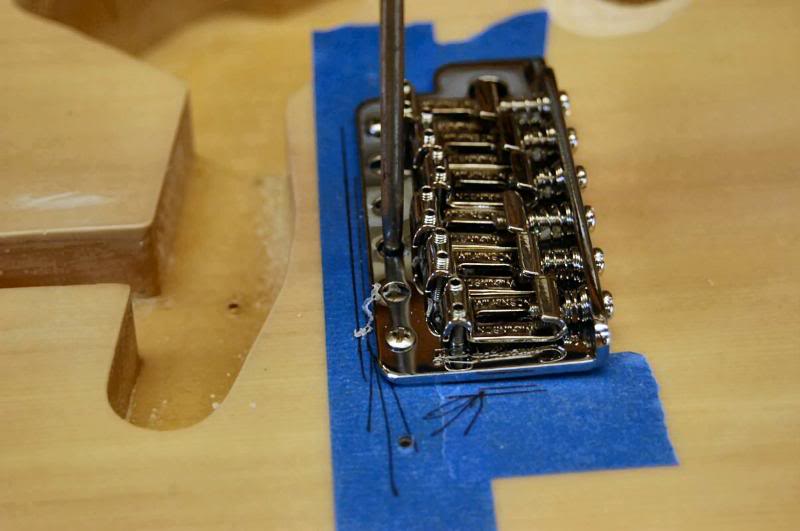
Now just take an awl of the same diameter as the screw holes and give a light twist. This will mark the location for the screw holes.
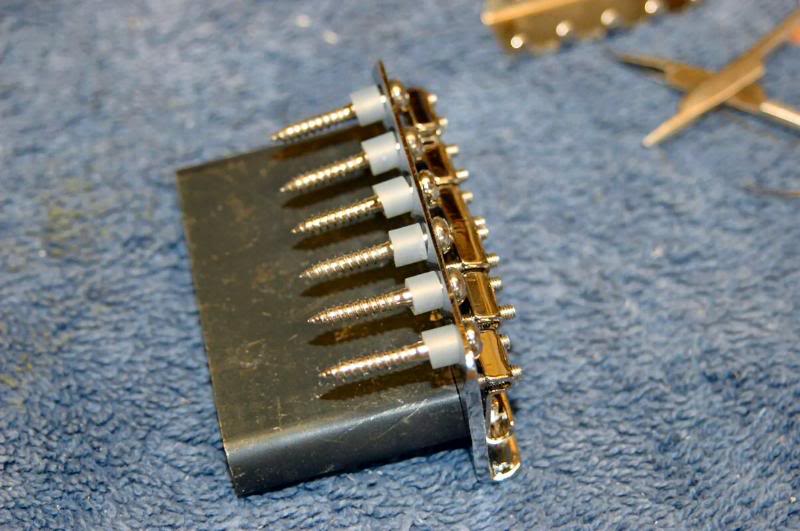
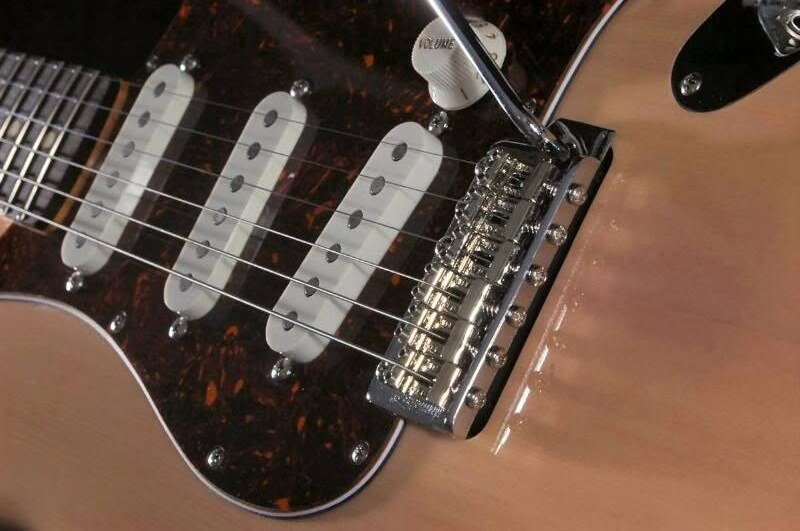
Drill your pilot holes and mount the tremolo. This is a Wilkinson Vintage Trem, steel trem block, a great tremolo.
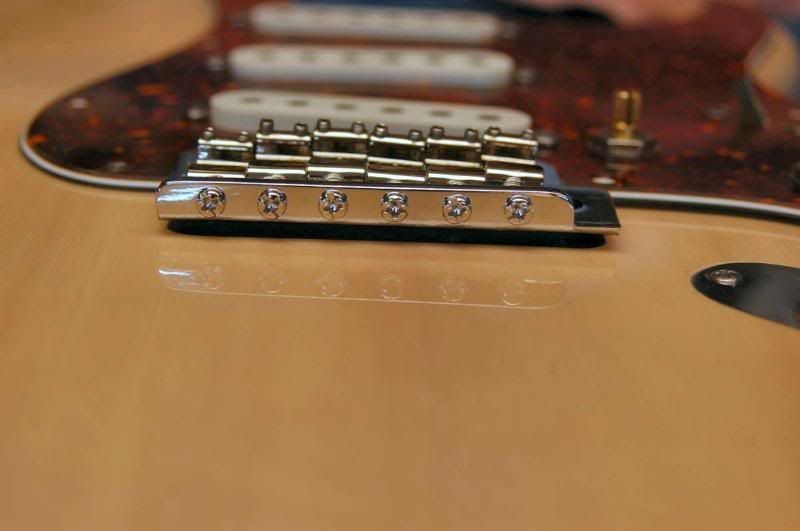
Before I mount the tremolo with the permanent screws, I temporarily mount it with a few small screws to lock its location so I can place the tremolo spring cover plate in the correct location. I tighten screws until there is about 1/8th clearance across the back and it is level relative to the surface of the guitar.
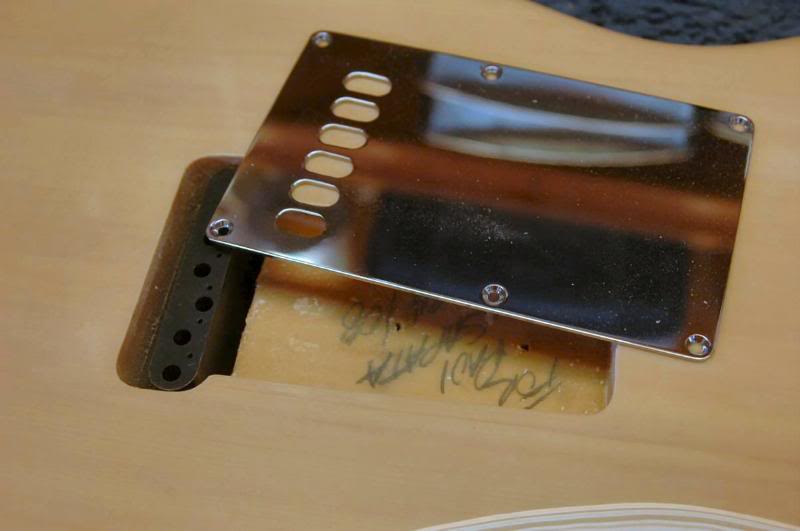
I now place the tremolo over the tremolo unit aligning the string holes in the block with the access holes in the plate.
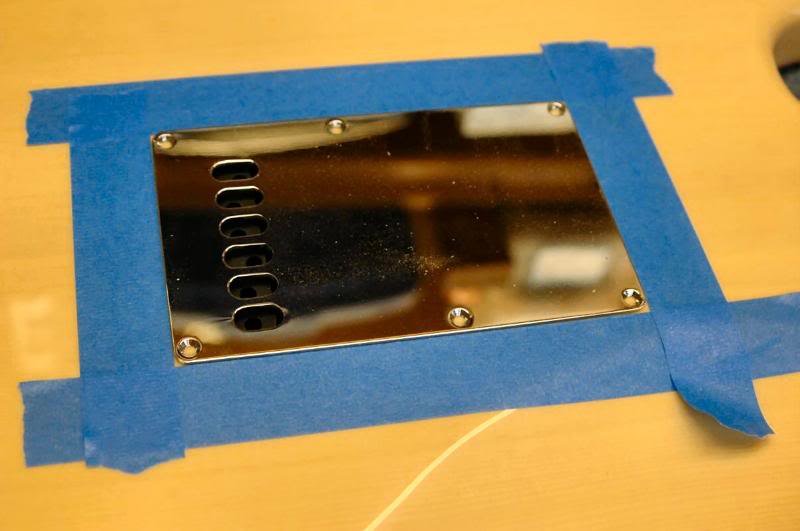
Then I outline it with tape.
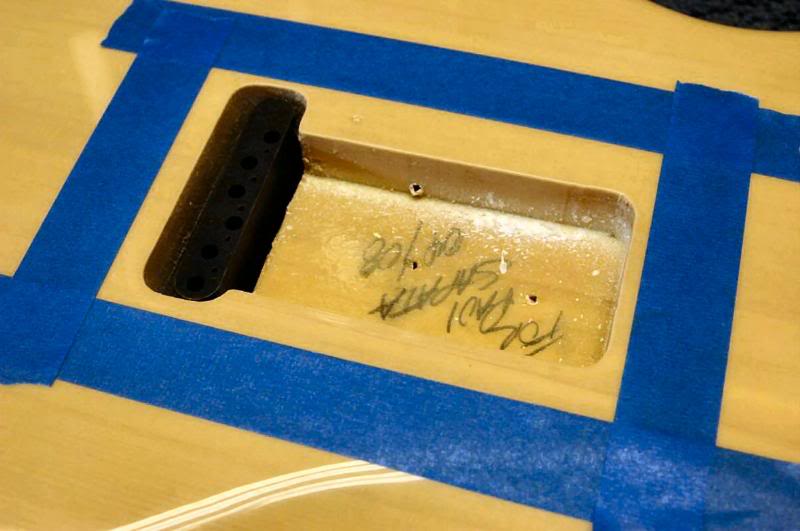
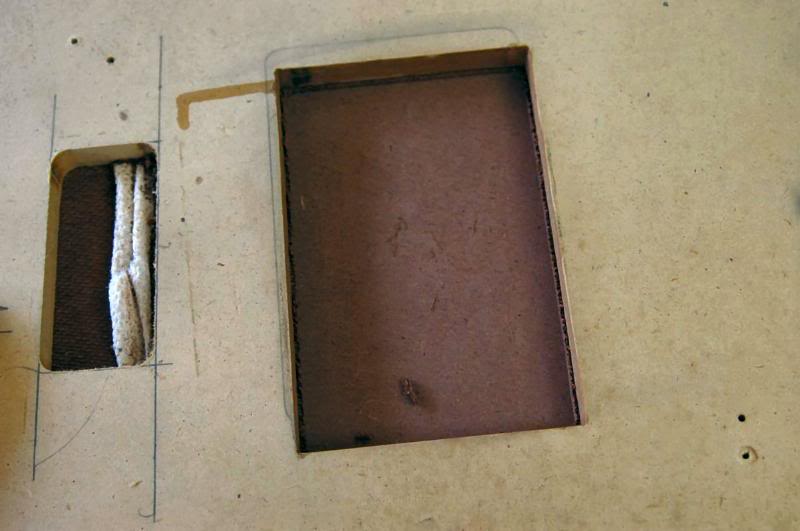
But first, back to the testing. Chromed tremolo spring cover plates are not uniform in dimension either, so you have to be accurate. Take the template and cut a test in scrap.
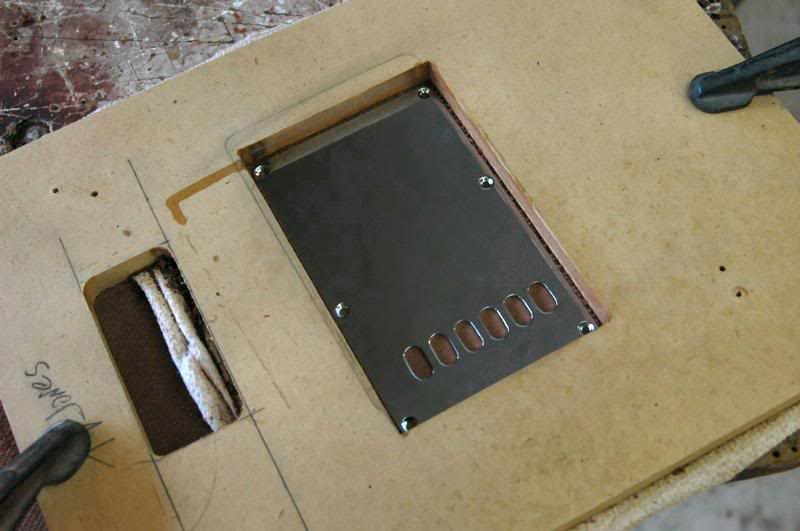
Using the same methodology as with the neck plate, rotate the router to get a perfect fit.
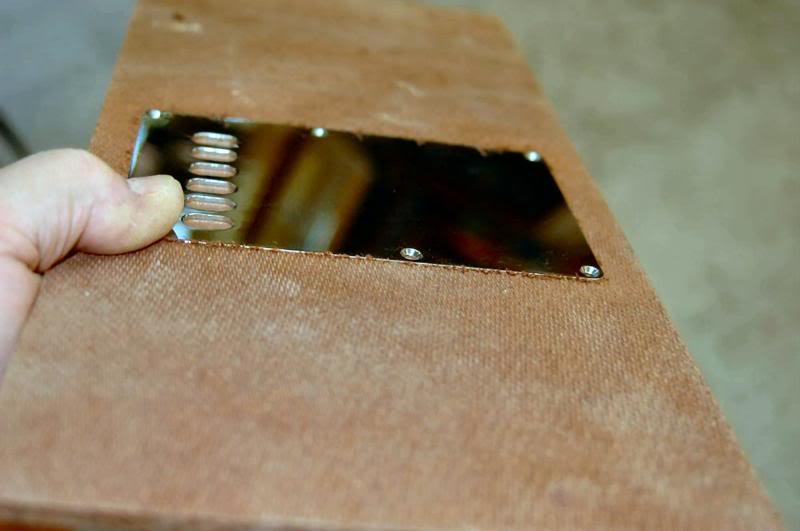
Check carefully. This is big, where little mistakes jump out and grab ya.
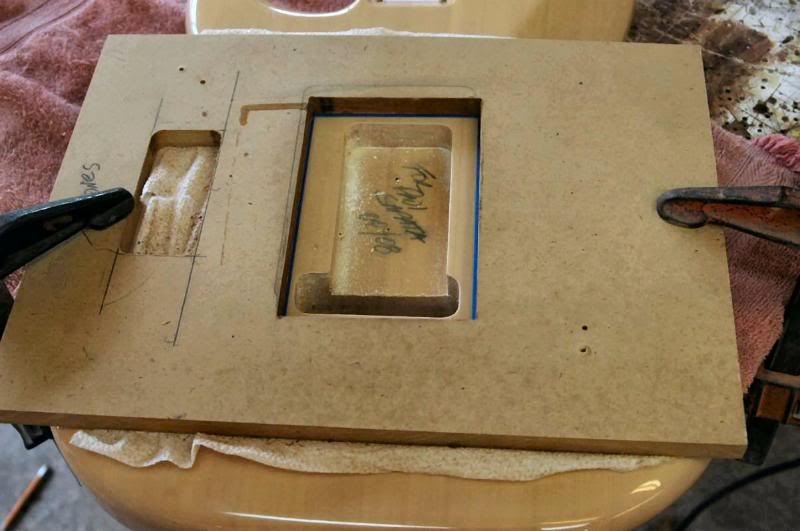
Once there, align the template with the tape outline. Extreme precision in placement is not necessary, there’s plenty of wiggle room, you want it square relative to the body. Mount the template and clamp, don’t crack the lacquer, check to be certain it isn’t going to move.
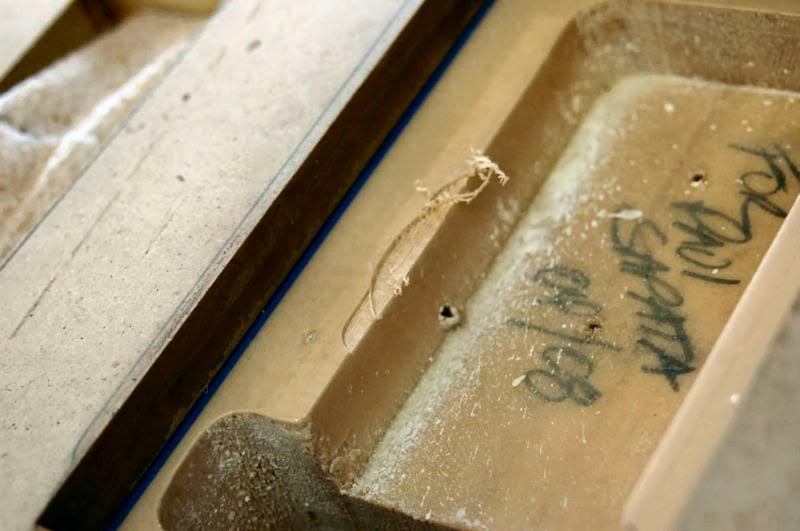
Then try a couple of test cuts to verify depth. Again I want the cover to stand proud of the surrounding surface just a few thousandths, so nothing snags on the lacquer’s edge. Then follow the same procedure that gave you the perfect results during the test cut.
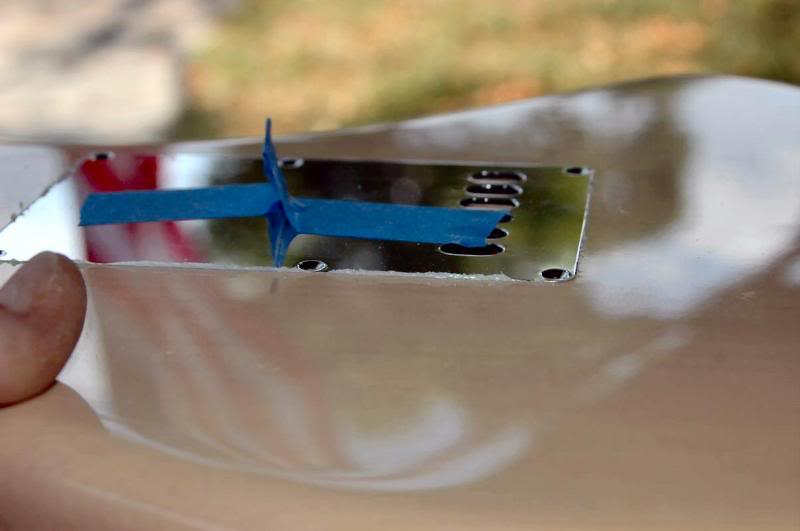
The results. Not too shabby. Next up.. enough shielding to fend off a Romulan attack…
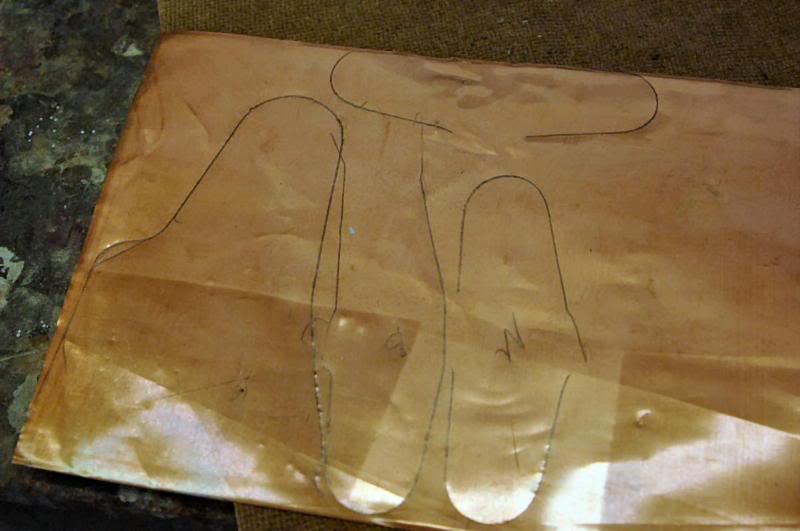
While it can be argued which method works best, conductive paint, conductive adhesive metal foil, plain sheet metal, or the type of metal, what ever you choose will suffice. I use copper sheet…plain and simple.
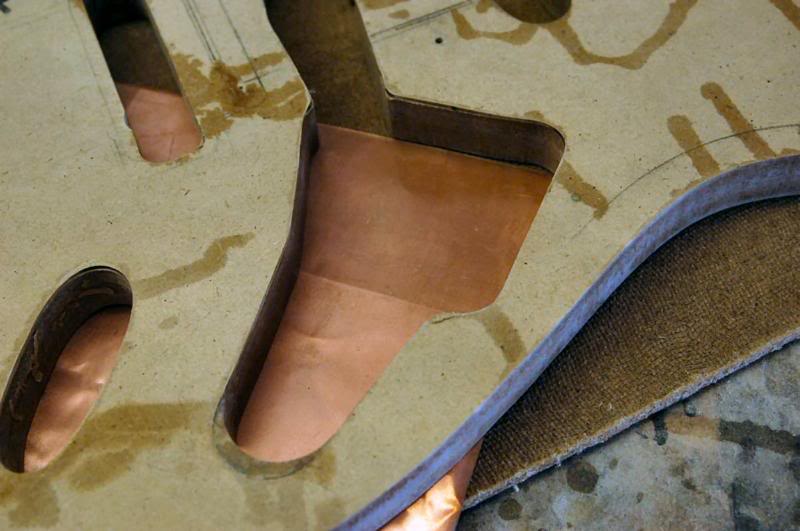
I use the templates I used for the body to outline the bottoms of the various cavities.
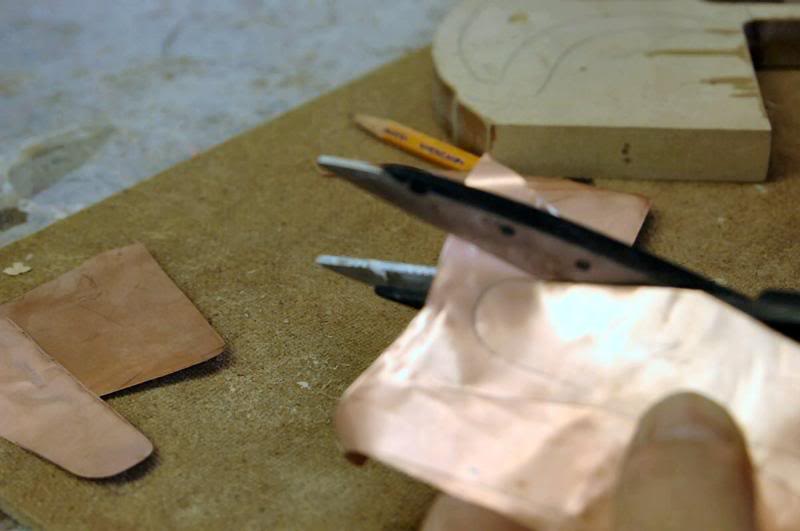
And cut em out.
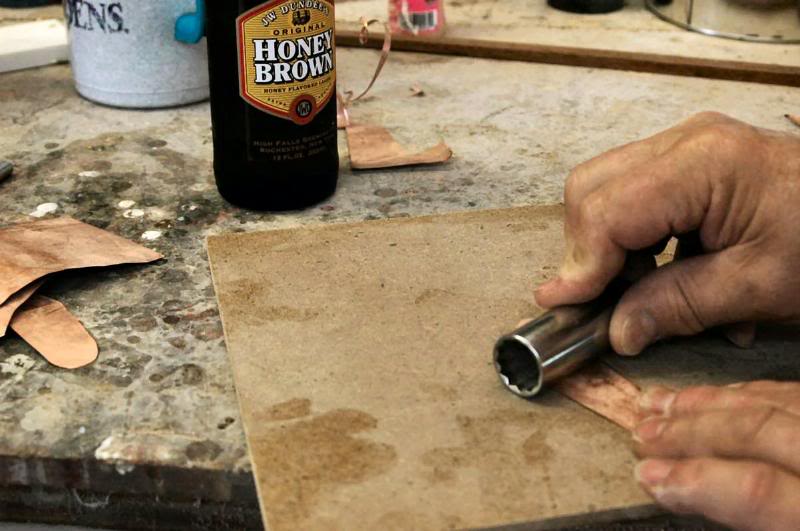
Once they’re all cut out, I smooth ‘em out with a socket. It’s hard, smooth and presses ‘em really nicely.
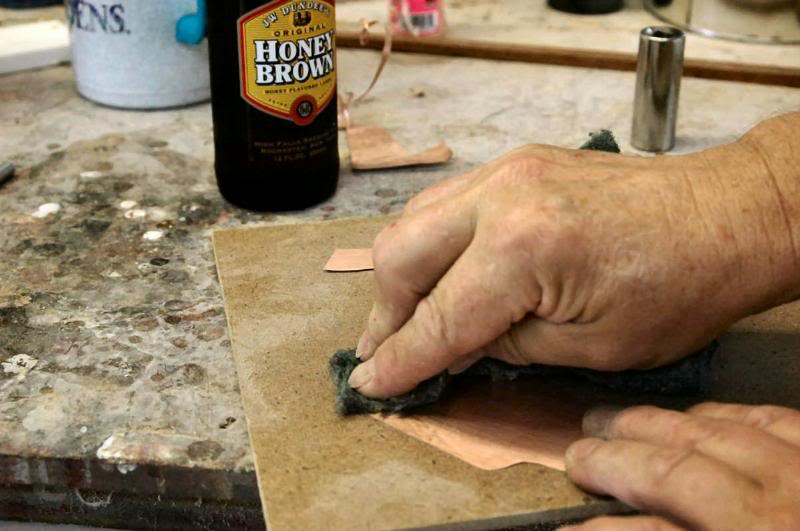
Now, I burnish it with a 3M abrasive pad, so when someone takes a peek, it looks nice ‘n pretty.
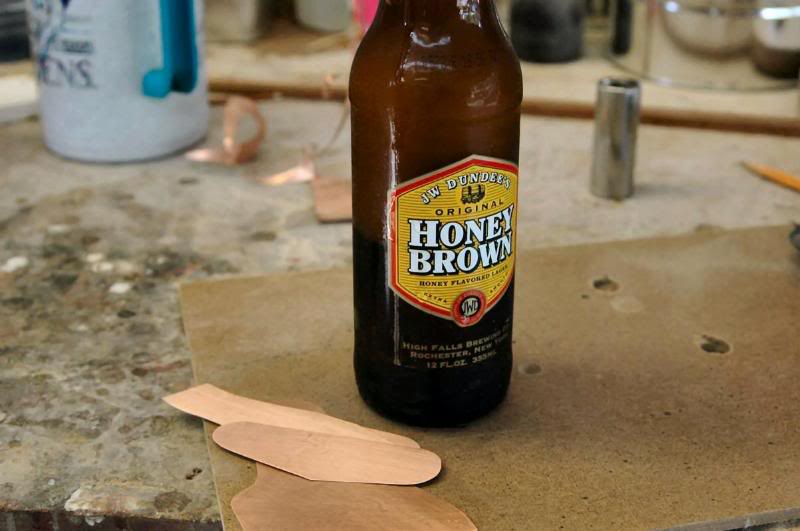
You should have 4 nice flat pieces, ready for insertion. I use plenty of “guitar assembly grease” too, seen here.
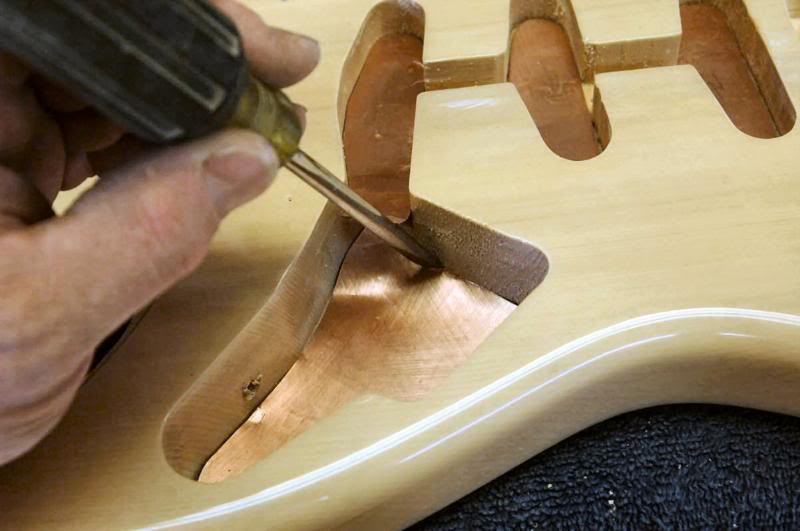
Now place them in the cavities, no adhesive required.
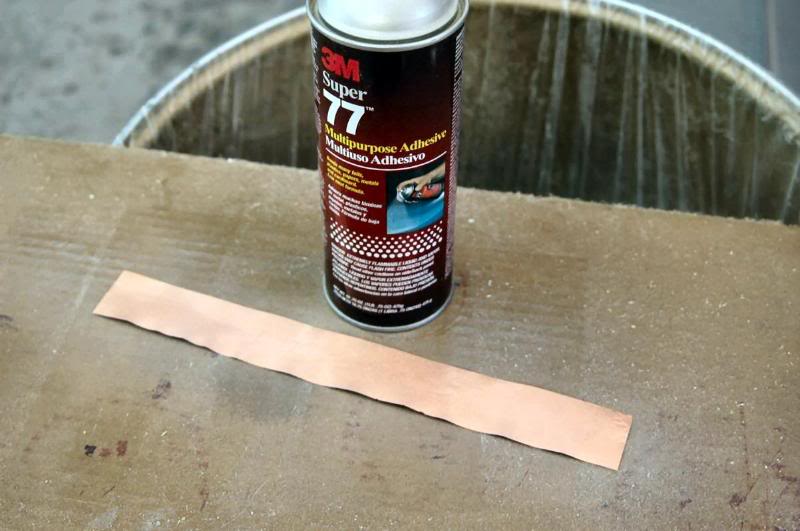
I cut a strip 1 ½ by whatever the width of the roll of copper I currently have is, flatten and burnish, and spray the back with 3M-77 adhesive.
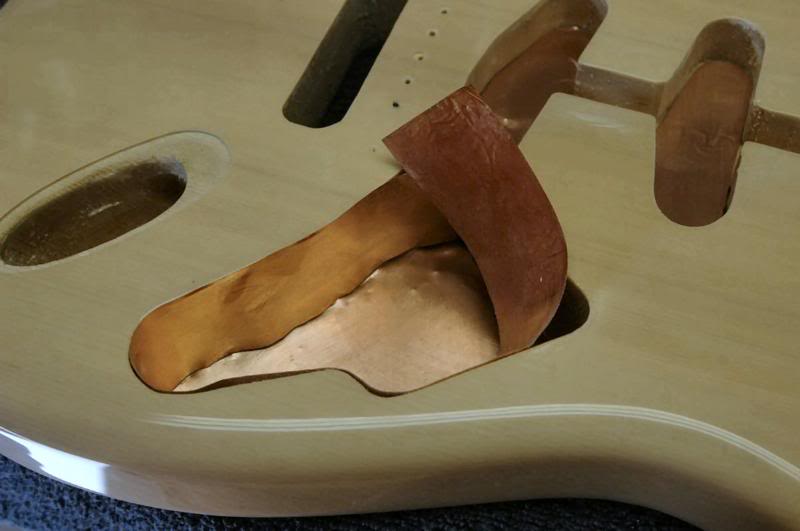
Now I carefully (it’s sticky as heck) thread the copper around the edge of the cavity. I press it firmly against the sides, first with my fingers, then do the corners with a hard tool.
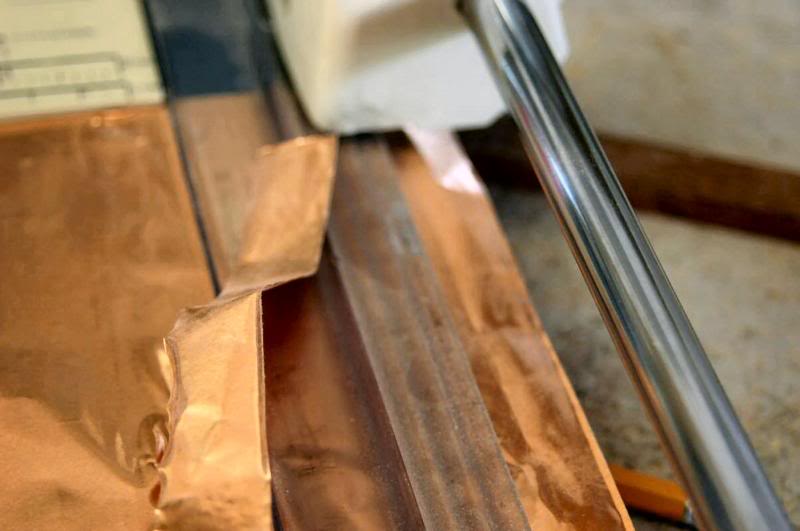
Now cut a few ¾ inch strips.
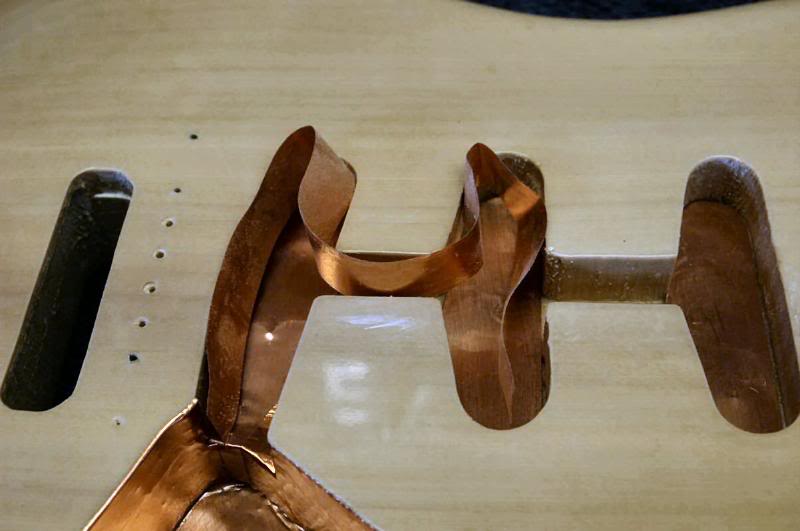
Press ‘em with the socket, burnish ‘em with the 3M pad, spray the back, and thread ‘em around the cavities.
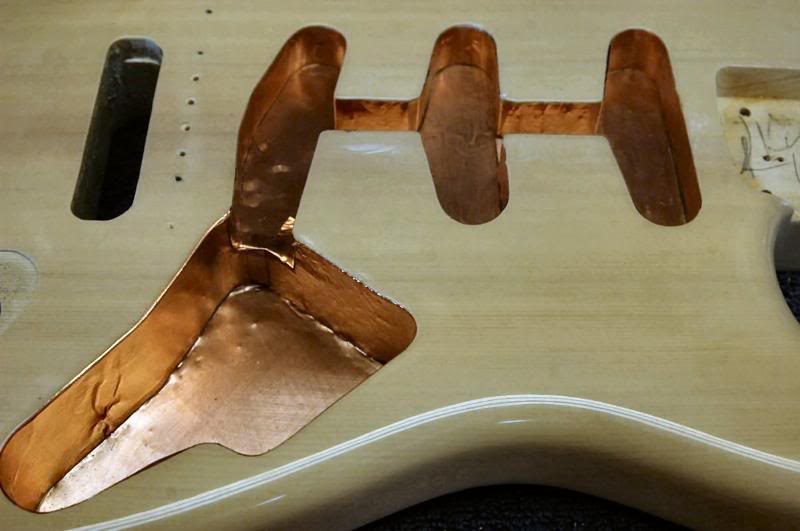
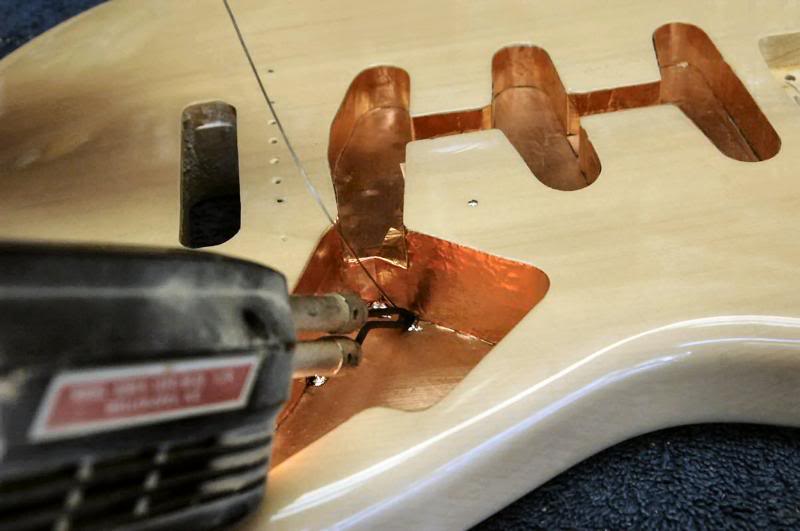
I begin soldering in the electronics cavity. IMPORTANT - quick fast heat here. The back of the guitar is only about 1/8th inch away. Go nuts with the solder gun, and you will also go nuts when you flip it over only to discover burnt, bubbled lacquer. So small dots about an inch apart, and be quick about it. If it doesn’t catch the first time, move on. Do another section and return when it has completely cooled.
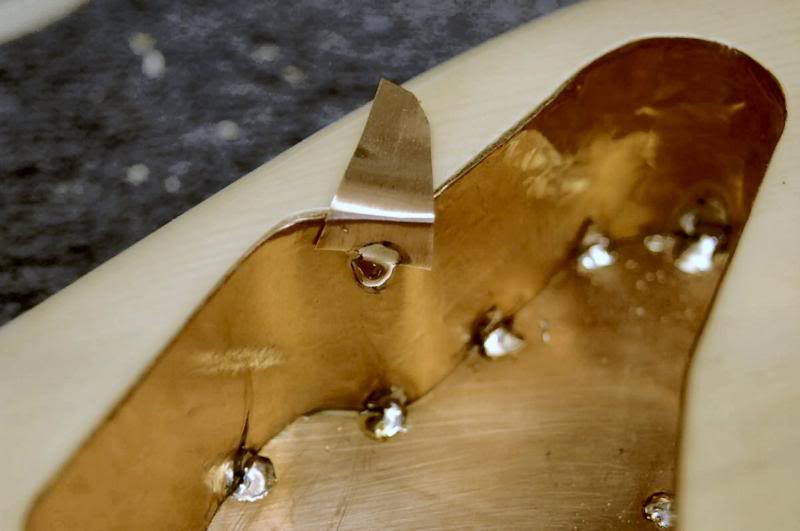
Go all the way around. I add the little tab to make solid secure ground contact with the pickguard shield. I’ll trim it later.
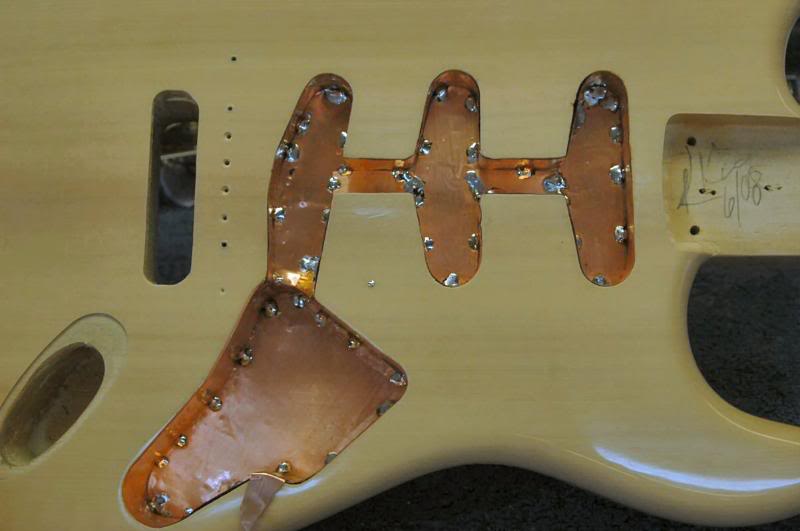
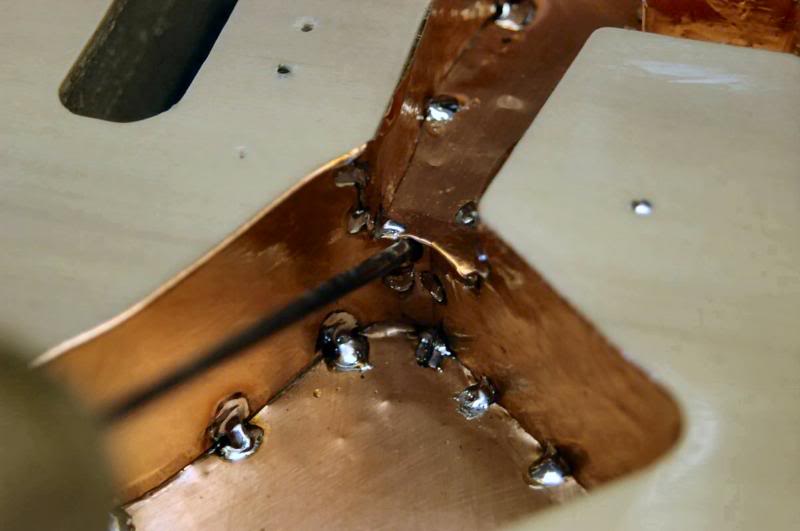
Then I go back with an awl and open the wiring access holes, one through to the spring cavity, and the other to the jack plate cavity.
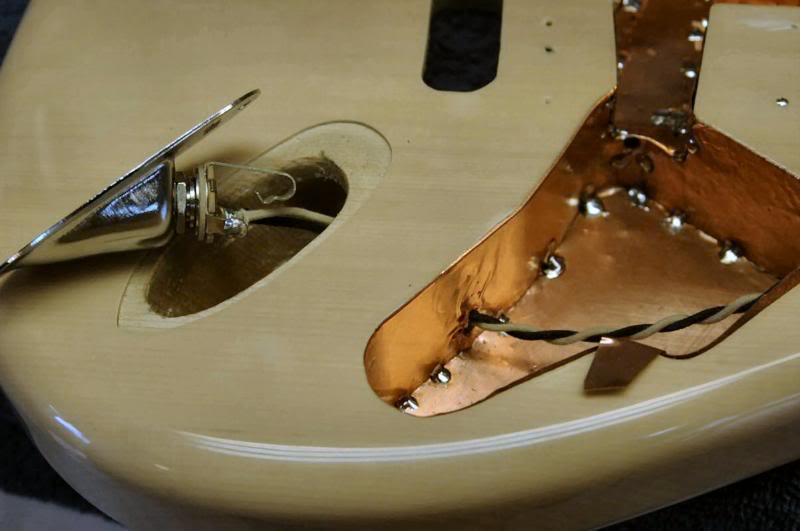
It is now a matter of assembling the parts. I begin with the Jack plate, thread the wires through the hole into the electronics cavity. I do not shield the Jack rout. It’s not necessary. Spiraling the wires as seen here accomplishes the same thing as using a shielded wire.
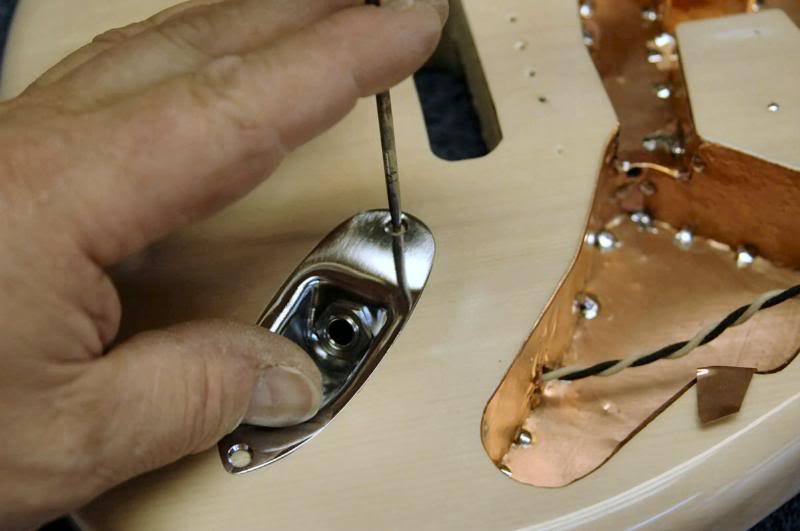
I take an awl and locate the start point for the screw. Remember, it’s recessed and I don’t want the countersunk screw off center shoving the plate into the edge of the recess… crack!!!! BTW, I forgot to photograph soldering the pickguard and related electronics, but I did that too.
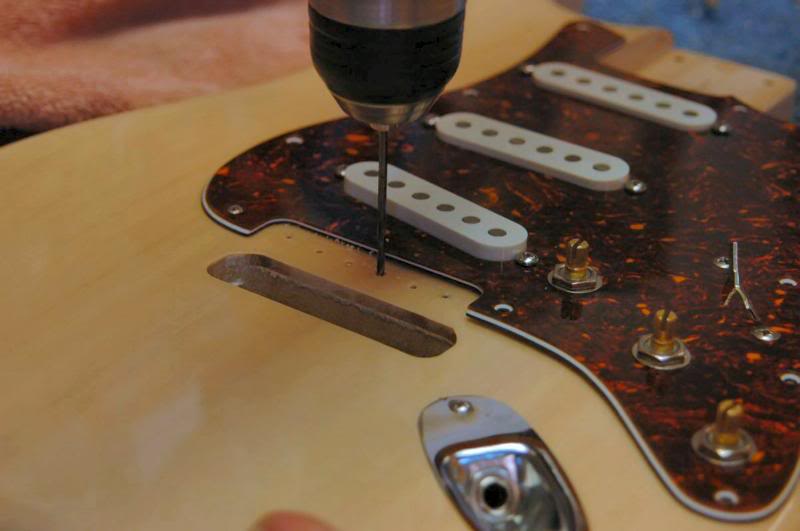
I’ll run in a screw or 2 to secure the location of the pickguard, then place the tremolo to be certain the “dimples” I cut earlier still bring everything into alignment. If good, drill the pilot holes, and countersink them slightly to keep the lacquer from chipping.
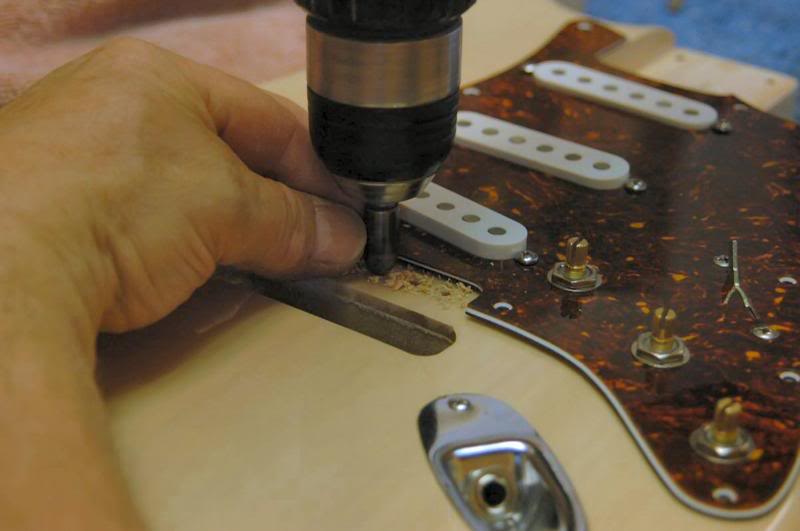
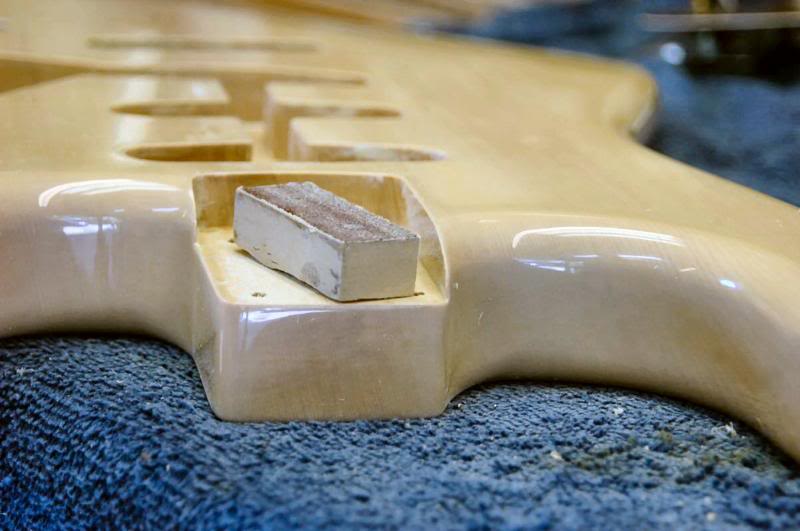
The little block is a piece of MDF I cut precisely square so the smooth bottom would ride the bottom of the neck pocket, and the edge with sandpaper attached would cut the width exactly at 90 degrees.
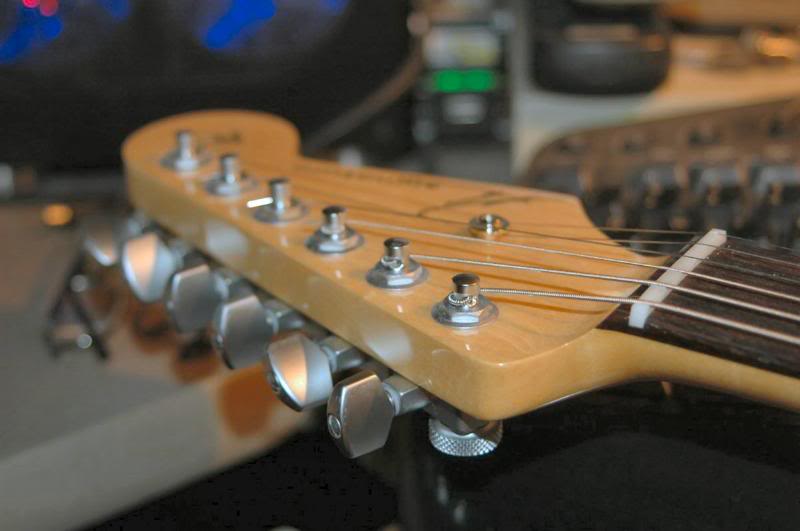
It’s finally time to string er up and convert it from a collection of parts, into a musical instrument.
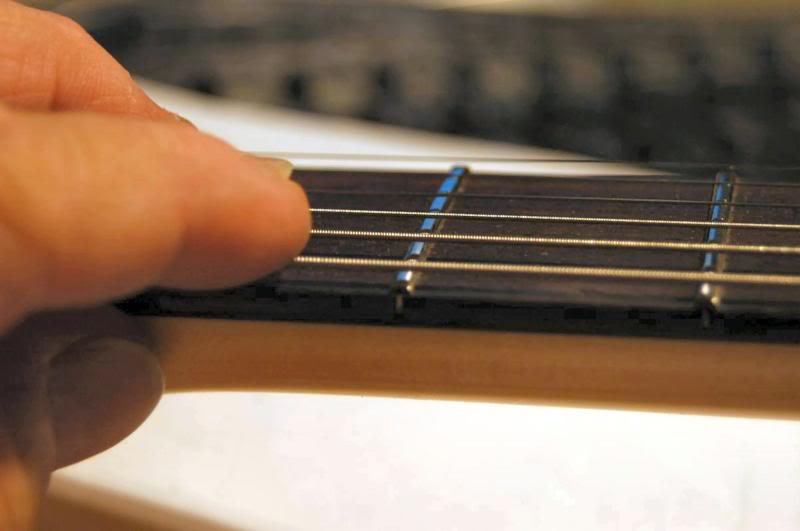
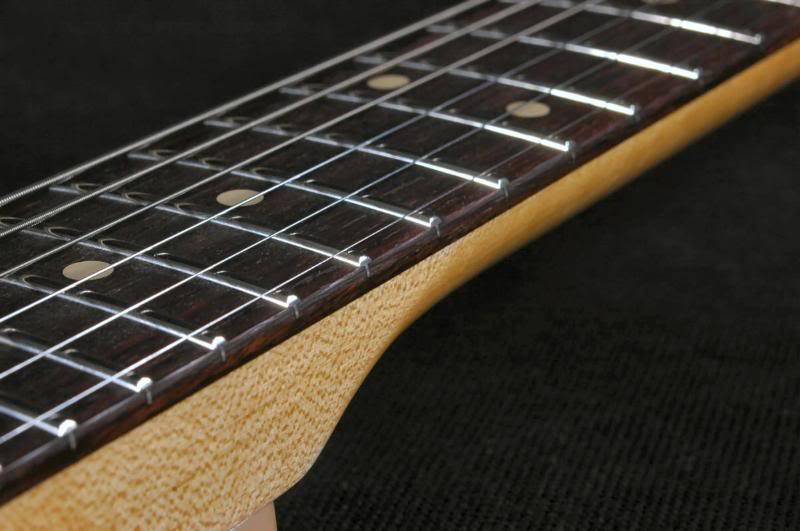
First thing I do is check the relief at the low frets.
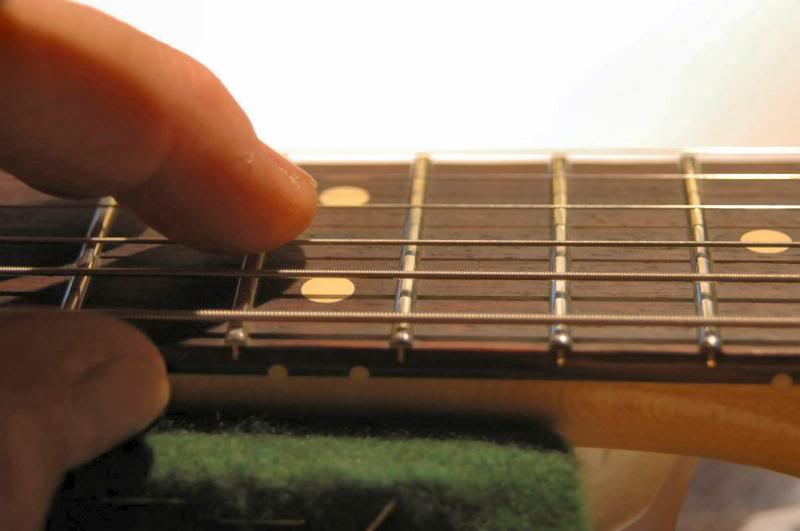
And check again.
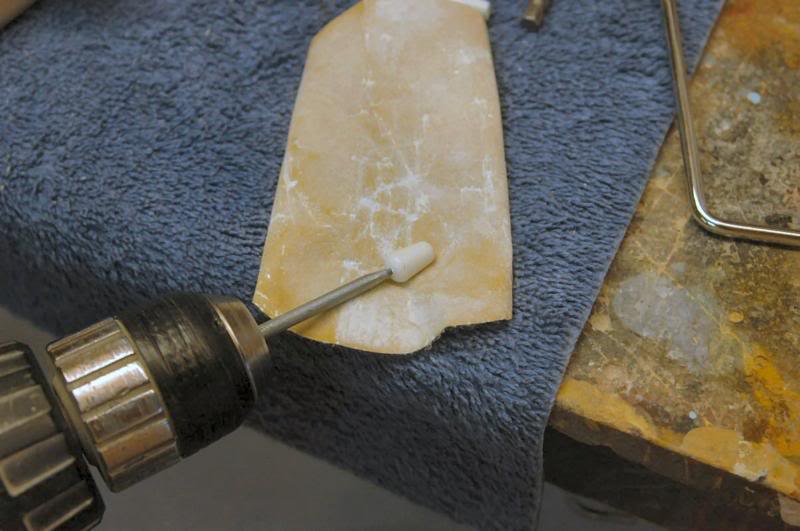
More details. Those cheap plastic parts, even on the 6000 masterbuilts just blow my mind. So the switch tip, with sharp mold lines gets worked. I put a dab of CA on it to hold the tip, then chuck it into a drill. I then hold it against some 320 grit, and while it’s spinning and watch until the casting lines are gone.
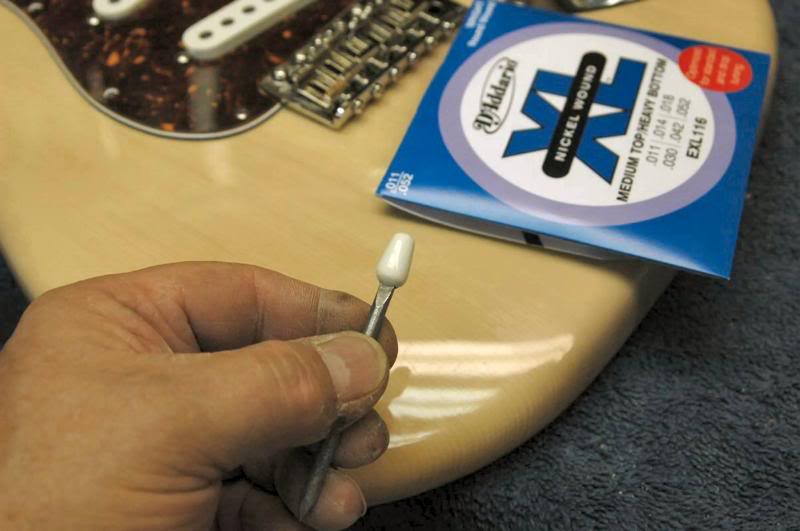
I then move up to 800 grit and continue until it has a nice matte sheen. Once ready, I’ll step over to the buffing wheel, on slow, and polish it. It now looks like ivory.
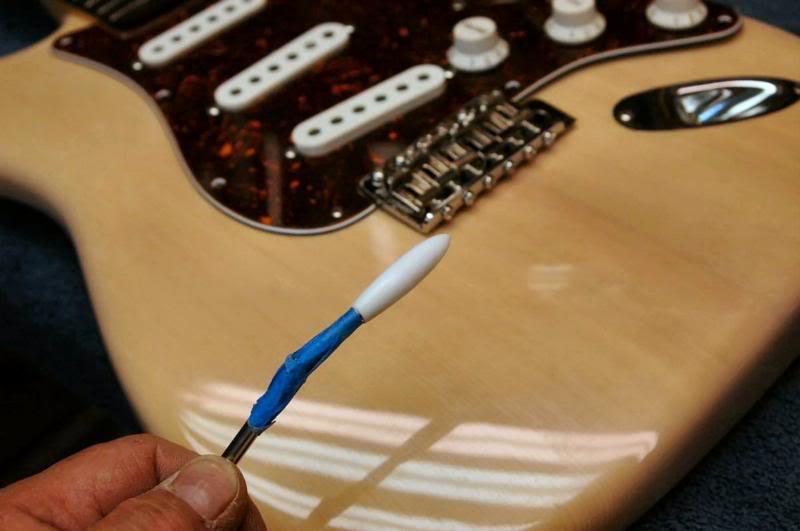
I normally remove the tip from the Tremolo arm too, but this is a Wilkinson Vintage, and it doesn’t seem to want to come off, so I’m not going to force it. Protect the arm so the sand paper doesn’t scratch it, then sand by hand, same grits, then polish. And ivory again.
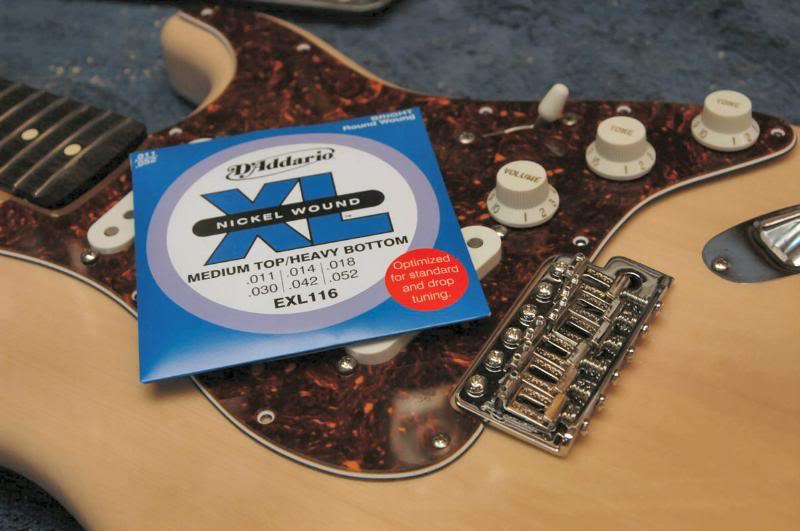
Now… I guess I’ll use D’Addario 11’s. String ‘er up. Want me to show ya that too? Nah… I didn’t think so.
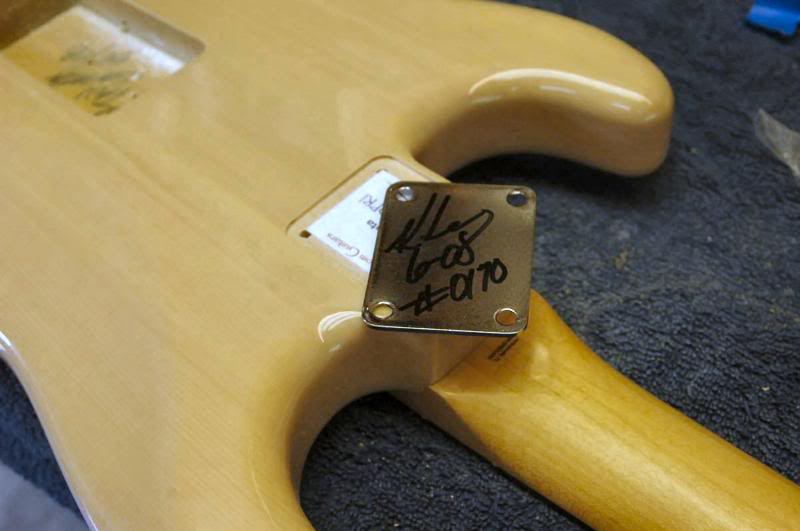
And I mark the back of the neck plate.
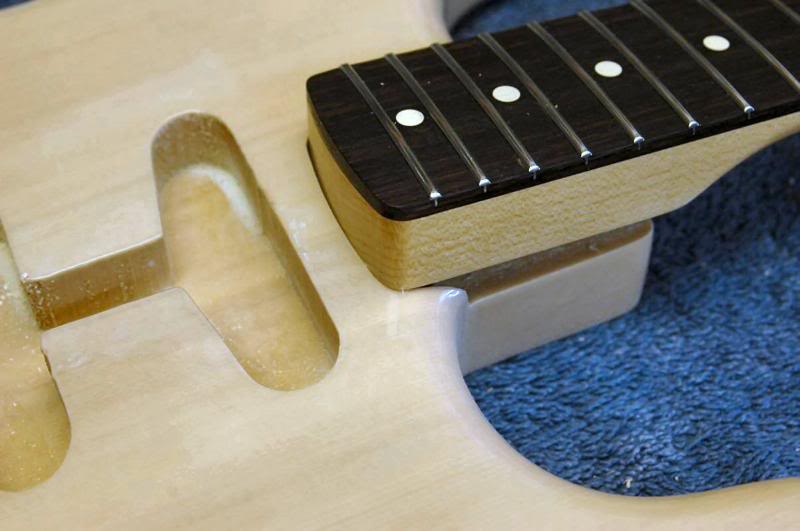
I’ll now check the neck pocket fit. Since I made the body while the neck was being made by Tommy (USACG) I couldn’t do this until after the fact. Necks can vary by as much as a 1/16th of an inch. But here it’s damn close, but the corner radius is different.
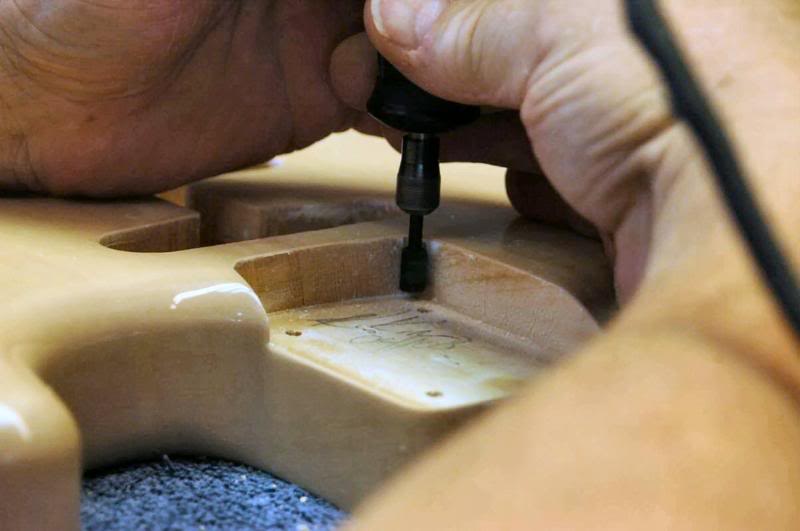
So I Dremel it…
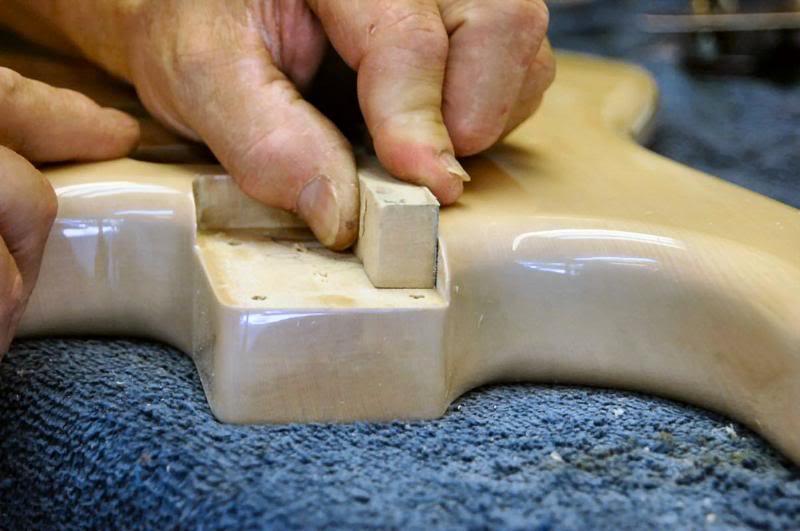
and sand the edges.
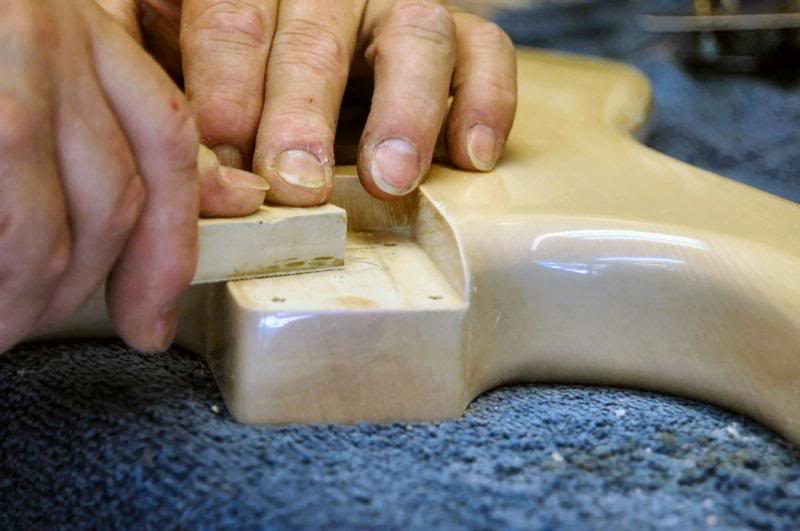
I also sand any accumulated crud, lacquer, whatever, from the neck pocket.
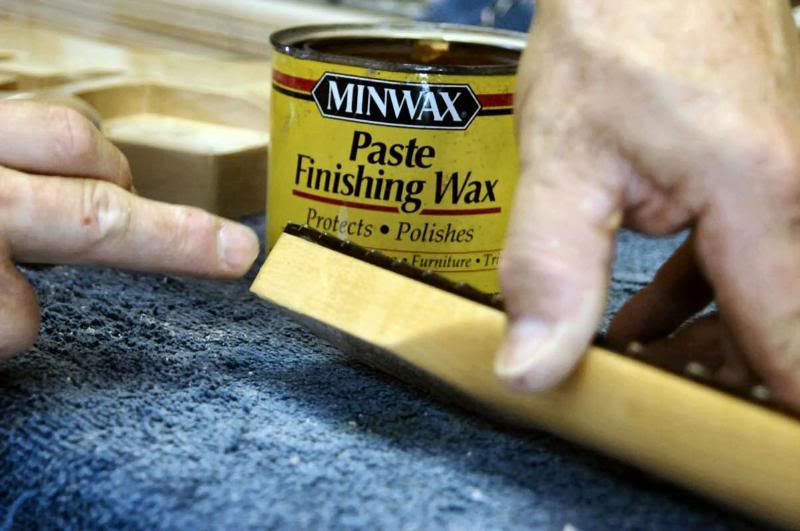
I then apply a liberal coat of paste wax to the neck and neck pocket walls.
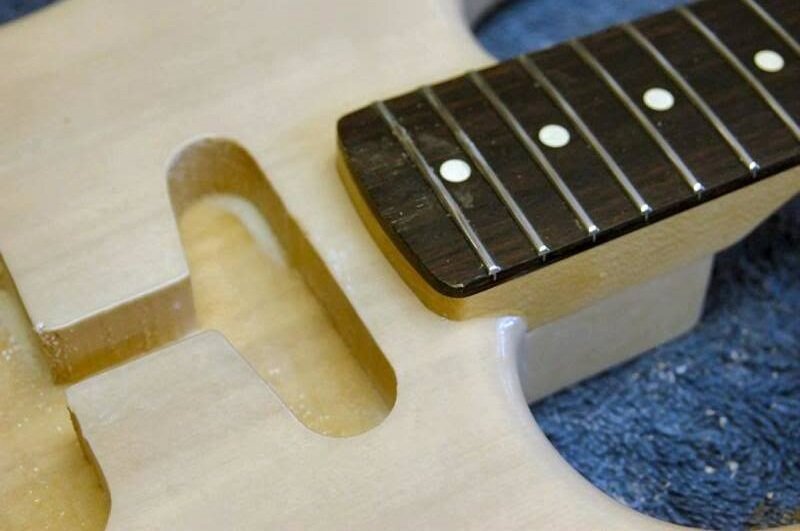
Then slip it in. That is what a neck pocket and neck should look like.
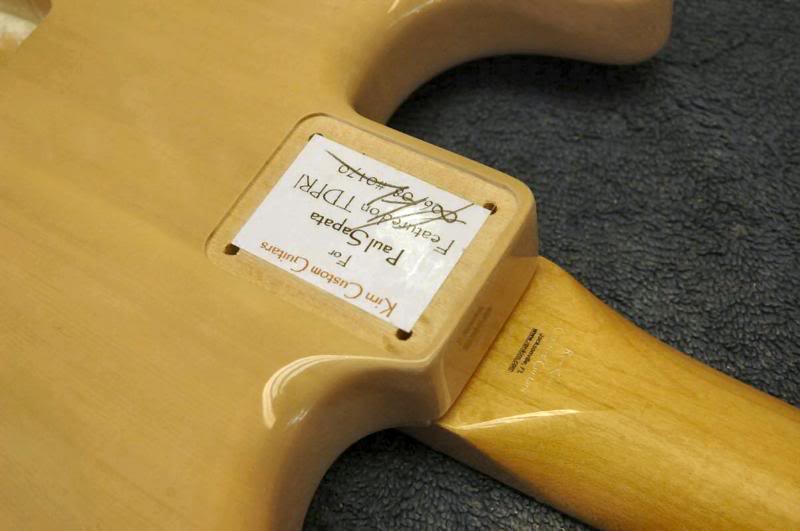
Now’s the time for any commemorative notations.
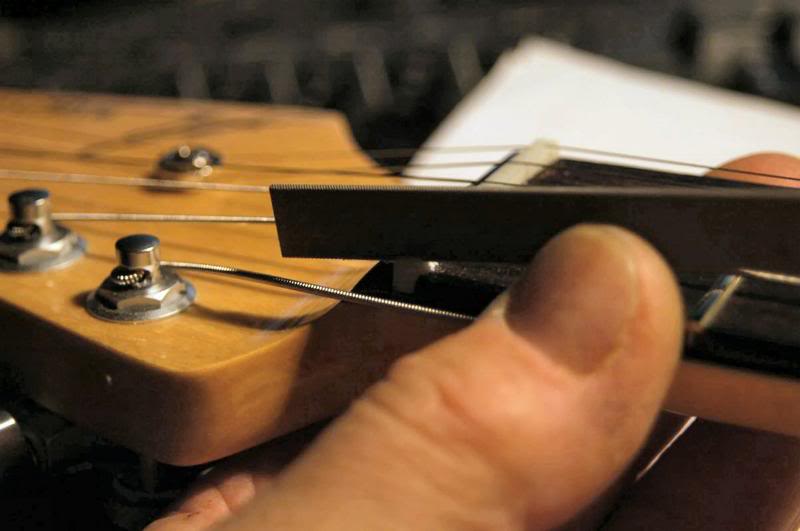
I now cut each slot to bring the action down to something close to playable.
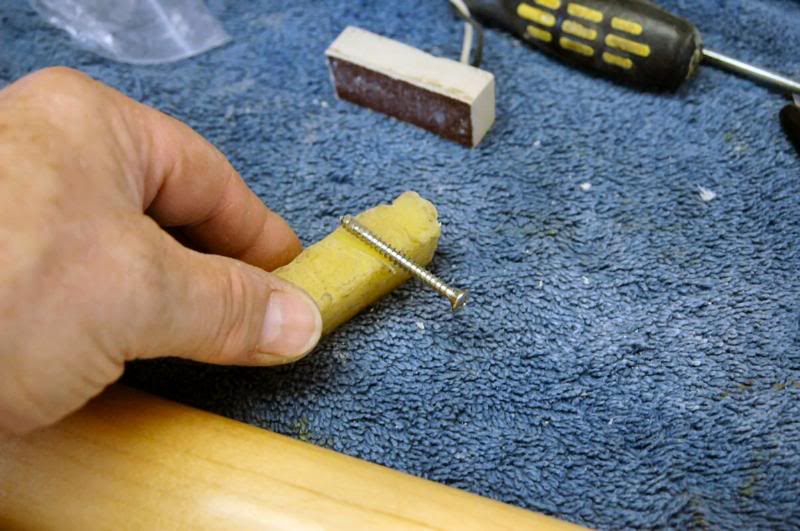
Add a bit of bee’s wax, and carefully run the screws in. As the heads come into contact with the neck plate, I watch carefully and gradually work the screws in, allowing them to work against each other, so they will seat perfectly center.
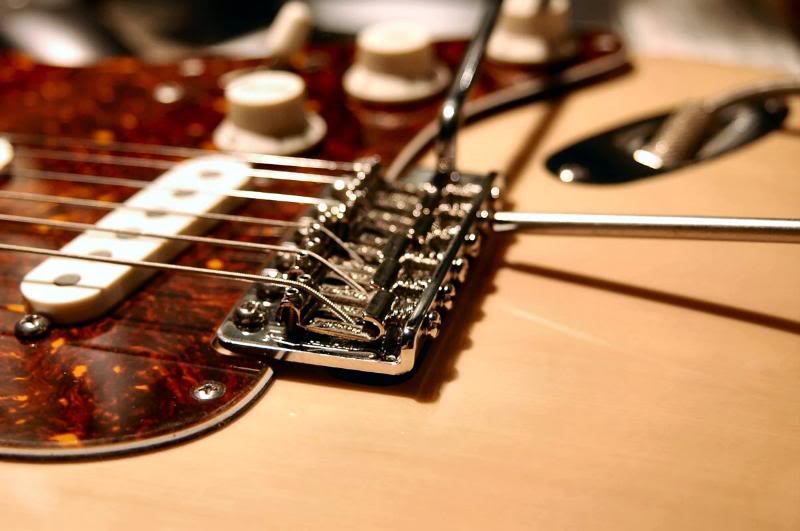
Now I’ll get the saddles dialed in, adjusting each until the action at the 15th is about 1/16 inch.
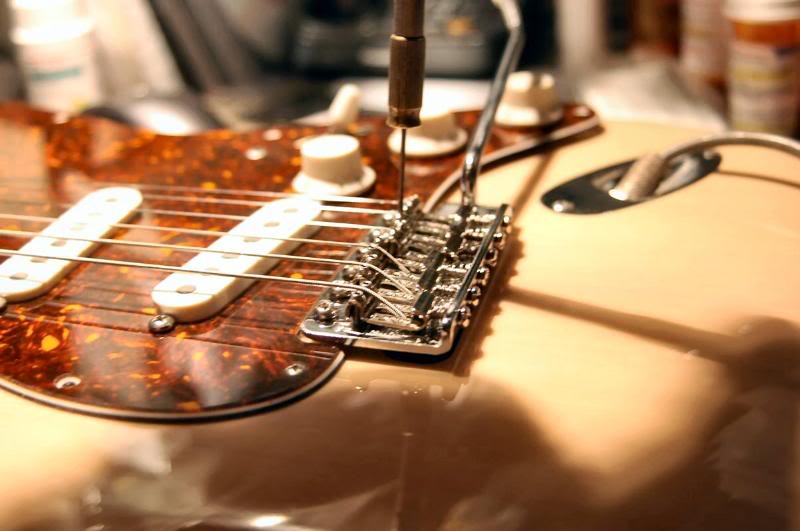
I’ll also get the intonation approximated. Now, just to be certain, I’ll fret the G 3rd at the 1st and 20th fret and check the clearance around the 7th or so, it should be a few thousandths, about the thickness of a business card. If not, adjust the truss rod, about 1/8th turn at a time. Now it’s a matter of going back and forth between the nut and the bridge, to get low action. Once I can play it with minimal buzzing at the height, I’ll raise it to real world action and call it done. Almost…
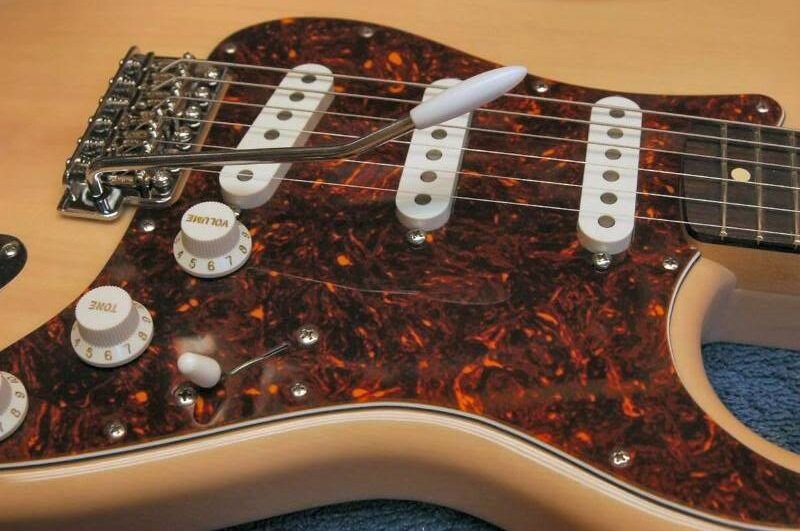
I tune ‘er up. Stretch the strings. Retune. Let ‘er sit. Retune. Then pick a string open. And at the 12th fret. And check the tuner, if flat, move the bridge toward the neck. If sharp, move it away. Retune, check again. And adjust accordingly. Do that on all strings. Check the tuner to ensure the note played on an open string is harmonious with the same note played at the 12th. I play the harmonics of the open notes at the 7th fret and again at the 19th. If it works, it’s good to go. Then I allow the guitar to sit at least a day, several if possible, to give the wood a chance to get acclimated to the tension of being under pressure. Then I’ll repeat the entire setup, fine tuning as I go. Ain’t no Pleck ever came back the next day and double checked.

Just a touch on each end of the slot, about at the location of the 2nd and 5th strings, and run a small line between them. That’s it. Slip the nut into the slot, clean any ooze that may squeeze out, and tune ‘er up.

For those arguing that a nut’s gotta be solid to make for “best” tone, get outta here. Tone schmone. The nut only comes into play tone wise on 6 notes. Every other note on the guitar has a finger and fret, or a slide, or a capo between the note and the nut. So if you have good nut material, and a lot of the junk too, you will be fine, and the nut can be removed with a mild tap to one end.

Just a bit more finishing, then I’ll prep her for her travel to her new life.

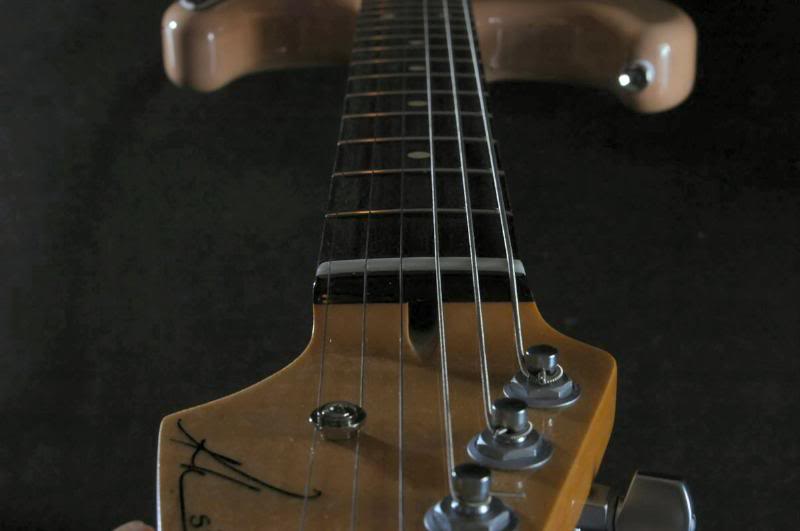
Once the guitar is properly setup, the nut slots will be way too deep. They should not cradle the string any more than ½ the diameter of the string. After I’m happy with the playability, I remove the nut (it has not been glued yet). If the slots are very deep, I’ll return to the small disk sander to rough it down to final size. Then I sand the top with 600 grit.

Then step over to the buffing machine and polish it (I forgot to take a pic). Once polished, I clean it thoroughly to remove any compound residue. Now, using my very exotic and expensive nut installation kit..

You don’t need to use the latest hyper strong adhesive to secure the nut. Someone, someday, might want to remove or replace it. I use wood glue, and a very small dab at that. I’ve had to reshape some necks and had to remove the old nuts. They were glued in with epoxy or CA, whatever it was, I darn near had to destroy the nut slot to get them out. That’s ridiculous. Wood glue is fine.
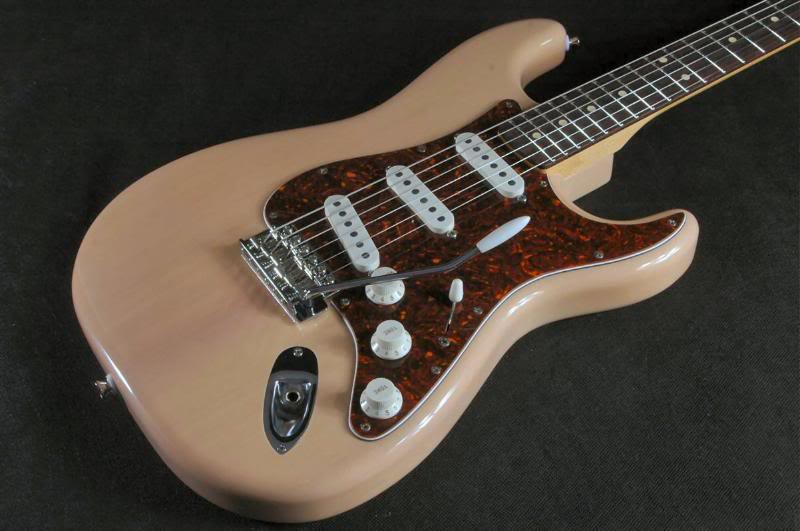
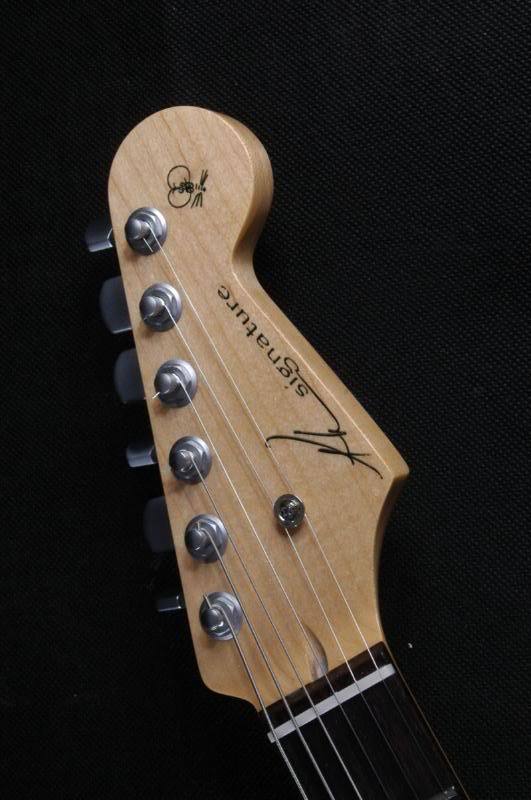
And this baby is done. That’s how I do it.
