Sunburst S-type Build
Part One - Shaping the Body
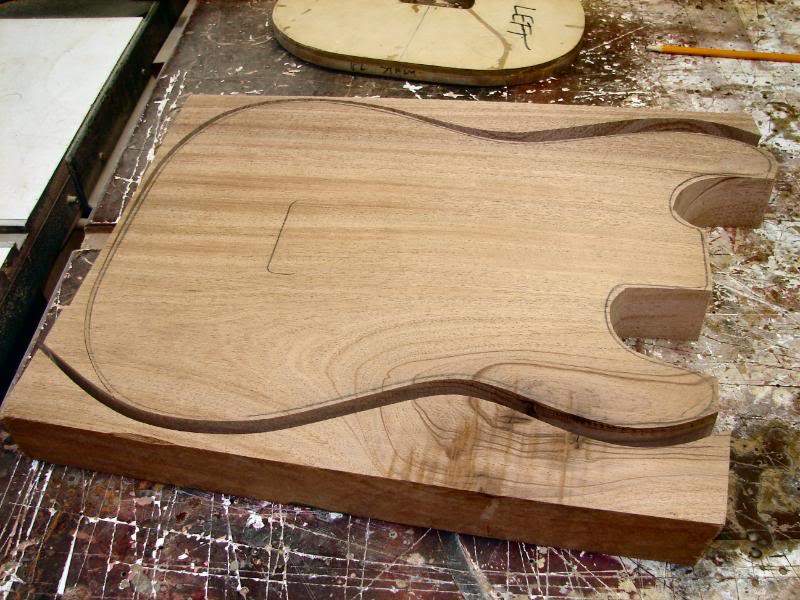
A one piece Mahogany, and well dressed S. I have taken a 13 ½ inch wide section of Mahogany. Planed it to the approximate thickness, of 1 7/8 then using the panel sander to take it down to almost 1 ¾. Use the template to trace out the rough shape and bandsaw, or jig saw a basic blank.
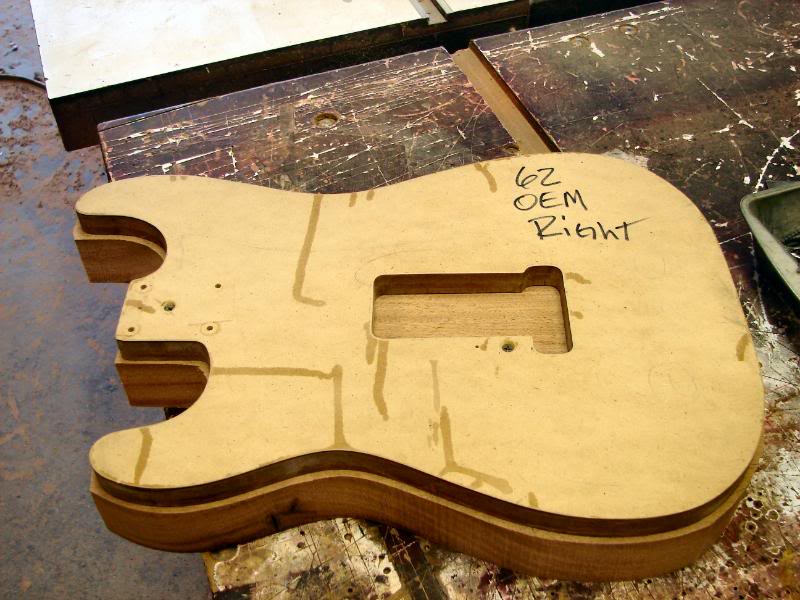
I now mount the template firmly. No tape. I use wood screws..long ones.
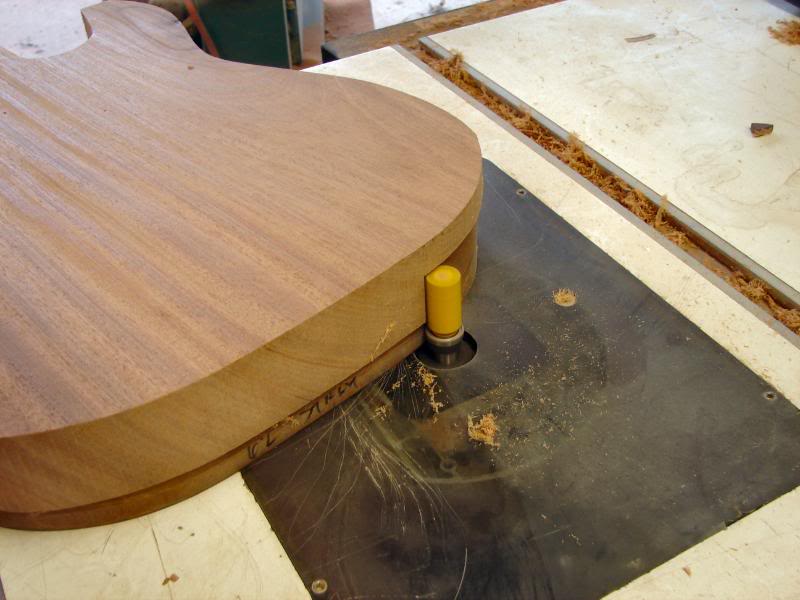
Then waddle over to the router table and rout. One side of the edge only at this time.

The reason I only do half on one edge is I want to rout the tremolo spring cavity while the template is mounted. I will also drill the neck bolt holes too. Once that is done I am through with that template.
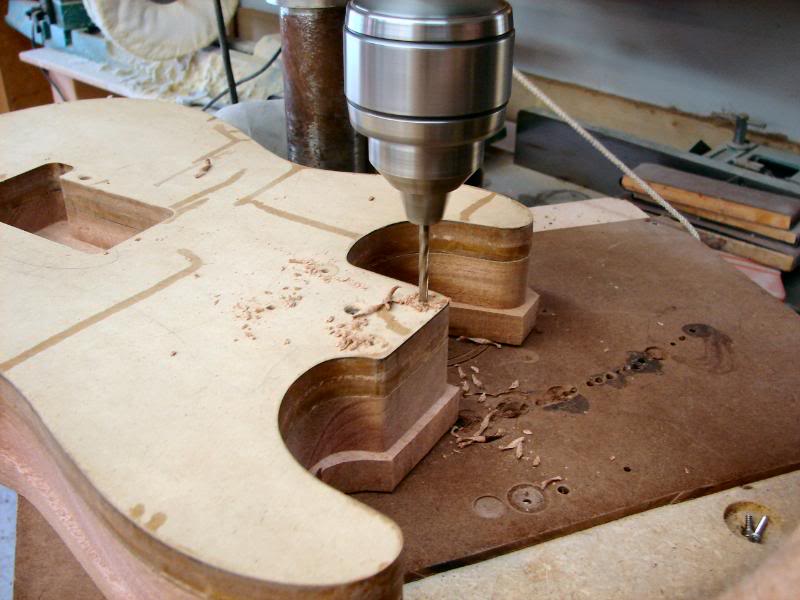
So first drill the bolt holes. Here’s where some err. Use a small square to be certain the table is at 90 Degrees to the drill bit. Otherwise, crooked holes and misaligned screws.
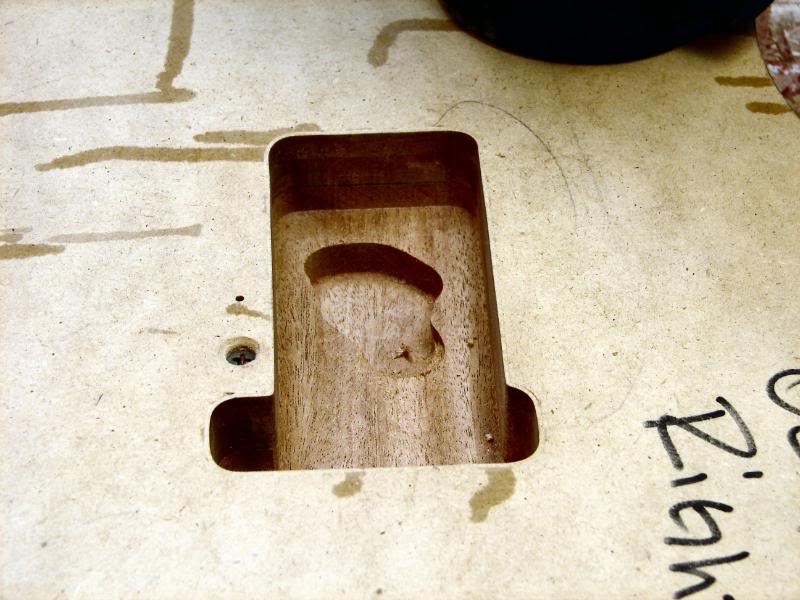
After that or before, whatever you feel like, do the tremolo spring rout. I do it in 2 steps initially. Once it’s ¾ inch deep, remove the template. Were done with it.
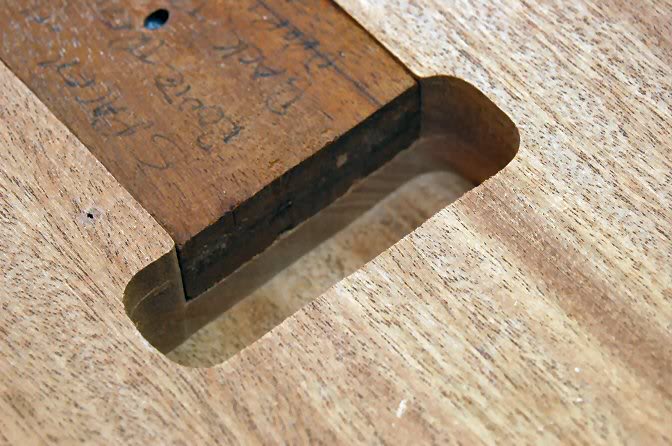
Now lets finish the spring rout. I place a block in the slot, and use a top bearing pattern tracing bit. Rout ½ of the remaining wood from the cavity.
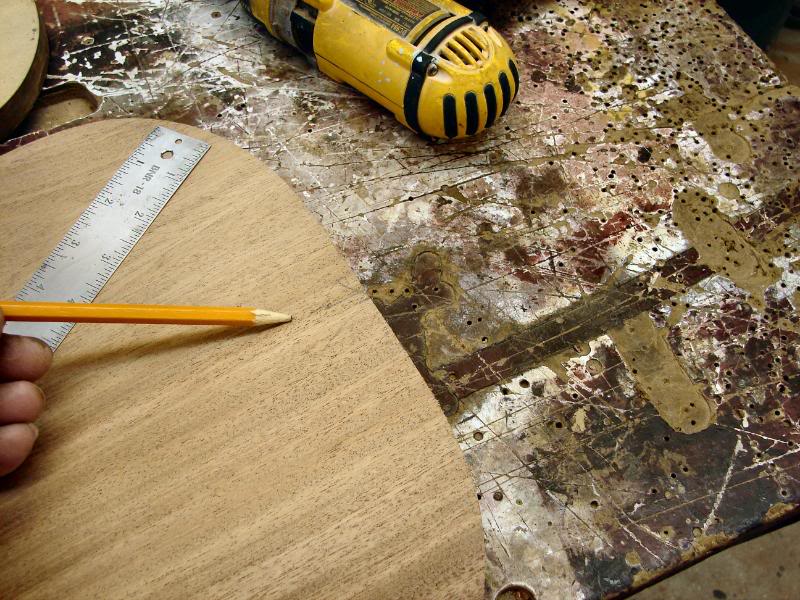
I indicate the approximate center of the body, because the contours of the Leo Fender years went beyond center.
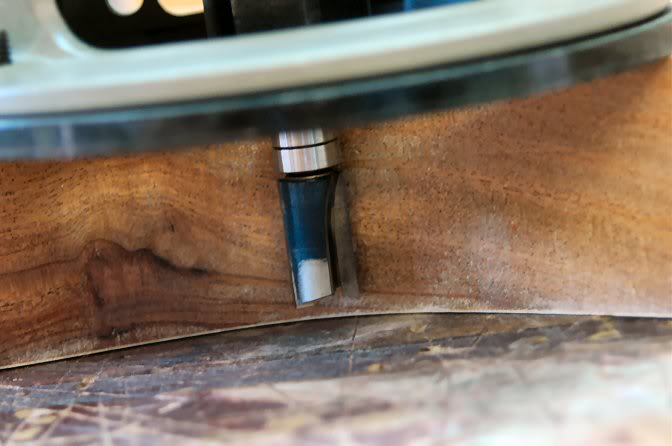
Then lower the bit to leave 1/8th inch remaining and rout the remainder.
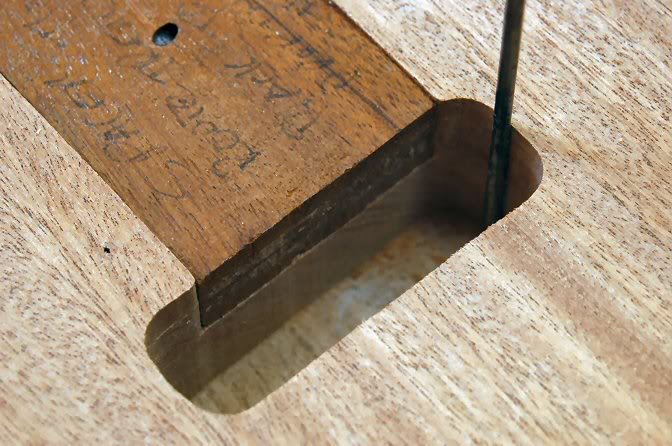
So now we give the tremolo rout one more buzz to leave the 1/8th inch remaining at the top. I use an awl to indicate the location of the lower rout, so I can be certain the top template is aligned correctly when I get ready to break through the top.
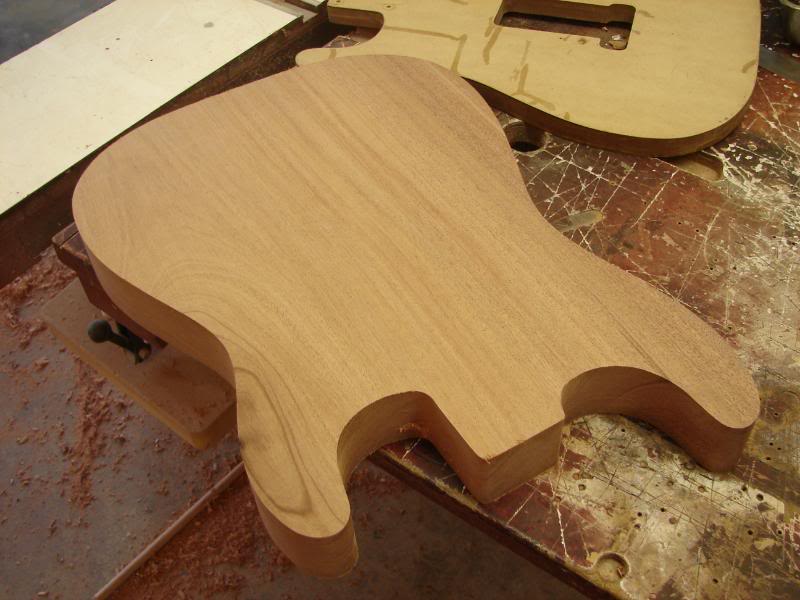
So here is where we are. This body will have a book matched Flame Maple Veneer applied, so first, I have to do the arm contour.
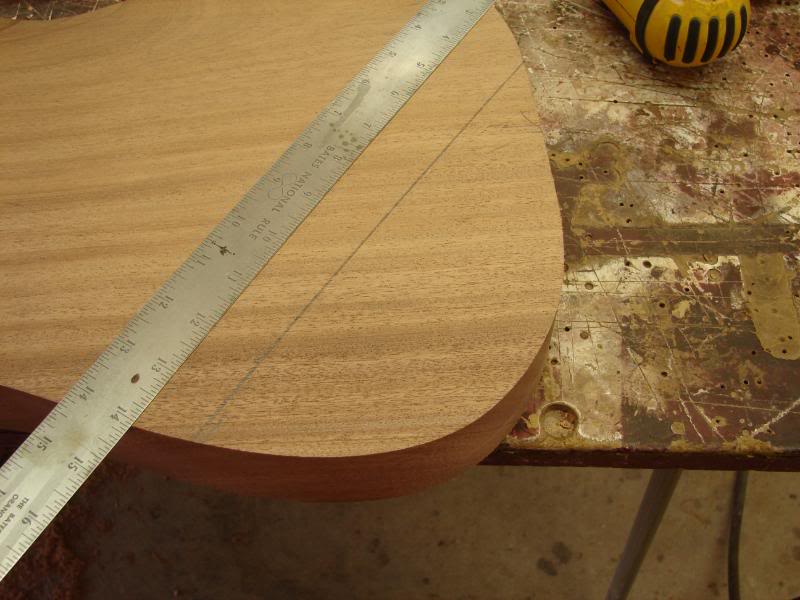
I indicate that approximate area I want to have the contour roll into the flat top. Remember, the contours are NOT compound. They are flat on one axis while rolling on the other. If you think of a large flat sanding surface, and held the body against it and rolled it only in one direction...that IS the way Fender did it in the real days.
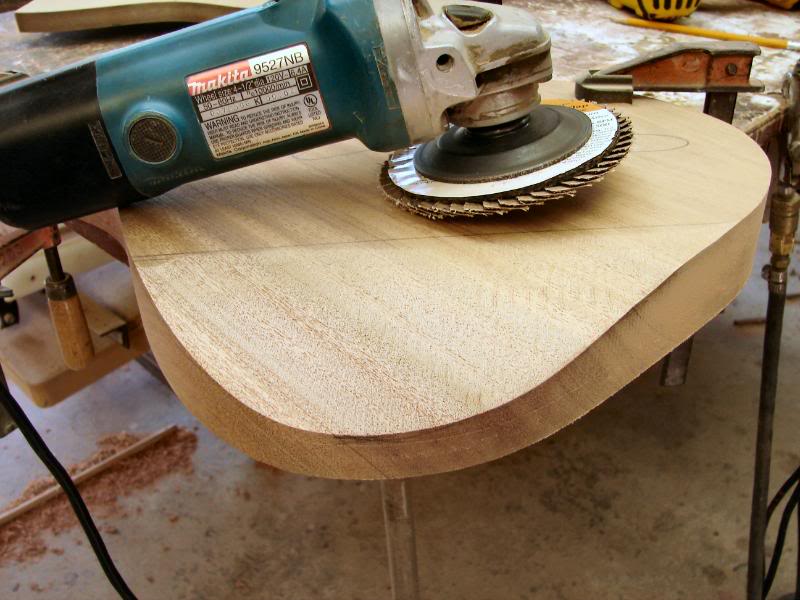
Now using a delicate, dainty little tool... it has a whisper little wirrr, I remove anything that doesn’t look like an S type body.
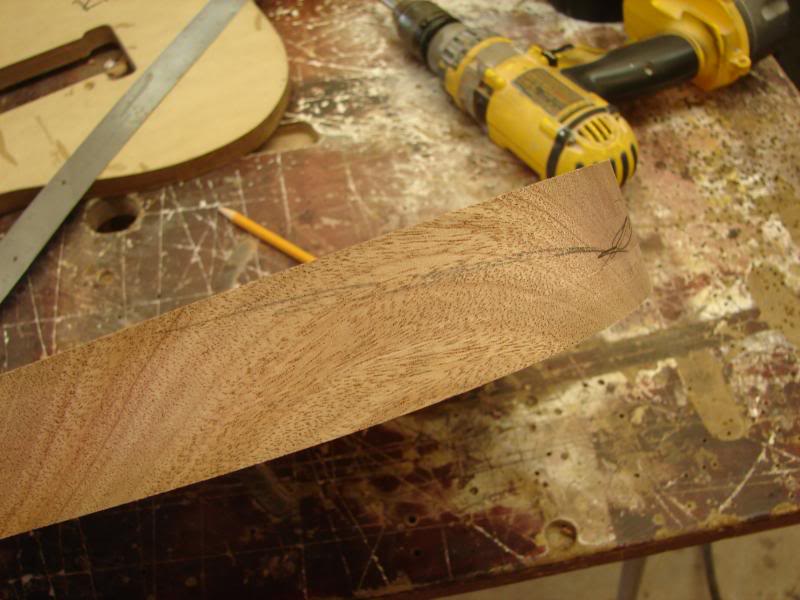
Oh, I mark the approximate place I want to stop. Taking wood off is easy, putting it back... not so much.
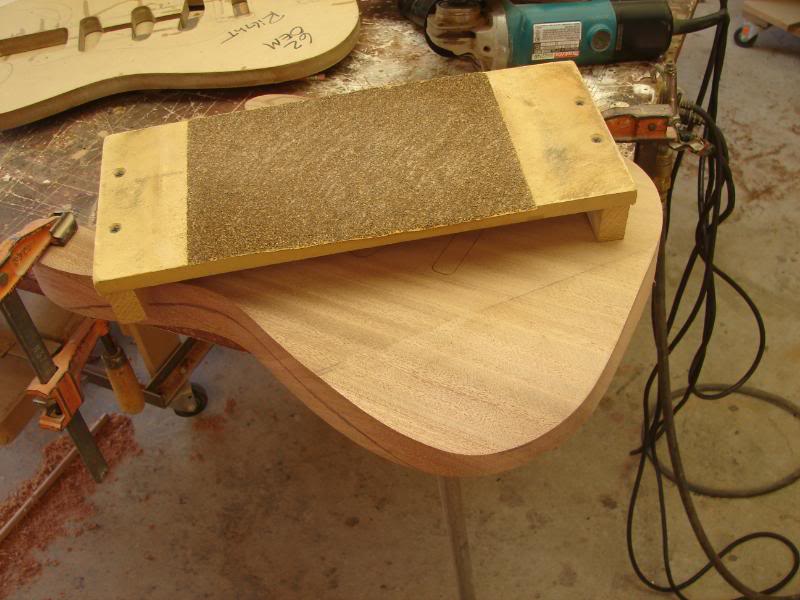
So once it’s roughed out, I use my high precision contour shaping tool with 32 grit.
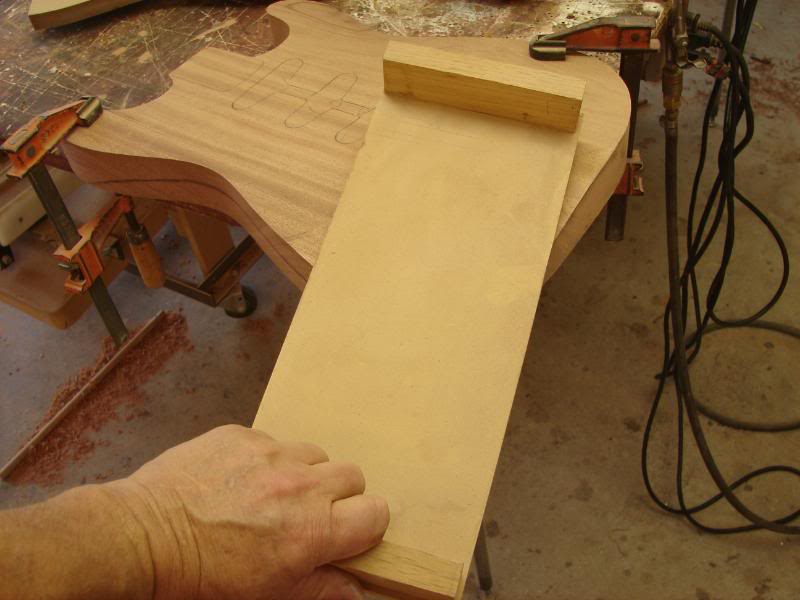
Using it as indicated, it only takes a few strokes to get it close.
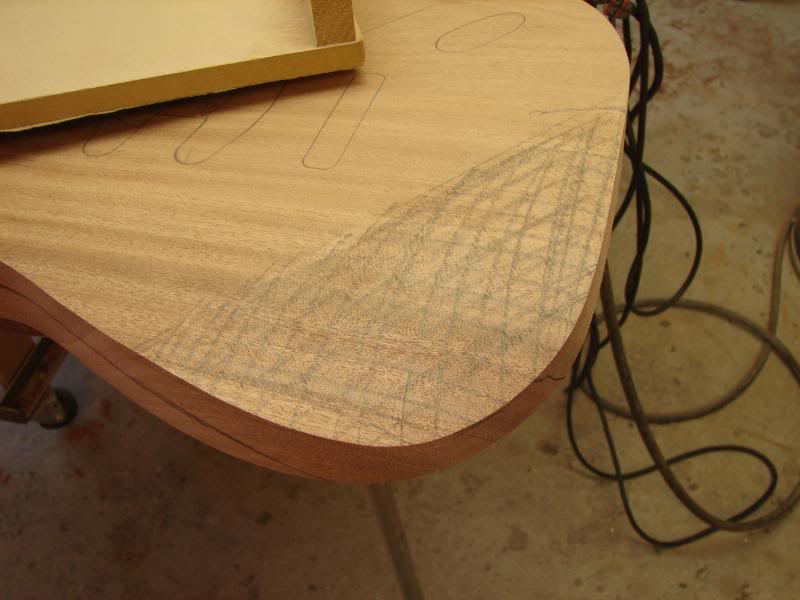
Now take a pencil and scribble all over the area of the contour. The pencil lead will indicate any high areas that haven't been sanded yet.
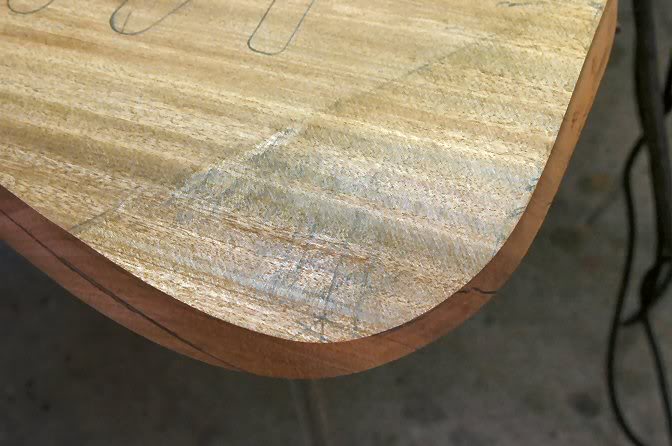
Now, continue sanding, watching the darkened areas as they disappear.
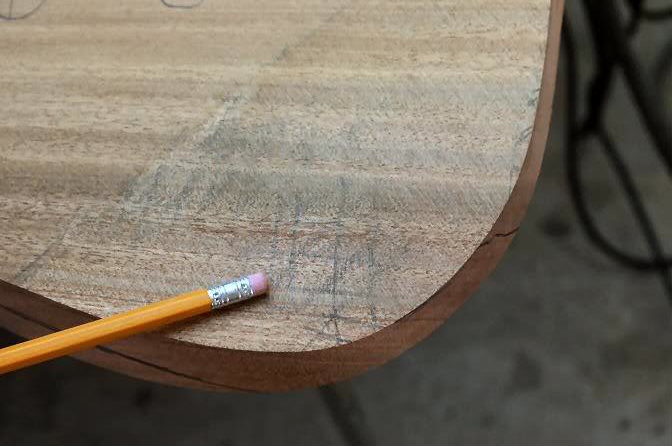
As I get close, I’ll change to a finer grade paper, about 80 grit, and continue until the darkened areas are removed, and the complete area appears evenly sanded.
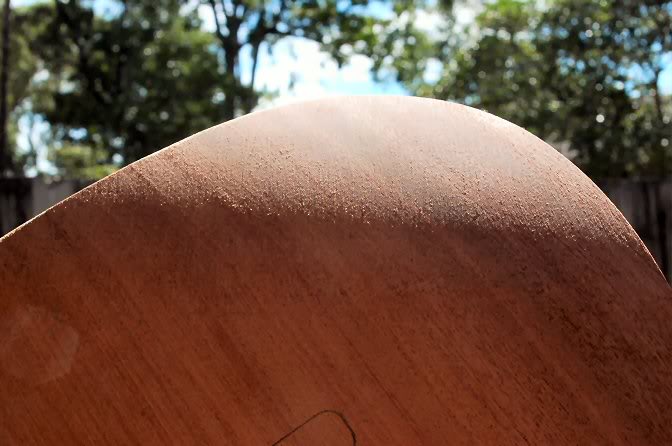
Now I use a tool I store 93 million miles away. It’s the best indicator you can find. The shadows will show any areas that aren’t evenly sanded and will reveal any lumps in the continuous roll of the contour.

Once the top contour it perfect, it’s time to move on. I select two sheets of Maple Veneer and begin matching it. Book Matched lumber rarely is, so you have to work with it to get the perfect alignment.
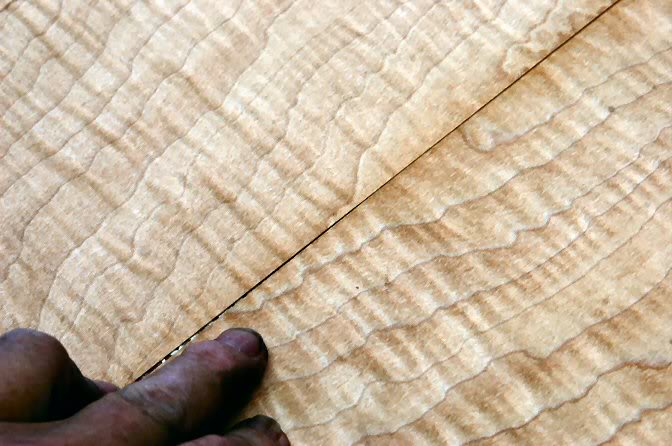
If you use them as they are cut, they look pretty good, but upon close examination, you can see some irregularities, so let’s fix it.
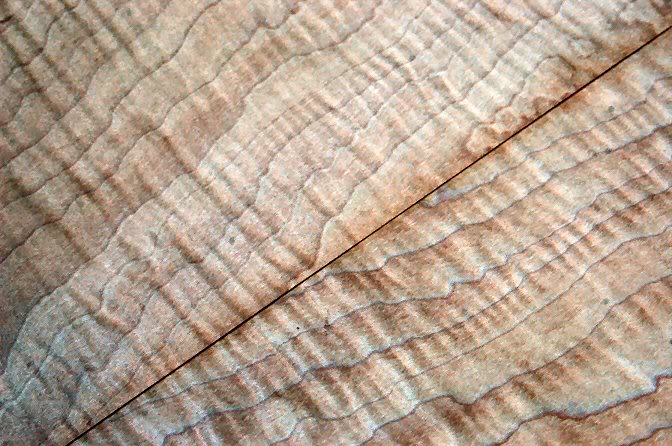
Adjust the veneer until you have a good pattern to the grain, and mark where the trim must be.
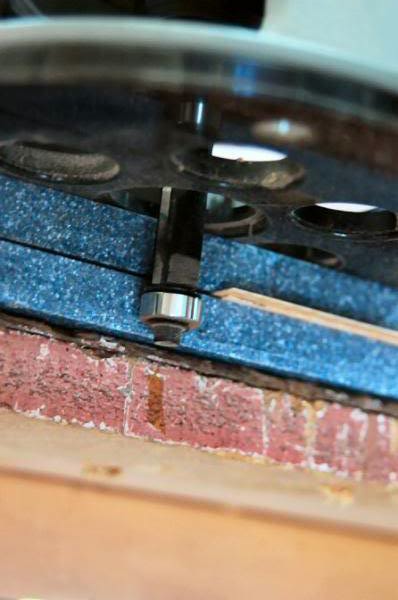
Align the veneers so the cut will fall down the lines made. I clamp it between 2 pieces of Corian with very flat smooth edges. And using the router, make the cut. This gives 2 perfectly flat edges.
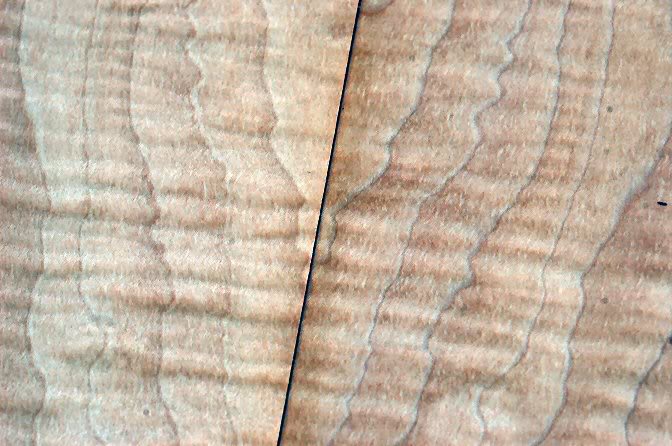
Before gluing, recheck the grain, and recut if necessary. Remember to consider what will actually be seen, by dealing with the small area a better match can be had.
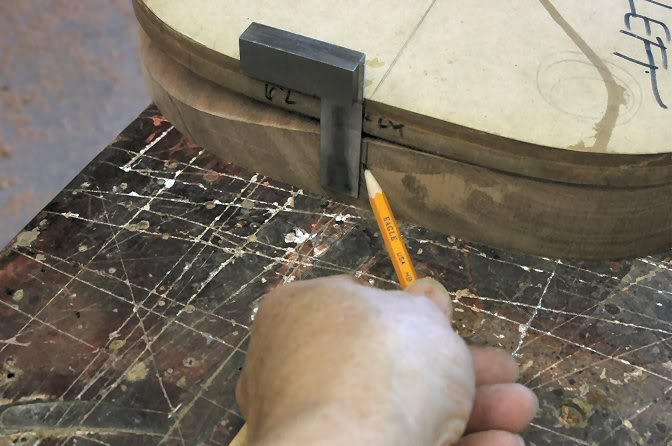
Don’t forget to mark the body’s center so you can see it once the veneer is applied.
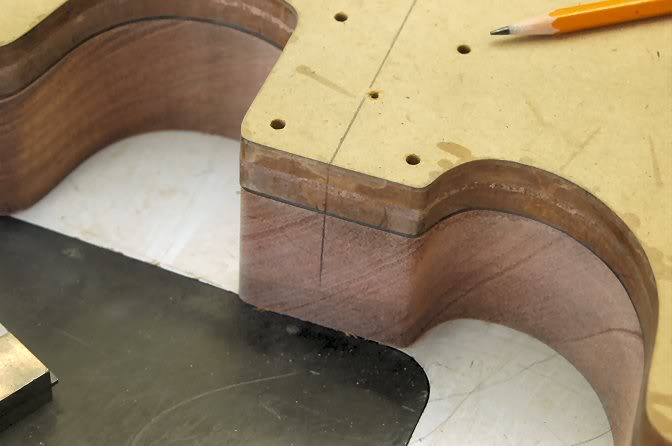
Mark the body's center on both ends.
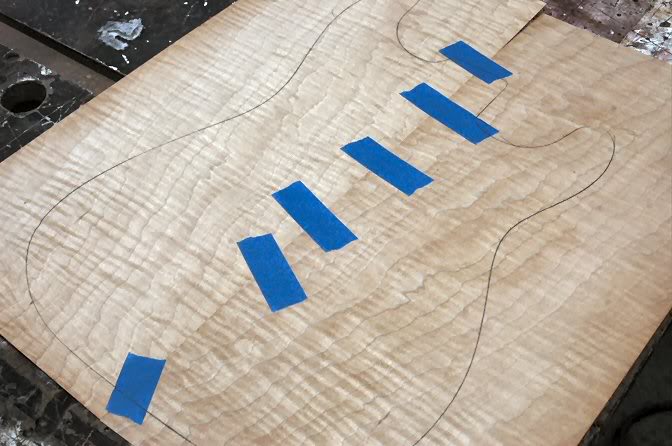
Now match the veneer’s edges and tape it into one sheet. Then rough cut the shape out of the veneer. Use scissors, X-Acto knife, whatever….
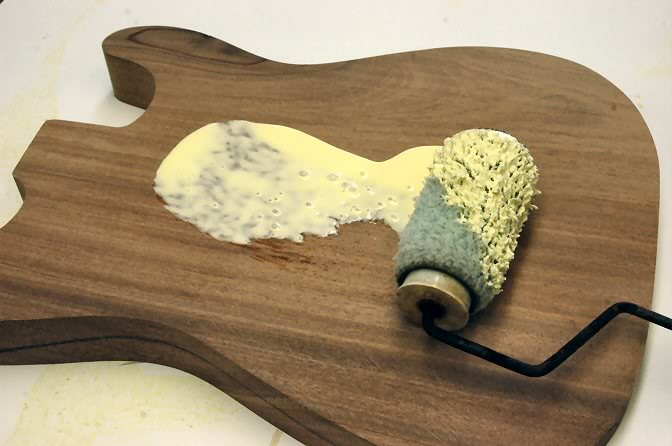
And glue it all up. I use good ‘ol yellow wood worker’s glue and a small paint roller. The secret to quality veneering is good complete glue coverage. I roll it on the body first, because it won’t curl up on ya, then on the veneer.
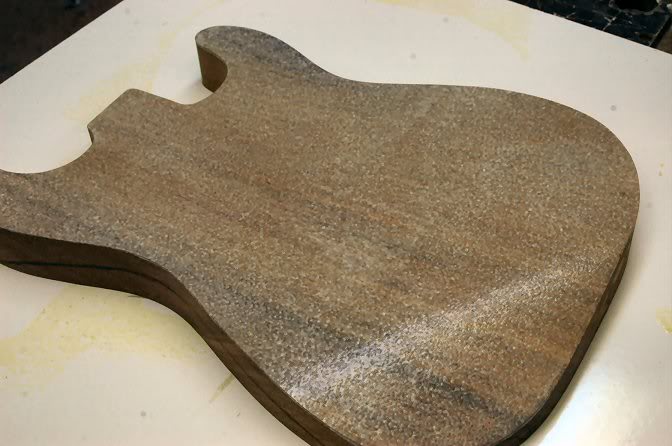
Note the even application.
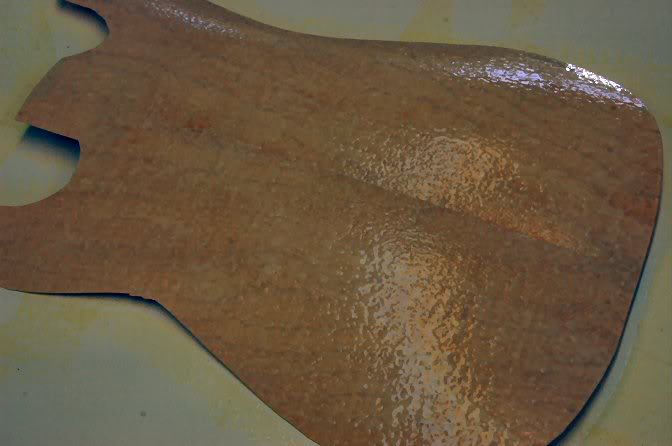
And on the veneer.
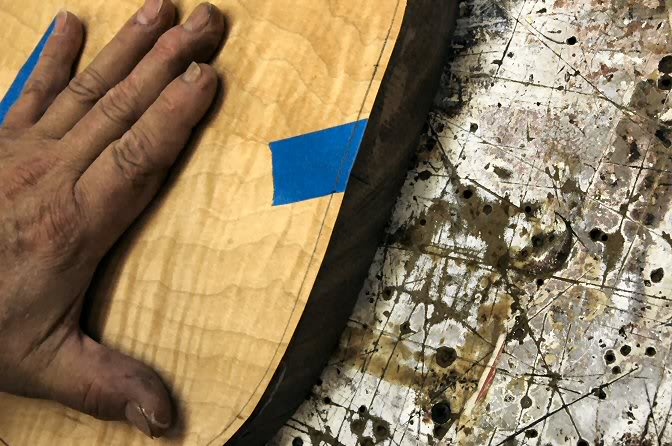
Now smack ‘em together aligning the center seam with the center marks on the body.
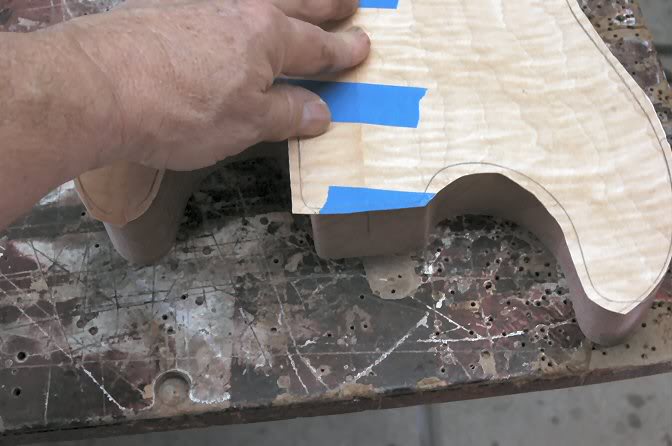
Now even consistent pressure is necessary. You can use vacuum presses, plastic bags and a vacuum cleaner… or clamps….
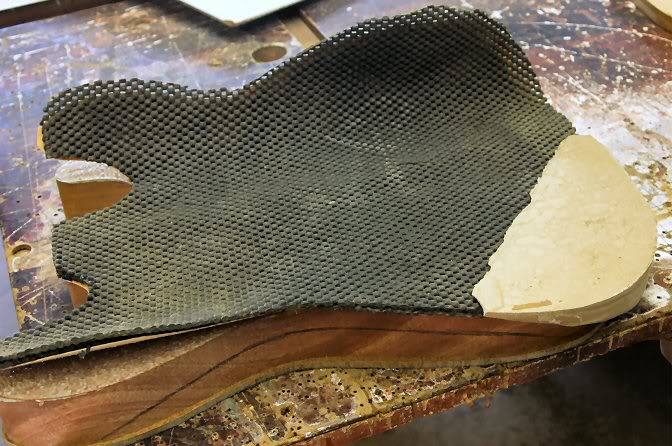
My choice, apply a couple of pads I cut from “Non Slip” work table pads. You will notice the “block” I have made to take up the void left by the curve of the contour. To make it, I took a body, put down a sheet of plastic and filled it in with Auto Body Putty, let it harden and shaped it so the top would be flat with the pads. The pads are about ½" thick so they take up any inaccuracy as the filler block is used with other bodies.
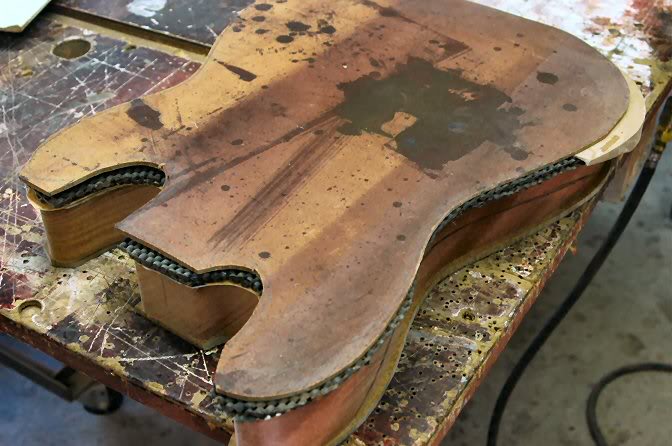
I now put a top plate on the sandwich, this is Masonite.
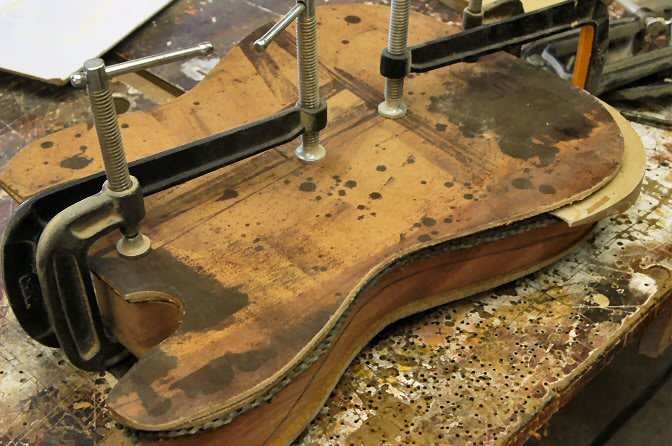
And begin clamping. As you are clamping check and re-check to be certain the center doesn’t drift off center. Wet glue is slippery.
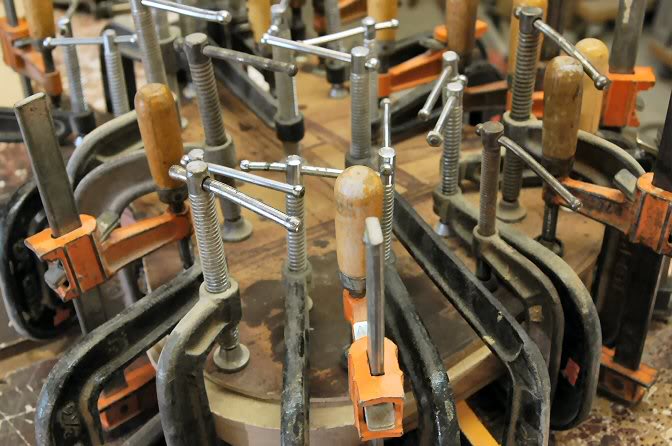
Only a few clamps are necessary... Then let it sit overnight.
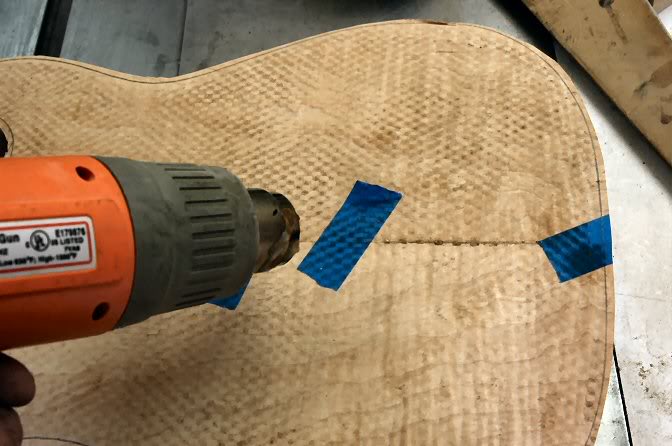
It’s pretty ugly at this point, but take a heat gun, hair dryer, or whatever to soften the well stuck tape and remove it. The heat allows the adhesive to release without pulling fibers or worse, chunks out of the veneer.
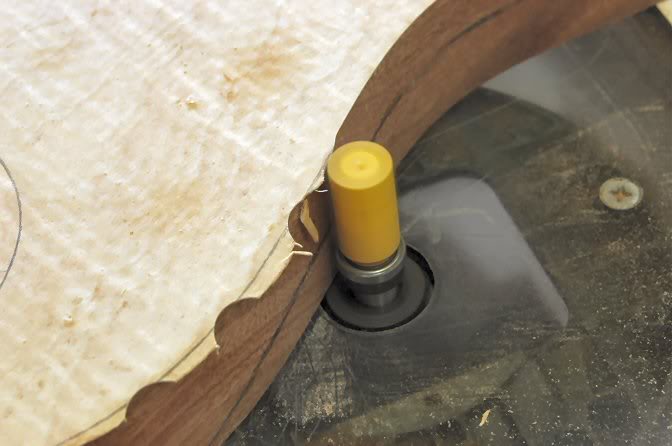
Now to the router table to “clean” up the edges. Note that I have taken little “bites” out of the critical areas to reduce the chance of chipping the veneer.
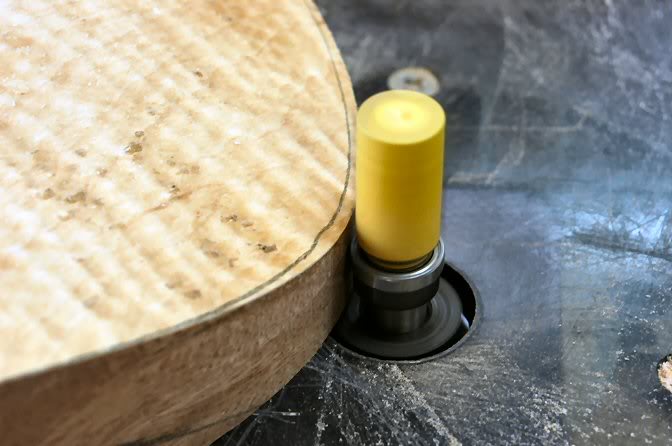
Just be certain the router bit is set to allow for the different heights due to the forearm contour.
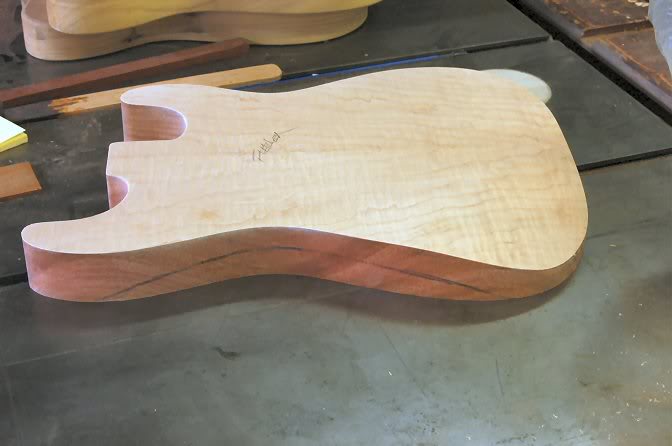
And we now are ready to resume shaping the body.
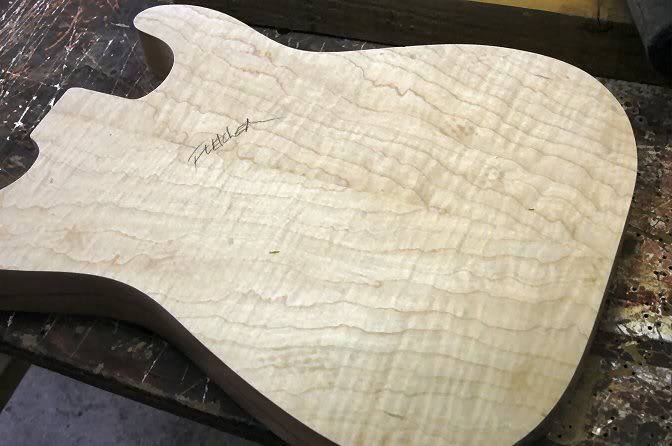
I’ll do a little preliminary sanding here just to be certain all is good, and there are no foibles that need to be addressed.
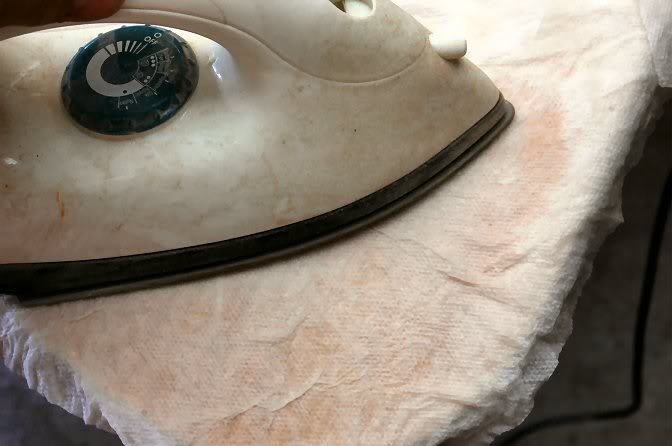
The blankets of rubber can leave their pattern on the surface of the veneer, so I’ll take a wet paper towel and Iron it. This forces the steam into the wood’s fibers causing the compressed veneer to swell.
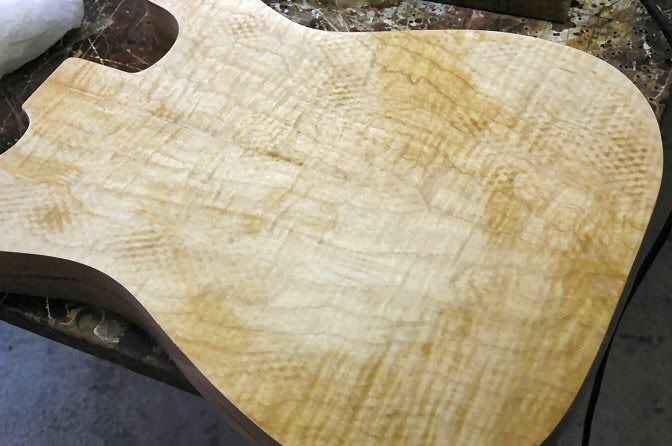
Allow a few minutes for it to dry thoroughly, and sand lightly with a medium grit paper, 180 to 220 works fine.
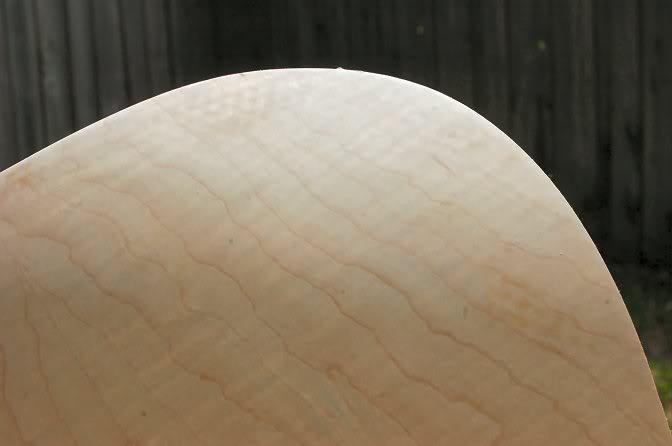
You can see how smooth it is at this stage.
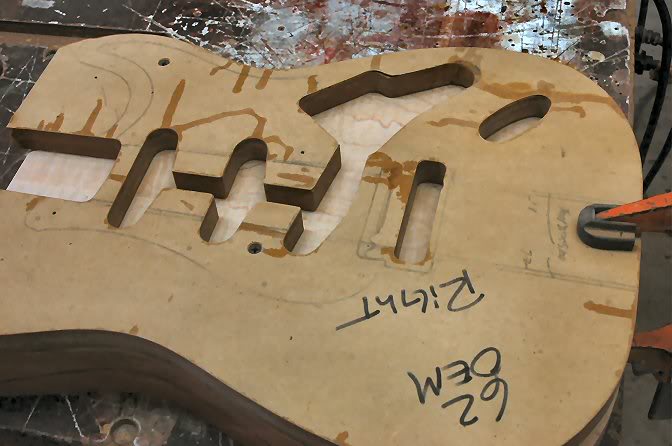
Now… the other template.
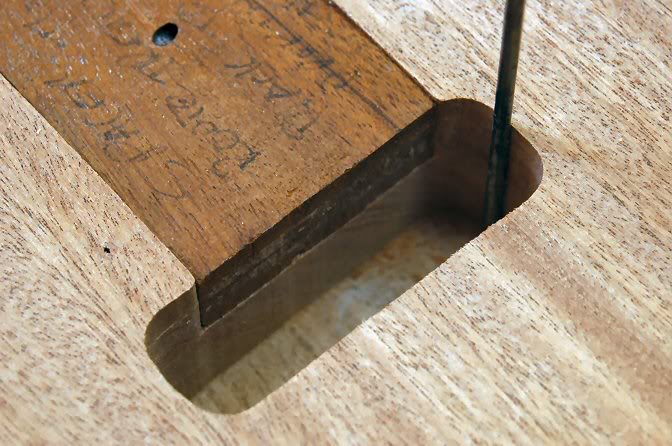
First thing I do is drive an awl through the tremolo cavity on both edges to indicate the location of the bottom rout. This way I can be certain the top rout will be correctly centered. It’s not impossible to be off by a 32nd or so, and while that isn’t a factor, it does drive me nuts.
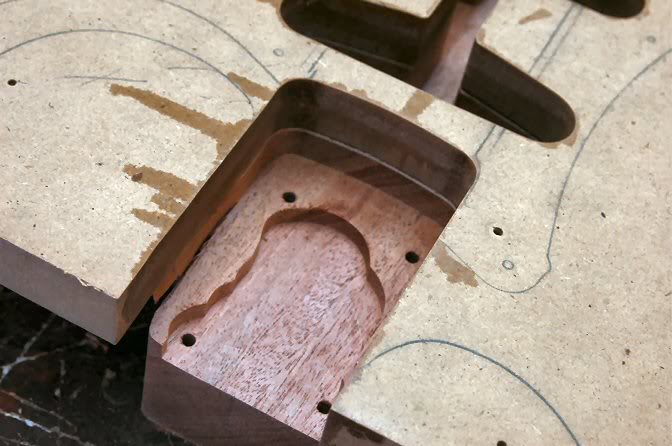
So now I rout the neck pocket. I do this in 2 steps, so I’m not forcing the router to take too much of a bite in one pass.

Do a little clean up, so there are no loose chips that can get snagged and rip some of the delicate edges loose. The block is a small piece of MDF ¾” square, and about 2 inches long. I make dozens and keep them handy.
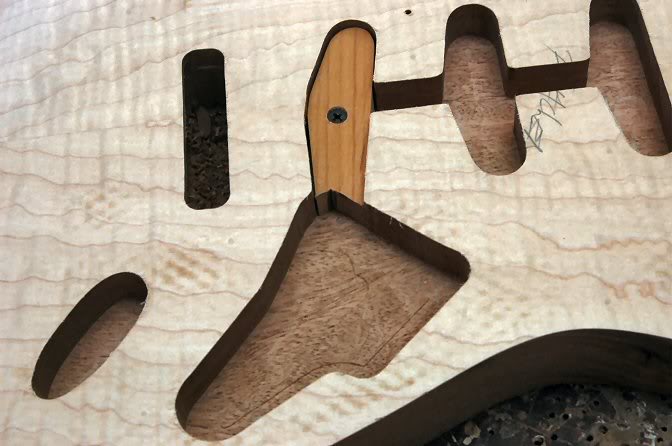
I now do the electronics, pickups, jack plate and tremolo routs. The tremolo is only one pass, the wood is only 1/8” thick here, so buzzzzz and it’s done. The other routs are done in 2 stages. First pass takes 3/8th out, and the second, the remaining 3/8th to give me a depth of 3/4 inch. Here you can see everything is the same depth. I have removed the template, and placed a block in the bridge pickup rout. This is so I can use the inside edge of what has already been routed, to take the electronics cavity on down to 1 1/2” deep.
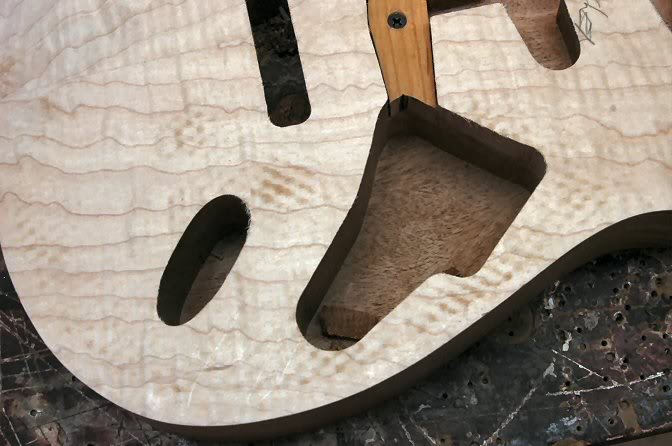
While doing the electronics cavity, do the jack hole too.. both will be 1 1/2inch deep, I Do this in 2 stages too.
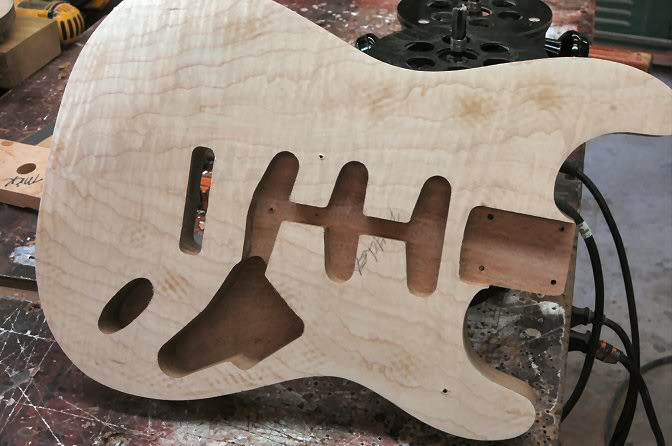
And that’s done.
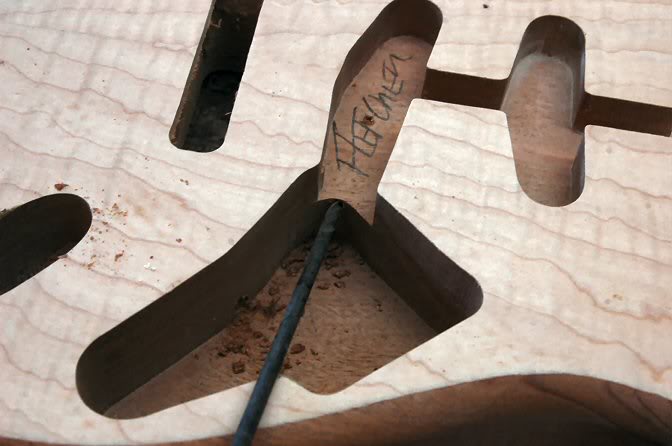
I might point out, in those shots you can really see how very little of the veneer needs to be closely matched for the book matched look. Most is covered by the Pickguard, so unless you’re going for a No PG look, don’t go crazy matching what is going to be routed away. ... Now is a good time to drill the wiring channels.
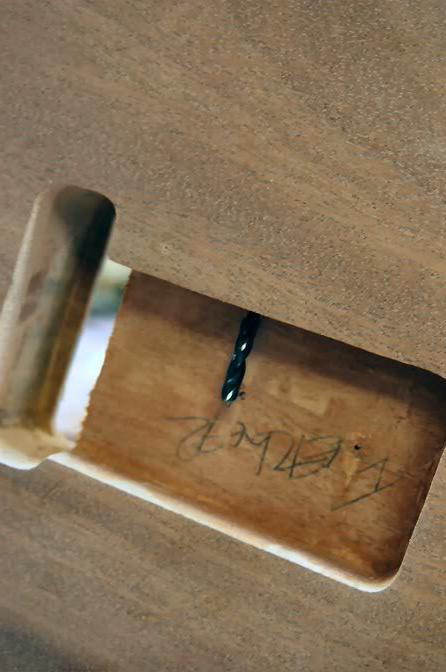
Drilling the wiring channels.
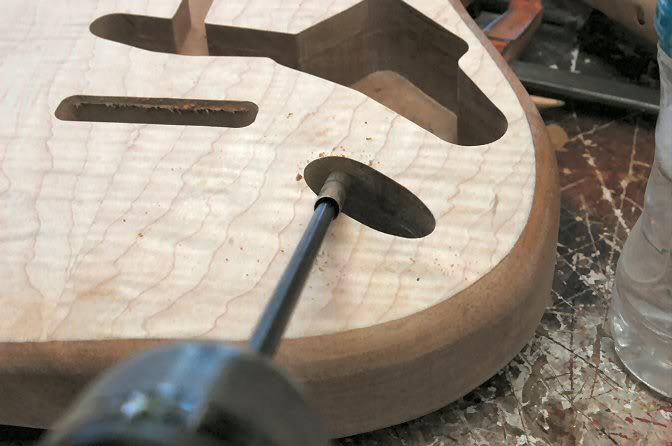
Etc...
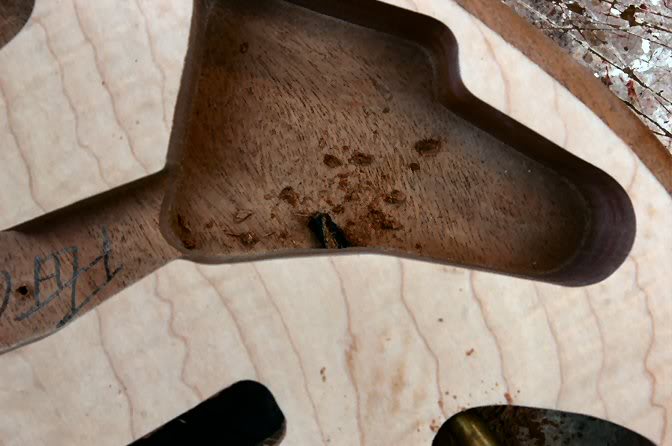
Just be very careful. The wood is very thin here and it’s quite easy to punch through to the back side. Also, I forgot to photograph it, but drill the relief inside the jack rout for the phone jack.
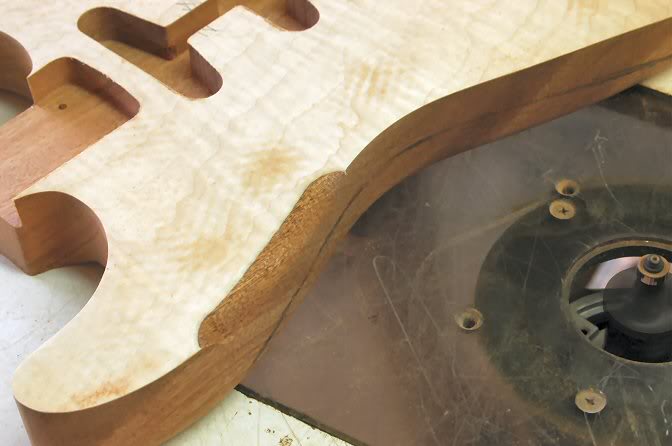
Now on to the body’s round-over. While over the years there have been many different radii, ½” is the typically accepted norm for the vintage guitars. Some argue that up to 5/8th was used, but personally I feel that would have come as a result of sharpening and re-sharpening the ½” round-over bits. Each time you sharpen one, it gets a tad larger. As you go around, remember the arm contour, you must be careful not to go so far that the tracking bearing looses contact with the body.
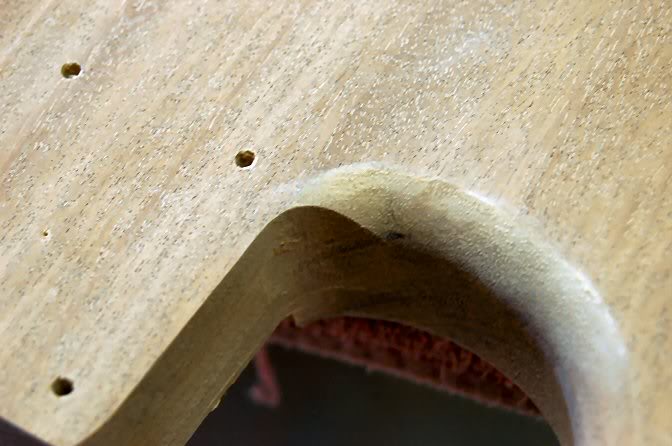
On the back, where the horns meet the neck pocket heel, stop short of the heel, the remaining wood gets hand shaped. This is before...

This is the highly technical tool used to shape it so it flows into the heel.
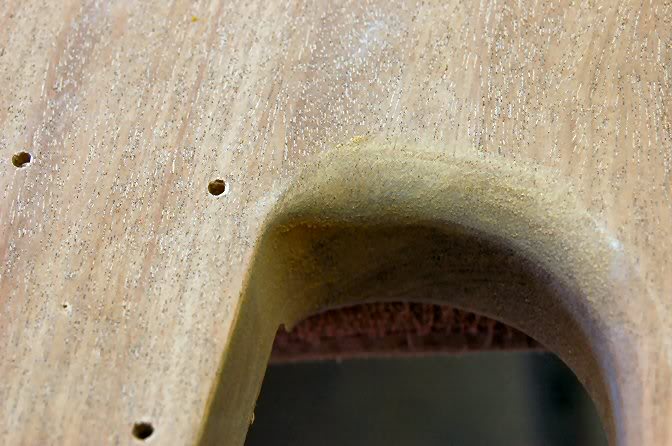
And this is what she looks like when completed.
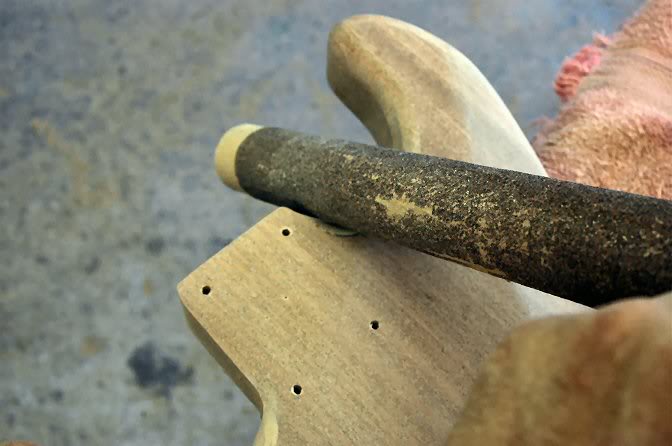
For the lower horn, I use a larger diameter sanding stick (technical term).
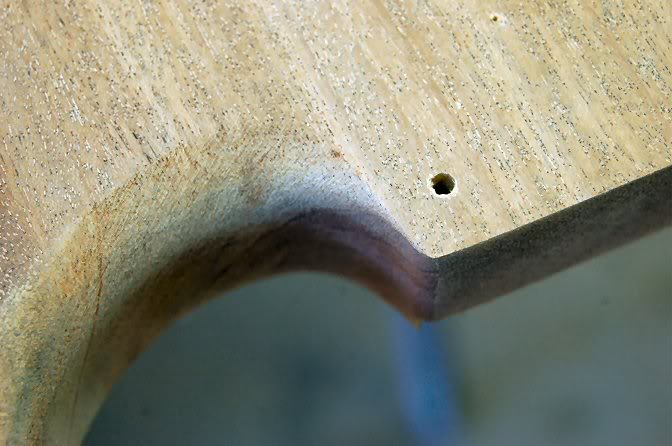
And completed.
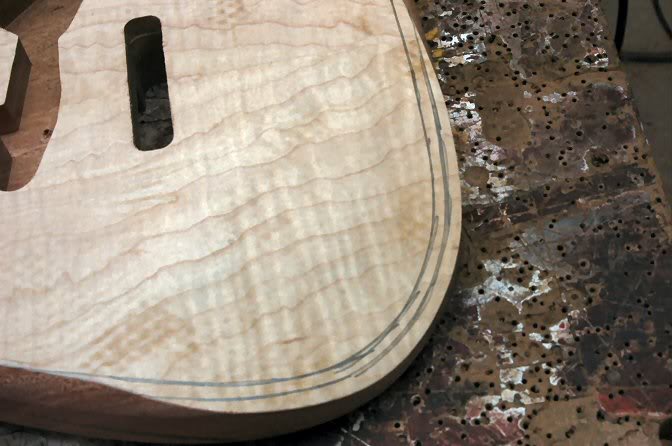
Now, I move on to the fun part. I mark the body to give me some idea where the round over should roll into the flat top of the body. And using a sanding block, I work down to the line. Now this may look daunting, but it’s not. It goes quite fast and produces perfect results.
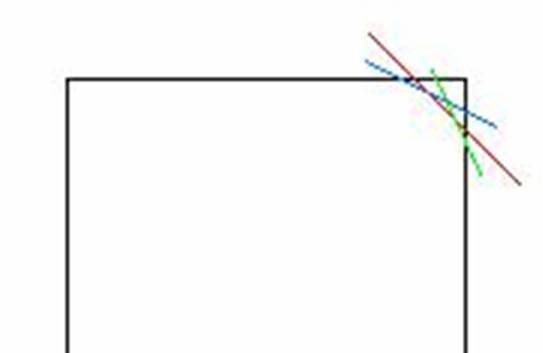
Once the initial cut is made, I make a second…. This illustrates the 3 primary cuts made with a sanding block.
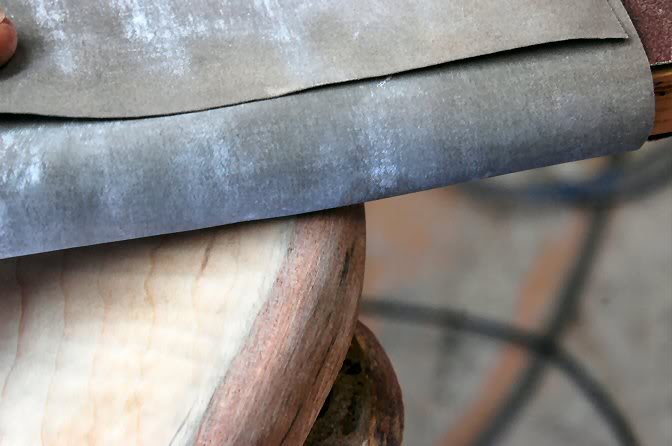
Now just continue working, this time with a little finer paper, so you have better control.
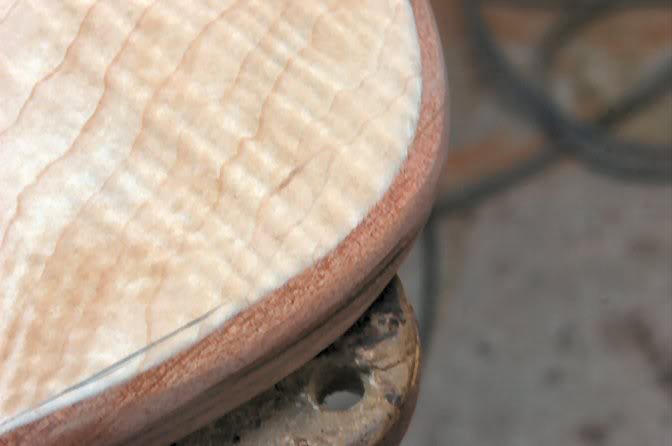
If you use the routed round over as a guide, it’s easy to see where the area you’re working on needs more attention.
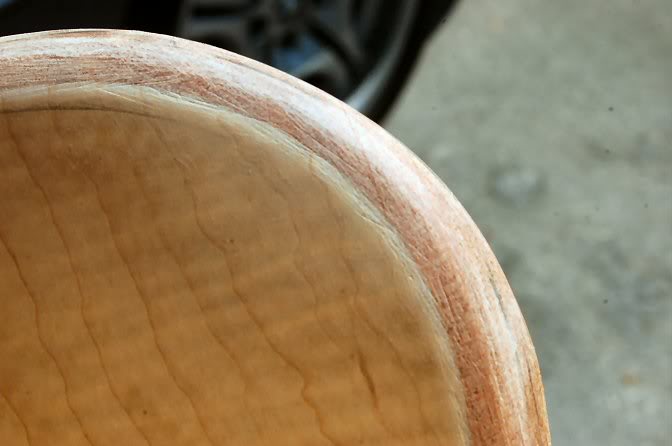
Now step into the sunlight, and allow it to reveal any subtle irregularities.

In the sunlight...
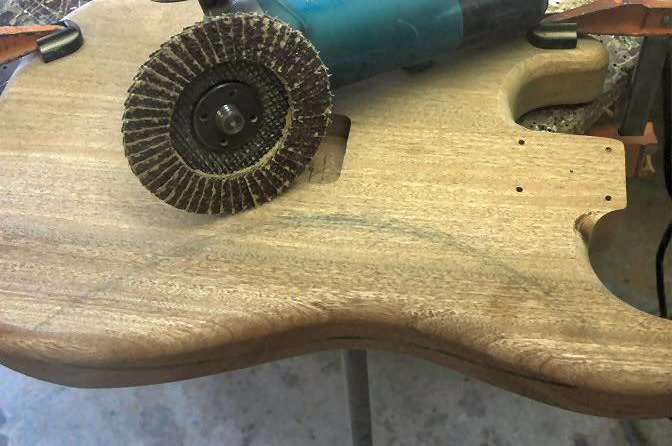
Now, to the back, the tummy contour. Again the same delicate little tool and the finesse necessary to remove what doesn’t look like an S body. I mark the approximate extremities of the contour and remove wood until I get close.
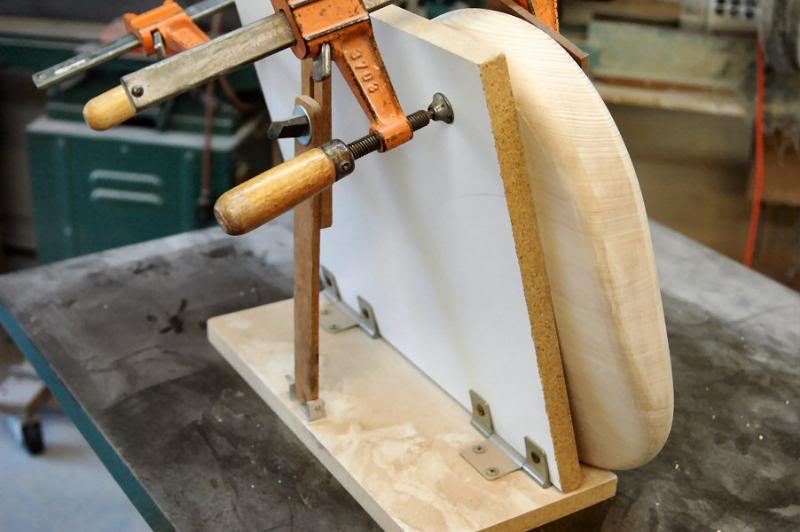
There are 2 ways to finish the contour, one is with a spindle sander. I have made a jig to hold the body at the correct angle. This is the quick easy way.
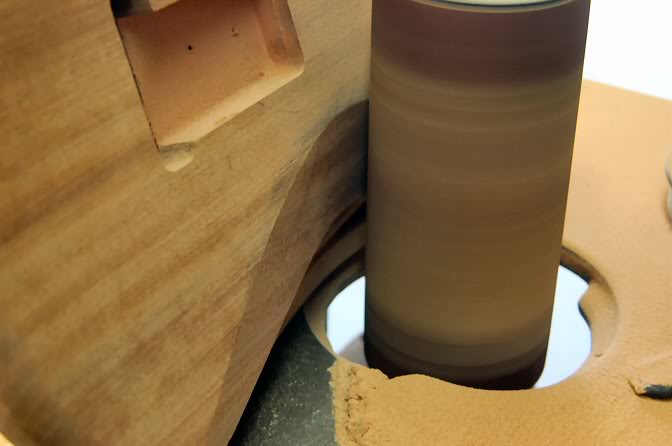
While in the jig..
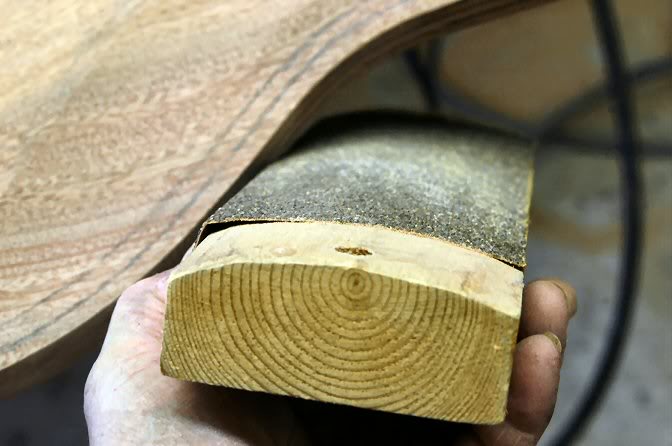
Or for a more “tactile” approach, make a curved sanding block and sand. Using the pencil marks to indicate the areas that still need attention, continue until it is all evenly done. Follow up with a finer grit paper and that little facet is complete.
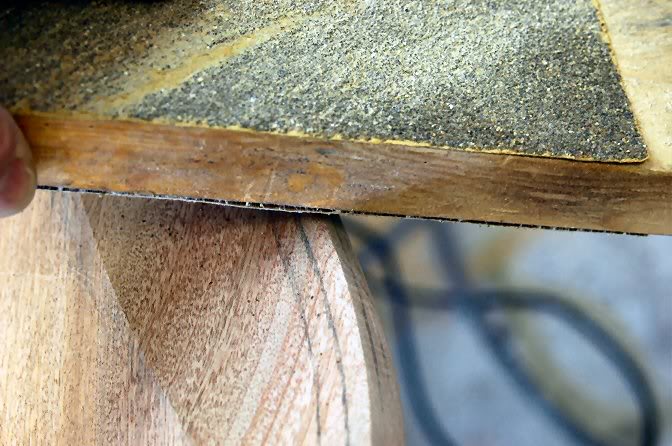
Now, you can see I have already marked the reference lined for the round over, so using the rounded sanding block, repeat the same process as used on the arm contour.
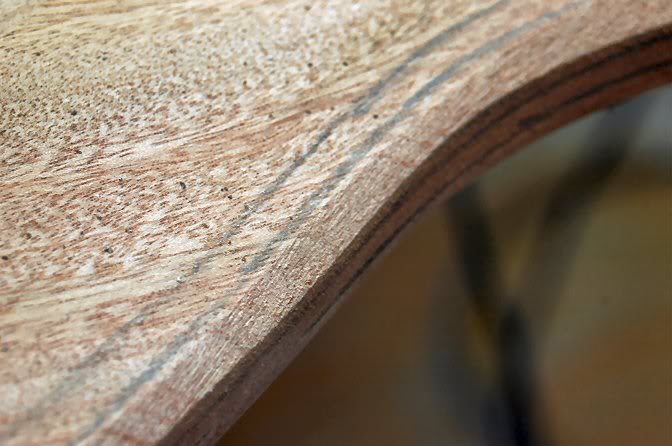
First take it down to the first mark, at about 45 degrees to the surface.
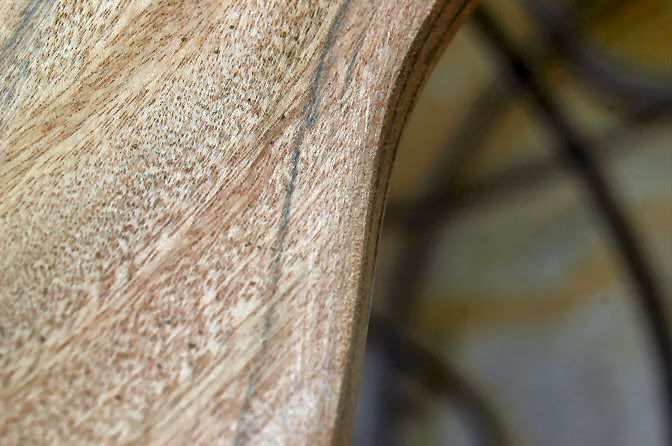
Then follow up with a second cut at about 22 ½ degrees… on both sides of the 45 degree bevel.
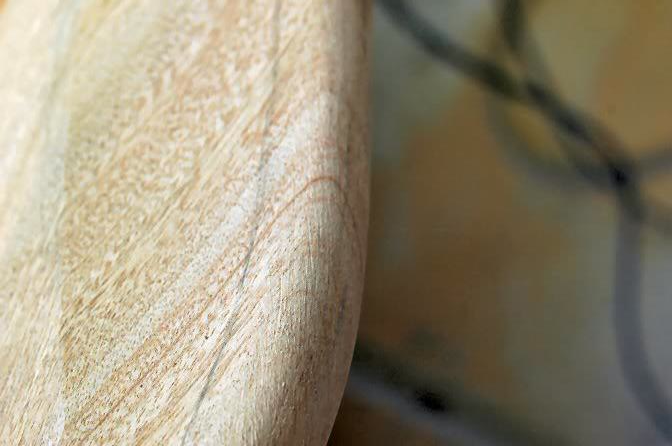
And finish up by sanding with a finer grade paper to produce the round over.
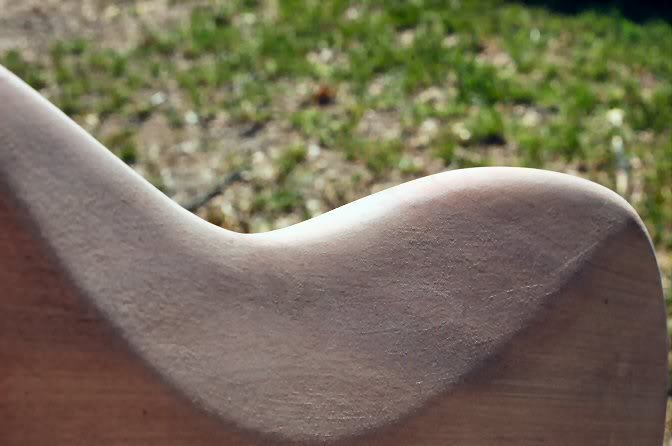
Give it a good sanding then step into the sunlight to check the progress.
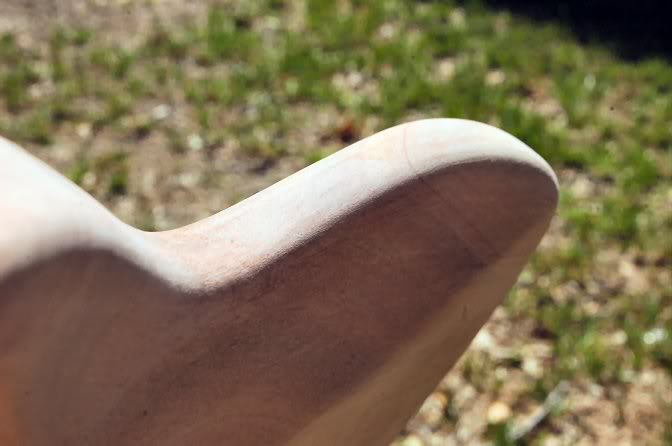
The sunlight trick may seem rather simplistic, but once you try it, you will see exactly how revealing it can be, far more than a lamp. If any irregularities are found, simply go at ‘em with a finer grade paper. The finer grade removes lumber at a much slower rate, allowing better control of what’s happening.
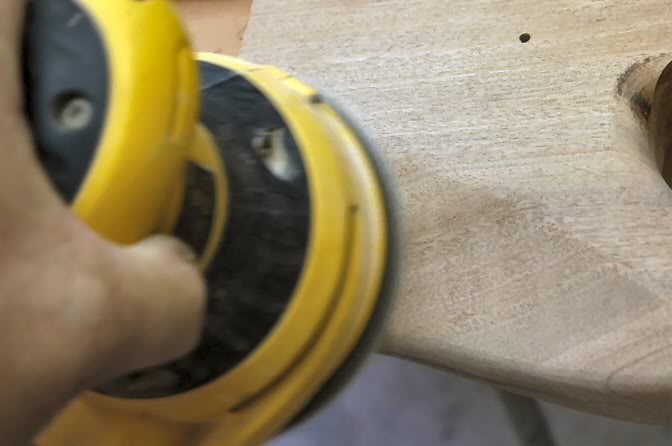
Now a finish sanding of the whole body is in order.
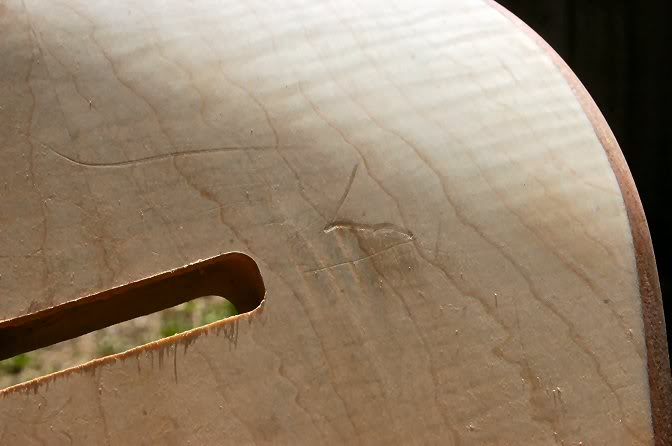
Check it closely in the sunlight, you may find where a piece of wood may have been on the work table and left a calling card.

It happens. So out with the trusty Iron and a wet paper towel.
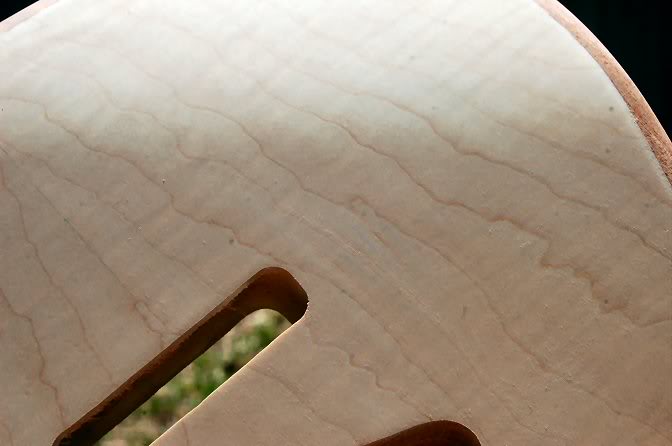
A quick touch with 320 grit, and it’s gone.
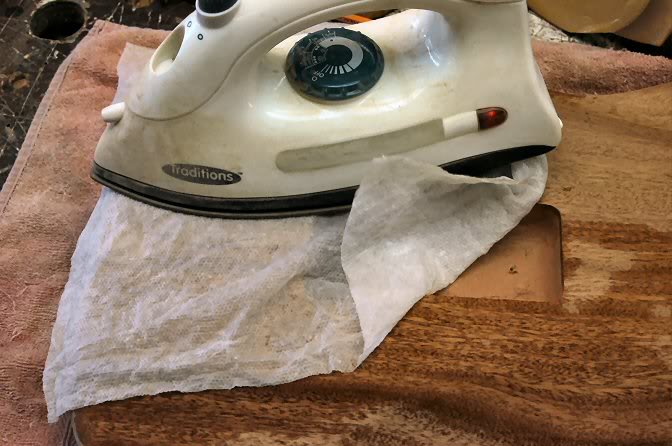
it’s time for the finish sanding. Before I do so, I “iron” the whole body. This causes any funky grain to raise, and much of the sand paper scores to raise, making sanding easier.
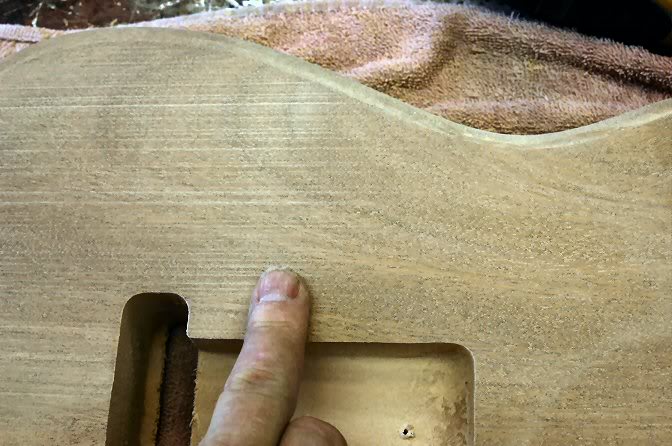
Now start sanding. I usually go at it with 220, then finish with 320. But watch closely, you want to be sure to remove any “machine” marks such as the panel sander’s footprints.
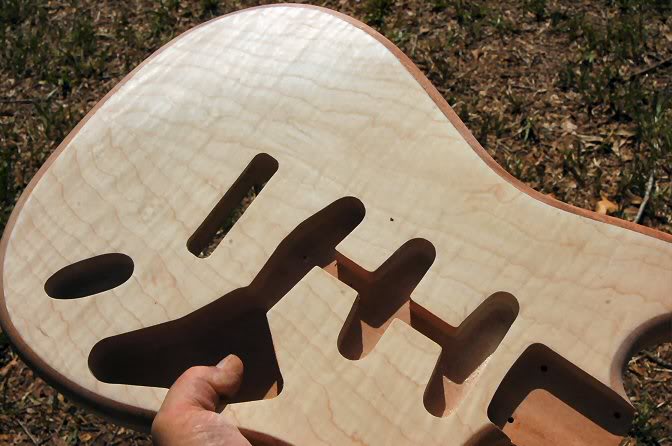
Once you’re sure it’s all sanded, check in the sunlight again, and again, particularly if you’re doing a transparent finish. If not you could have squirted sealer a long time ago.

To continue to Part 2 Color and Lacquer
Choose: Slide show viewing or Single Page


Shaping the Body | NEXT - Color and Lacquer | The Neck | Pickguard and Electronics | Body Finishing | Finishing Touches | Final Assembly and Setup | Finished Sunburst Strat