Sitka Spruce S Type Build
Part One - Shaping the Body
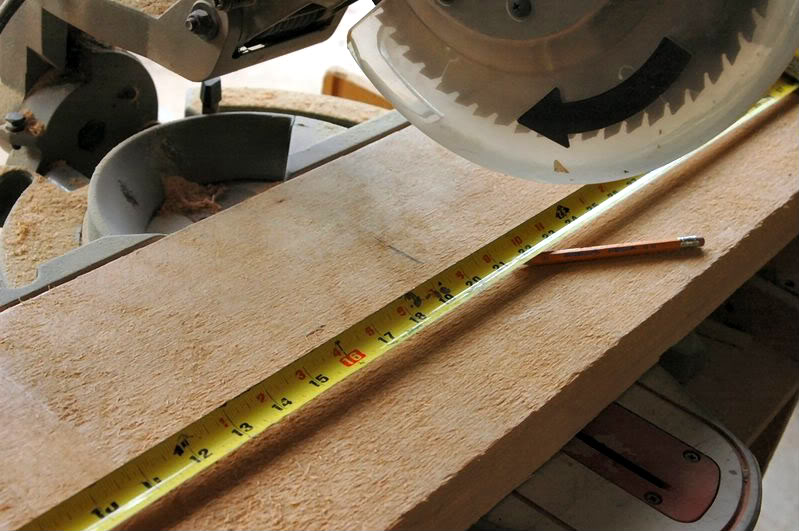
I begin with Sitka Spruce lumber cut to the appropriate length.
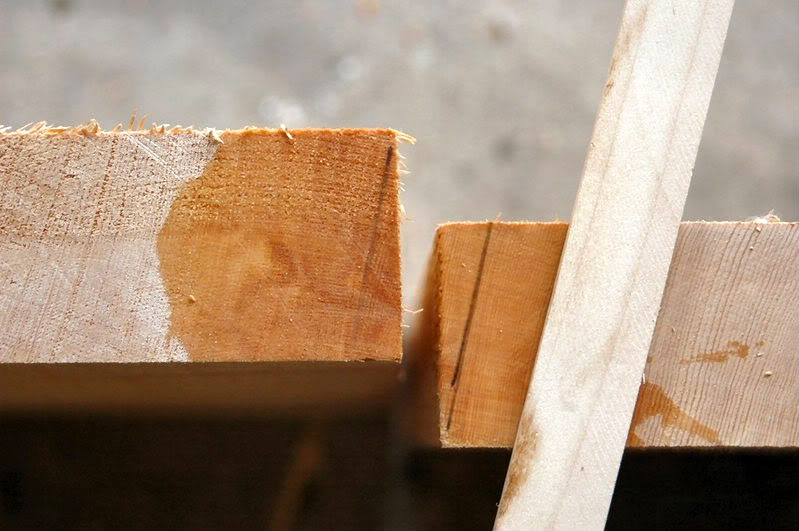
And check the growth rings. Note that I have marked the angle of the rings where the two pieces will be joined. I want to joint the lumber at the same angle. This dramatically reduces the appearance of the joint as seen in the end grain.
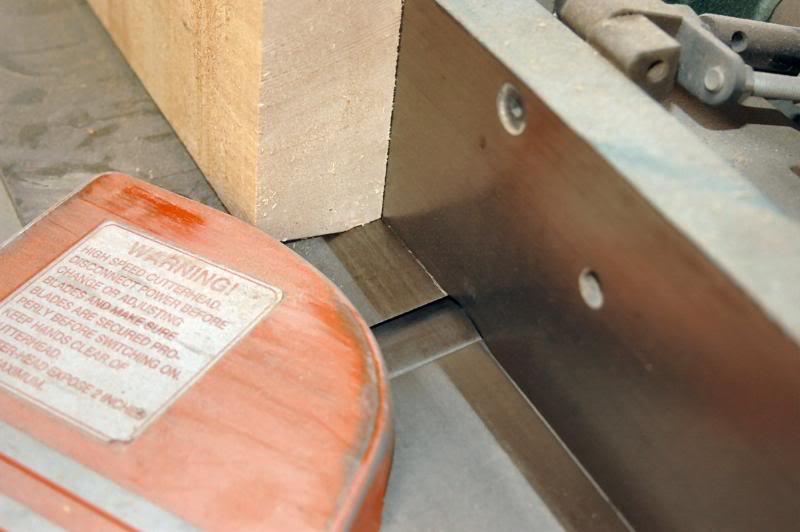
I adjust the guide on the jointer to approximately the same angle as the growth rings in the Spruce, then joint both pieces.
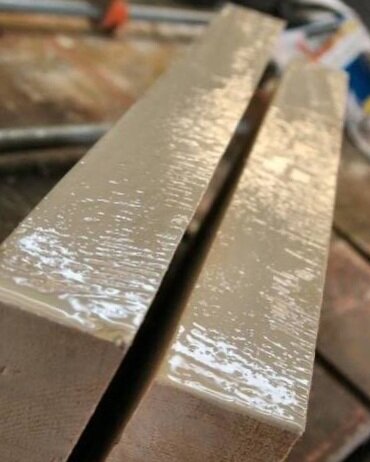
A good coat of glue and good clamping technique is the simple way to a quality blank, and/or joint.
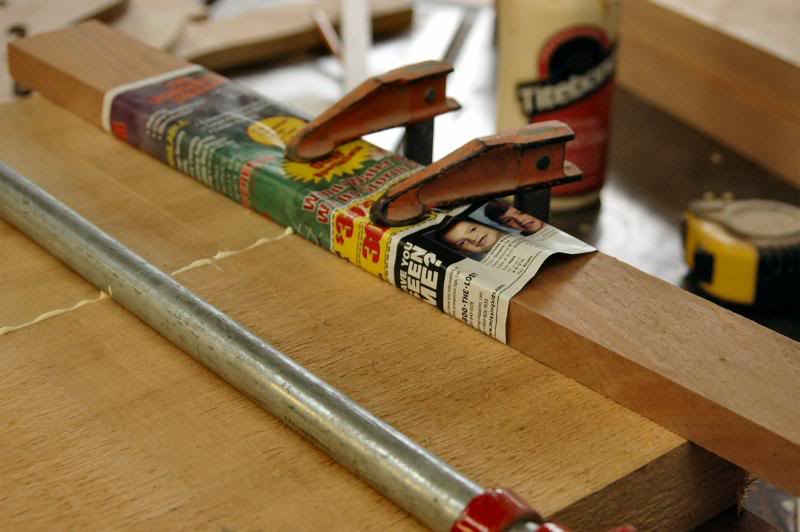
Since the edges are jointed at an angle, I cannot simply clamp them as per normal because the wet glue acts as a great lubricant and the pieces will slip apart, so additional support is required to keep everything planar until the glue dries.
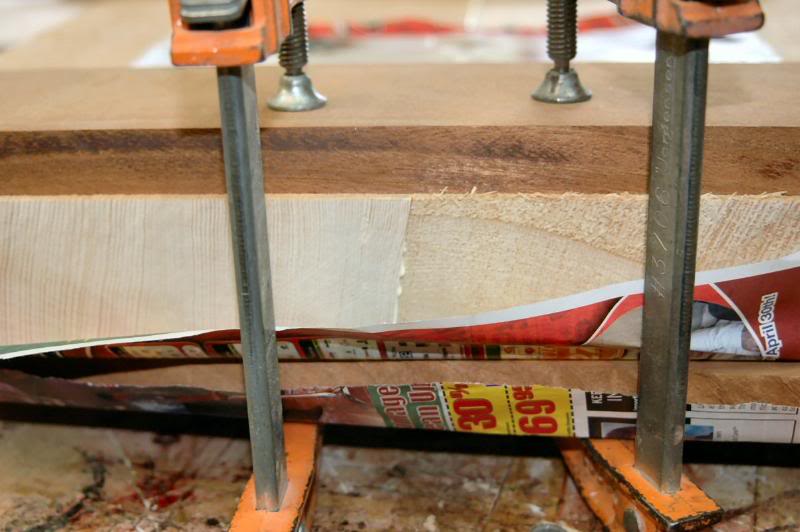
Regarding glue, recently one of the wood working magazines did a test of the various glues available to wood workers today. The winner, hands down, was good 'ol yellow wood worker's glue, beating Gorilla Glue (polyurethane), Epoxy, CA, Formaldehyde resin, you name it, on all counts, the yeller stuff won. With the one exception of very resinous lumber like Cocobolo, for those the Poly based glues were best.
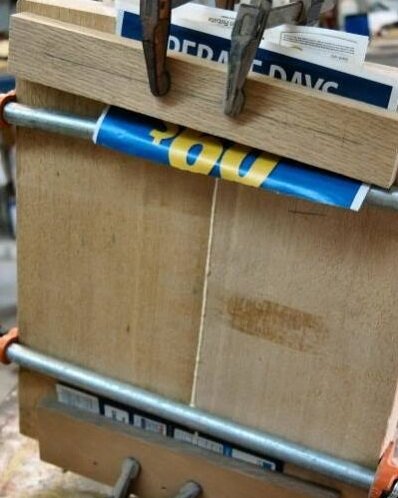
Now, let 'em dry.
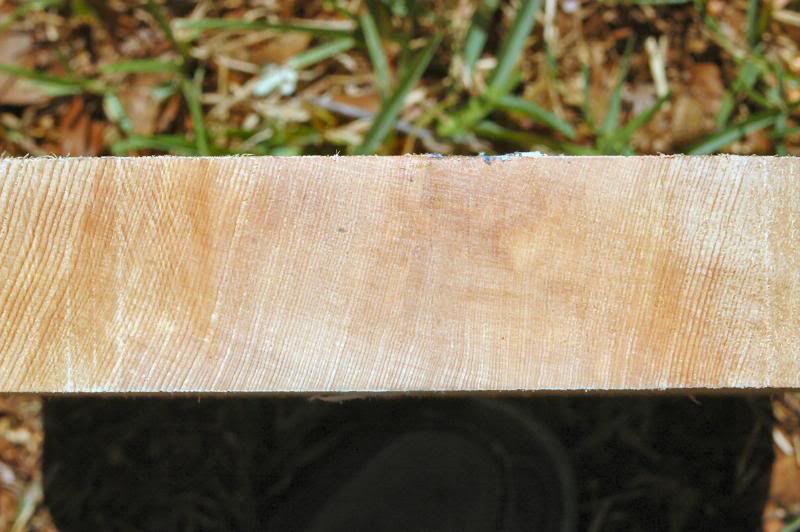
Here is the finished blank. You can see, or not see as the case may be, the joint.
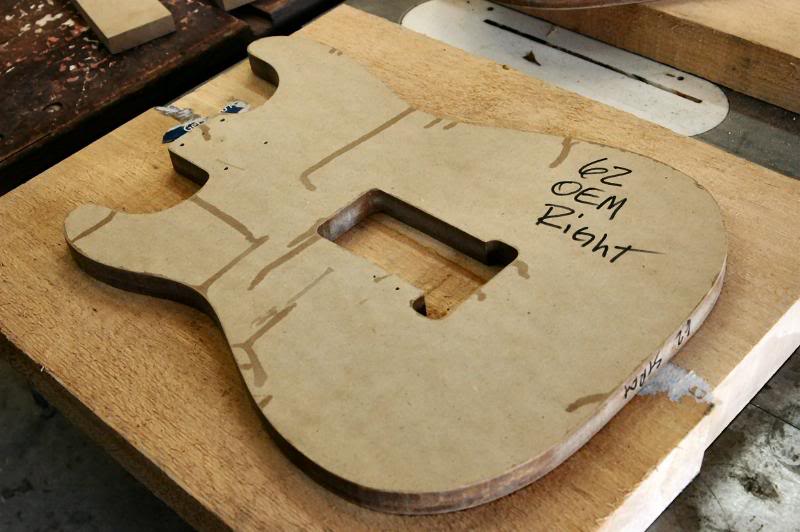
So I have this nice 2 inch thick piece of spruce, with a Strat body lurking somewhere inside. I guess I better get to removing what doesn’t look like a Strat. I took my trusty template...
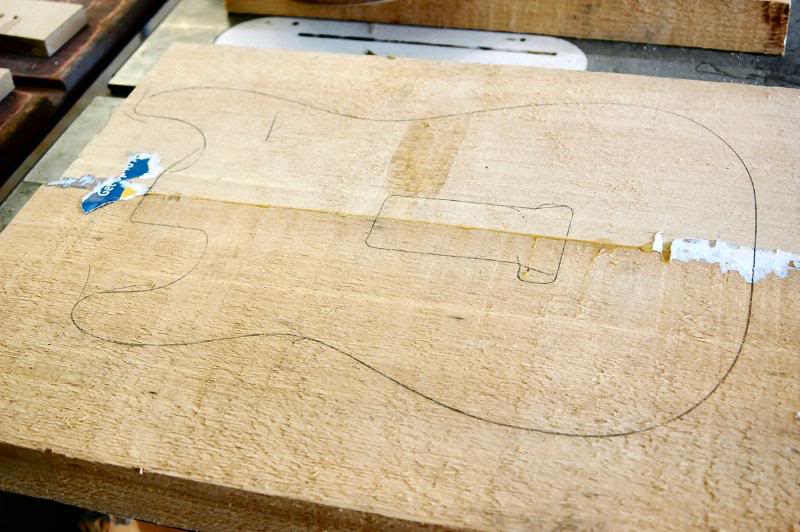
...and drew the outline.
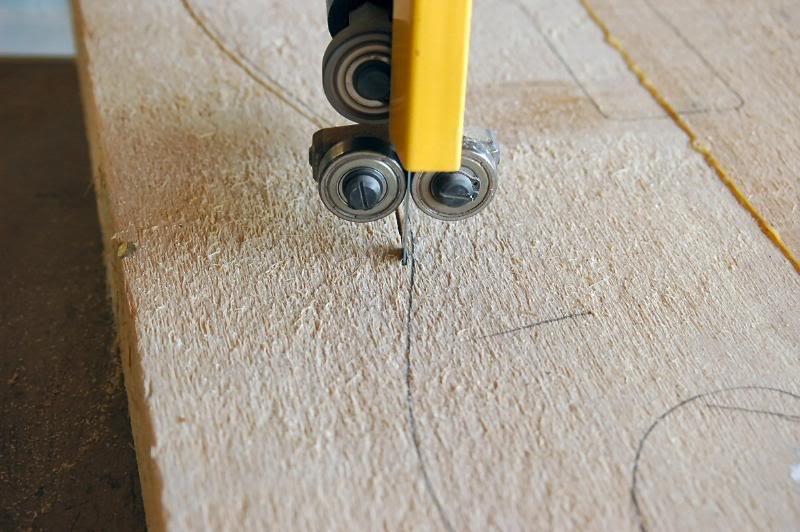
Then I waddled over to the band saw, and band sawed it.
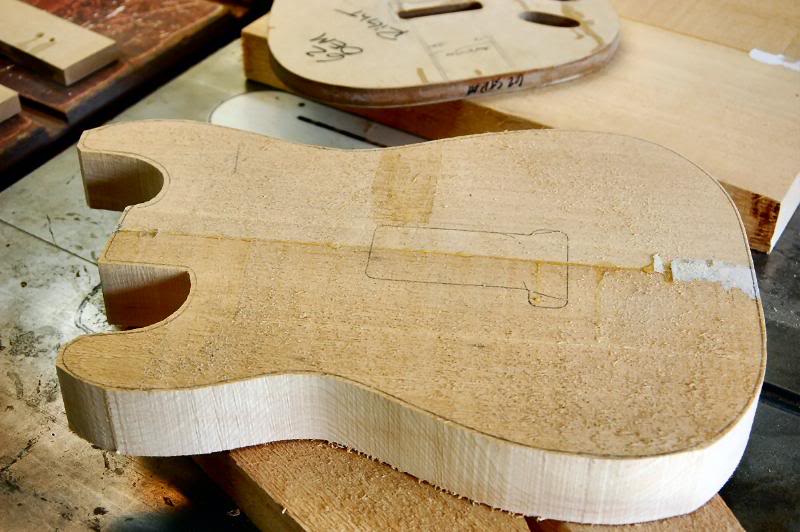
And this is what happens.
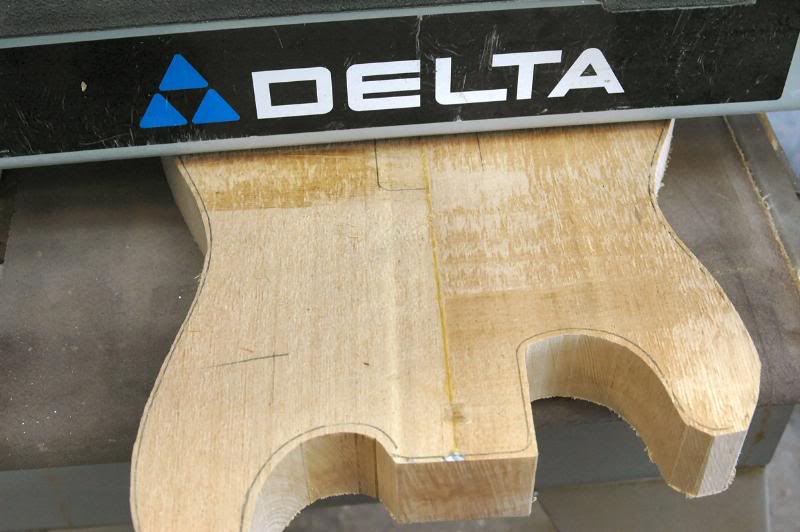
Now, 2 inches is a bit much, so there are several ways to bring it down to the correct thickness. A planer wide enough to take a rough at about 13 ½ inches will do nicely, or a panel sander, my choice in this case.
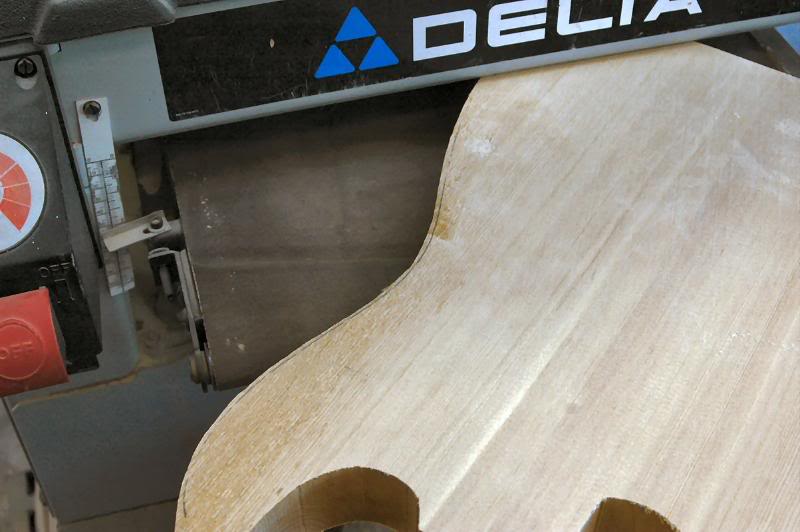
I just keep running it through until 1 ¾" is reached. Now it's time to get serious...
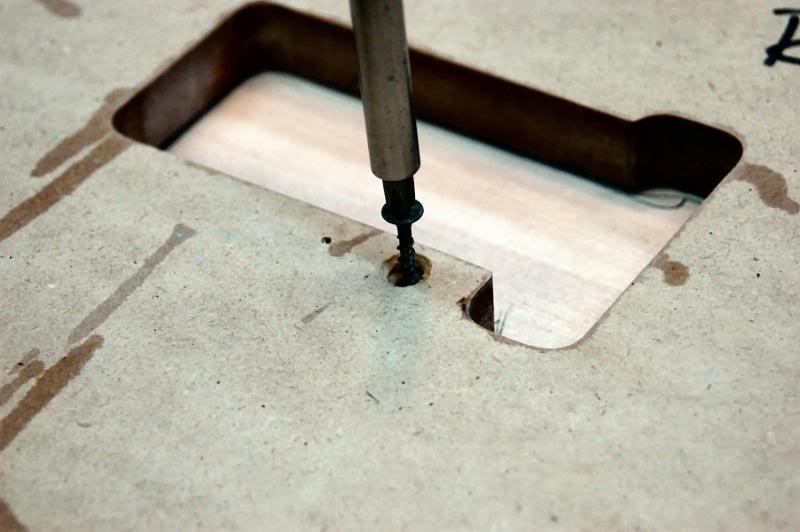
Time to mount the template. I use screws, I don’t trust double stick tape to be secure against the pressure that can be applied.
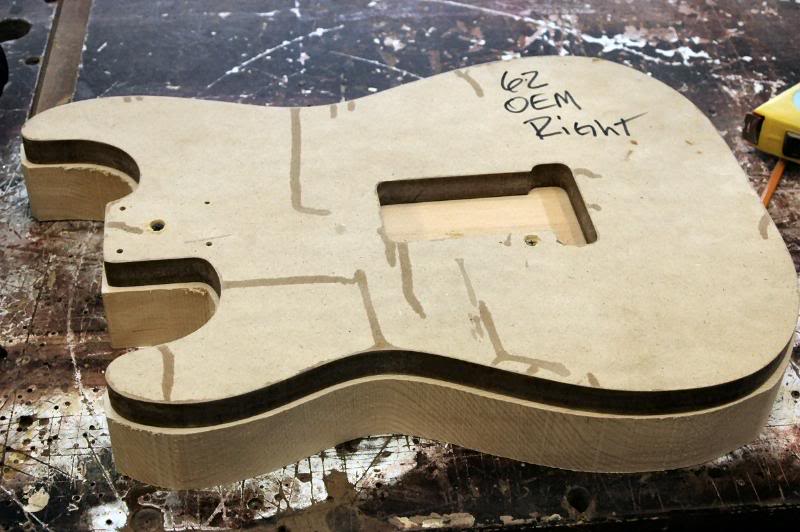
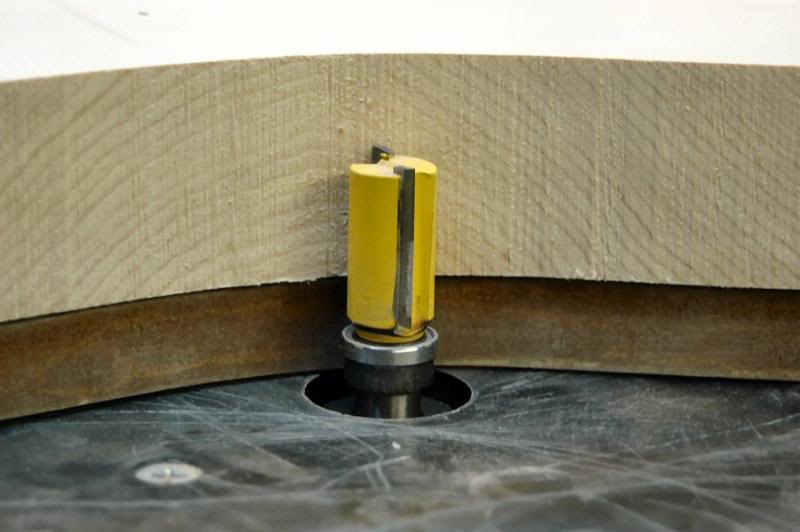
Adjust the Router bit, in this case in a router table, so that the bearing is making secure contact with the template and makes a clean cut.
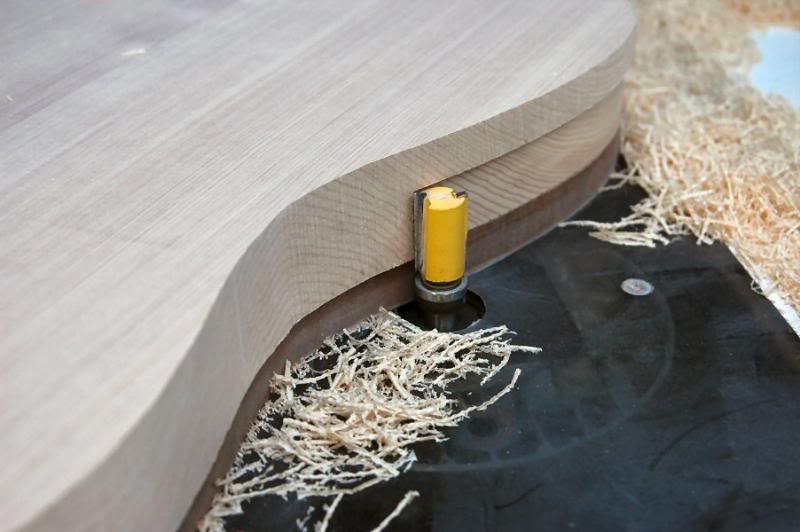
Routing around the periphery of the body is pretty straight forward. Just proceed slowly at the apex of the 4 large convex curves. Tear-out is a real possibility if you go too fast.
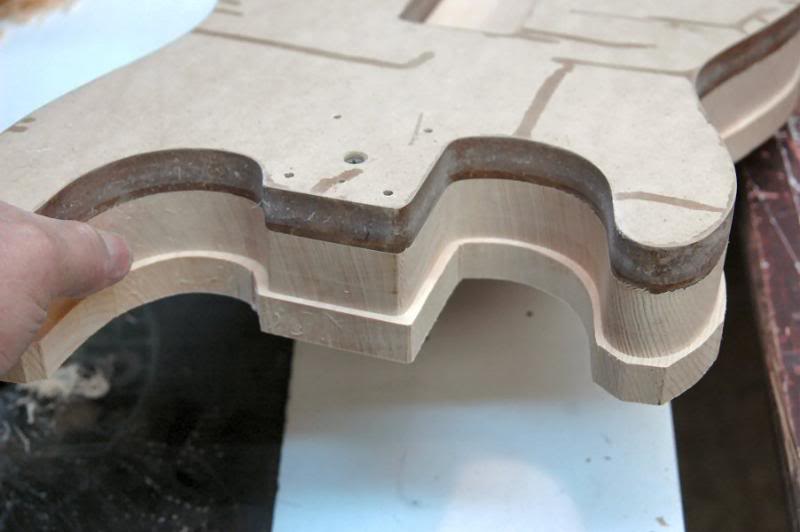
Once we have completed one pass all the way around, we direct attention to the Tremolo cutout. I do this in several passes, the first cut removes about ½ of the ¾ inch depth.
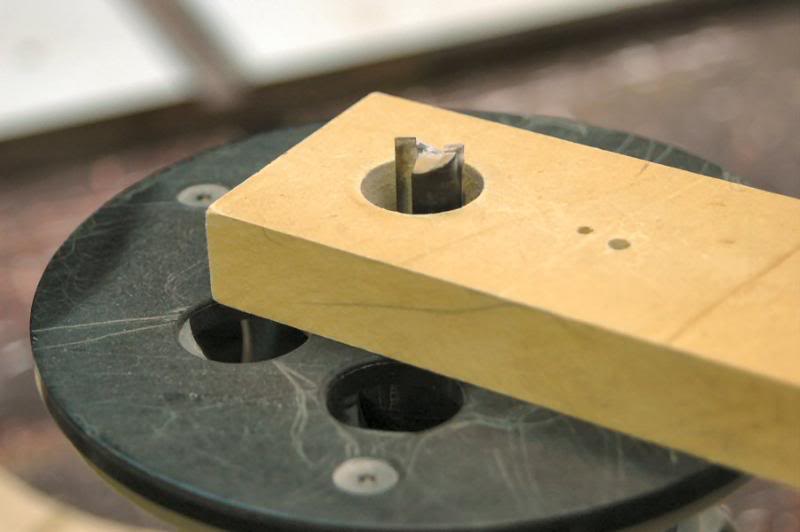
I use a quickie block on the router to set the bit.
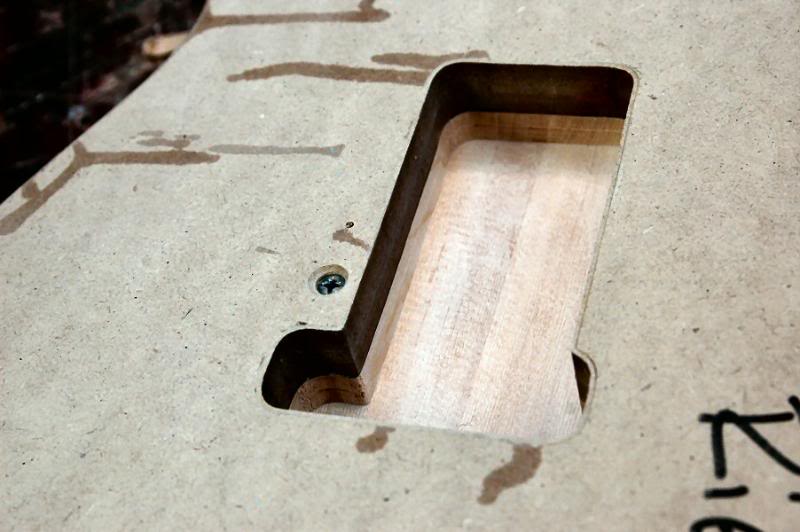
This will remove approx 3/8 inch deep section of the cutout.
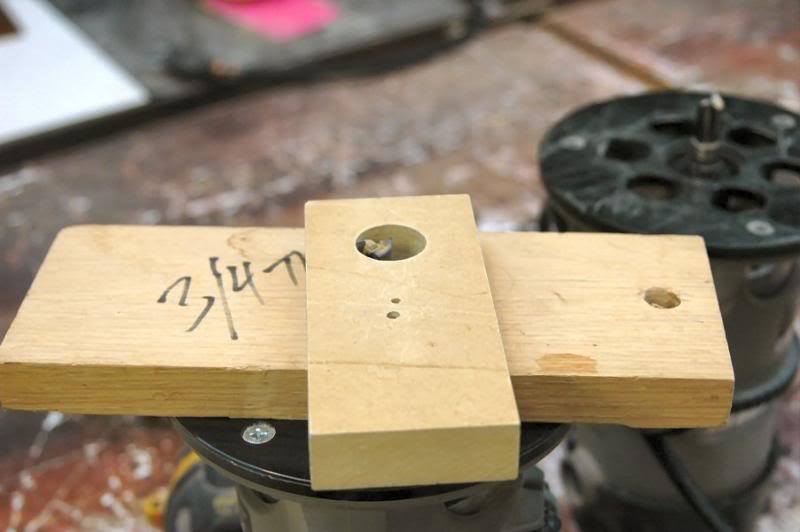
I now set the router depth using a second ¾ inch thick block, this will cut the tremolo cutout to the finish depth of ¾.. This is not critical, and for those detail oriented builders, here’s a tip how to achieve a true vintage appearance, make these routs as sloppy as possible.
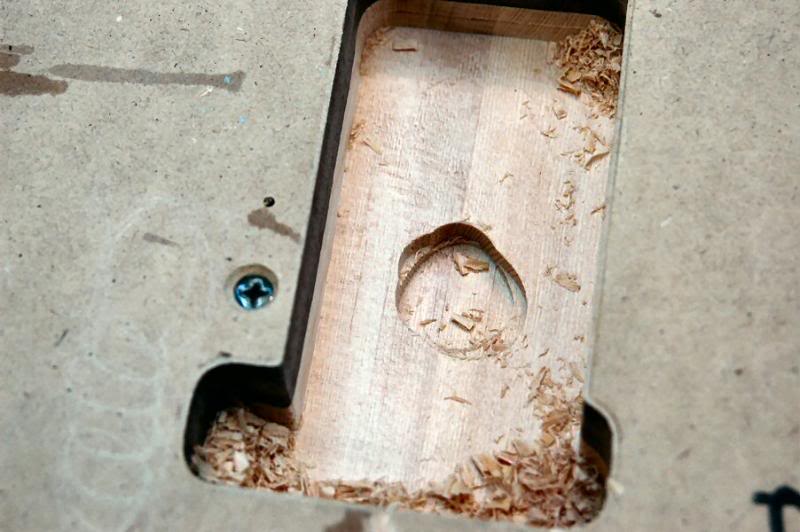
Now I take the final cut.
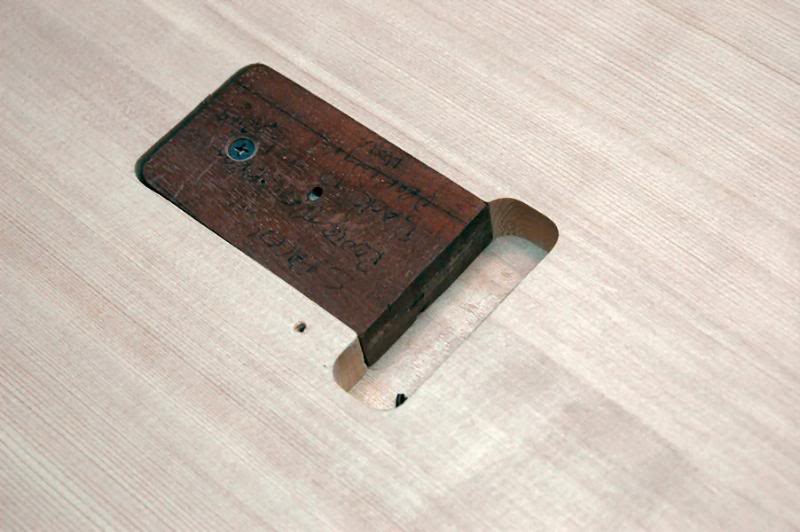
To rout the deep section the tremolo block will reside in, I have a block I made to fit into the spring cavity.
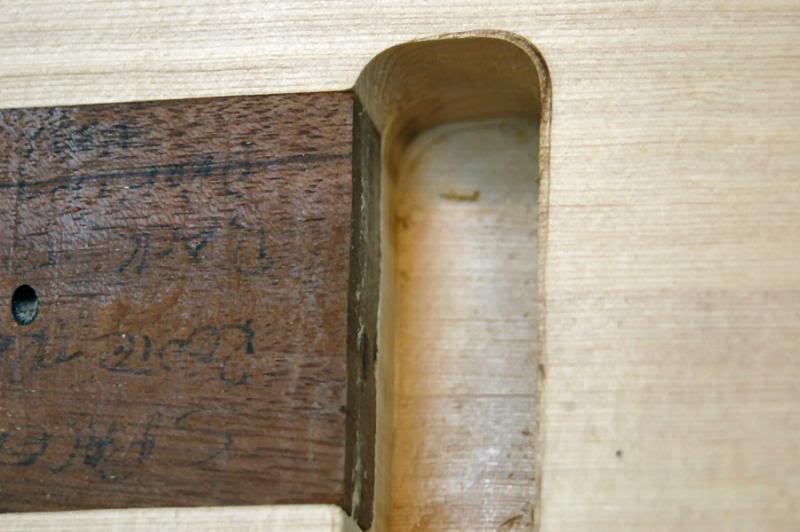
Now, using the previously routed edged within the body as a guide, I set the router to cut about 1 ¼ deep and buzz away. You can see where I had set the bit a little too low and the collet burned the body just a touch. Not to worry, I sand the body down in the panel sander just a touch, so such machining marks will be totally removed.
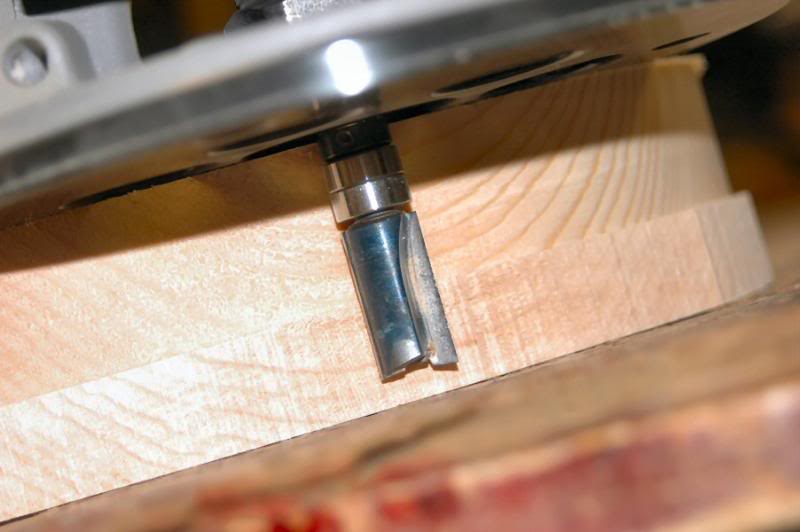
I now adjust the router depth to cut all but 1/8 inch that will form the lip at the top of the tremolo cutout. Checking this way, I am absolutely sure there will be no unfortunate surprises when I lower the router into the hole. (I have not completed routing around the body yet, I want to complete all operations relative to the first template before I remove it.)
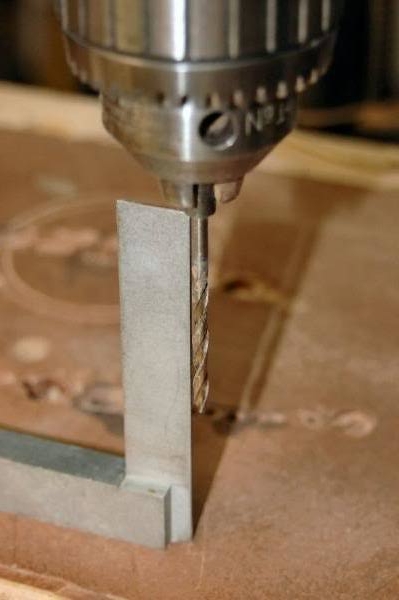
But first check the drill bit to be certain it is at 90 degrees to the table.
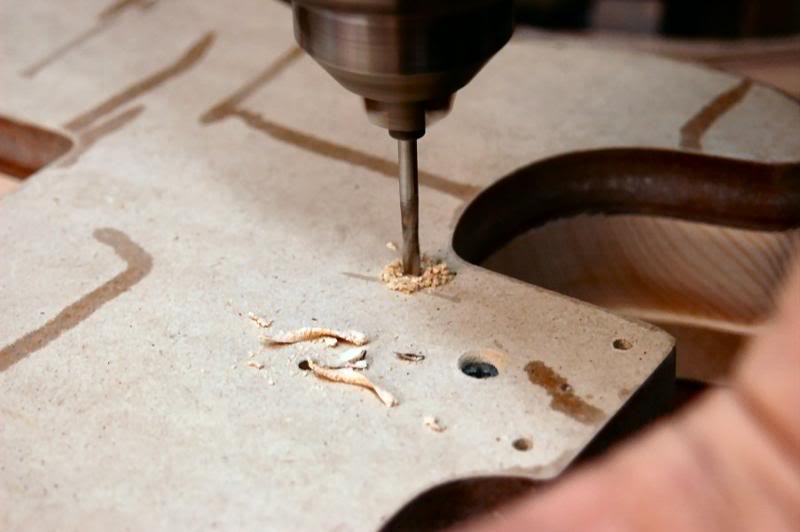
Then drill the neck bolt holes. Now remove the template, we’re done with it for this body.
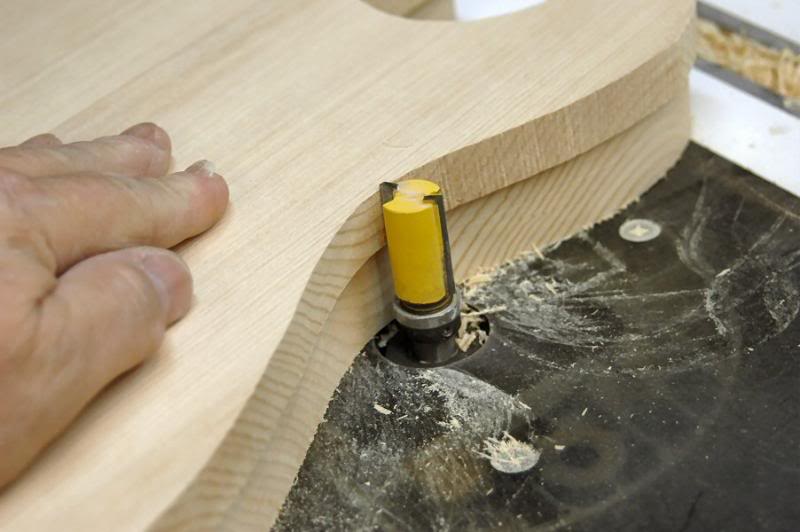
Now it’s time to finish routing the outside of the body. Adjust the router bit so that the bearing will ride along the previously routed part of the body, and completely remove the remaining “flange” of lumber.
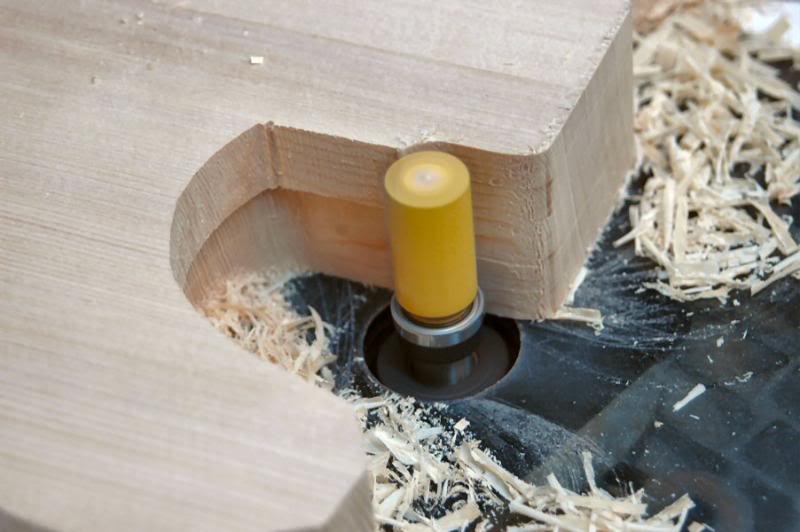
After this, the outside shape of the body is complete.
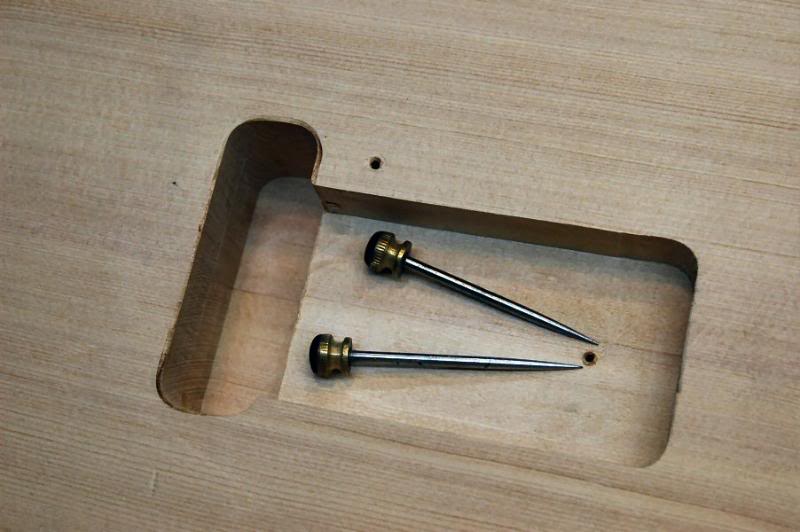
Before we begin the top I want to mark the location of the Tremolo rout, I use two small awls to pierce the remaining 1/8th inch leaving 2 small marks on the top.
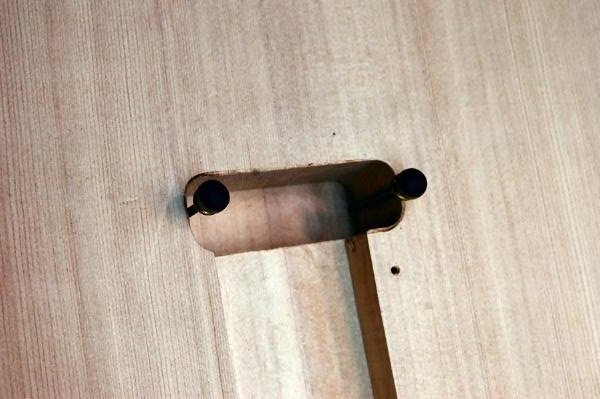
I also position them just slightly inside the edges so the marks on the top will be completely removed by the routing process.
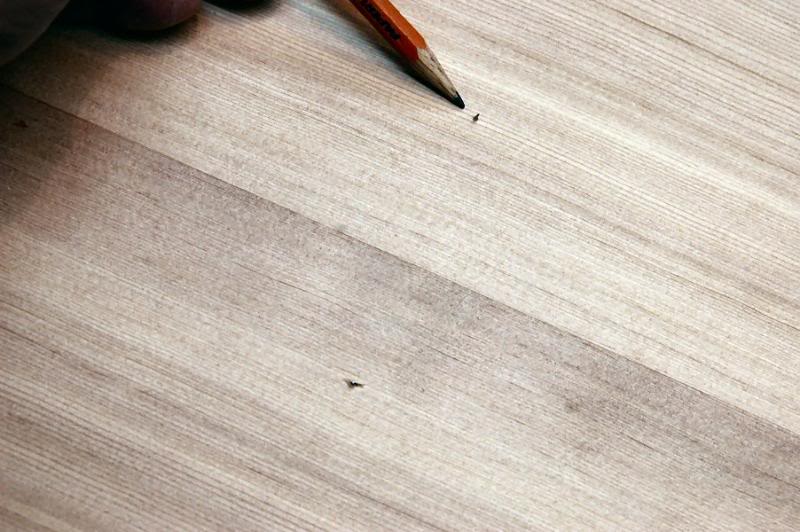
This allows me to position the top template in correct relationship to the rout made on the bottom, despite how the edge lines up. This will keep the neck, pickguard and Tremolo all centered relative to each other.
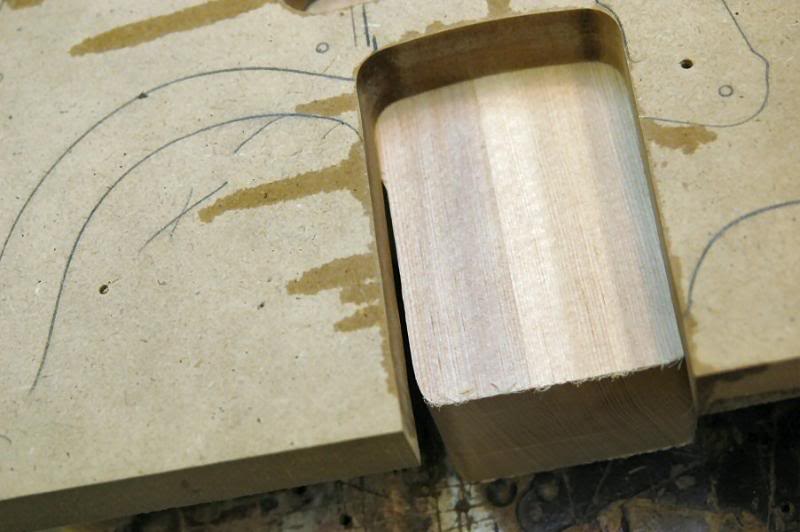
So now I attach, clamp in this case, the top template checking the periphery to be certain it’s in the correct place. Then double checking other “land marks”, like the two marks made with the awls, and the neck pocket relative to the edge of the body. After positioning the template, check the neck pocket to be certain the edges line up… not like this.
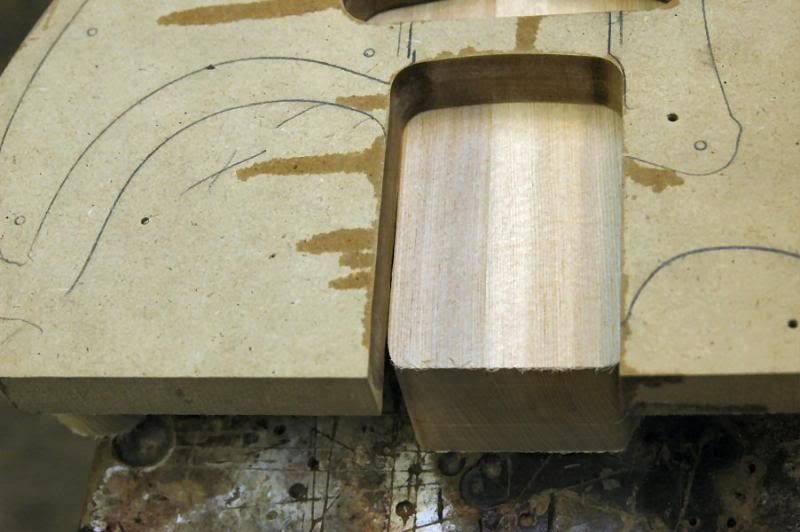
But like this.
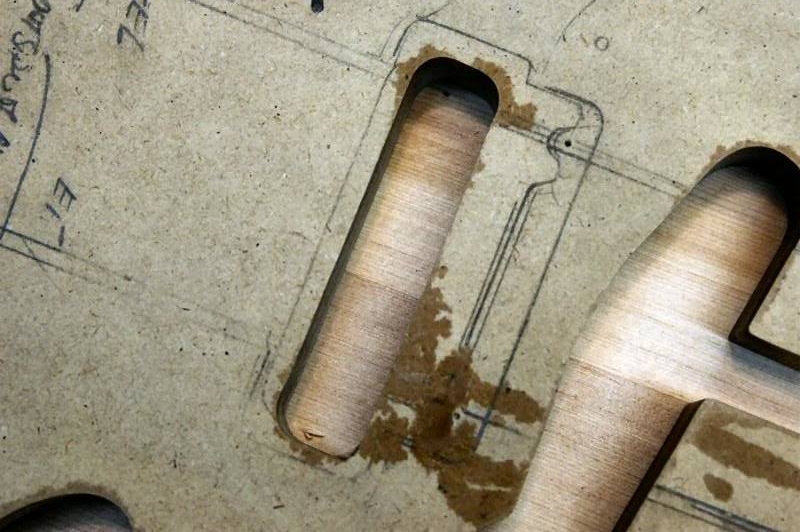
Also check the top tremolo rout position relative to the two marks we made with the awls.
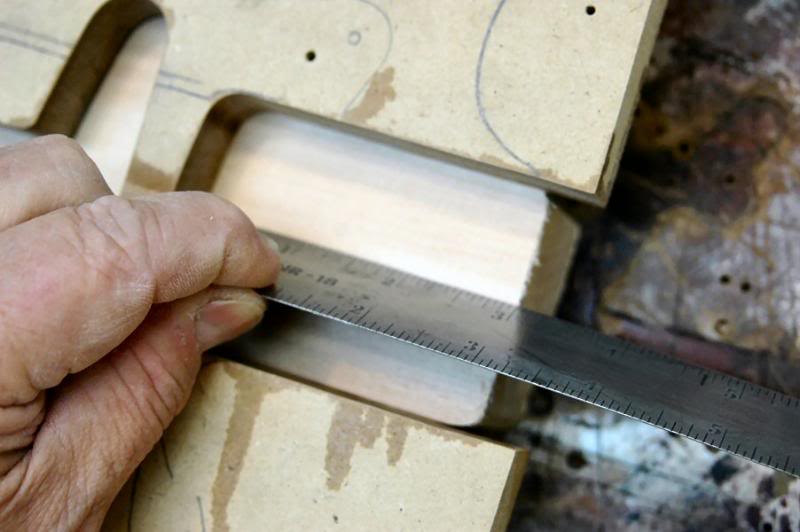
And check that the neck pocket depth is correct at 3 inches. While the templates typically will match the edges of the routed body, some woods will shrink, expand, or creep around, particularly if you wait an extended period of time between operations. By checking the points mentioned above you can be sure the body’s specs will fall within the “wiggle room” built into the Strat’s dimensions.
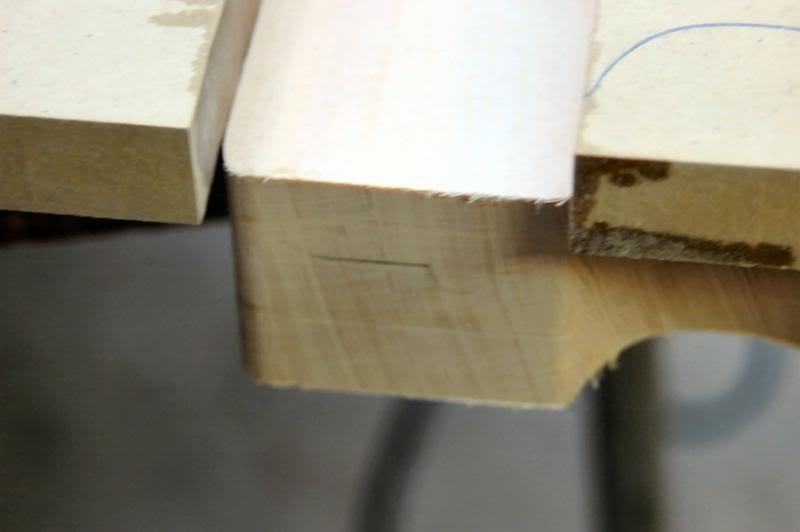
Just as a habit, I will mark the depth of the neck pocket at this point.
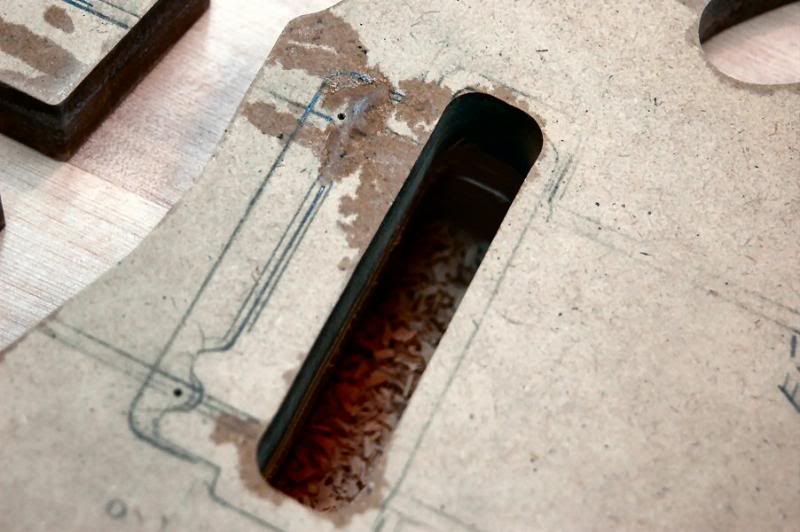
Now, routing the Tremolo top rout is simply a matter of setting the router bit’s depth beyond 1/8 and insuring the bearings contact the template.
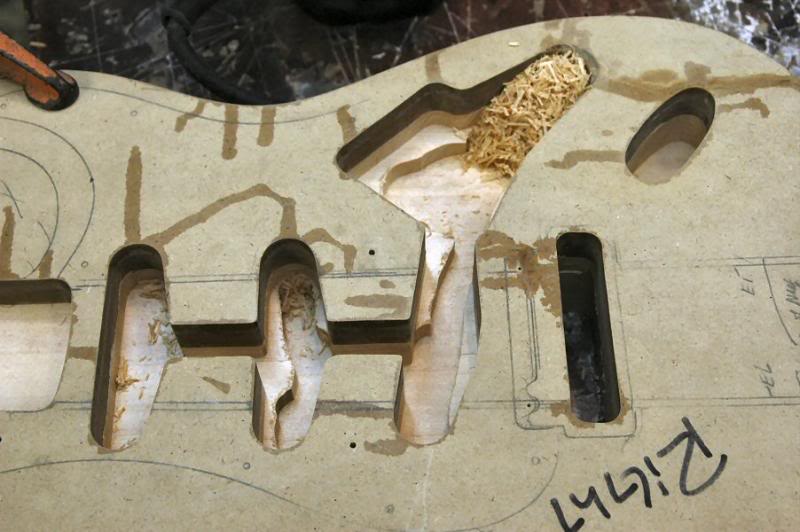
Once that’s done, you can proceed to the electronics/pickup routs. The finished depth should be between 5/8th (vintage) and 3/4 ‘s (more contemporary and allows for more pickup choice). I’m doing ¾ inch. I set the router to cut 3/8ths or ½ the ¾’s. First I plow away the center sections.
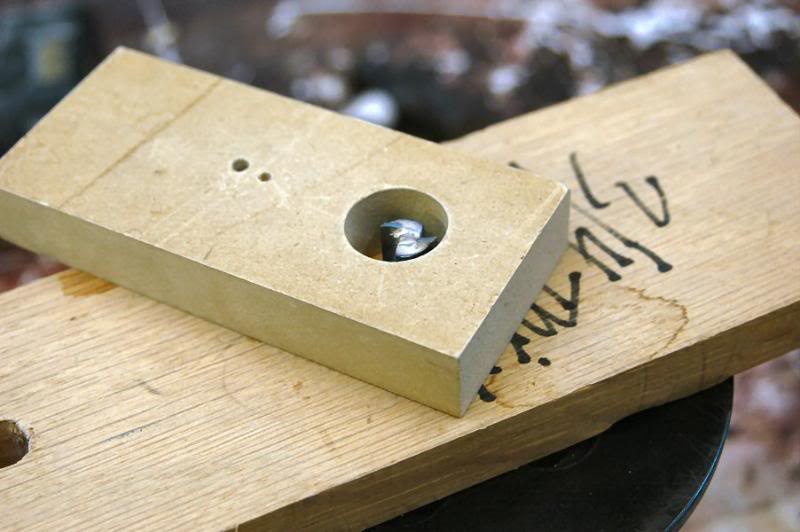
Then com back and finish cut the edges. I will now set the router to full depth to cut the ¾ inch. The blocks are simply a time saving device, I know the template is ¾ thick, and I want to cut ¾ beyond. So 1 ½ inch is the mark.
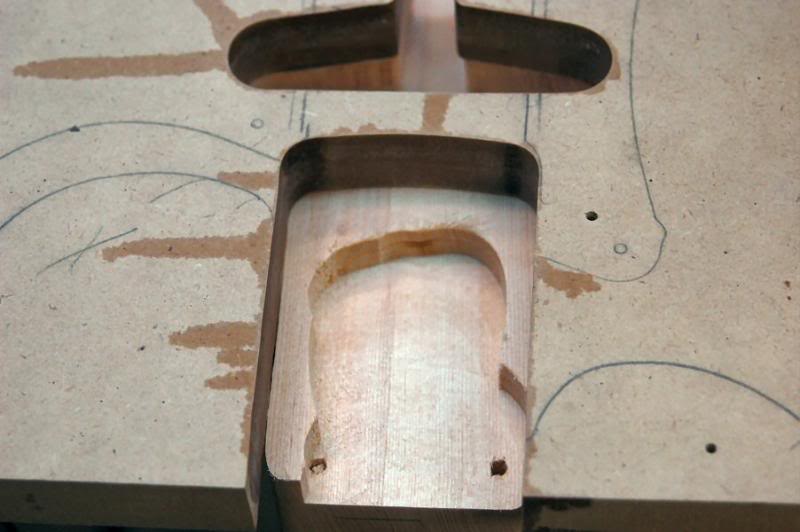
We now have the pickup’s routs to the correct depth. I’ll do the electronics in a later step. Now to the neck pocket. I do this in two cuts too. I set the router to cut approximately ½ (not at all critical) of the depth in the first pass.
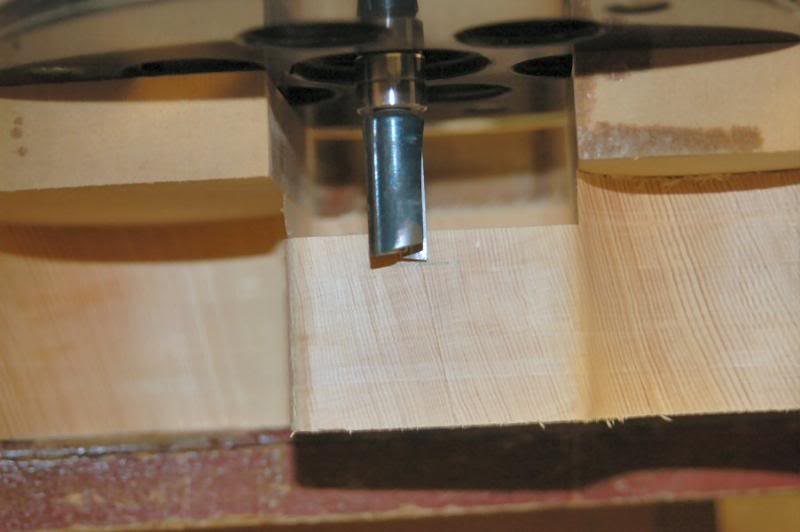
Then set the depth to the correct depth, 5/8th in this case...
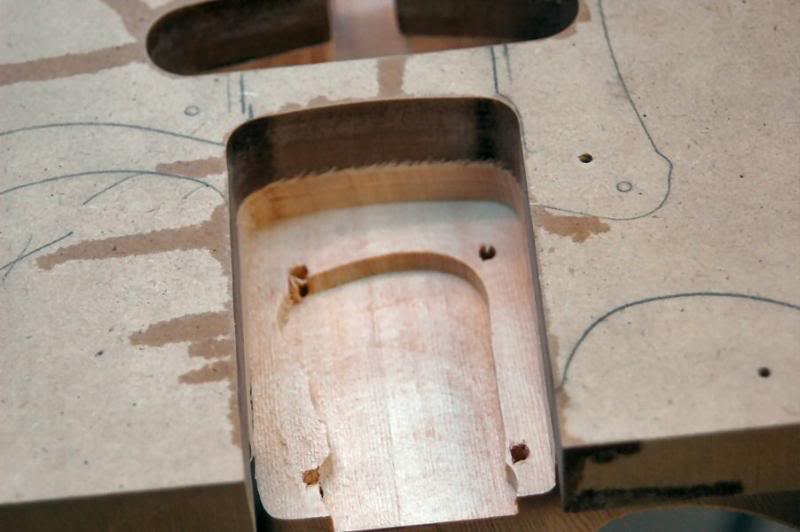
and remove the remaining lumber.
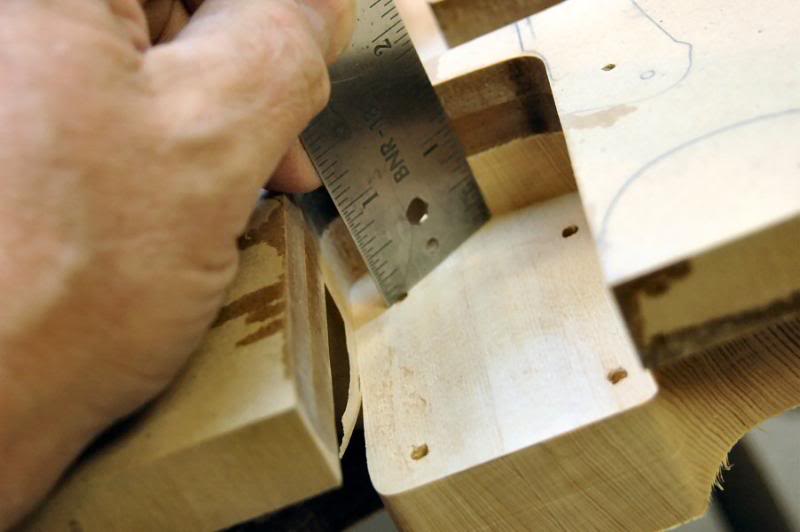
Then be sure ya haven’t screwed up. ... Now it’s time for the rest of the electronics rout and the Jack hole. The finished depth is 1 ½ inches deep, we are now at ¾, so again I’ll take half out, then the remainder. I do it this way because a top bearing pattern tracing bit of ½ inch diameter has a shaft ¼ inch diameter, and while a shaft of tool steel may seem solid enough, the forces imputed by the router are tremendous. If you try to take the whole 3/4 inch out in one pass, the probability of the shaft breaking and making a mess of your work goes up exponentially.
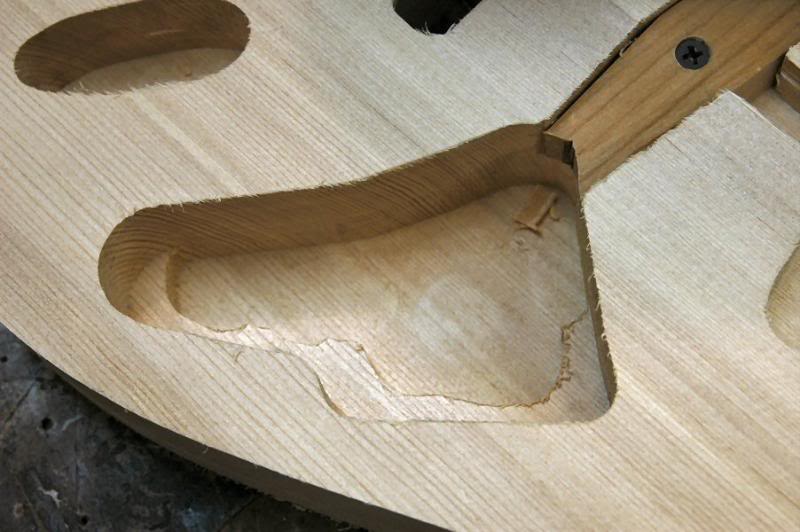
Now, remove the template. Using the existing walls of the electronics rout we will plunge on down. In this shot you can see the small block I made to fit into the Bridge pickup rout to provide a “wall” for the bearing support as I rout in that area.
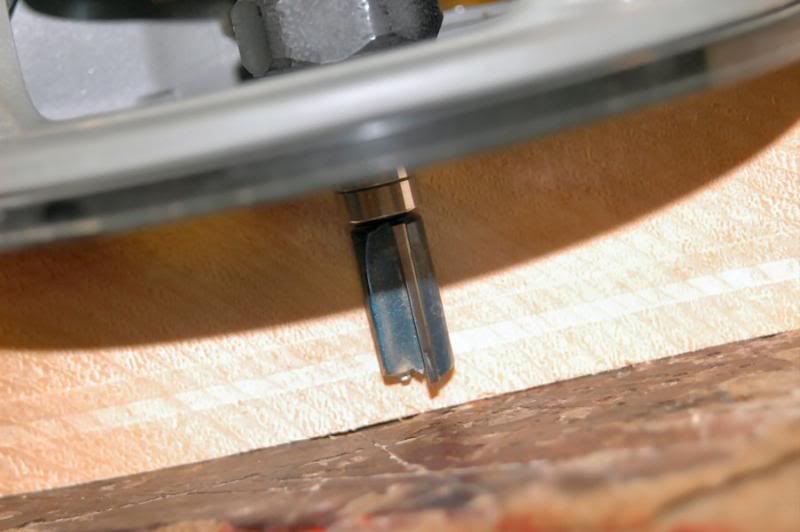
Once it is routed half way, I use the edge of the body to set the router bit, no chance of making the fatal mistake of reading 1 ¾ as 1 ½ that way. Rout the remainder, and use the same method on the Jack cavity too.
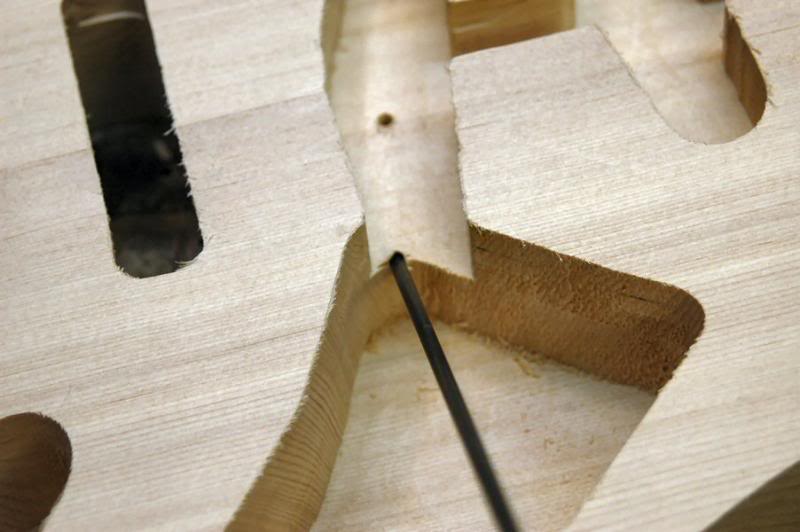
Remove the block from the Pickup rout and we’re done. At this point I will drill a few necessary holes, the ground wire between the cavities...
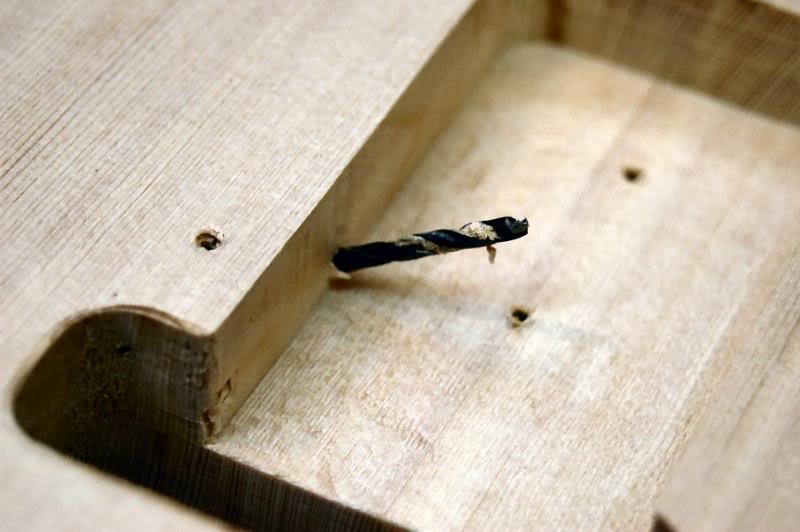
through to the spring cavity.
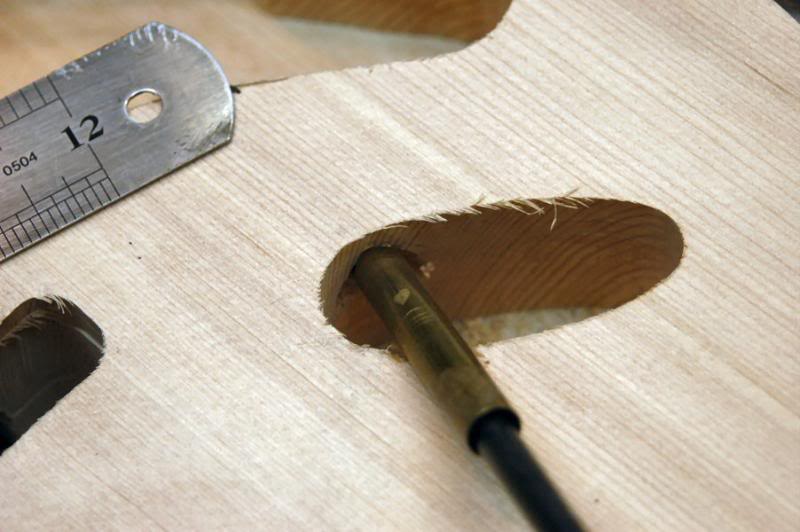
Now we gotta get the wires from the Jack rout to the electronics. The brass sleeve is to protect the edge of the rout.
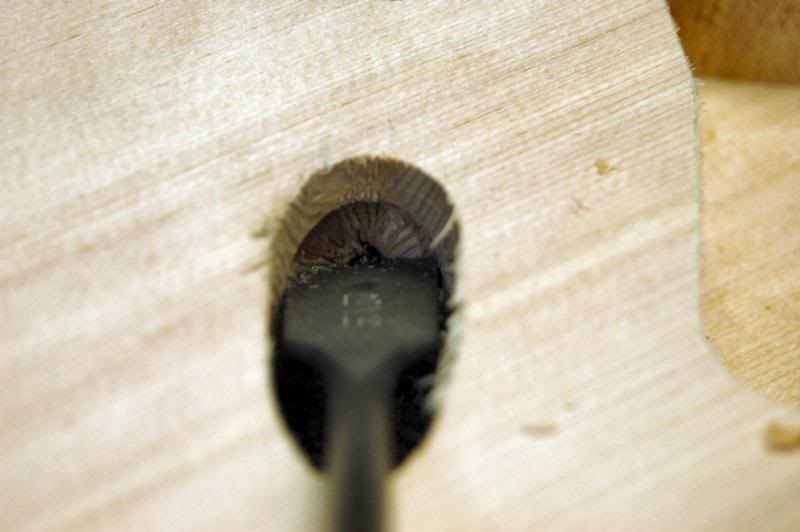
On contemporary bodies, a hole is cut inside the Jack rout to allow a bit more relief for the jack’s spring contact. Without this, getting everything in correctly can be a challenge.
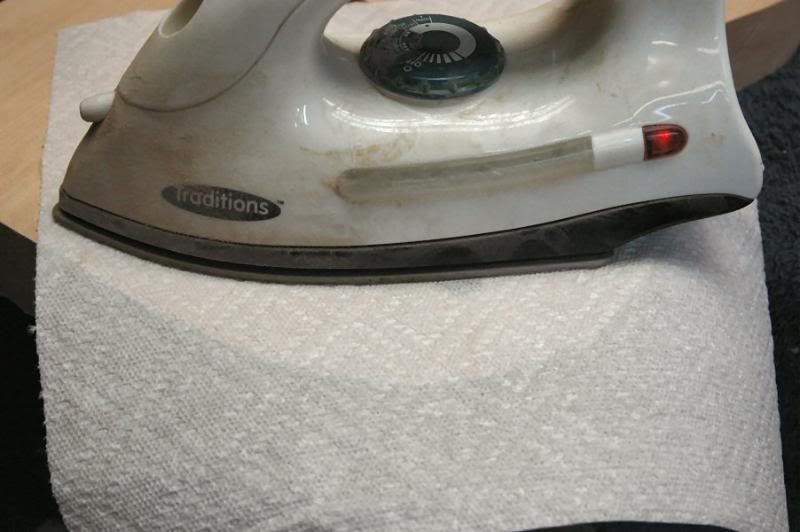
Now, if while drilling from the Jack rout to the electronics rout, you dented, pressed, mashed, squshed, etc, etc, the lumber, here’s an old trick. Put a few drops of water on it, press a paper towel on it, take a hot iron, and that forces steam into the first few fractions of an inch of the surface, causing the wood fibers to expand, forcing the ding back up and out. Then sand and it’s gone.
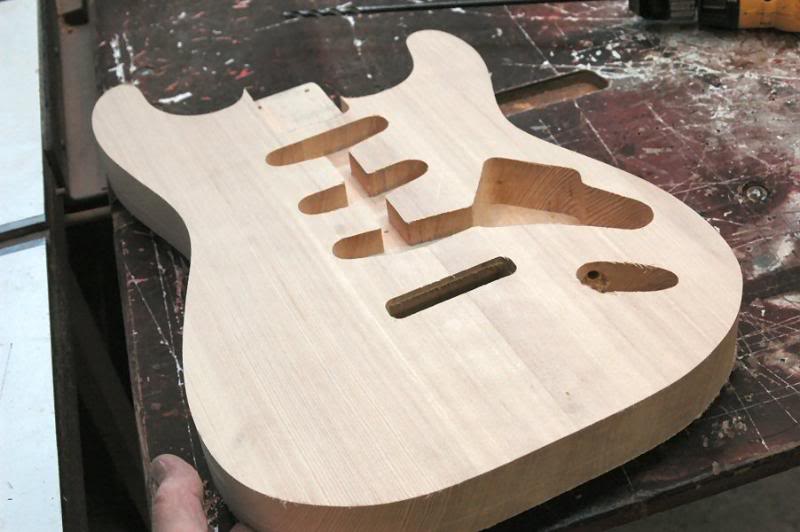
At this point it’s complete except for the contours and final sanding.
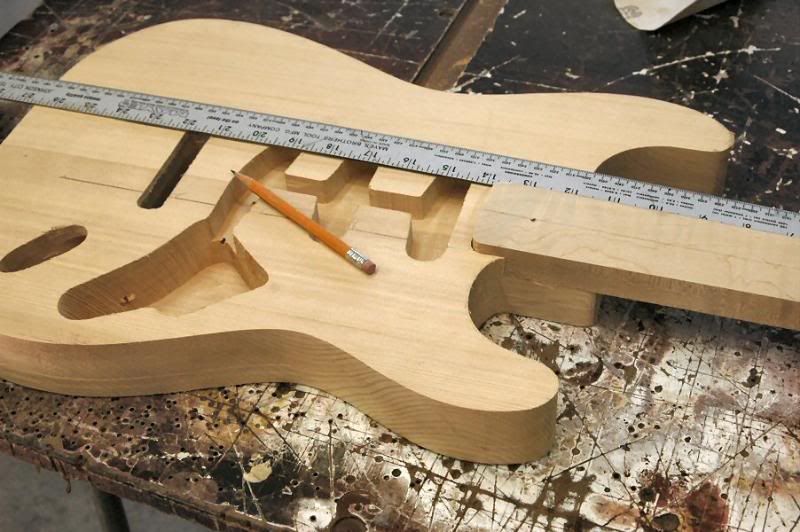
At this point, I want to be certain, that everything aligns correctly. This is one area many neglect. Crooked things give a very “home made” appearance. Just to be sure, I set a neck in the pocket and take a straight edge and extend the to the tremolo cutout.
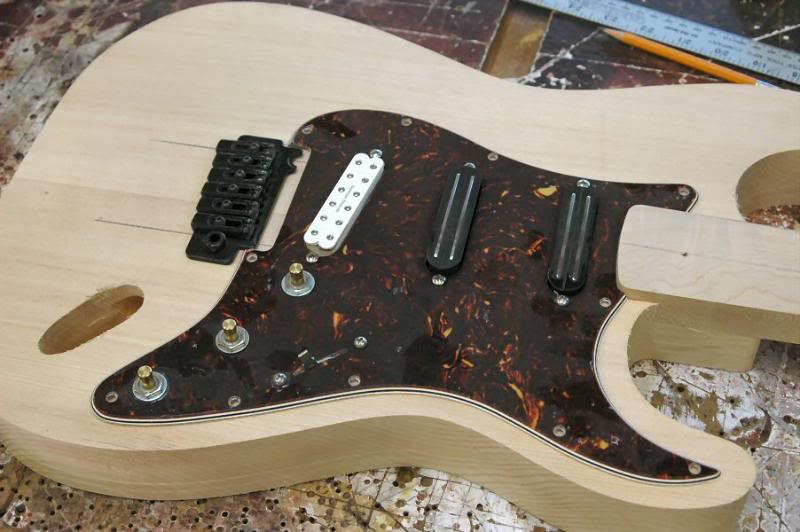
Then place the loaded pickguard and a Tremolo, and see where everything falls, if all is good, let’s get ‘er done.
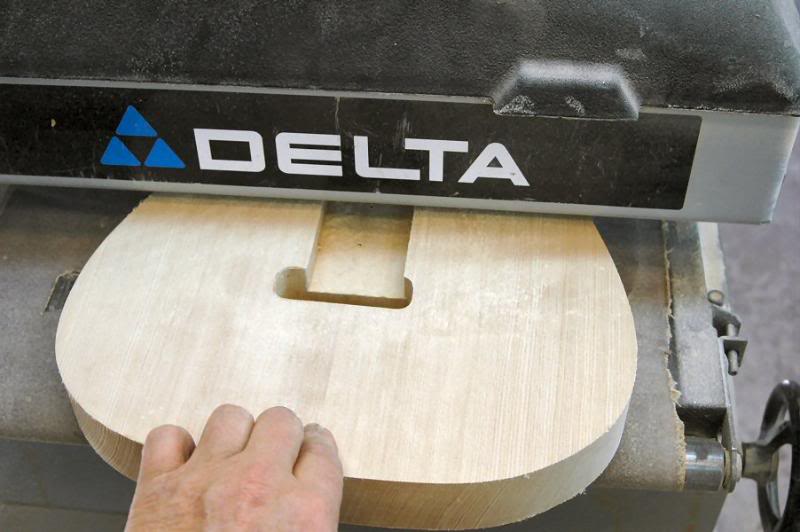
So now, we’re good to go, so back to the panel sander to take a few thousandths off the top and bottom to clean everything up.
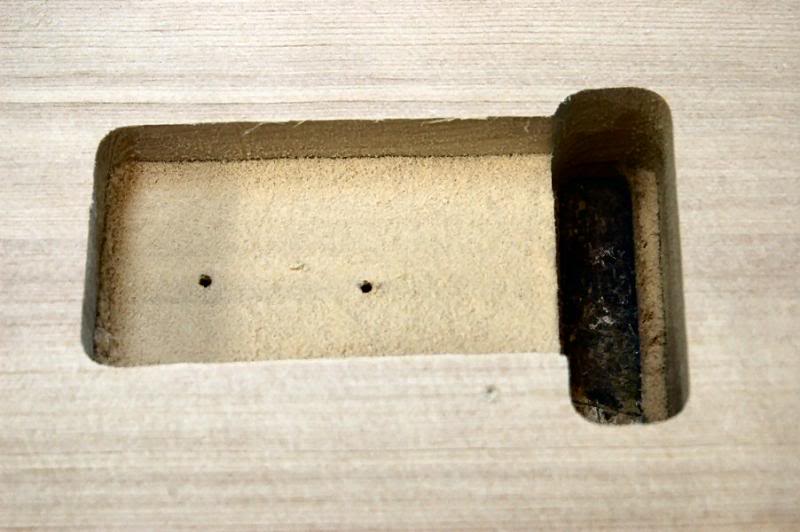
Remember the router collet being too low and burning around the Back Tremolo rout? It’s gone now.
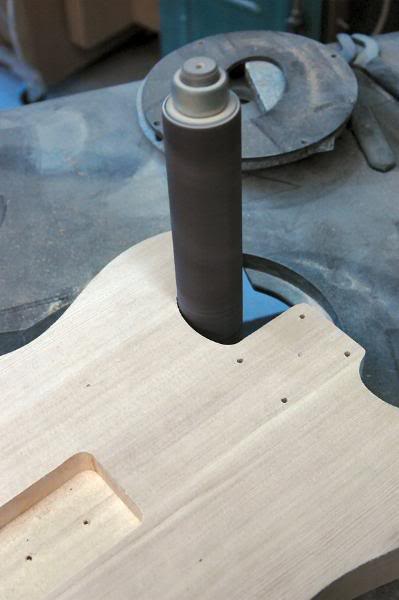
Prior to routing the round-over, I want to sand the outside edge. Sanding? Now? Yep.. I do this now because the bearing on the ½ inch radius round over bit will follow the edge, any irregularities will be reproduced in the rounded over edge, producing even more sanding.
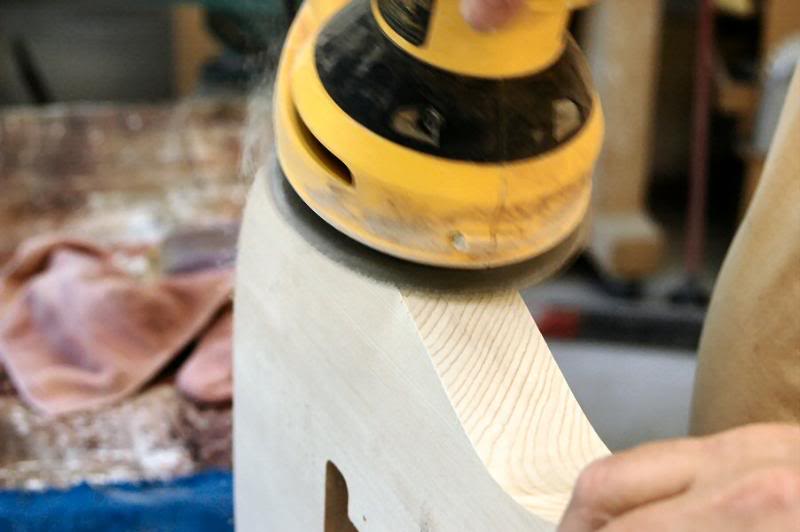
I use a spindle sander inside the horns, and a random orbital on the outside edges. That’s this time. I generally grab and use whatever tool is the handiest at the moment,.
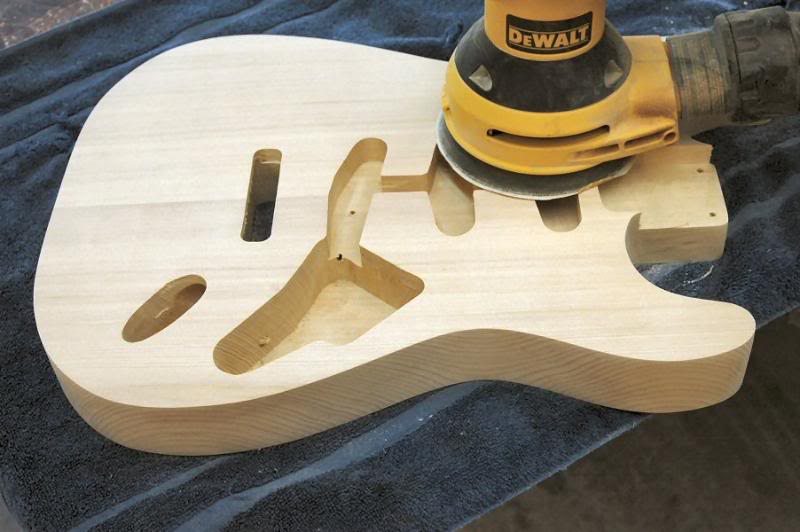
I’ll give the top and bottom a quick touch too.
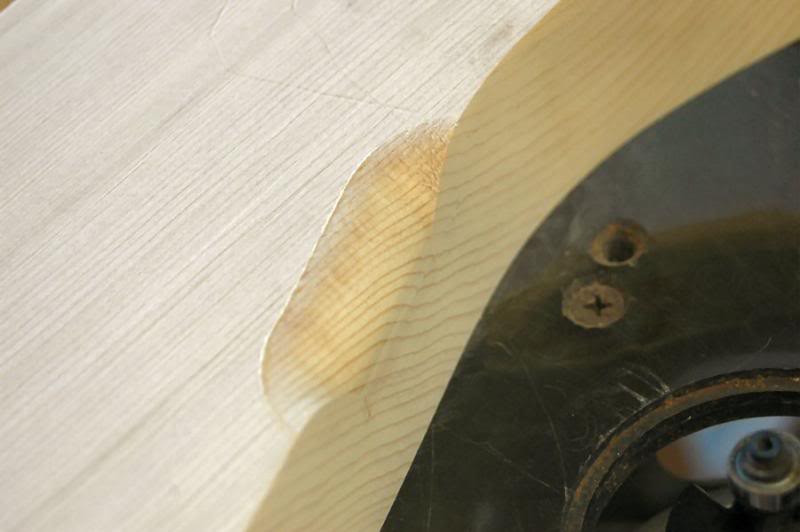
Now, set the router bit, and check the cut, note here I am testing it on a section that will be removed when the back contour is cut. I set the bit to cut just a few thousandths more, the “fuzz” will be removed during sanding.
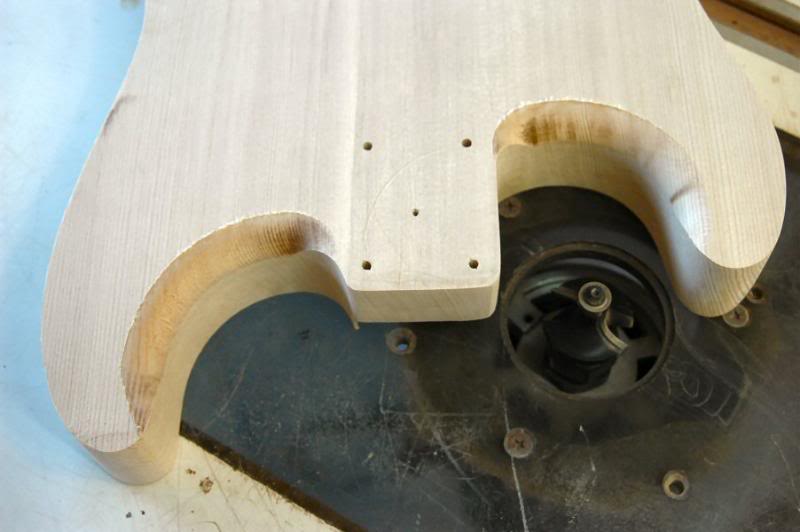
When I do the round over, I do the back side inside the horns first. This is because you must stop a little short of the neck heel, and finish the round over into that section by hand. By making a habit of doing it in this fashion, I automatically think of it, thus preventing routing too far.
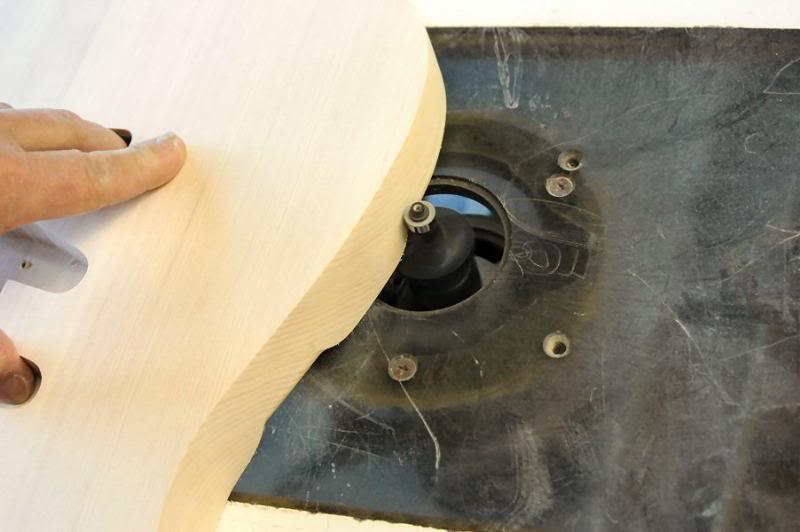
Once that is done, it’s simply a matter of going around the body.
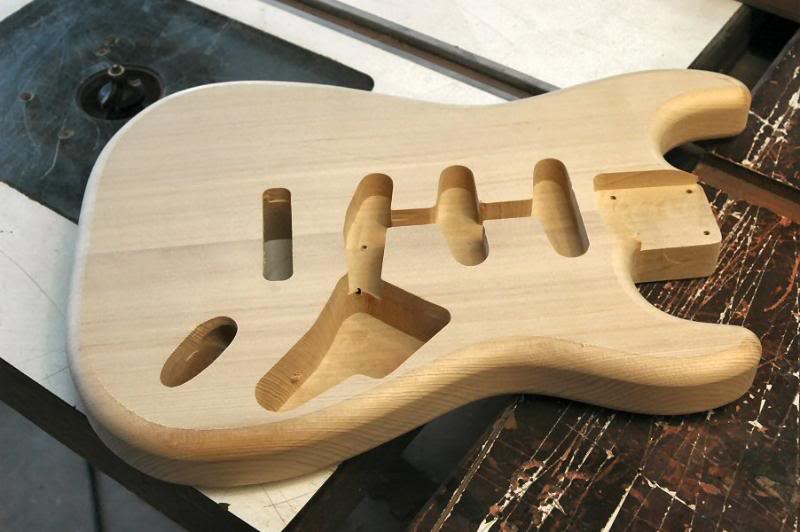
On the top side, I continue routing into the neck pocket, this produces a natural round right up to the edge of the neck pocket. At this point the body is lookin’ pretty good….
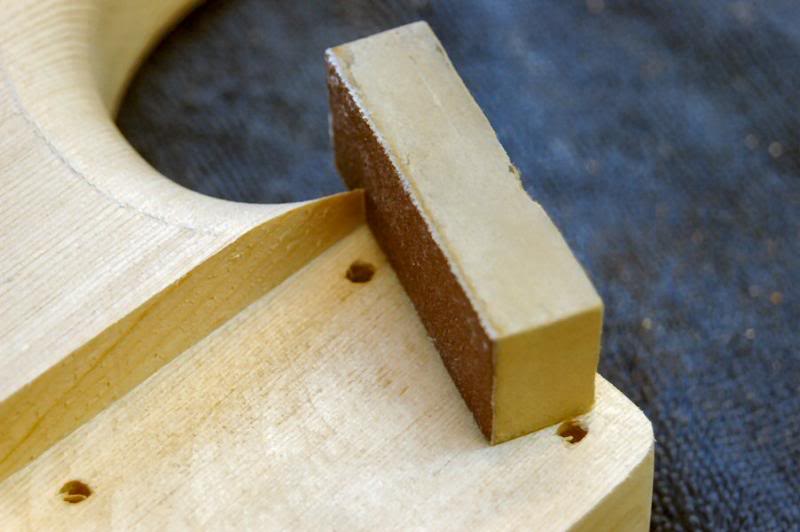
Take a small block and sand the edges carefully, you don’t want them too thin because you’ll snap ‘em off.
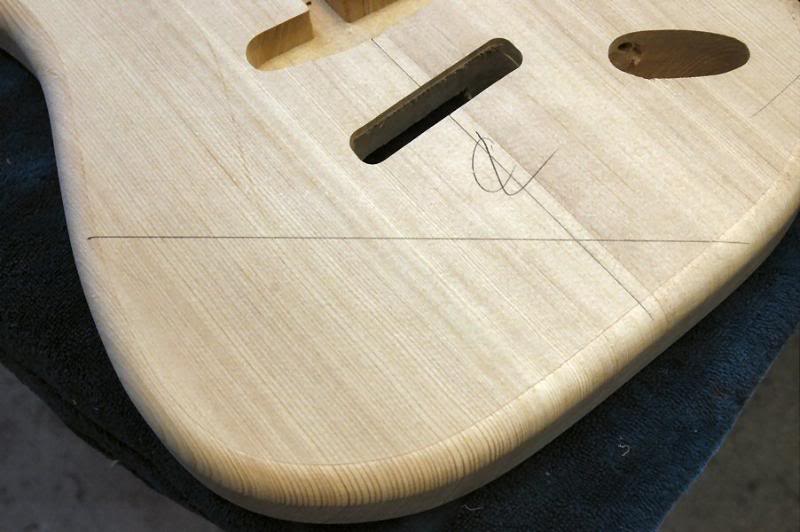
The vintage S-type had much more pronounced contours than those seen on many guitars today, the arm contour extended well below the centerline. I draw a diagonal line as a guide,
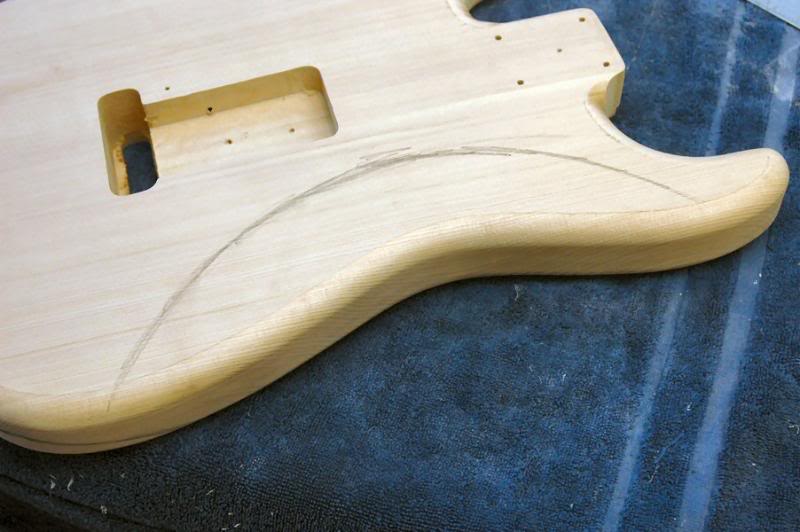
And while I’m at it I’ll mark the back indicating the back contour.
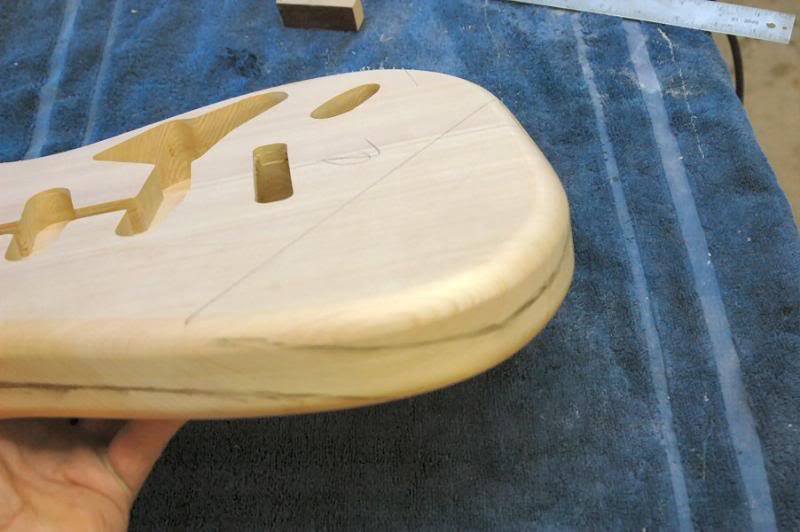
Then I mark the approximate depth of the relative cuts..
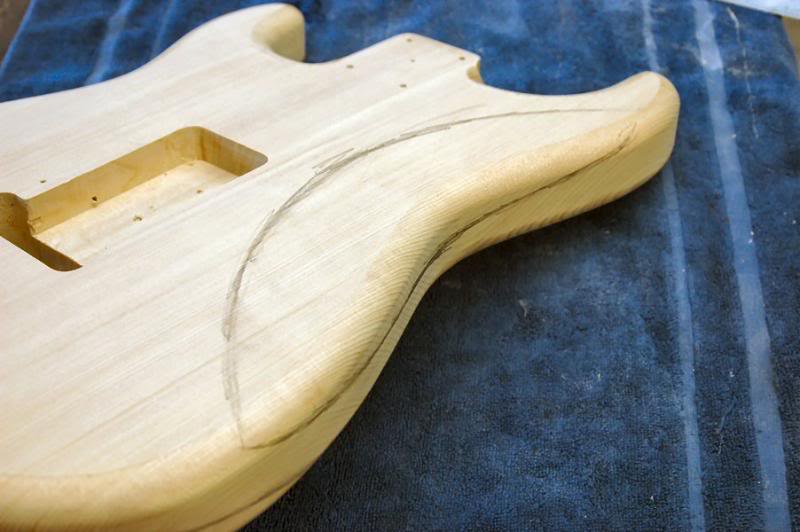
So now I have a problem, all this wood is in my way….so with the finesse of a stick of dynamite, I select an appropriate tool..
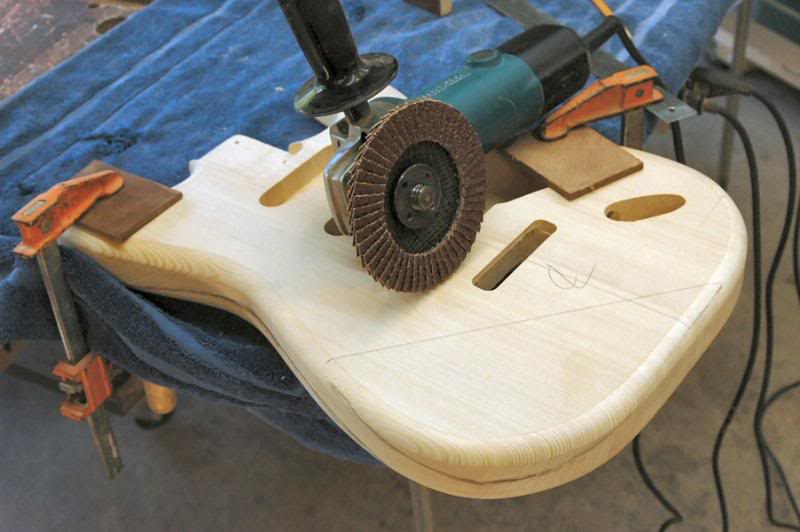
So with all that lumber in the way, I use a very aggressive grinder to rough it out, some us a band saw, but whatever method you select is fine.
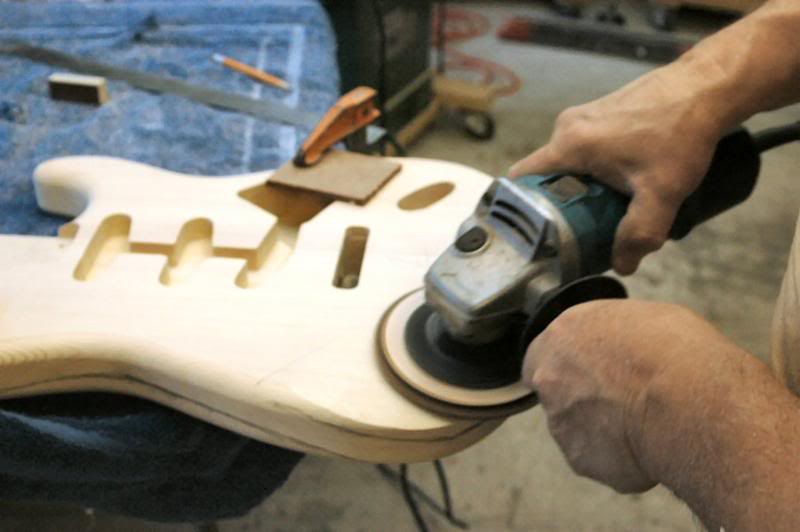
I simply remove the lumber to approximately the depth I’m looking for.
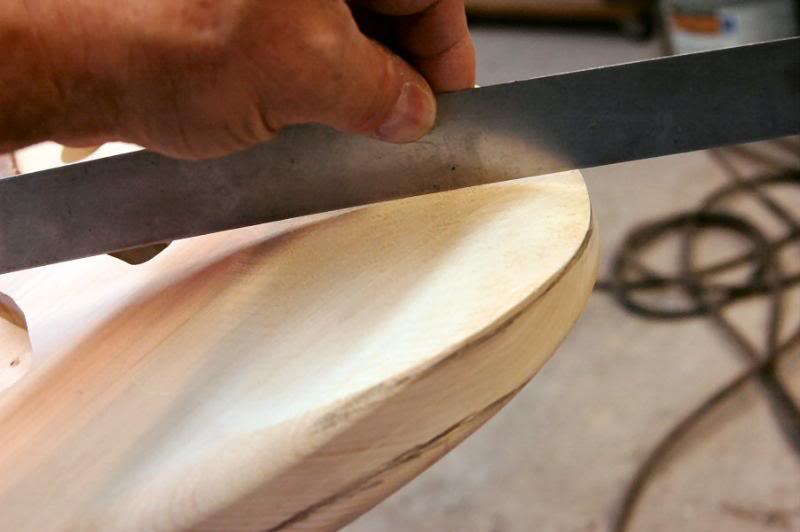
One thing to note, I have seen many done where the contour is way too flat, it should have a nice round contour, on one axis, it is NOT a compound curve.
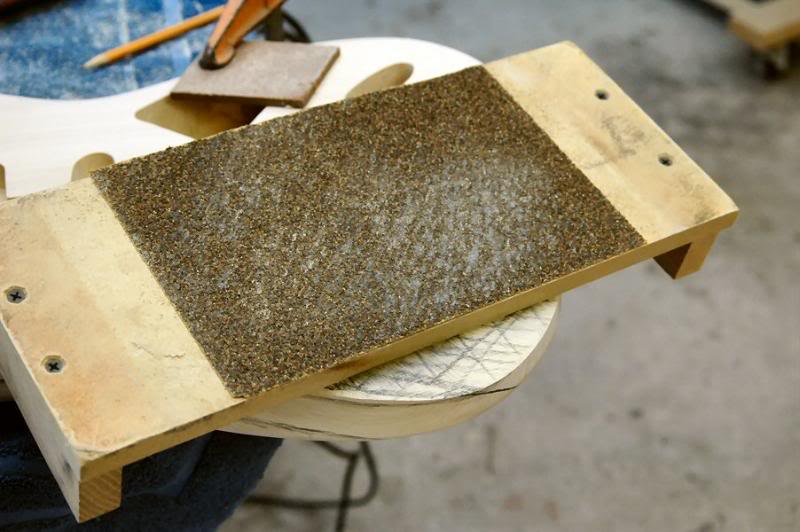
Once it is about where it need to be… there are several ways to do this, the most accessible tool would be a 6 inch wide piece of flat material with some coarse sandpaper glued to it. Using this you can remove massive amounts of wood quickly.
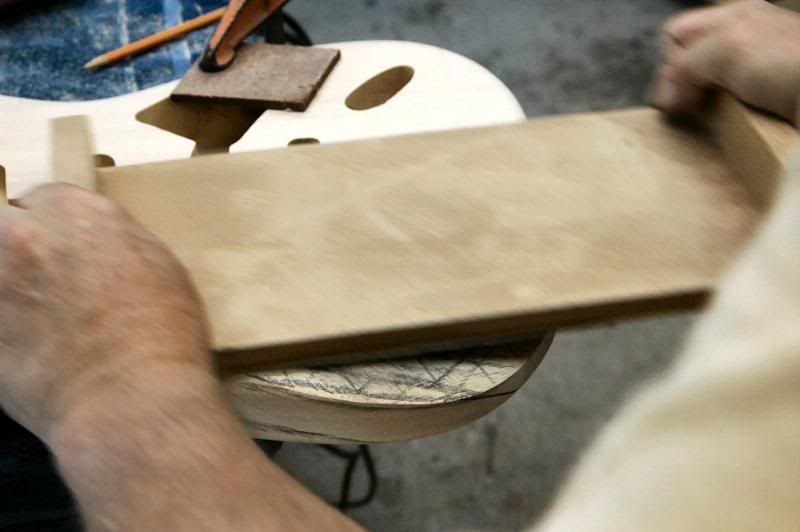
Using the block, continue sanding until the contour looks pretty flat.
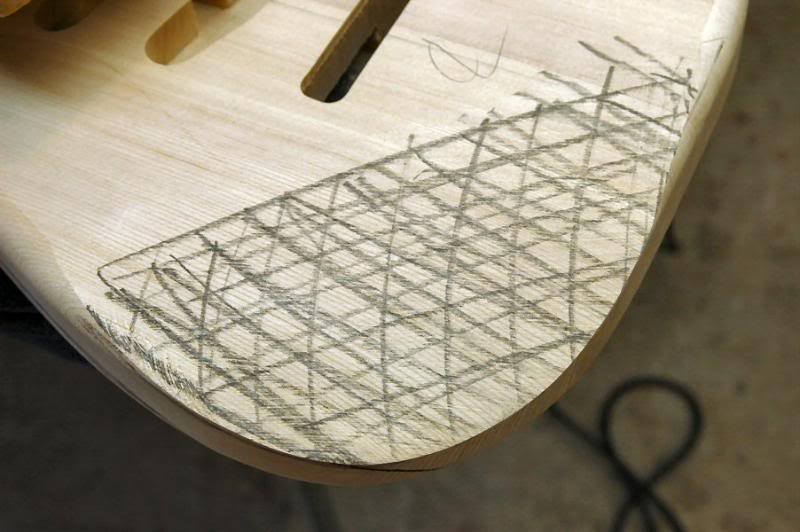
Mark up the area with a pencil, this will allow you to see any low areas. Stopping before getting it all consistent will result in a very poor finish.
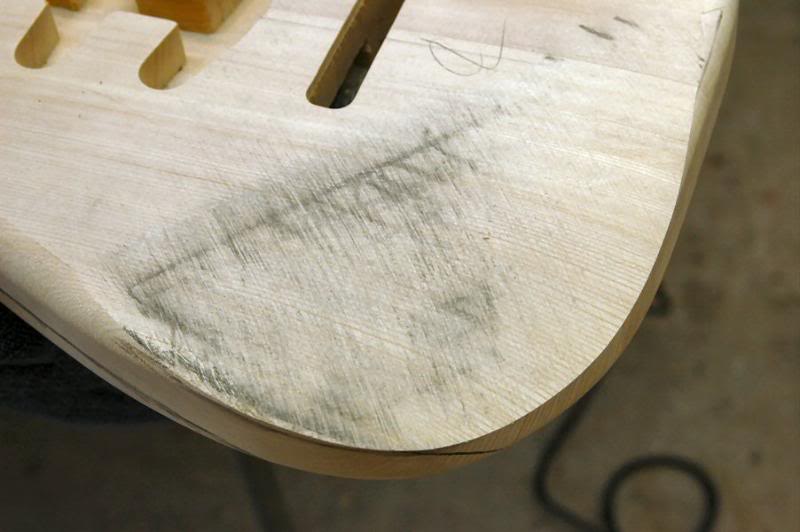
Now continue sanding with the flat block, observing the pencil marks. Continue until they are gone.
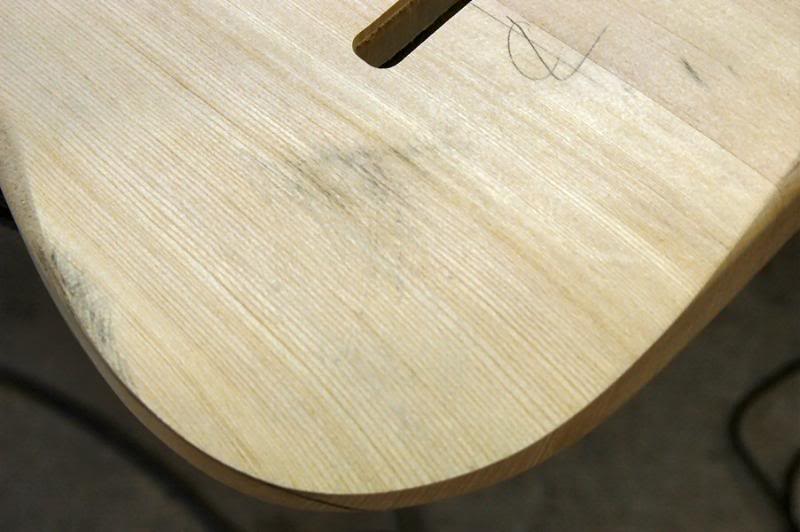
Once they are gone, finish sand with your sander of choice, to about 150 grit.
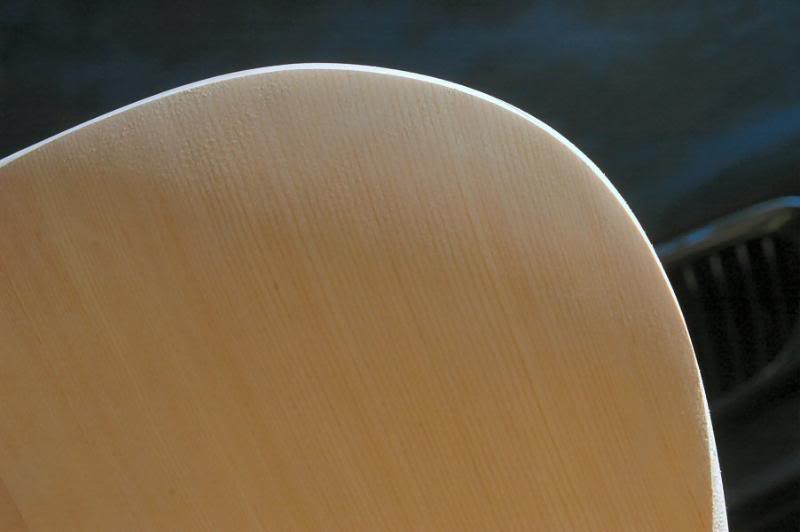
Now, I get “green” using all natural resources, I step outside and allow the sunlight to fall across the contour, the shadows will reveal any irregularities, If any are seen, resume using the flat sander until you have s smooth consistent roll.
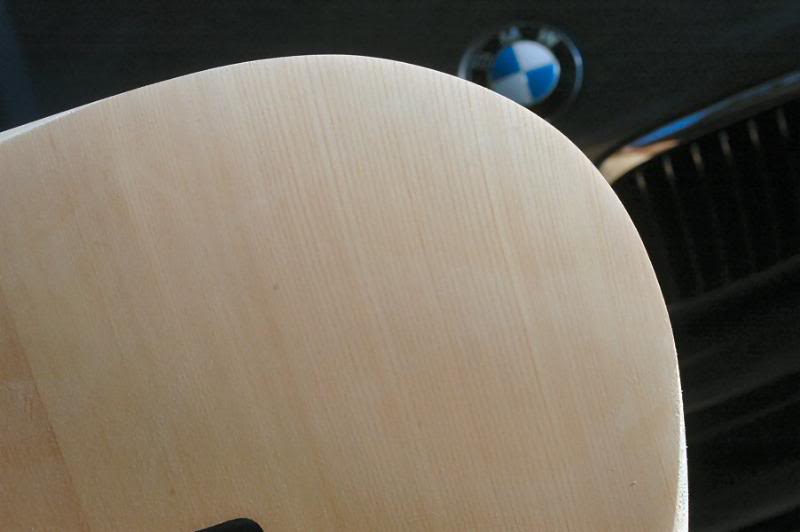
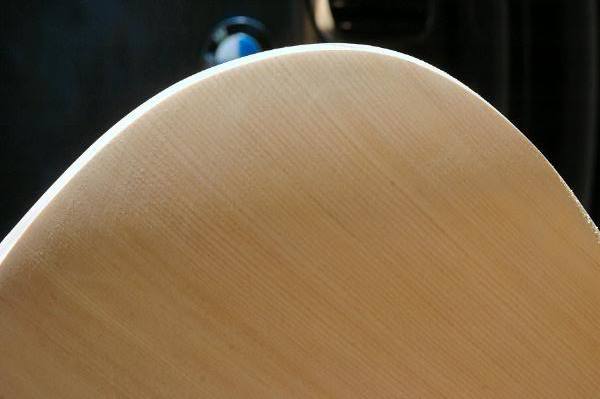
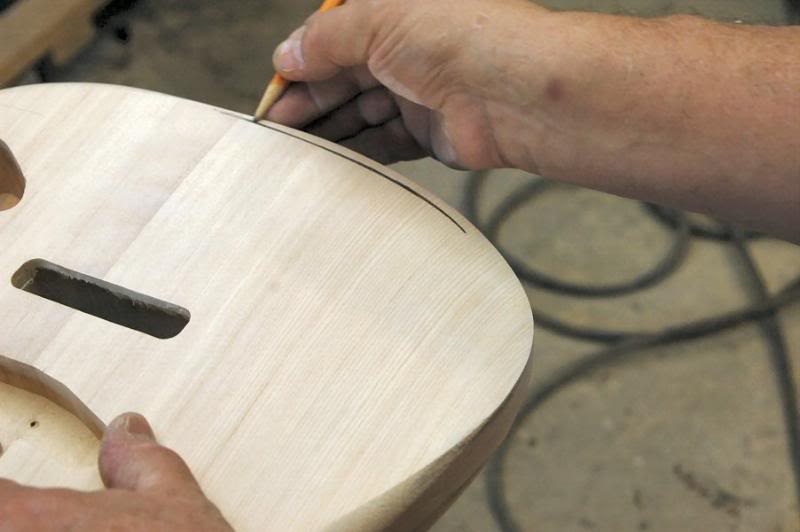
Now, we have to round over the edge. I mark a reference line that is consistent with where the round over done with the router, flows into the top.
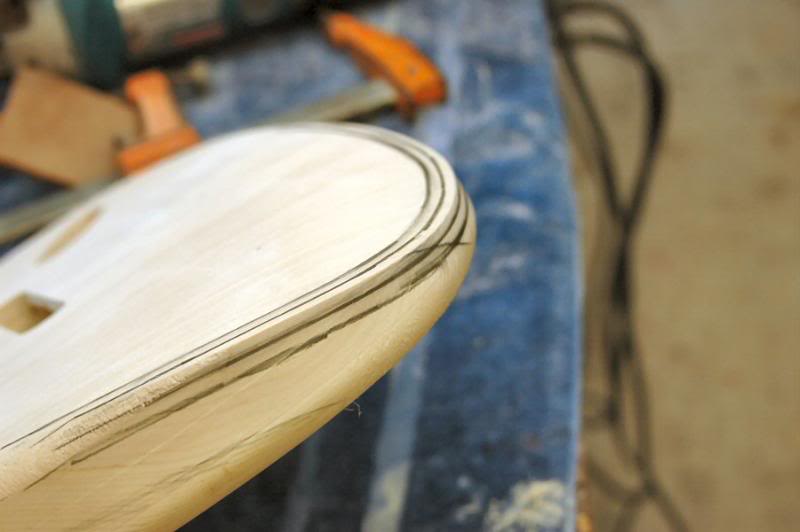
I then mark a second line about ½ the distance to the edge and repeat on the outside edge.
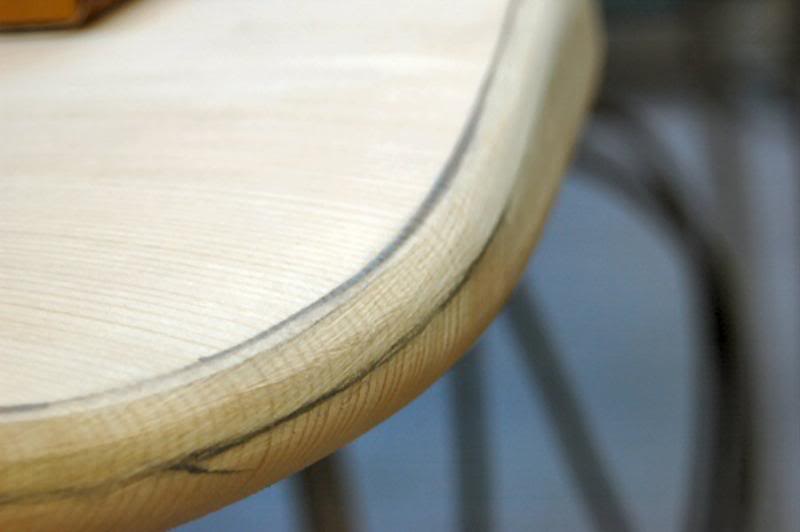
Now using a sanding block I make the first cut keeping within the inside lines, watching to make the cut consistent around the edge. When I get close I will use a finer sand paper to give me better control on the degree of cut. Here I am just about done.
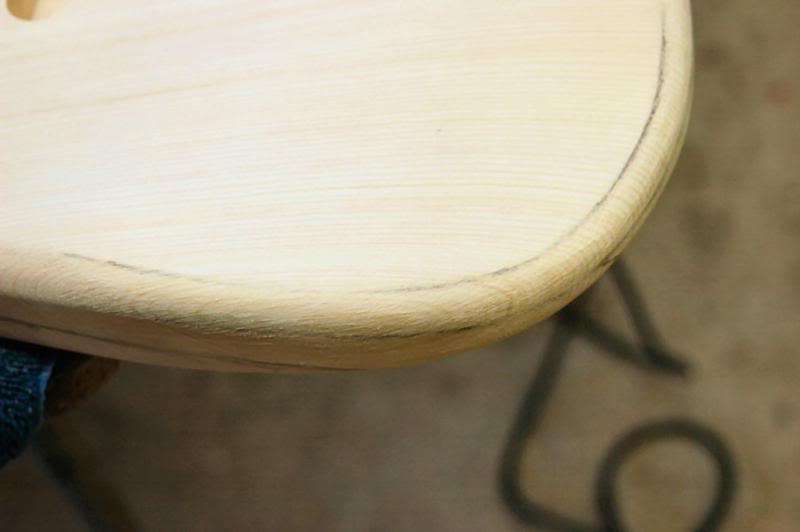
And here it is pretty much complete. Sure it looks pretty rough at this point. But this is fine for the moment. If you like you can give it the sunlight treatment to address any gross irregularities.
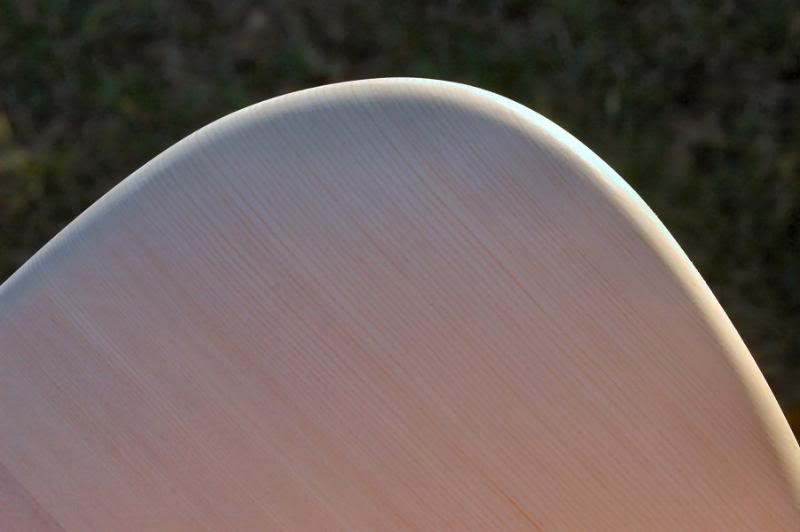
Here she is with the sunlight falling over the edge. I will not complete the edge round over until I am doing the finish sanding prior to sealing the lumber.
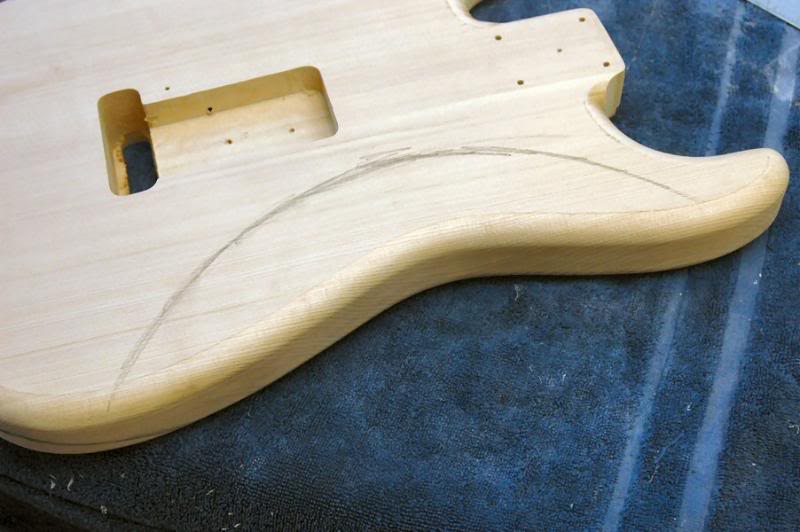
On to the back contour. I marked the rough location when I was marking the top contour, again, for those looking for precision in getting this exactly right, there was no “exactly right”. It was a hand process so it was pretty much up to the shaper as he removed wood.
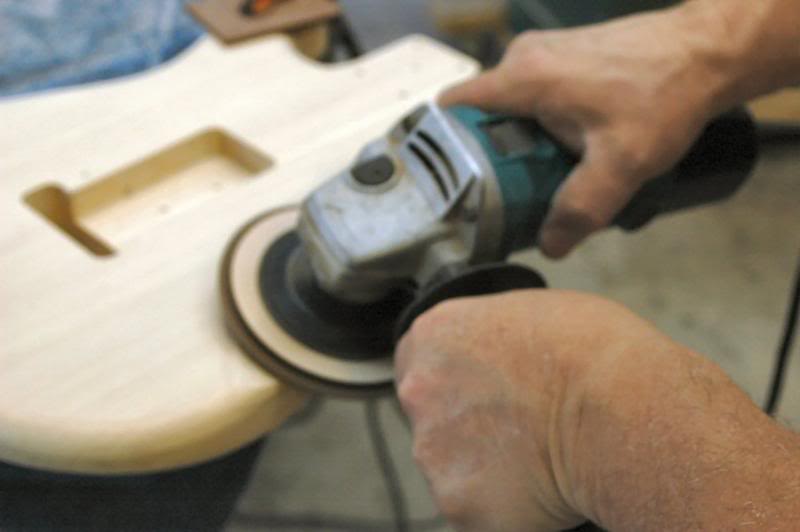
Using pretty much the same method as I did on the top, I use the grinder to coarsely remove the wood down to the approximate depth. I stand there and hold the grinder firm with my elbows anchored in my sides, and rotate from the waist; this makes it much easier to keep the radius consistent. Hey first timers, practice on scrap wood a few times first.
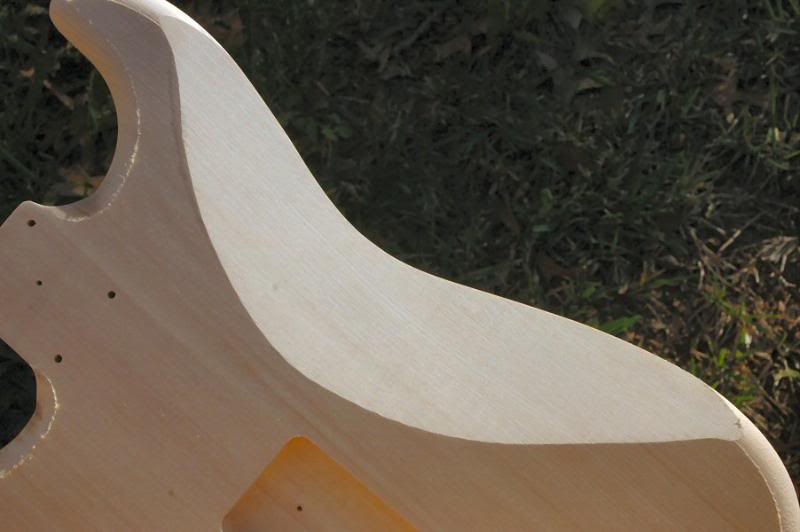
Once it’s roughed in, take a curved block, I made mine from a piece of 2x4, glue a course grit sandpaper to it, and begin sanding away…when you get close, do the pencil thing again to give you a visual reference, change to a finer grit and continue ‘till it passes the sunlight test. The mistake many make on cutting this contour, as well as the top contour, is making them compound curves, they were not. In the sunlight shot above you can see the curve is only radiused on one axis.
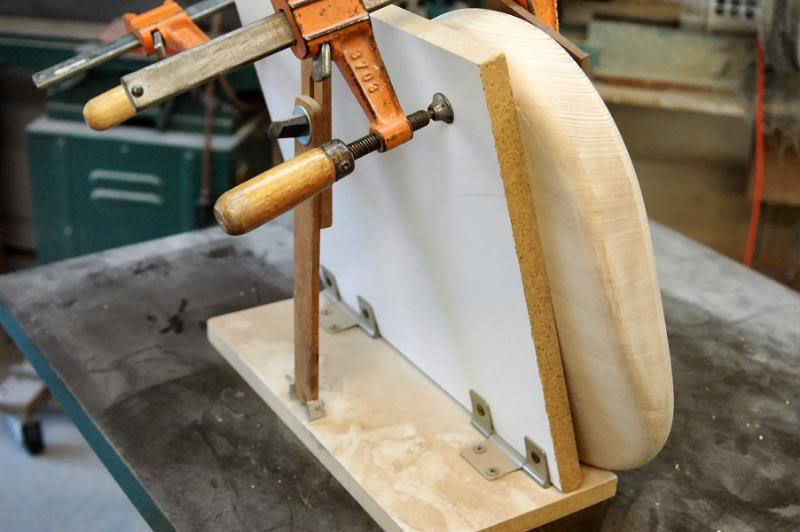
This is a relatively labor intensive method, so if you have access to a good oscillating spindle sander, you can make ya one of these racks to hold the body in position.
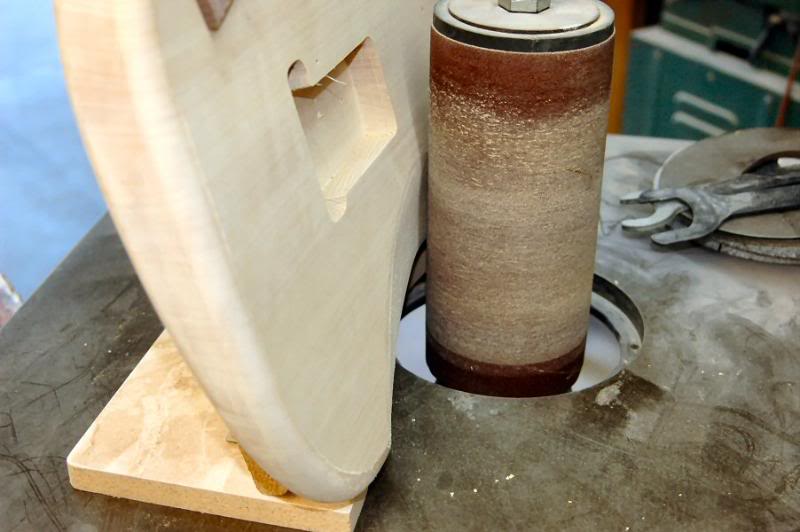
With the “jig” to hold the body I can move it against the spindle preserving the correct angle and keeping the floor of the contour flat.
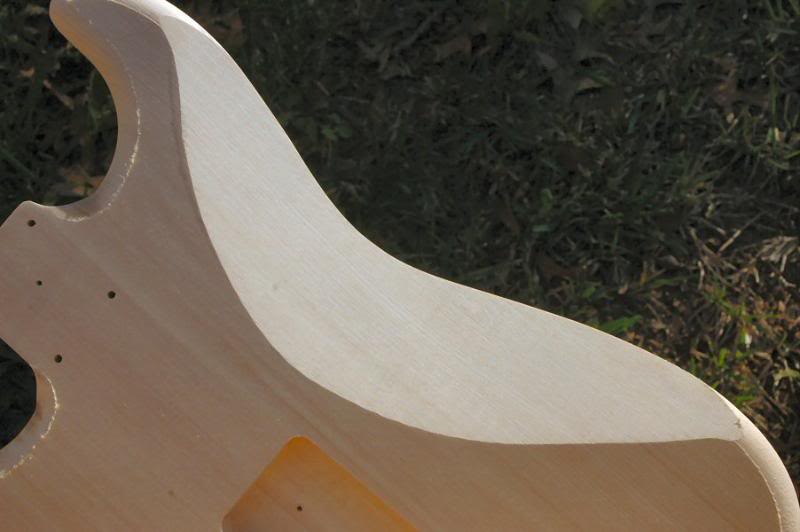
I just continue until I have the full deep contour seen in the 50’s and 60’s. The sunlight will tell ya when to stop.
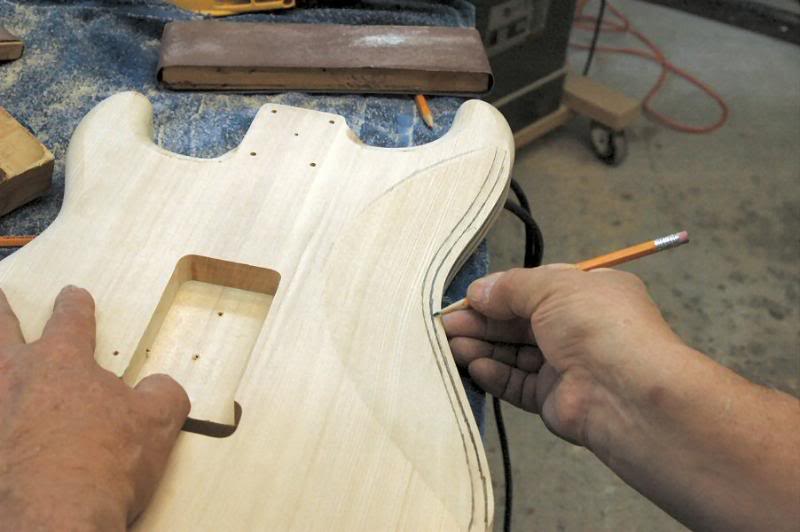
Now I mark the edge as I did the top to give me an indication as I remove the hard edge and roll it into the round over.
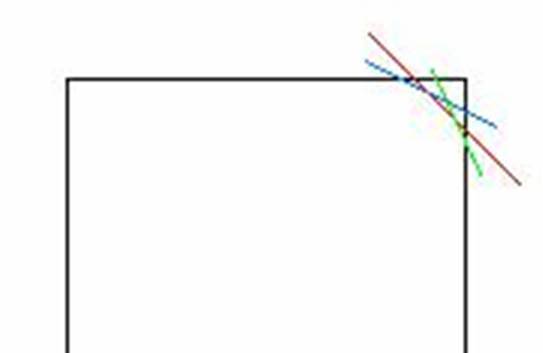
Using the convex sanding block I take the edge down to the first cut, then repeat taking it to the second cut. This illustration shows the 3 primary cuts, followed up with hand sanding to smooth it up into a continuous radius.
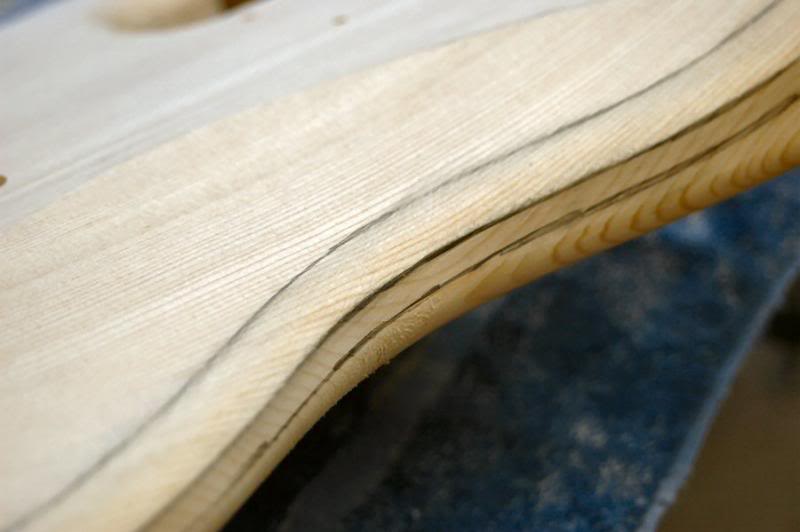
Here I have just about finished the roundover on the back side.
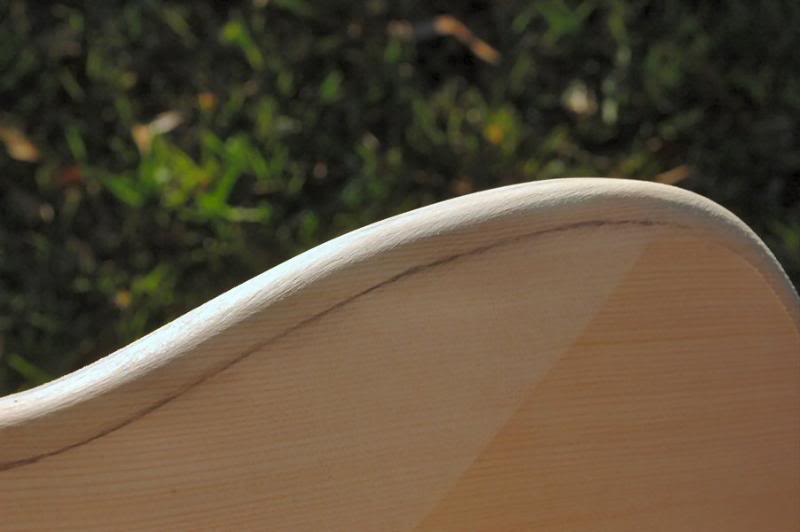
Then after a bit of touchup with a finer grade of paper I give it the sunlight test to note any gross irregularities.
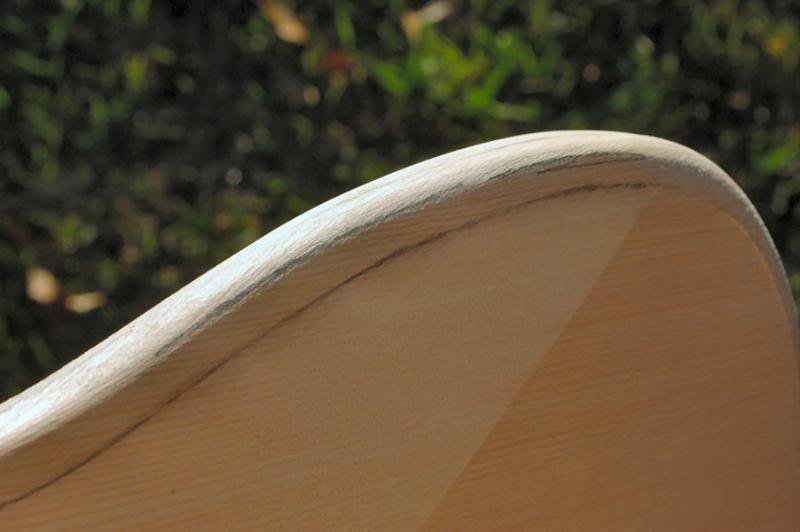
Some may be wondering how you get an acceptably consistent radius using a sanding block. It’s really quite easy. By moving the block down the edge it has a natural tendency to follow the previous line, cutting that line into “uncharted” wood. That, along with the sunlight’s shadow helps you know where the irregularities are lurking, so you can remove them.
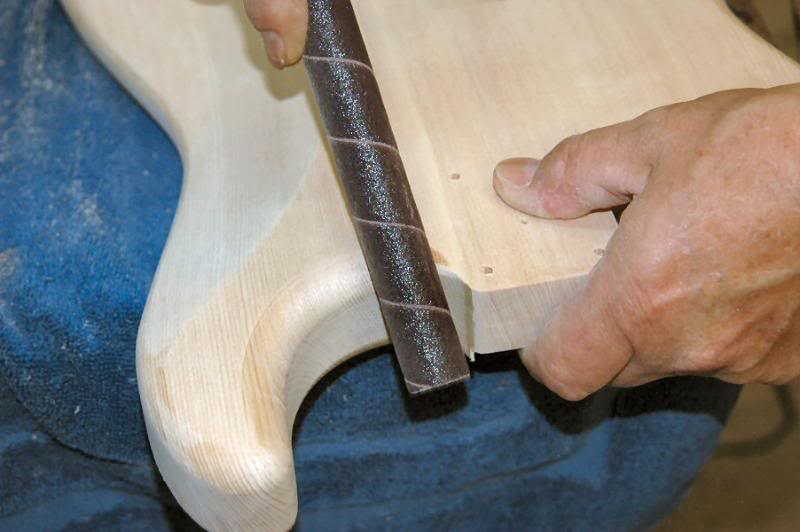
The last thing to remedy is where we stopped the routing before we got to the neck pocket’s heel. Using anything round with sandpaper attached, just smooth the abrupt edges into a continuous flow into the heel.
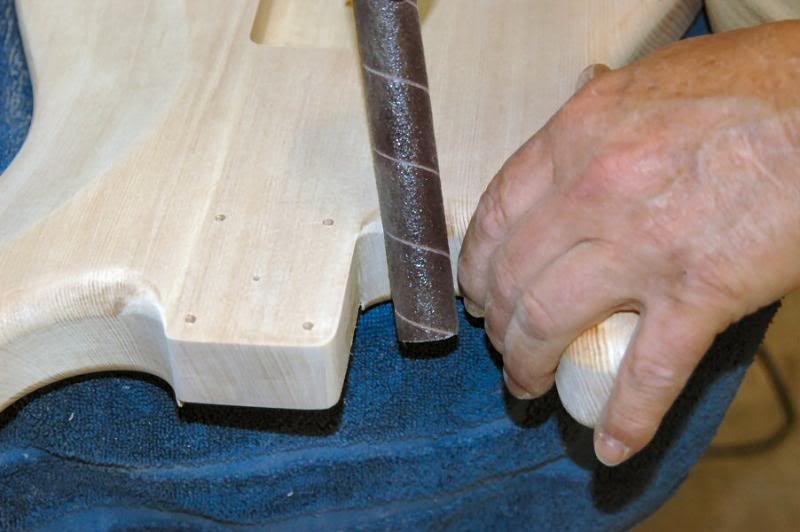
I do one side, and then I do the other.
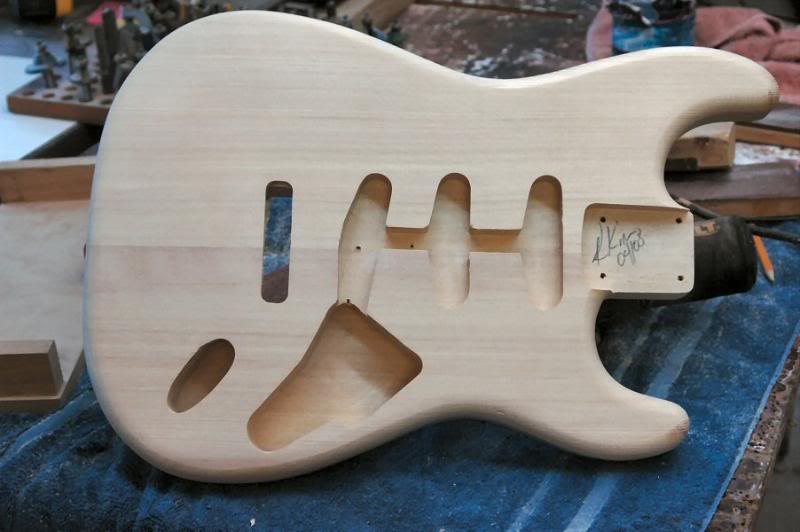
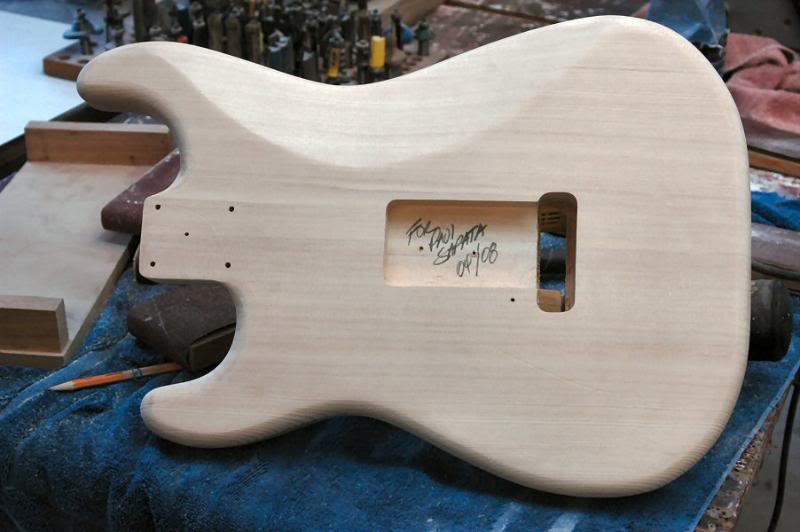
Now I will go over the whole body with a bit of sandpaper, about 150 – 200 grit, giving it a good look in the sunlight, checking to ensure all is well and there are no looming foibles. The body is now complete.. all that remains is final sanding with 320, then the sealer, then the finish.
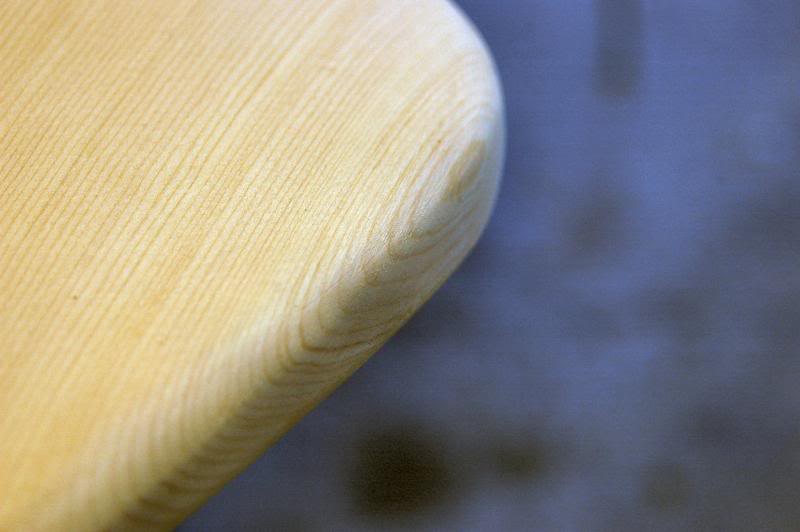
Prior to paint, I need to check all the hand shaping to be sure the curves and round-overs are smooth and liquid, not hard lines. In this shot you can see the round over is a little irregular, so I’ll go at it with a sanding block and something like 100 grit paper… carefully and gently allowing the natural weight and force of simply pushing the block to follow the lines of the body.
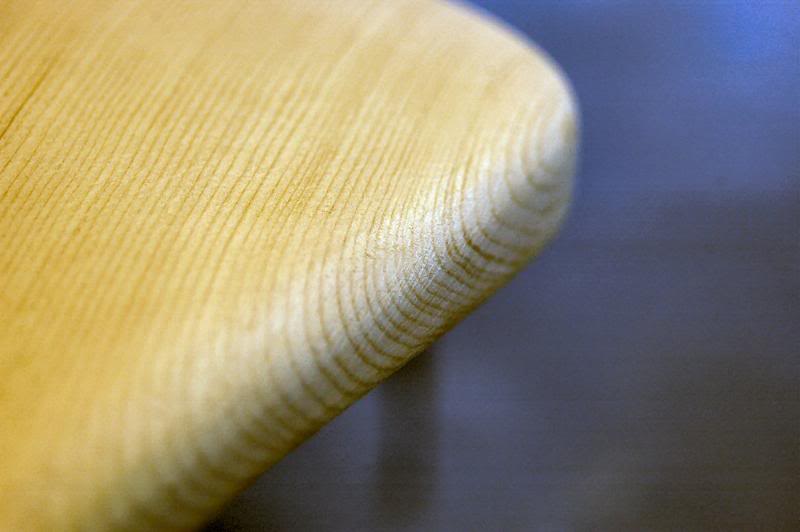
After a few strokes you can see it is a bit more fluid.
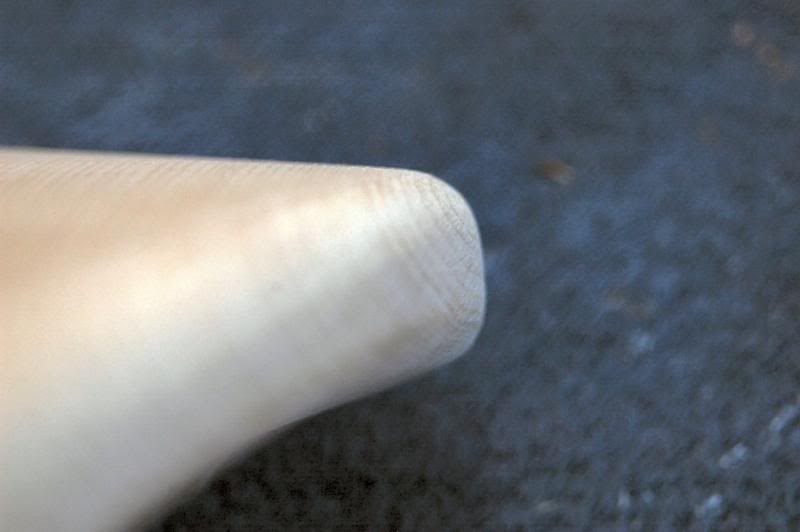
By “eye-ballin” down the edge you can see the round-over produced by the router, and compare it to what you are producing by hand. By rocking back and forth between the two you can see any areas in you work that need addressing.
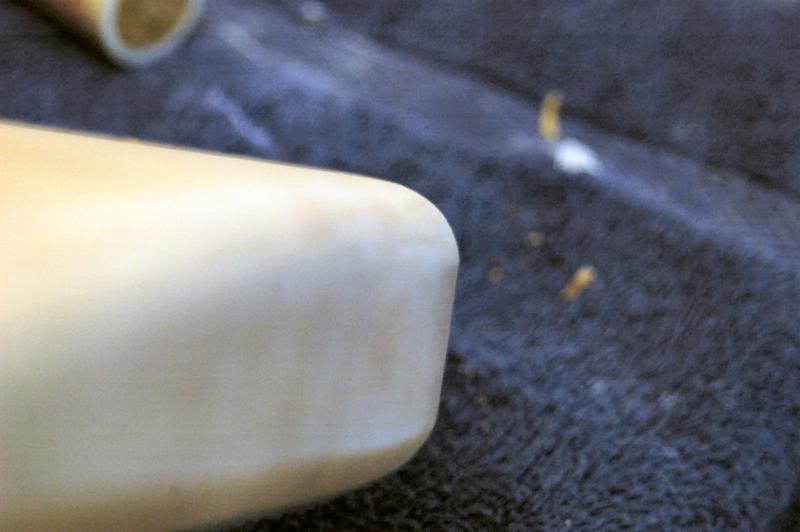
And that done by machine… you can see here the hard edge the light is making more apparent, that will be smoothed out momentarily.
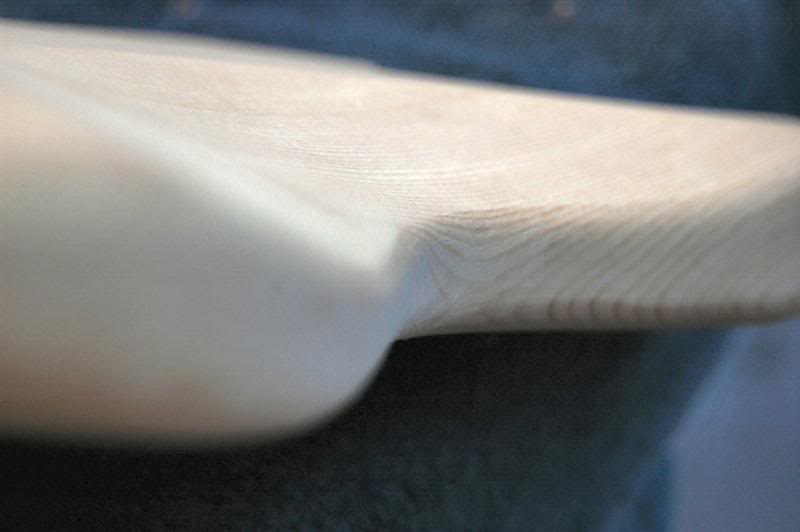
I use the same method on the back. Just checking and sanding out what doesn’t look like a Strat. Some may wonder why I don’t use a scraper cut to the ½” radius to shape the round-overs through the contours. It’s actually easier and faster to do it this way. Further, the scrapers will only track over a section of the body’s edge only as long as the scraper is thick, this introduces entirely too many opportunities for it to hit a piece of grain and dig in. Diggin’ in… not good… not good at all.
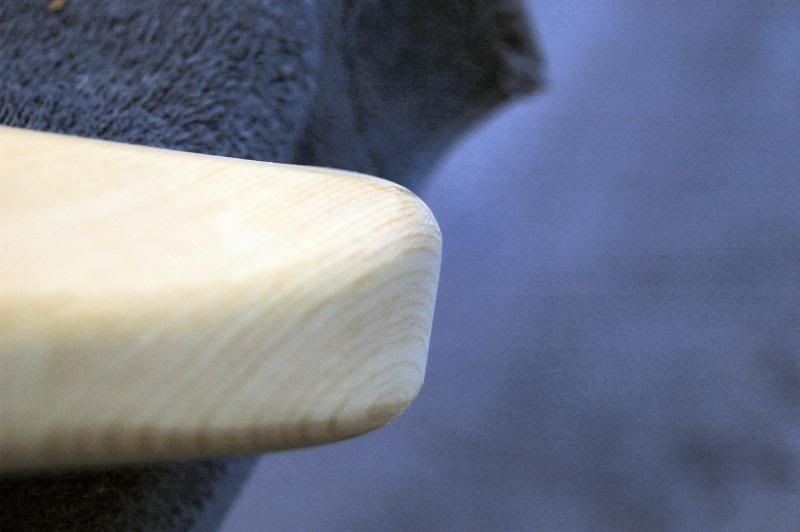
Here again, by checking the area done with the router and instantly comparing the part you are doing you will gain a good indication of what needs to be done.
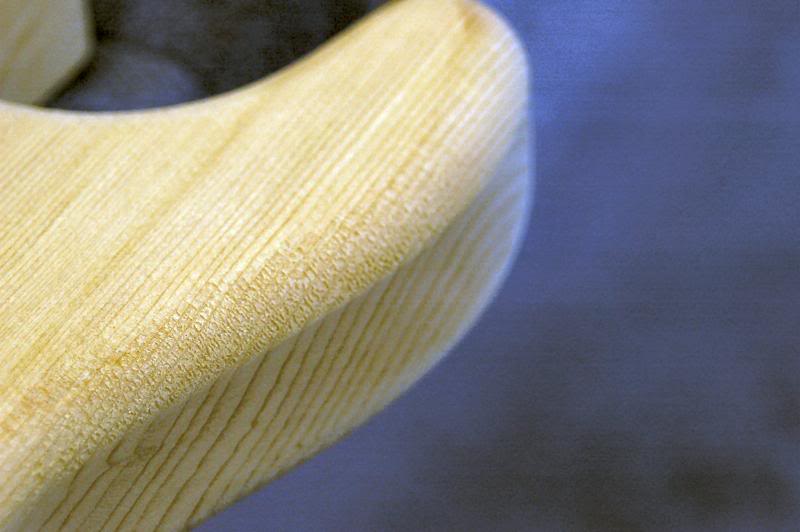
Once the round-overs are done, go over them with 150 grit sandpaper. Giving particular attention to the edges done with the router, you want to remove the mechanical appearance the machine leaves. Here you can see the hard edge as revealed by the sunlight.
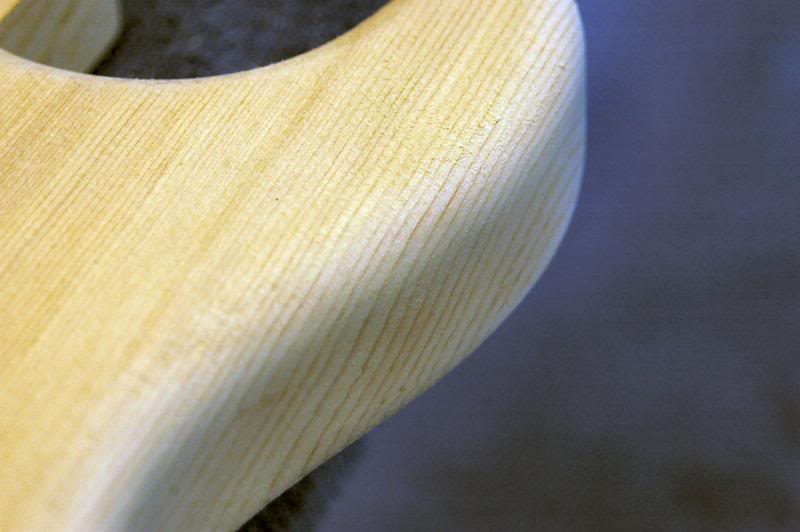
And after sanding the mechanical appearance will be gone, replaced with a nice smooth flowing curve. I’m spending so much time on the importance of smoothing the body, because it’s this kind of detail that separates the “off the rack” bargain guitar from the upscale piece. You’ll be checking the next time you visit the Guitar Mart, I know hehehe.
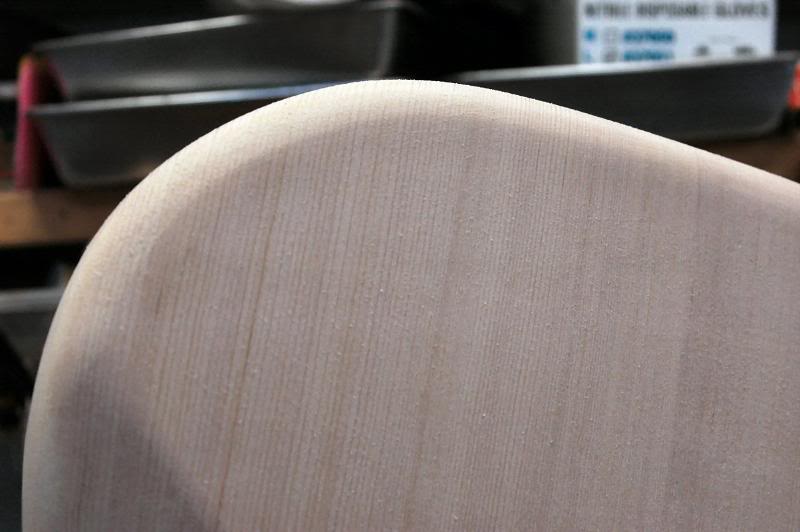
Now move up to 220 grit and do a final sand, if you’re doing an opaque or semi transparent finish, and 320 if doing a completely transparent finish. Here you can see things are coming together.
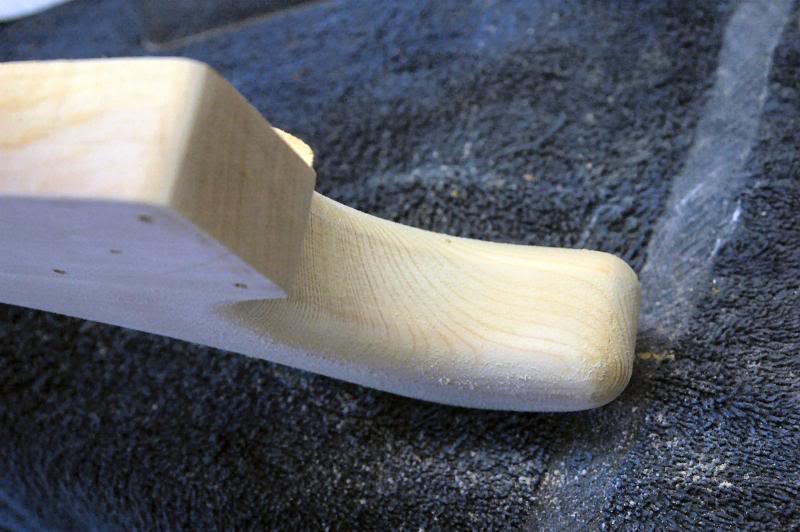
Check all those sneaky little areas you may wanna skimp on.
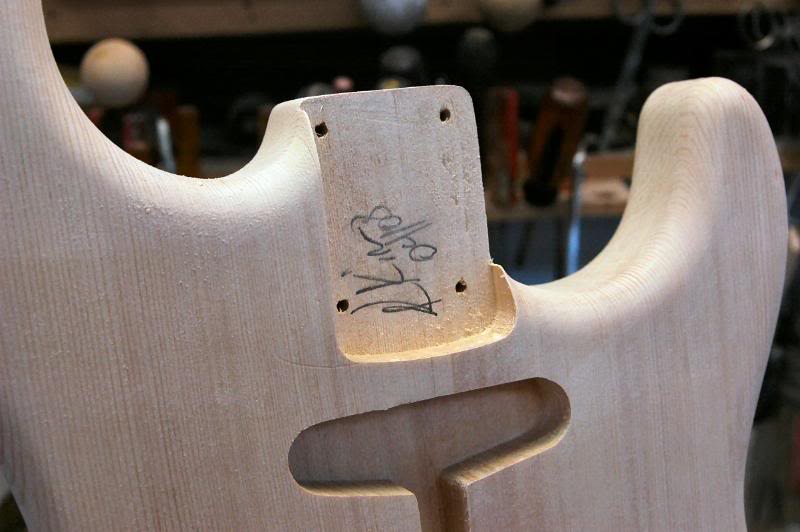
Here you can see the round-over in the horns, how smoothly they flow into the top surface.
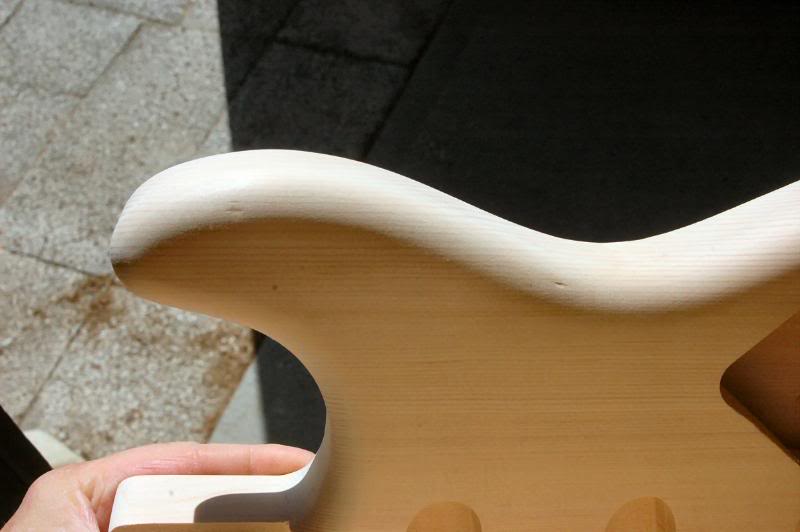
The sunlight is unmerciful in revealing things that have to be addressed, here are two small “dings” I have no idea what I bumped, but let’s get rid of ‘em.
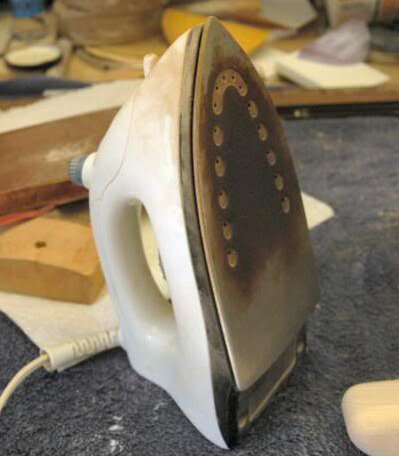
To do this we use a highly specialized tool. And uh, DO NOT USE YOUR WIFE’S IRON. Just trust me. Go spend 15 bux and get your own iron.
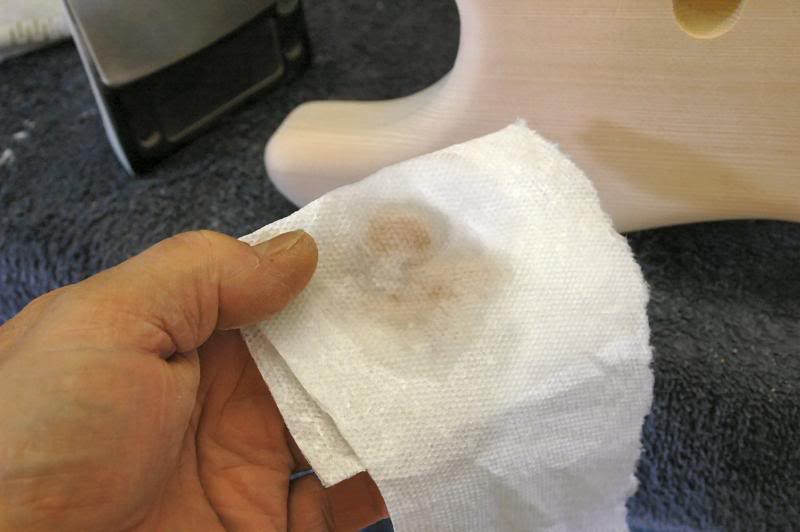
Put a few drops of secret ding removal liquid on a paper towel. Ok, ok. It’s water. Put it on the ding and iron it, oh yeah, the iron should be hot.. the hottest setting. Leave it there for a few seconds, and then remove, then let the steam dry.
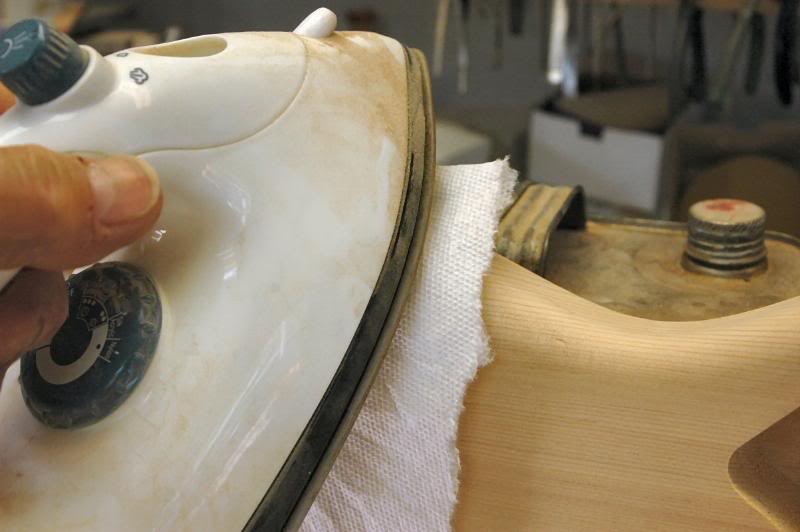
The steam is forced into the surface, causing the fibers to expand. This causes the compressed fibers to resume their previous position and often swell beyond.
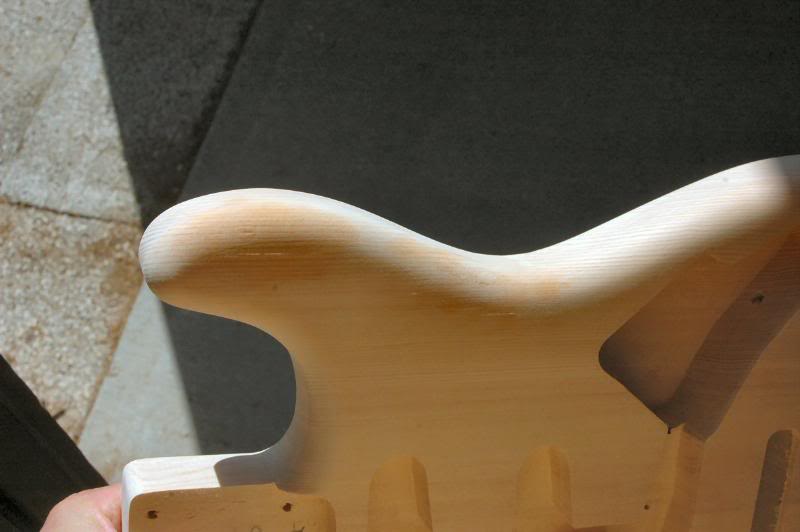
The dings now look like this, swollen from the steam and heat.
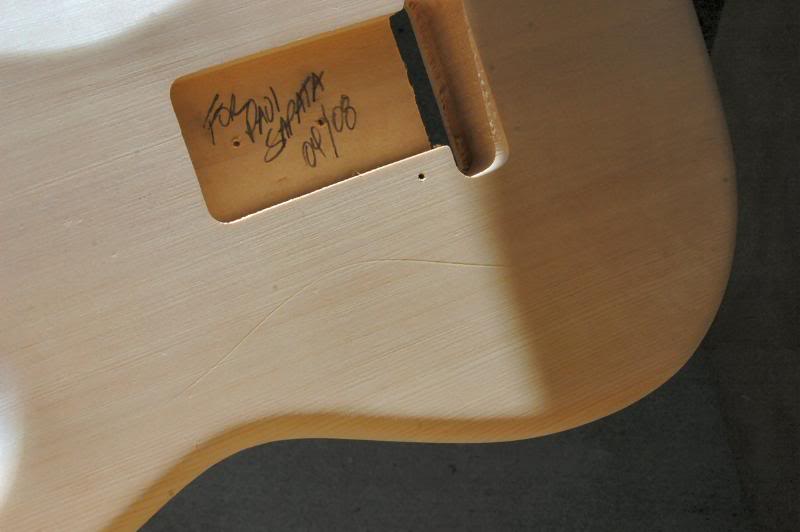
While in the sun, go over the whole body, look for anything that may be helped with the steam treatment. Here you see where something, probably a chip of wood was where it didn’t belong and left it’s calling card.
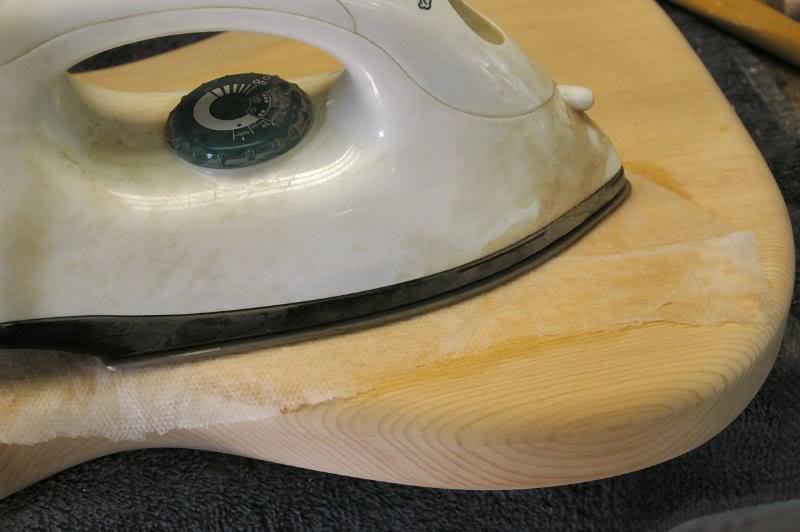
To take care of a larger surface, wet the paper towel and iron away.
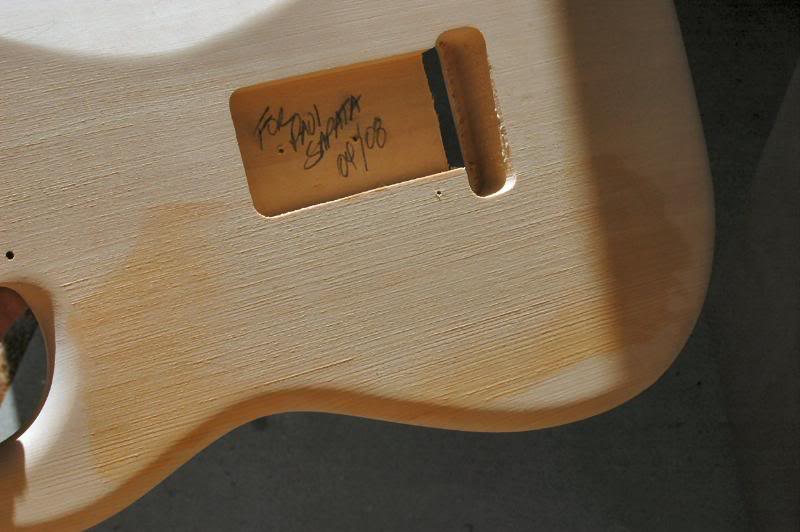
Here you can see the swollen fibers and the scrape is gone. This works best for shallow dings where the wood’s surface isn’t broken, the resulting “repair” is absolutely invisible. If the surface is broken, it will still cause the ding to expand up and out, but the broken area will leave a “fracture” mark in the surface.
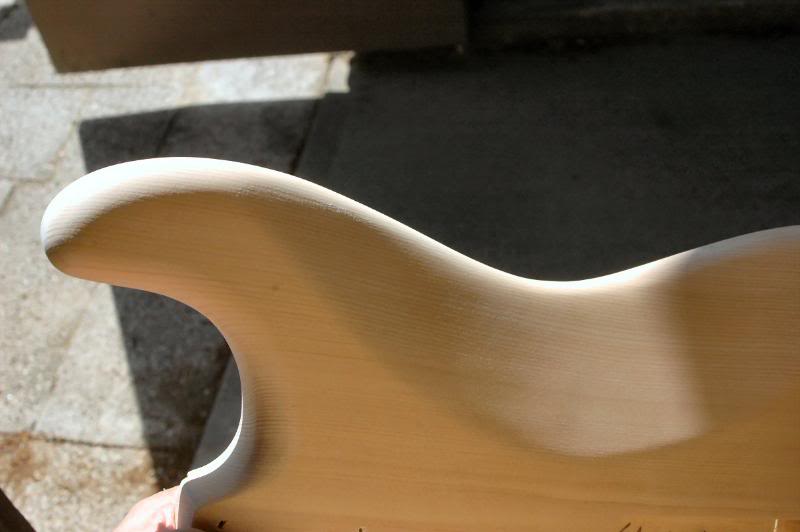
Here you see the dings removed, and ready for sanding.
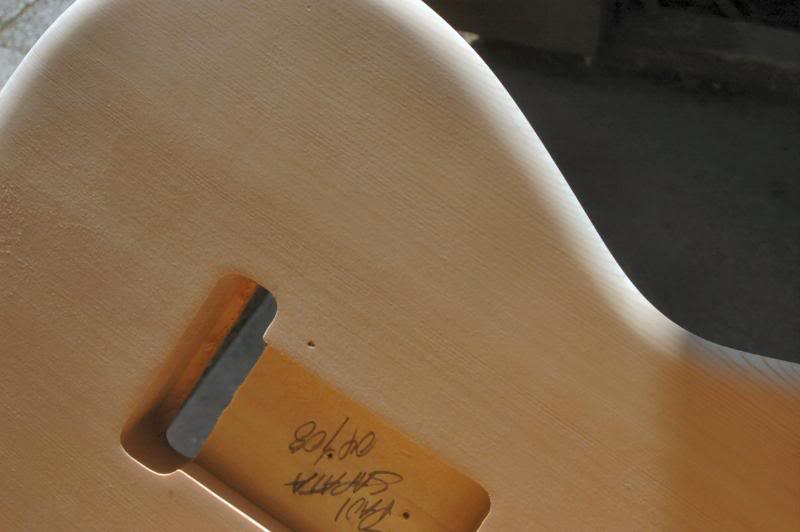
Check all the surfaces for dings, and to be certain the round areas are smooth, and flowing, take care of anything that needs attention.
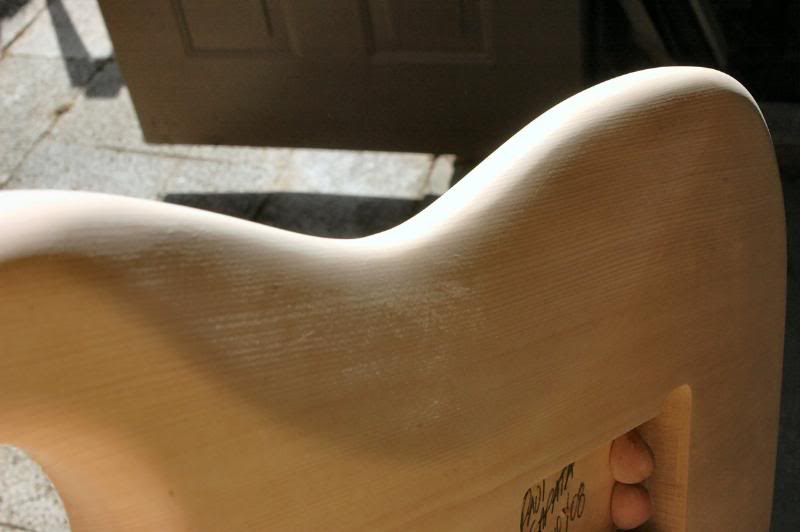
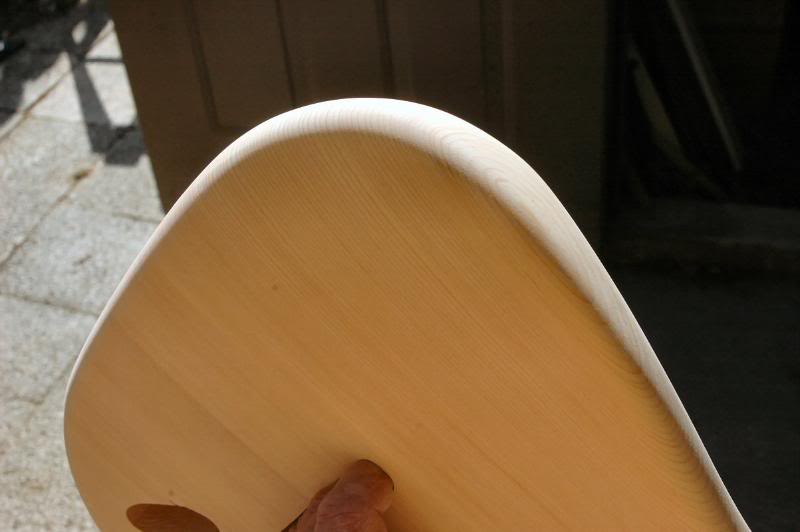
In these shots, you can see how nicely the curves meet the flat areas… we’re about ready to give ‘er a squirt.
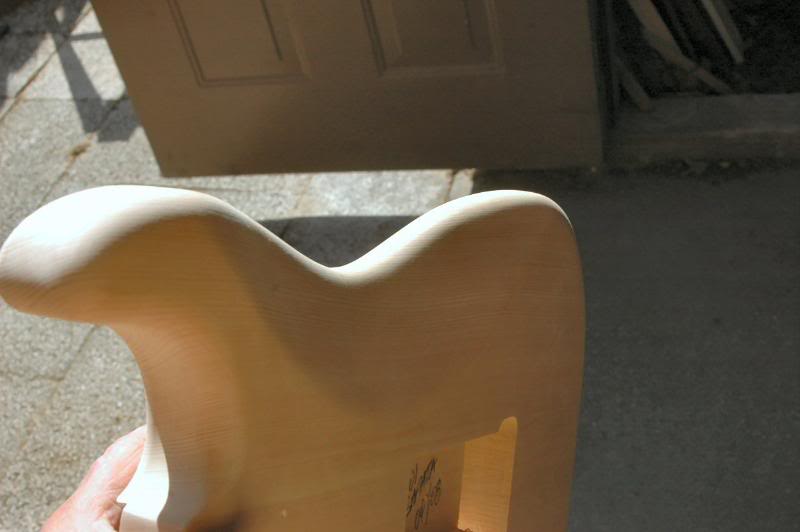
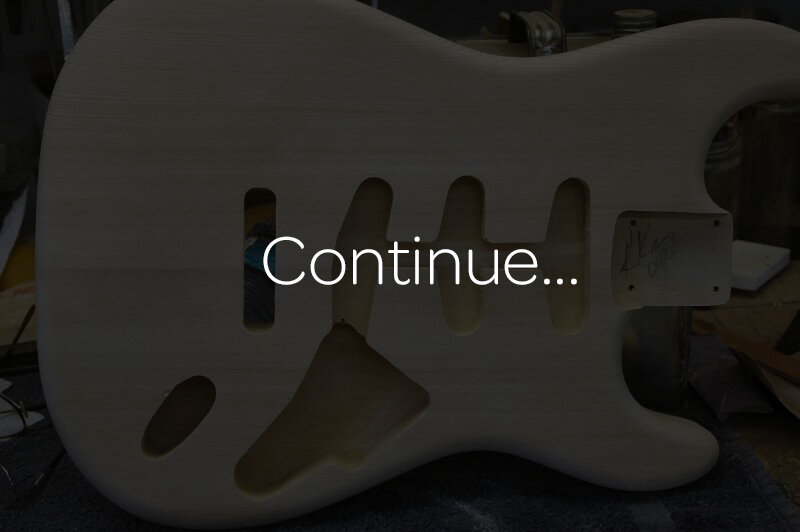
To continue to Part 2 Color & Lacquer
Choose: Slide show viewing or Single Page


Shaping the Body | NEXT - Color and Lacquer | The Neck | Body Buffing and Pickguard | Finishing the Neck | Final Assembly